
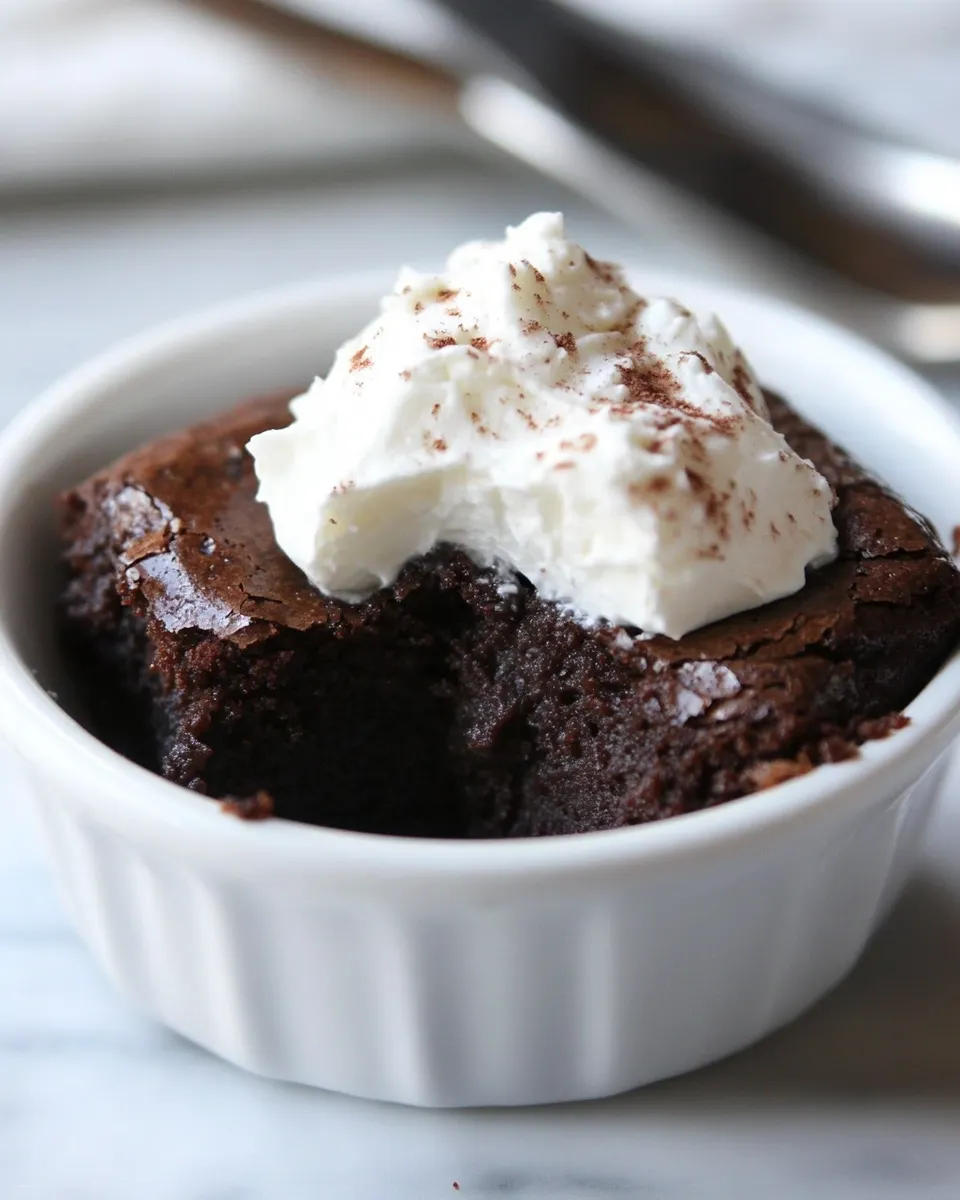
When you need a chocolate fix and you need it now, this 3-Minute Brownie in a Mug is the answer. It’s fast, dependable, and satisfies that brownie craving without dragging out the baking process. I reach for this recipe on weeknights, after a long shift, or when guests arrive unexpectedly and want something warm and sweet — immediately.
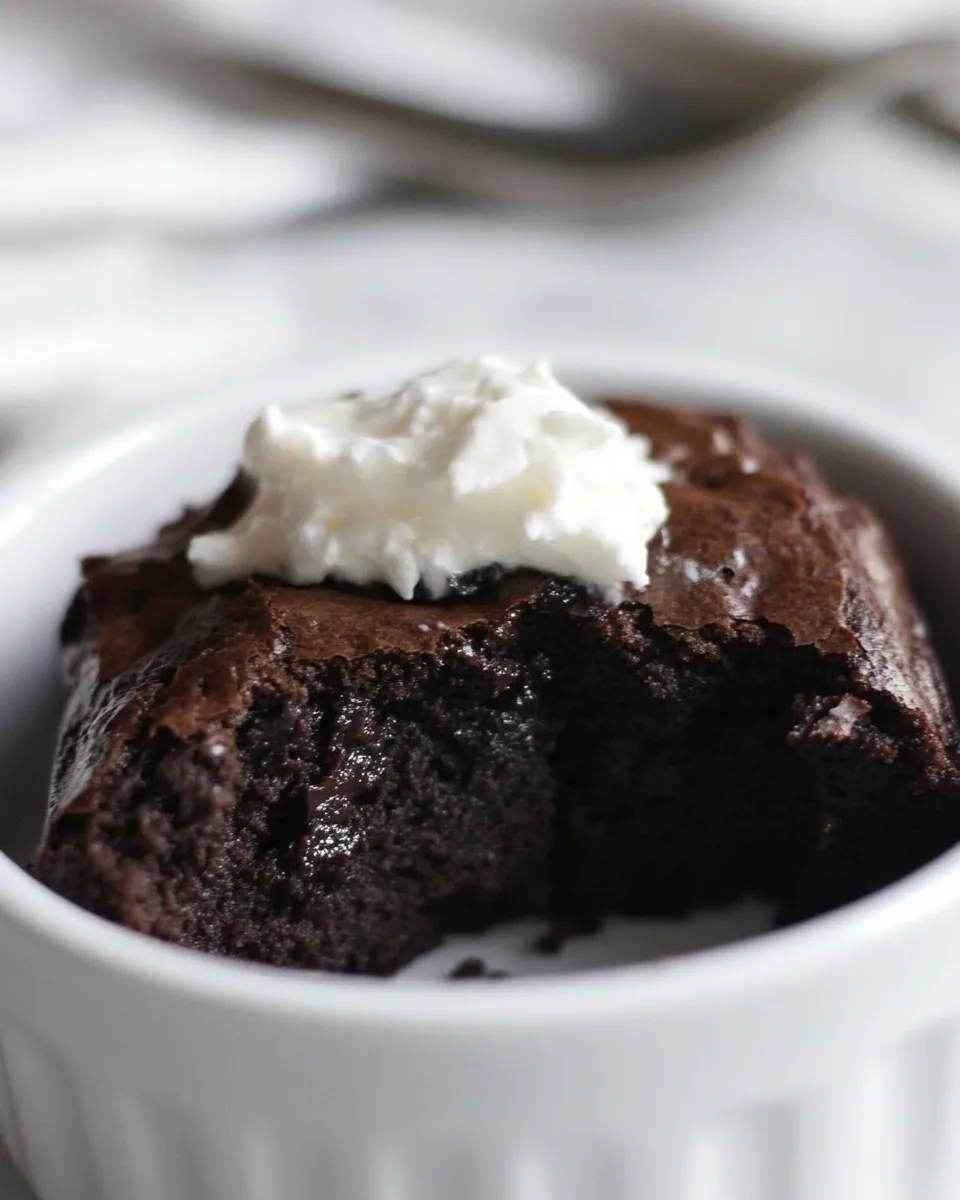
The batter comes together in a minute or two, and the microwave does the rest. Texture is fudgy rather than cakey when you time it right. A few small habits—measuring the dry ingredients, using a sturdy mug, and letting the brownie rest—make the difference between “good” and “really good.”
I’ve written the steps clearly below so you can follow them exactly and get reliable results every time. I’ll also cover substitutions, what to avoid, and a handful of practical tips that save you time and cleanup.
The Ingredient Lineup
- 1/4 cup all purpose flour — structure for the brownie; measure level for best texture.
- 1/4 cup brown sugar — sweetness and a bit of moisture; gives a deeper caramel note than white sugar.
- 2 tablespoons cocoa powder — provides the chocolate flavor; unsweetened cocoa is the standard.
- 2 tablespoons milk — hydrates the dry ingredients and loosens the batter; use dairy or plant milk.
- 2 tablespoons vegetable oil — fat for tenderness and shine; neutral oil keeps the chocolate front and center.
- pinch salt — lifts the chocolate and balances sweetness.
- splash vanilla — small aromatic boost; enhances overall flavor.
- splash coffee extract (optional) — intensifies chocolate notes; truly optional but effective.
- sweetened whipped cream (optional) — for topping; adds creaminess and a cool contrast.
Cook 3-Minute Brownie in a Mug Like This
- In a small bowl, stir together 1/4 cup all-purpose flour, 1/4 cup brown sugar, 2 tablespoons cocoa powder, and a pinch of salt until evenly mixed.
- Add 2 tablespoons milk, 2 tablespoons vegetable oil, a splash of vanilla, and (optional) a splash of coffee extract. Stir until the batter is smooth and no dry streaks remain.
- Lightly grease a microwave-safe mug with nonstick cooking spray (optional). Pour the batter into the mug and smooth the top.
- Microwave on high for 1 to 1 1/2 minutes. The brownie is done when the top is set and not glossy; a toothpick inserted in the center should come out with moist crumbs but not raw batter.
- Let the mug brownie rest for 30 seconds to 1 minute (mug will be hot). Use oven mitts or a towel to handle the mug.
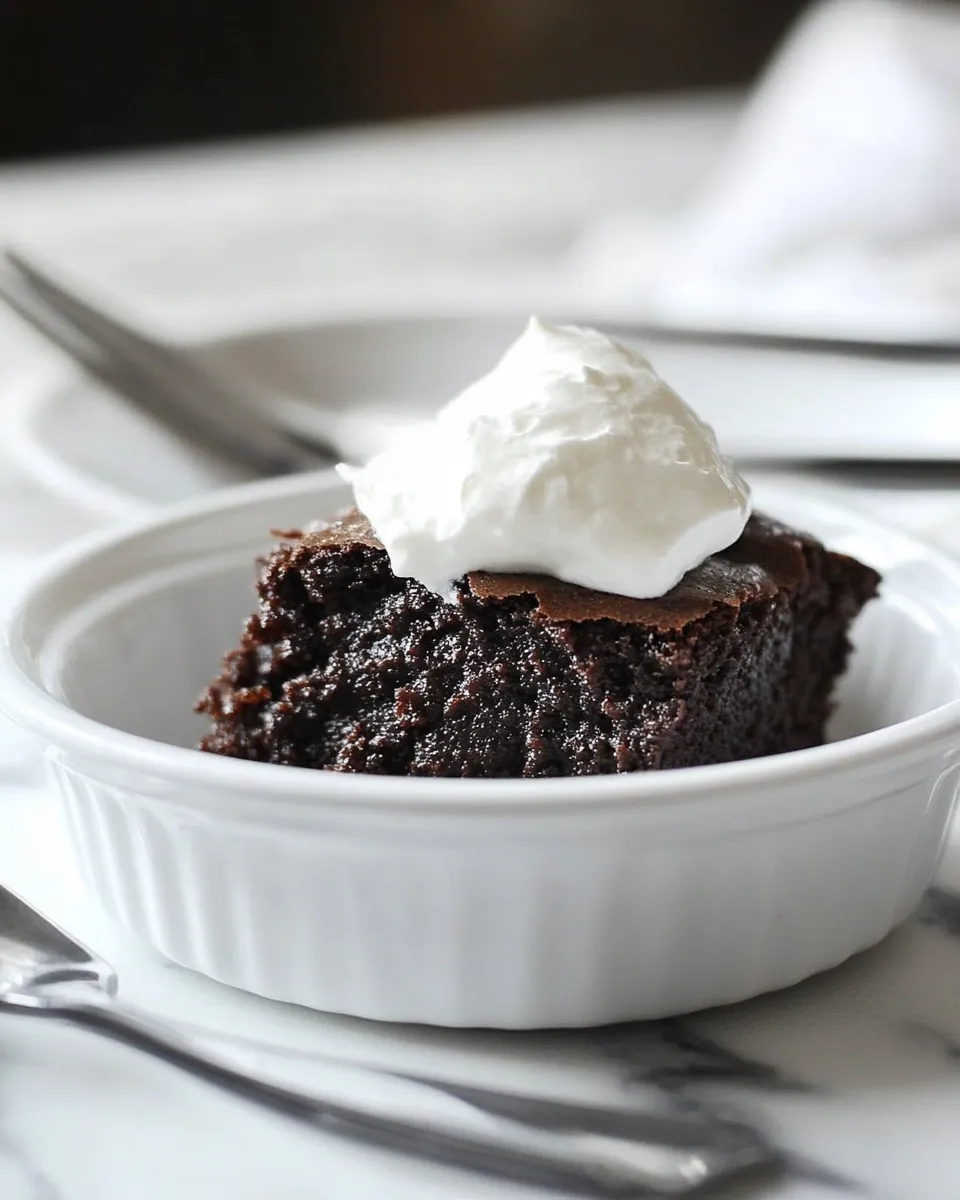
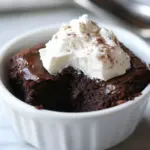
- Serve directly in the mug or invert onto a plate. Top with sweetened whipped cream if desired.
Why You’ll Love This Recipe
This recipe is the definition of instant gratification. No oven preheating, no pans to wash, and no long waiting. It gives you a warm, chocolatey dessert with minimal effort and ingredients you likely already have. The method prioritizes speed but not at the expense of texture. When microwaved correctly, the interior stays fudgy and tender while the top sets.
It’s forgiving. If you slightly over- or under-mix, you’ll still end up with a tasty brownie. The components are flexible: switch the milk or oil, add mix-ins, or serve it straight from the mug. It’s also a great single-serving recipe, meaning you can enjoy a fresh dessert without committing to a whole pan.
Finally, it’s practical. You can make it late at night without waking the whole house, or in a dorm room for a quick treat. The whole process is about convenience paired with a genuine chocolate payoff.
Ingredient Swaps & Substitutions
Short on something? Here are straightforward swaps that keep the outcome similar.
- Milk — swap with almond milk, oat milk, or soy milk. Any unsweetened or lightly sweetened plant milk works fine.
- Vegetable oil — use melted coconut oil for a hint of coconut, or light olive oil in a pinch. Don’t substitute butter at the same ratio unless melted; butter adds a richer flavor but can change texture slightly.
- Brown sugar — replace with an equal amount of granulated sugar if needed; flavor will be a touch less caramel-y.
- Cocoa powder — Dutch-process cocoa will mellow the acidity and give a darker color; natural unsweetened cocoa is perfectly fine.
- Coffee extract — omit entirely if you don’t have it. A tiny dash just amplifies the chocolate but is not necessary.
- Sweetened whipped cream — replace with vanilla ice cream, plain whipped cream, or a spoonful of dulce de leche for a decadent finish.
Gear Up: What to Grab
- Mug — a microwave-safe mug (12-16 oz works well) with straight sides for even cooking.
- Small bowl — for mixing the dry and wet ingredients before transferring to the mug.
- Spoon or small whisk — to stir the batter until smooth.
- Measuring spoons and 1/4-cup measure — accurate measuring gives consistent results.
- Microwave — the tool that does the heavy lifting; power levels vary so timing may need a small tweak.
- Oven mitt or towel — the mug will be hot after microwaving; handle safely.
- Toothpick or small skewer — to test doneness in the center.
Don’t Do This
A few common mistakes will wreck the texture or the finish. Avoid them.
- Don’t skip leveling your dry measures. Too much flour makes a dry, dense brownie.
- Don’t overfill the mug. The batter will puff slightly; use a large mug so it won’t spill over in the microwave.
- Don’t rely on visual cues alone if you’re unfamiliar with your microwave. Microwaves vary — test at the shorter time, then add 10–15 seconds if needed.
- Don’t eat straight away. The center finishes setting as it rests. Cutting in too soon can leave it gummy.
- Don’t use a thin or fragile mug. It can become dangerously hot or crack; choose sturdy microwave-safe ceramics.
Better Choices & Swaps
If you want a slightly healthier or tastier spin without losing convenience, consider these changes.
- Use whole-grain or white whole wheat flour for a slightly nuttier flavor and more fiber; texture will be a touch denser.
- Swap brown sugar for coconut sugar for lower glycemic index and a caramel note.
- Choose an oil with a neutral flavor (grapeseed or light olive) if you prefer not to taste the fat.
- For richer flavor without more fat, add a teaspoon of instant espresso powder instead of coffee extract.
- Top with Greek yogurt sweetened with a touch of honey instead of whipped cream for a tangy balance and more protein.
Testing Timeline
Clear timing keeps this recipe reliable. Here’s a practical timeline from start to finish:
- Prep: 1–2 minutes to measure and mix the dry ingredients, then add the wet. Keep the movements deliberate and quick.
- Microwave cook time: 1 to 1 1/2 minutes. Start with 1:00 on a high-power microwave. If it looks glossy in the center, add 10–15 second increments. Most modern microwaves will finish it in about 70–75 seconds.
- Rest: 30 seconds to 1 minute after microwaving. The mug will be hot; this short rest lets the center finish setting and prevents a molten, raw middle.
- Serve immediately after the brief rest. Add whipped cream or ice cream within a minute so it starts to melt into the warm brownie for contrast.
Freezer-Friendly Notes
Microwave mug brownies are best fresh, but you can still plan ahead.
- Batter: You can pre-measure and combine the dry ingredients in a small airtight container and refrigerate or freeze until needed. Add wet ingredients and microwave when ready. This keeps prep time under a minute.
- Cooked brownie: The finished mug brownie doesn’t freeze well in the mug itself because of condensation and texture changes. If you want to freeze a cooked portion, invert onto a plate, cool completely, wrap tightly, and freeze. Thaw in the fridge and warm gently in the microwave for 10–15 seconds.
- Storage times: For premixed dry mix, store up to 1 month in a cool, dry place. Cooked and wrapped brownies will keep in the freezer for up to 1 month with best quality retained; texture may shift slightly on reheating.
Frequently Asked Questions
Below are answers to the questions I see most often when sharing this recipe.
- Can I use butter instead of oil? Yes. Use 2 tablespoons melted butter; it adds richer flavor but can firm up the batter slightly when chilled. Warm it a little so it blends evenly.
- What if my brownie comes out rubbery? That usually means it was overcooked. Reduce microwave time by 10–15 seconds next attempt, especially if your microwave is high-powered.
- How do I know when it’s done? The top should look set and not glossy. A toothpick should come out with moist crumbs, not wet batter. Trust those cues more than total time because microwaves differ.
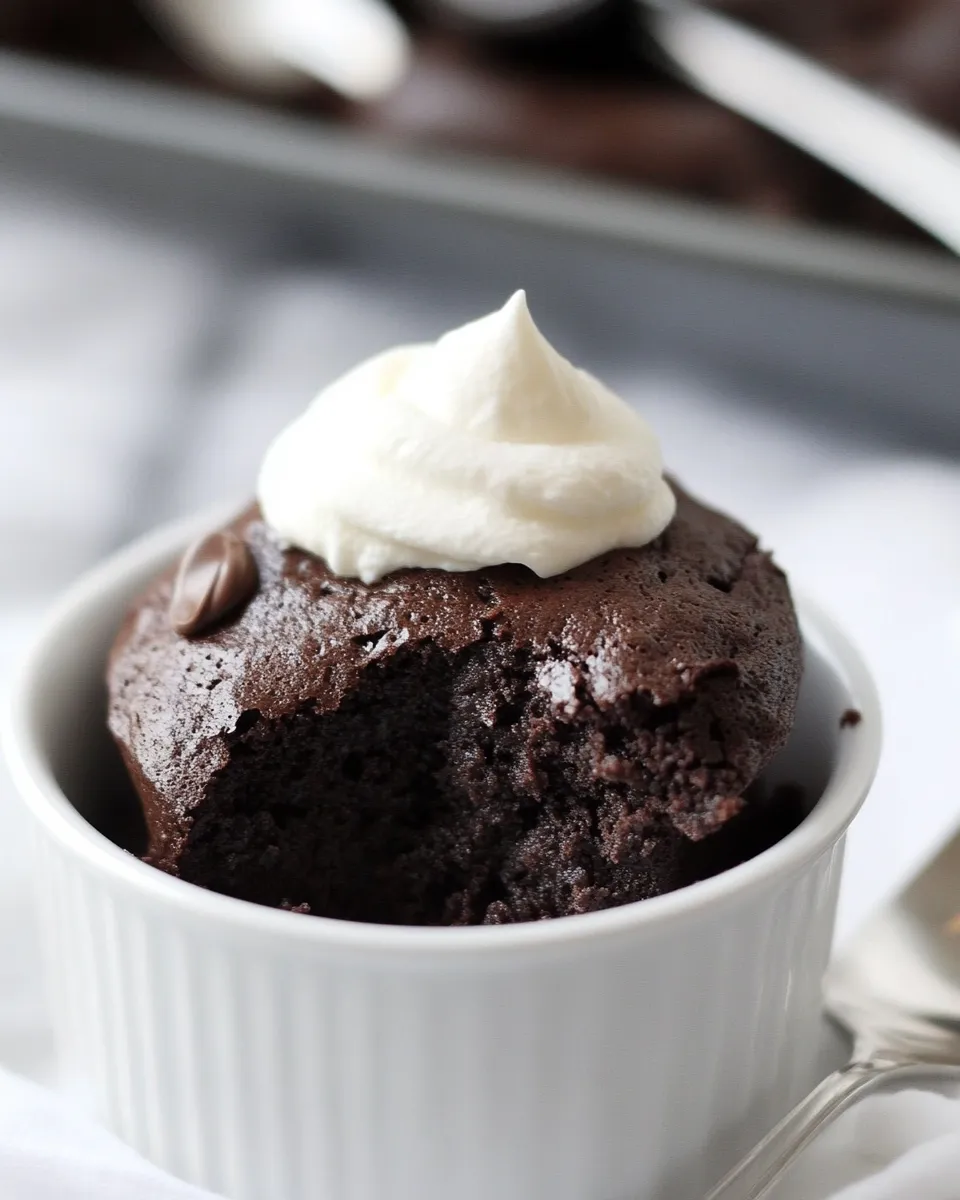
- Can I add chocolate chips or nuts? Yes. Fold in a tablespoon of chocolate chips or chopped nuts into the batter before microwaving. They’ll melt or toast slightly and add texture.
- Is coffee extract necessary? No. It’s optional and only used to deepen chocolate flavor. Omit if you don’t have it or don’t like coffee notes.
- Can I make this in the oven? Technically yes, but it defeats the purpose of a true “mug microwave” recipe. If baking, transfer batter to a small ramekin and bake at 350°F until set — about 10–12 minutes — but watch closely.
See You at the Table
There’s comfort in a small, perfectly timed dessert. This 3-Minute Brownie in a Mug is a dependable, fast way to get that comfort without fuss. Keep the basics in your pantry—flour, sugar, cocoa, milk, and oil—and you’ll be able to make this anytime the craving hits.
Try it once, then tweak the timing to suit your microwave and personal texture preference. Once you dial it in, you’ll have a go-to single-serve brownie that’s quick, warm, and reliably delicious. Enjoy, and don’t forget the whipped cream if you like that cool contrast.
3-Minute Brownie in a Mug
Ingredients
Ingredients
- 1/4 cupall purpose flour
- 1/4 cupbrown sugar
- 2 tablespoonscocoa powder
- 2 tablespoonsmilk
- 2 tablespoonsvegetable oil
- pinchsalt
- splashvanilla
- splashcoffee extractoptional
- sweetened whipped creamoptional
Instructions
Instructions
- In a small bowl, stir together 1/4 cup all-purpose flour, 1/4 cup brown sugar, 2 tablespoons cocoa powder, and a pinch of salt until evenly mixed.
- Add 2 tablespoons milk, 2 tablespoons vegetable oil, a splash of vanilla, and (optional) a splash of coffee extract. Stir until the batter is smooth and no dry streaks remain.
- Lightly grease a microwave-safe mug with nonstick cooking spray (optional). Pour the batter into the mug and smooth the top.
- Microwave on high for 1 to 1 1/2 minutes. The brownie is done when the top is set and not glossy; a toothpick inserted in the center should come out with moist crumbs but not raw batter.
- Let the mug brownie rest for 30 seconds to 1 minute (mug will be hot). Use oven mitts or a towel to handle the mug.
- Serve directly in the mug or invert onto a plate. Top with sweetened whipped cream if desired.
Equipment
- Small Bowl
- Microwave-safe Mug
- Microwave
- Measuring Cups
- Measuring Spoons
- Spoon or whisk
- nonstick cooking spray (optional)
Notes
If the calorie count is scaring you, simply halve everything!


