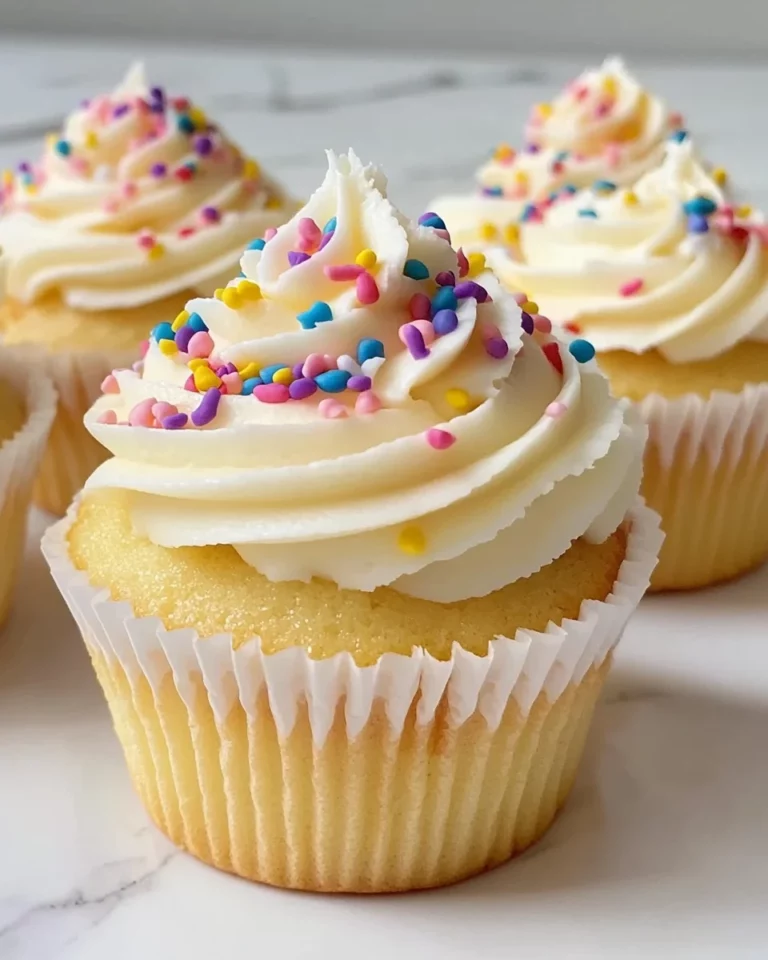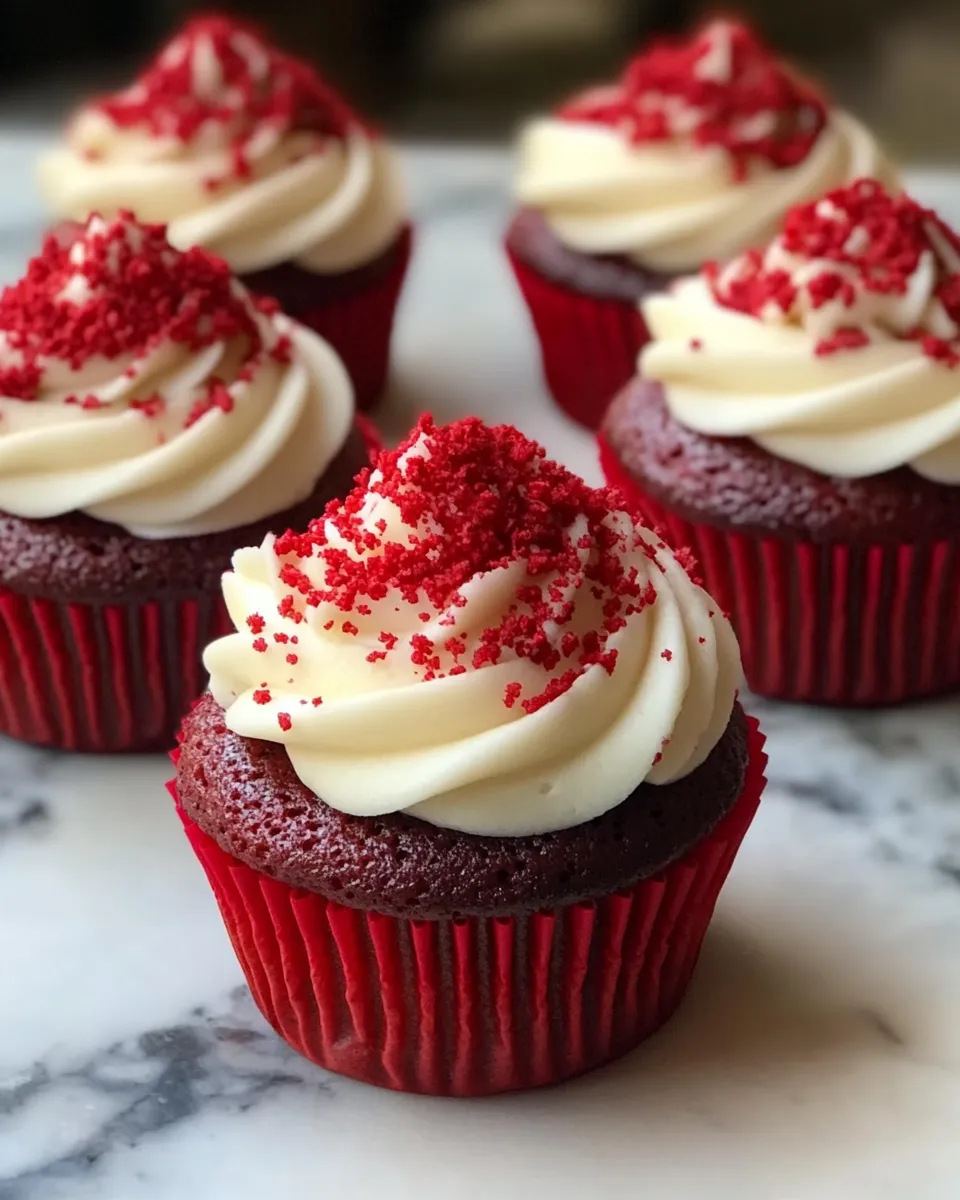
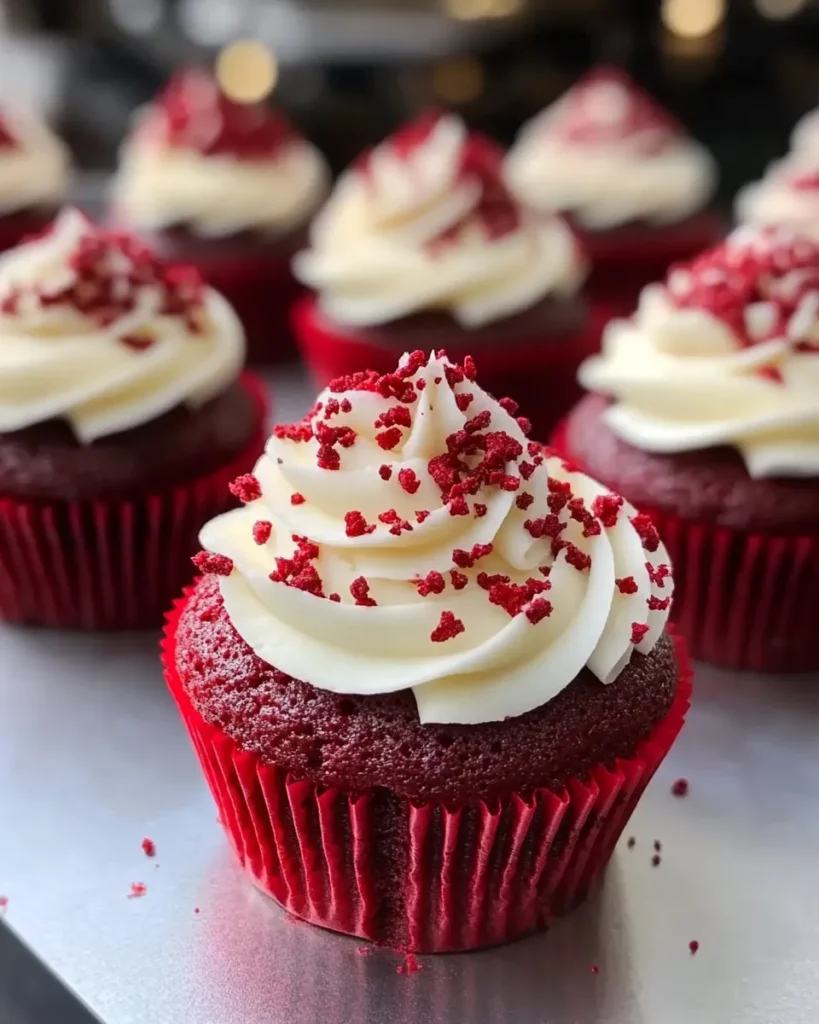
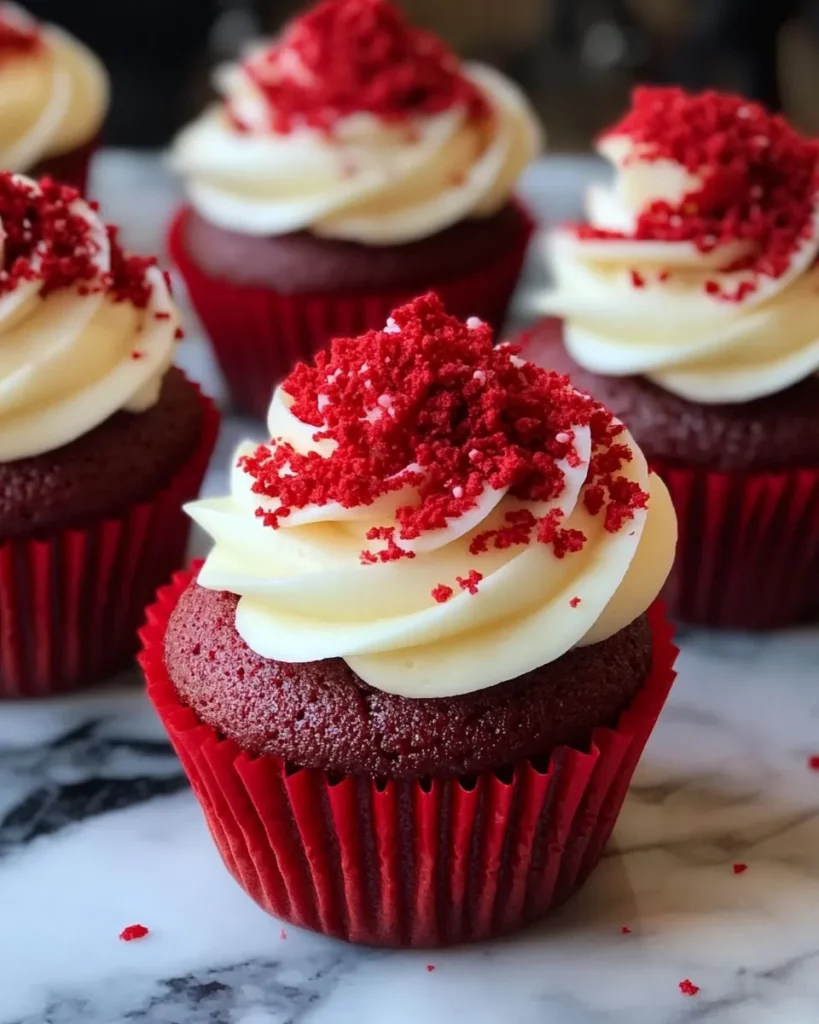
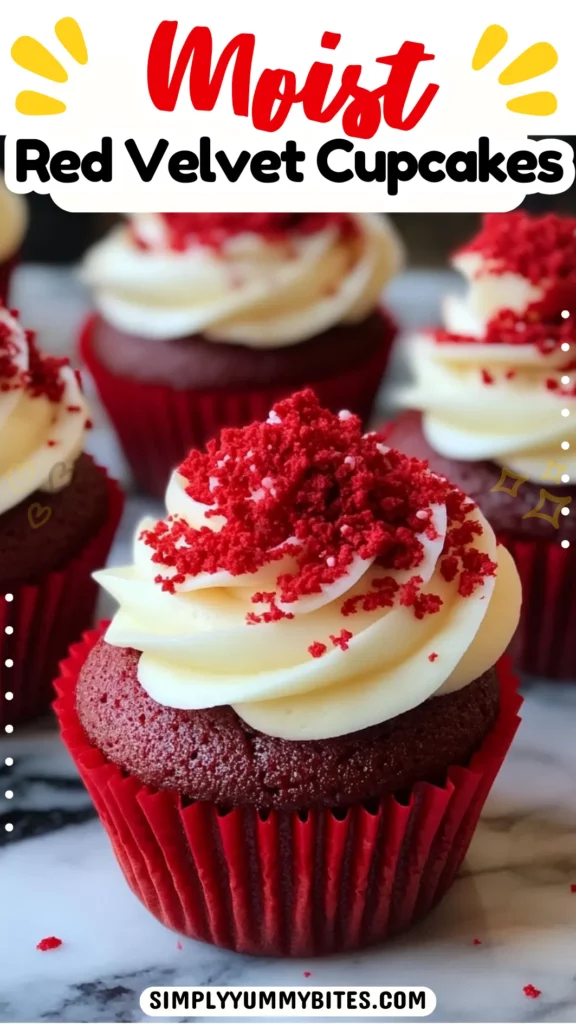
Who can resist the allure of a perfectly baked red velvet cupcake? With its striking crimson hue, velvety texture, and tangy-sweet flavor, this dessert is nothing short of magical. Whether you’re baking for a birthday celebration, a casual get-together, or simply to satisfy a sweet craving, red velvet cupcakes always steal the show.
For me, baking red velvet cupcakes feels like creating tiny edible masterpieces. The rich color and delicate crumb always bring a smile to my face, not to mention the joy it sparks when shared with loved ones. Today, I’m thrilled to guide you through a tried-and-true recipe that guarantees moist, fluffy cupcakes every time. Let’s get started!
Recipe Overview
These moist red velvet cupcakes are miniature versions of the classic cake we all adore. They combine the light cocoa flavor of a chocolate cake with the tangy zing of buttermilk and vinegar. The best part? Each cupcake is a blank canvas for the ultimate cream cheese frosting, making them almost too pretty to eat—almost.
Whether you’re an experienced baker or a total beginner, this recipe is foolproof and rewarding. With just a few pantry staples, some mixing magic, and a little patience, you’ll have a batch of decadent cupcakes ready to impress.
Key Ingredients
To make the best red velvet cupcakes, you’ll need:
- White Sugar: Provides the sweetness and helps create a tender crumb.
- Butter: Adds richness and flavor while keeping the cupcakes moist.
- Eggs: Essential for structure and stability in the batter.
- Buttermilk: The tangy star of the recipe, working with vinegar for that signature red velvet taste.
- Red Food Coloring: Gives the cupcakes their iconic, vibrant hue.
- Vanilla Extract: Adds depth and a touch of warmth to the flavor profile.
- All-Purpose Flour: The backbone of the batter, holding everything together.
- Unsweetened Cocoa Powder: Provides a subtle chocolate undertone without overpowering the delicate flavor.
- Baking Soda and Vinegar: The ultimate duo for a light, airy texture.
- Salt: Enhances all the other flavors, balancing sweetness and richness.
How to Make Moist Red Velvet Cupcakes
Step 1: Prep Your Workspace
Preheat your oven to 350°F (175°C) and line your muffin pans with 20 paper cupcake liners. This simple step ensures your cupcakes come out clean and picture-perfect.
Step 2: Cream Butter and Sugar
In a large bowl, beat the sugar and softened butter together using an electric mixer. Keep at it until the mixture turns light and fluffy—this aeration step is crucial for moist cupcakes.
Pro Tip: Room-temperature butter blends more easily, so let it sit out for about 30 minutes before starting.
Step 3: Incorporate Wet Ingredients
Add eggs one at a time, mixing well after each addition. Next, pour in the buttermilk, red food coloring, and vanilla extract. Stir until the batter is smooth and vibrantly red.
Note: Don’t be alarmed if the mixture looks a little separated at this stage. It’ll all come together once the dry ingredients are added.
Step 4: Mix in the Dry Ingredients
In a separate bowl, whisk together flour, cocoa powder, and salt. Gradually add this dry mixture to the wet ingredients, stirring just until combined. Overmixing can lead to dense cupcakes, so stop as soon as you see no streaks of flour.
Step 5: Activate with Baking Soda and Vinegar
In a small bowl, combine baking soda with vinegar, then quickly fold this fizzy mixture into your batter. This step helps the cupcakes rise beautifully while adding a touch of tanginess.
Step 6: Fill the Liners
Divide the batter evenly among the cupcake liners, filling each about 2/3 full. This ensures enough room for the cupcakes to rise without overflowing.
Step 7: Bake to Perfection
Bake the cupcakes for 20–25 minutes, or until the tops spring back when lightly pressed. Remove them from the oven and let them cool in the pan for 5 minutes before transferring to a wire rack to cool completely.
Tips for Success
- Room Temperature Ingredients: Make sure your eggs, buttermilk, and butter are at room temperature for smoother mixing and better texture.
- Use Gel Food Coloring: For a more vibrant red without altering the batter’s consistency, gel food coloring is your best bet.
- Don’t Skip the Vinegar: It’s essential for the authentic red velvet flavor and works wonders with the baking soda for a fluffy crumb.
- Check Doneness Early: Overbaking can lead to dry cupcakes. Start testing at the 20-minute mark.
- Cool Before Frosting: Frosting warm cupcakes can result in a melted mess. Be patient and let them cool completely.
Variations and Customizations
- Dietary Adjustments: Substitute dairy-free butter and plant-based milk with a splash of vinegar for a vegan version.
- Color Twist: Swap the red food coloring for blue or purple to create a unique take on the classic recipe.
- Filled Cupcakes: Add a dollop of cream cheese or chocolate ganache in the center before baking for a fun surprise.
- Topping Ideas: Beyond cream cheese frosting, try whipped cream, chocolate glaze, or a dusting of powdered sugar for variety.
Serving and Storage Tips

- Serving: These cupcakes shine at room temperature, so allow them to sit out for 10–15 minutes before serving. For an extra-special touch, garnish with sprinkles, chocolate shavings, or a drizzle of caramel.
- Storage: Store unfrosted cupcakes in an airtight container at room temperature for up to 3 days. Once frosted, refrigerate them in a single layer for freshness.
- Freezing: Freeze unfrosted cupcakes in a tightly sealed container for up to 3 months. Thaw overnight in the fridge and frost before serving.
Closing
Moist, decadent, and bursting with flavor, these red velvet cupcakes are the perfect dessert for any occasion. Whether you’re sharing them at a party or indulging in one with your morning coffee, they’re guaranteed to delight.
I hope you’ll give this recipe a try—it’s as fun to bake as it is to eat! Don’t forget to share your creations with friends and family; after all, nothing brings people together quite like homemade treats.
Happy baking! 🌟
Print
Moist Red Velvet Cupcakes
- Total Time: 50 minutes
- Yield: 20 servings 1x
Description
Classic red velvet cupcakes with a moist texture and rich cocoa flavor, topped with your favorite frosting.
Ingredients
- 1 ½ cups white sugar
- ½ cup butter
- 2 large eggs
- 1 cup buttermilk
- 1 fluid ounce red food coloring
- 1 teaspoon vanilla extract
- 1 ½ teaspoons baking soda
- 1 tablespoon distilled white vinegar
- 2 cups all-purpose flour
- ⅓ cup unsweetened cocoa powder
- 1 teaspoon salt
Instructions
- Preheat the oven to 350°F (175°C). Grease two 12-cup muffin pans or line with 20 paper baking cups.
- Beat sugar and butter in a large bowl with an electric mixer until light and fluffy.
- Mix in eggs, buttermilk, red food coloring, and vanilla. Stir in baking soda and vinegar.
- Combine flour, cocoa powder, and salt; stir into the batter just until blended.
- Spoon batter into the prepared cups, dividing evenly.
- Bake in the preheated oven until the tops spring back when lightly pressed, 20 to 25 minutes.
- Cool in the pan set over a wire rack before frosting with desired frosting.
Notes
For a brighter red color, use additional food coloring. Serve with cream cheese frosting or a vanilla buttercream for the best flavor.
- Prep Time: 30 minutes
- Cook Time: 20 minutes
- Category: Dessert
- Method: Baking
- Cuisine: American
Nutrition
- Serving Size: 1 cupcake
- Calories: 160
- Sugar: 16g
- Sodium: 150mg
- Fat: 6g
- Saturated Fat: 3g
- Unsaturated Fat: 3g
- Trans Fat: 0g
- Carbohydrates: 26g
- Fiber: 1g
- Protein: 3g
- Cholesterol: 30mg
Keywords: red velvet cupcakes, baking, dessert