There’s something magical about a warm, soft peanut butter cookie fresh out of the oven. The way it melts in your mouth, the perfect balance of sweet and salty, and that unmistakable nutty aroma that fills the kitchen—it’s pure comfort in cookie form.
If you’re like me, you’ve probably tried dozens of peanut butter cookie recipes, always searching for the one. The one that stays thick and chewy, the one that doesn’t dry out, the one that actually tastes like peanut butter. Well, friends, this is it. This is the peanut butter cookie recipe you’ll make forever.
Whether you’re baking a batch for a cozy night in, bringing treats to a gathering, or sneaking bites of dough straight from the bowl (no judgment), these cookies are everything you want them to be.
Let’s dive in.
Why You’ll Love This Recipe
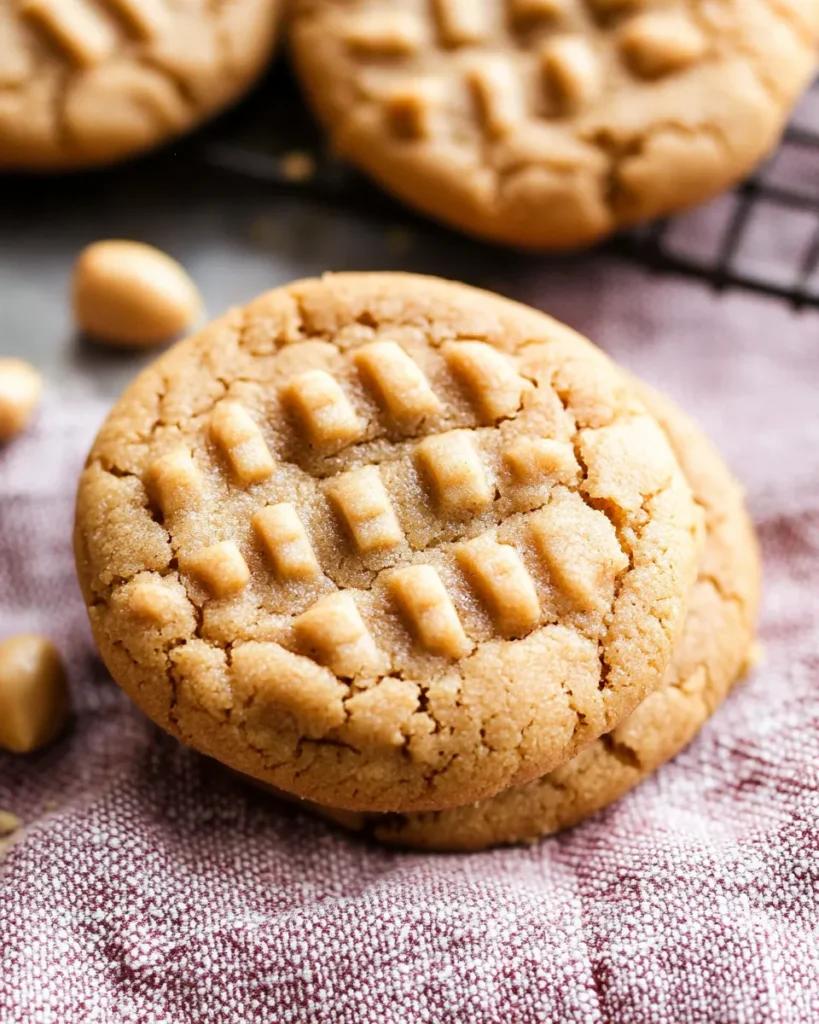
- Soft and thick with just the right amount of chew.
- Packed with peanut butter flavor—none of that subtle nonsense.
- Quick and easy with only nine simple ingredients.
- No complicated techniques—just mix, chill, roll, and bake.
- Perfectly sweet and slightly salty for that classic peanut butter taste.
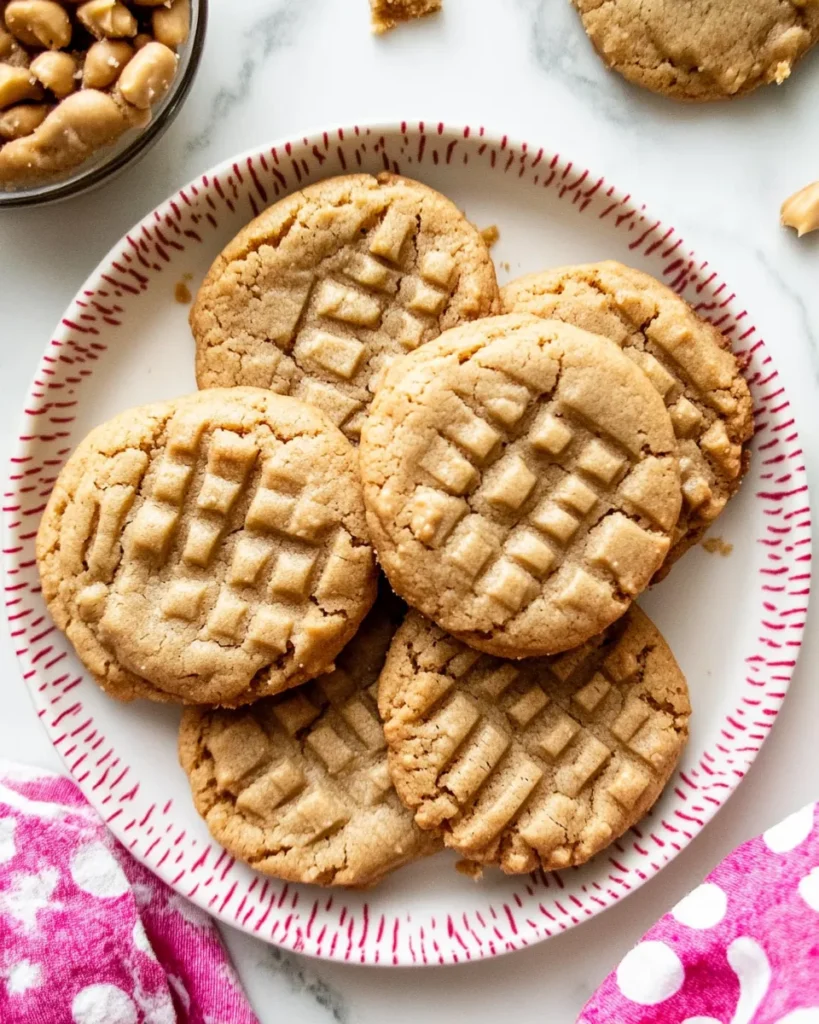
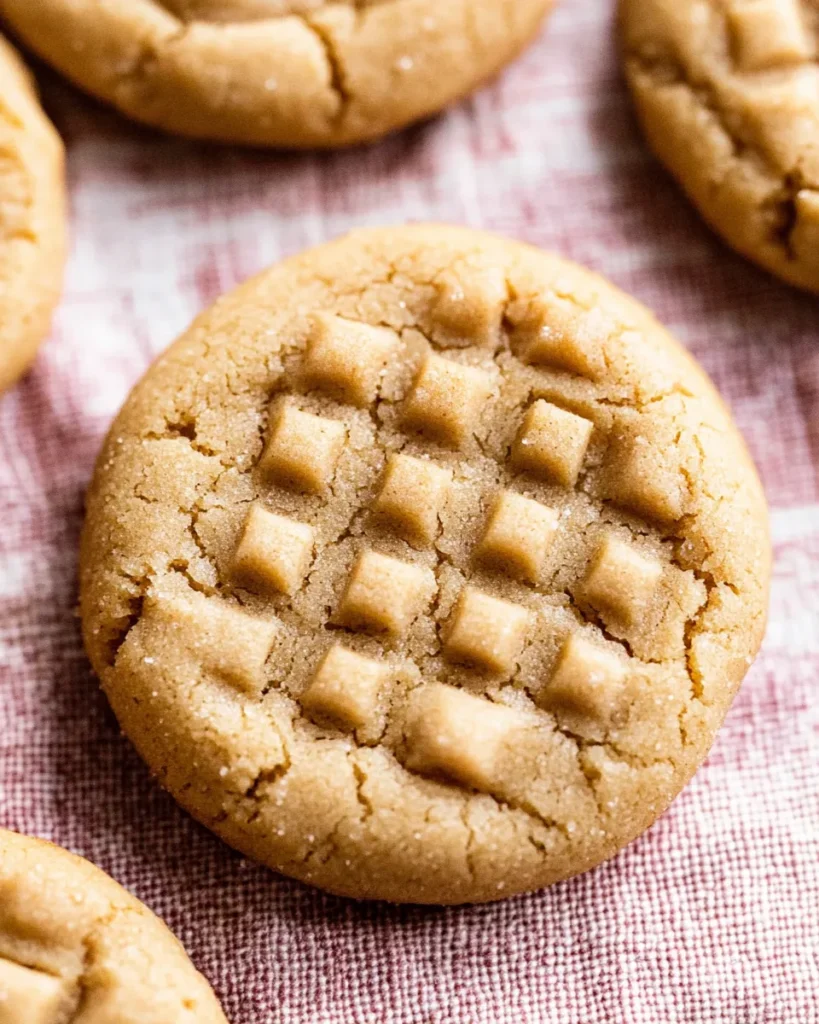
And let’s not forget the criss-cross fork marks on top—because peanut butter cookies must have those. It’s tradition.
Key Ingredients & Why They Matter
- Creamy Peanut Butter – The heart and soul of these cookies. Stick with creamy peanut butter for the best texture. Natural peanut butter works but makes the cookies a little crumblier.
- Unsalted Butter – Adds richness and keeps the cookies soft.
- Brown Sugar & Granulated Sugar – Brown sugar makes them moist and chewy, while white sugar helps with structure and slight crispness.
- Egg – Helps bind everything together and adds tenderness.
- Vanilla Extract – A little warmth to enhance the peanut butter flavor.
- All-Purpose Flour – Just enough to hold everything together without making the cookies dry.
- Baking Soda – A little lift to keep them soft and puffy.
- Salt – Balances the sweetness and brings out the peanut butter flavor.
- Granulated Sugar – A light coating before baking gives the cookies a subtle crunch and a beautiful, sparkly finish.
How to Make the Best Peanut Butter Cookies
Step 1: Mix the Dry Ingredients
In a medium bowl, whisk together flour, baking soda, and salt. Set aside.
Step 2: Cream the Butter & Sugars
Using a stand mixer or hand mixer, beat the butter, brown sugar, and granulated sugar until light and fluffy—about 2 minutes. This step is key to creating that soft, melt-in-your-mouth texture.
Step 3: Add the Wet Ingredients
Mix in the egg, peanut butter, and vanilla extract until fully combined. At this point, the dough will be thick, creamy, and absolutely irresistible. Try not to eat it all.
Step 4: Combine Everything
Slowly mix in the dry ingredients until just incorporated. The dough will be soft and slightly sticky, which is exactly what we want.
Step 5: Chill the Dough
Cover the dough and chill for at least 1–2 hours. This is the secret to thick cookies that don’t spread too much. If you’re patient, overnight chilling makes them even better.
Step 6: Preheat & Prepare
Preheat your oven to 350°F (177°C). Line baking sheets with parchment paper or silicone baking mats.
Step 7: Roll & Shape
Scoop about 1 tablespoon of dough and roll it into a ball. Coat in granulated sugar, then place on the baking sheet, spacing the cookies 2 inches apart.
Step 8: Criss-Cross Time
Using a fork, press down on each dough ball to create the classic peanut butter cookie criss-cross pattern. If the edges get a little flat, use your fingers to gently reshape them so the cookies stay nice and thick.
Step 9: Bake to Perfection
Bake for 11–12 minutes, or until the edges just start to turn golden. The centers will still look slightly underbaked—this is what makes them so soft.
Step 10: Let Them Cool (If You Can Wait)
Let the cookies sit on the baking sheet for 5 minutes before transferring them to a wire rack. They will firm up as they cool, but still stay soft and thick.
Now, pour yourself a cold glass of milk and enjoy the best peanut butter cookie of your life.
Pro Tips for Success
- Chill the dough—this step makes all the difference in keeping the cookies thick.
- Use creamy peanut butter for the perfect texture. Crunchy peanut butter makes them too crumbly.
- Don’t overbake! The cookies should look slightly underdone in the center when you take them out. They’ll finish setting as they cool.
- Want extra chewiness? Add an extra tablespoon of brown sugar.
- For a stronger peanut butter flavor, reduce the butter slightly and add an extra tablespoon of peanut butter.
Fun Variations & Add-Ins
- Peanut Butter Chocolate Chip Cookies – Stir in 1 cup of chocolate chips before chilling the dough.
- Peanut Butter Blossoms – Roll in sugar, bake, and press a chocolate kiss into the center.
- Peanut Butter & Jelly Thumbprints – Make an indentation before baking and fill with jam after cooling.
- Reese’s Stuffed Peanut Butter Cookies – Wrap the dough around a mini peanut butter cup before baking.
This dough is incredibly versatile, so have fun experimenting!

How to Store & Freeze
Storing Baked Cookies:
- Keep in an airtight container at room temperature for up to 1 week.
- For extra softness, place a slice of bread in the container—it keeps the cookies moist!
Freezing Baked Cookies:
- Store in an airtight container or freezer bag for up to 3 months. Thaw at room temperature before enjoying.
Freezing Cookie Dough:
- Roll the dough into balls (skip rolling in sugar) and freeze on a baking sheet until firm.
- Transfer to a freezer bag and store for up to 3 months.
- When ready to bake, thaw for 30 minutes, roll in sugar, criss-cross, and bake as directed.
Frequently Asked Questions
Can I use natural peanut butter?
Yes, but the cookies will be a little crumblier. Make sure to stir the peanut butter well before using.
Can I make these gluten-free?
Use a 1:1 gluten-free flour blend in place of all-purpose flour.
Do I have to chill the dough?
Yes! Chilling prevents spreading and gives the cookies their thick, soft texture.
How do I make the cookies extra soft?
Use more brown sugar than white sugar, and don’t overbake them.
Final Thoughts
These Soft & Thick Peanut Butter Cookies are everything a peanut butter cookie should be—rich, chewy, and bursting with peanut butter flavor.
Once you make these, you’ll never go back to another recipe. They’re the kind of cookies you’ll bake for years to come, the ones that remind you of childhood, and the ones you’ll pass down to the next generation.
So go ahead—bake a batch, pour a glass of milk, and enjoy every last crumb.
Print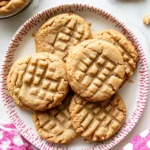
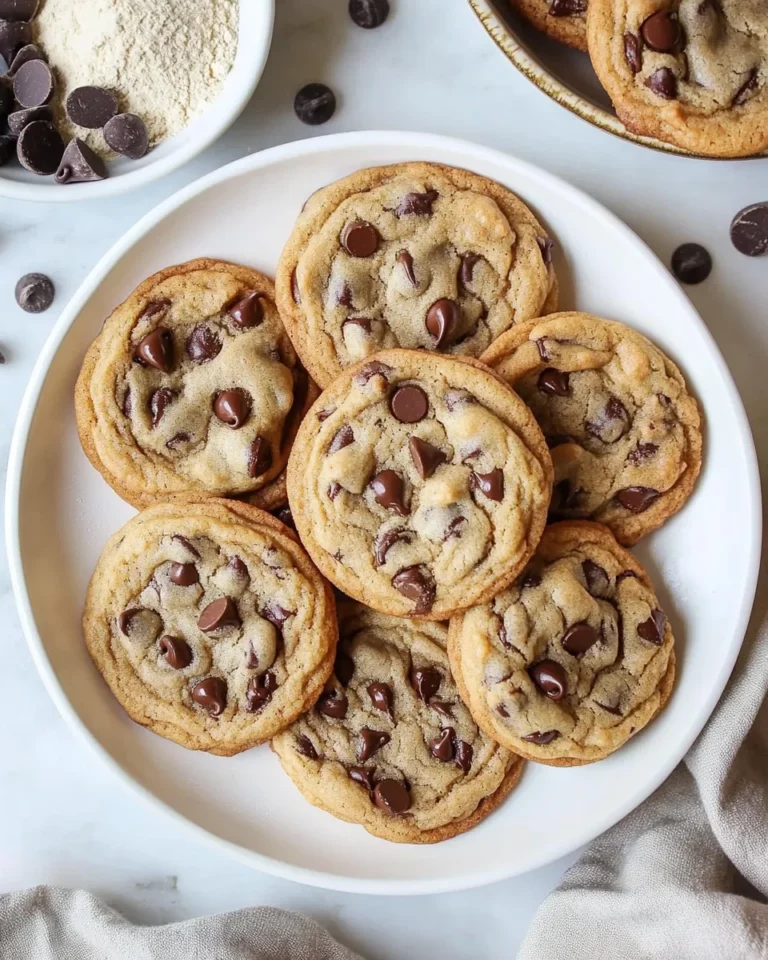
Soft Peanut Butter Cookies
- Total Time: 1 hour, 45 minutes
- Yield: 32 cookies 1x
Description
These soft, thick, melt-in-your-mouth peanut butter cookies may be the only peanut butter cookie recipe you ever use again. With just 9 ingredients, this dough can be adapted in many ways, including peanut butter blossoms and peanut butter jam thumbprints.
Ingredients
- 1 and 1/3 cups (170g) all-purpose flour, spooned & leveled
- 1/2 teaspoon baking soda
- 1/4 teaspoon salt
- 1/2 cup (8 Tbsp; 113g) unsalted butter, softened to room temperature
- 1/2 cup (100g) packed light or dark brown sugar
- 1/4 cup (50g) granulated sugar, plus 1/2 cup (100g) for rolling
- 1 large egg, at room temperature
- 3/4 cup (about 185g) creamy peanut butter
- 1 teaspoon pure vanilla extract
Instructions
- Whisk the flour, baking soda, and salt together in a medium bowl. Set aside.
- Using a hand mixer or a stand mixer fitted with a paddle attachment, beat the butter for 1 minute on high speed until creamy.
- Switch to medium-high speed and beat in the brown sugar and 1/4 cup (50g) granulated sugar until completely creamed and smooth, about 2 minutes.
- Add the egg and beat until combined, about 1 minute. Scrape down the sides and bottom of the bowl as needed. Add the peanut butter and vanilla extract and beat until combined.
- Add the dry ingredients to the wet ingredients and beat on low speed until combined. The dough will be very creamy and soft. Cover and chill the cookie dough in the refrigerator for at least 1–2 hours, and up to 3 days.
- Preheat oven to 350°F (177°C). Line large baking sheets with parchment paper or silicone baking mats.
- Roll & coat the dough: Place remaining 1/2 cup (100g) of sugar into a bowl. Roll chilled cookie dough into balls, about 1 scant Tablespoon (5/8 ounce or 18g) of dough each. Roll each ball in the sugar and arrange on baking sheets about 2 inches apart.
- Use a fork to make a criss-cross indent on top of each. To prevent the cookies from over-spreading, after indenting the cookies, use your fingers to reshape into a thicker disc.
- Bake for 11–12 minutes or until the edges appear set and are very lightly browned. The centers will still look very soft.
- Allow cookies to cool on the baking sheet for 5 minutes. After 5 minutes, transfer to a wire rack to cool completely.
Notes
Cookies stay fresh covered at room temperature for up to 1 week. You can make the cookie dough and chill it in the refrigerator for up to 3 days. Baked cookies freeze well for up to 3 months. Unbaked cookie dough balls, without sugar coating, freeze well for up to 3 months. Let frozen cookie dough balls sit on the counter for 30 minutes, roll in sugar, indent a crisscross pattern with a fork, then bake for an extra minute. No need to completely thaw.
- Prep Time: 1 hour, 30 minutes
- Cook Time: 12 minutes
- Category: Dessert
- Method: Baking
- Cuisine: American
Nutrition
- Serving Size: 1 cookie
- Calories: 120
- Sugar: 8g
- Sodium: 75mg
- Fat: 6g
- Carbohydrates: 14g
- Protein: 2g
Keywords: Peanut Butter Cookies, Soft Cookies, Classic Dessert