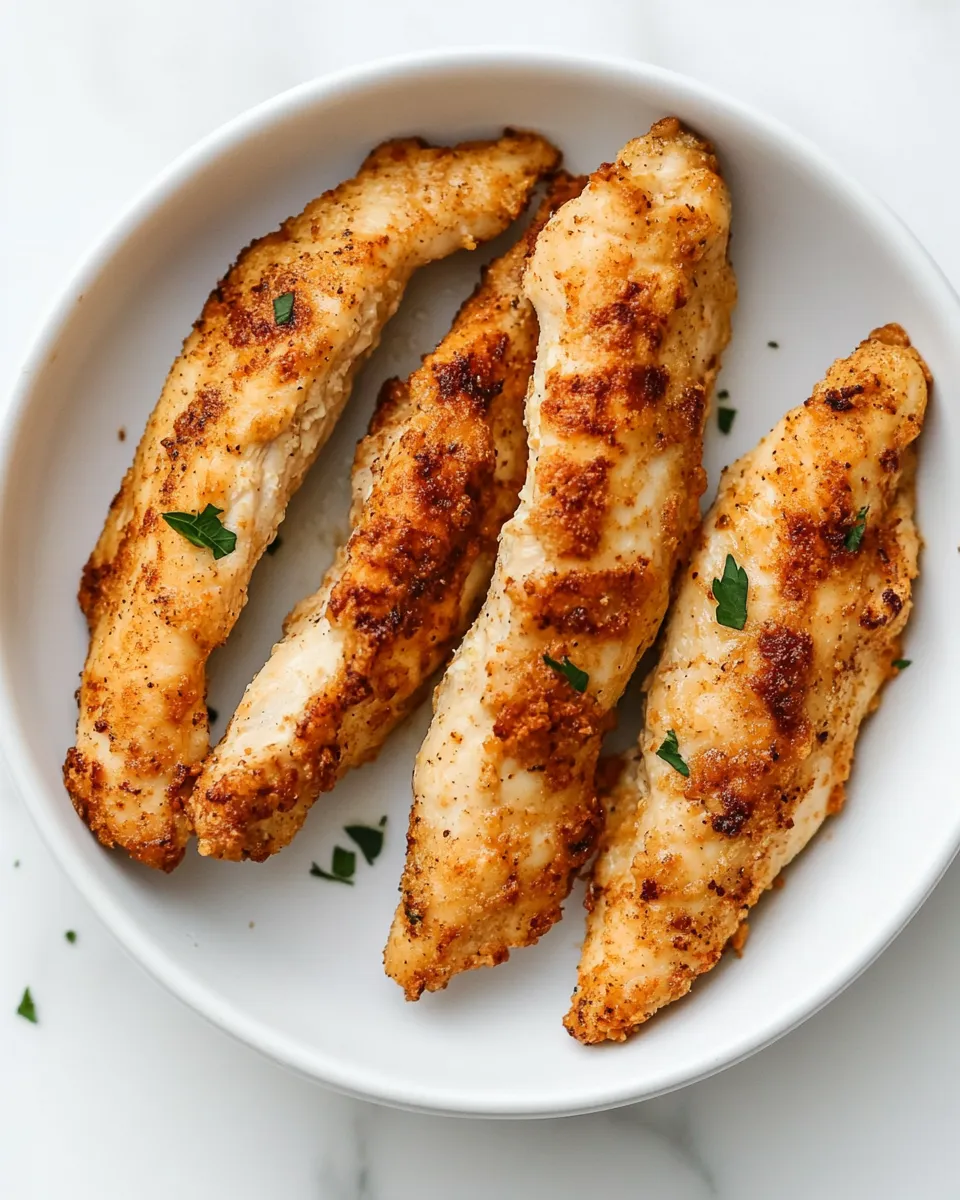
These chicken tenders are the kind of weeknight win I turn to when I want something fast, reliable, and fuss-free. The trick is simple: oil, seasoning salt, and the air fryer doing the heavy lifting. No breading means less mess, and the tenders still come out juicy with gently crisped edges.
I like this method because it’s predictable. It uses basic pantry items, takes very little hands-on time, and scales easily. You can feed a small family or make multiple batches for meal prep without changing the approach.
Below you’ll find the exact ingredients and the step-by-step method I always use, plus practical notes on timing, tweaks for texture, and answers to the questions I get most often from readers. Read through the tips before you start; one small adjustment can make the difference between dry and perfectly tender chicken.
What You’ll Gather
Set out a bowl for tossing the tenders, an air fryer basket, and an instant-read thermometer if you have one. A quick mise en place keeps the process smooth: measure the oil, have the seasoning nearby, and make sure the tenders are separated so they cook evenly.
Ingredients
- 1poundchicken tenders — the star of the dish; tenders cook quickly and stay tender when not overcooked.
- 2teaspoonsolive oil — adds a touch of fat to promote browning and helps the seasoning stick.
- Seasoning salt — simple, savory seasoning; adjust the amount to taste.
Build Air-Fryer Chicken Tenders, No Breading Step by Step
- Preheat the air fryer to 380°F.
- Put 1 pound chicken tenders in a bowl, add 2 teaspoons olive oil, and toss until each tender is evenly coated.
- Sprinkle seasoning salt over the oiled tenders to your preference.
- Arrange the tenders in a single layer in the air fryer basket (do not overcrowd; cook in batches if needed).
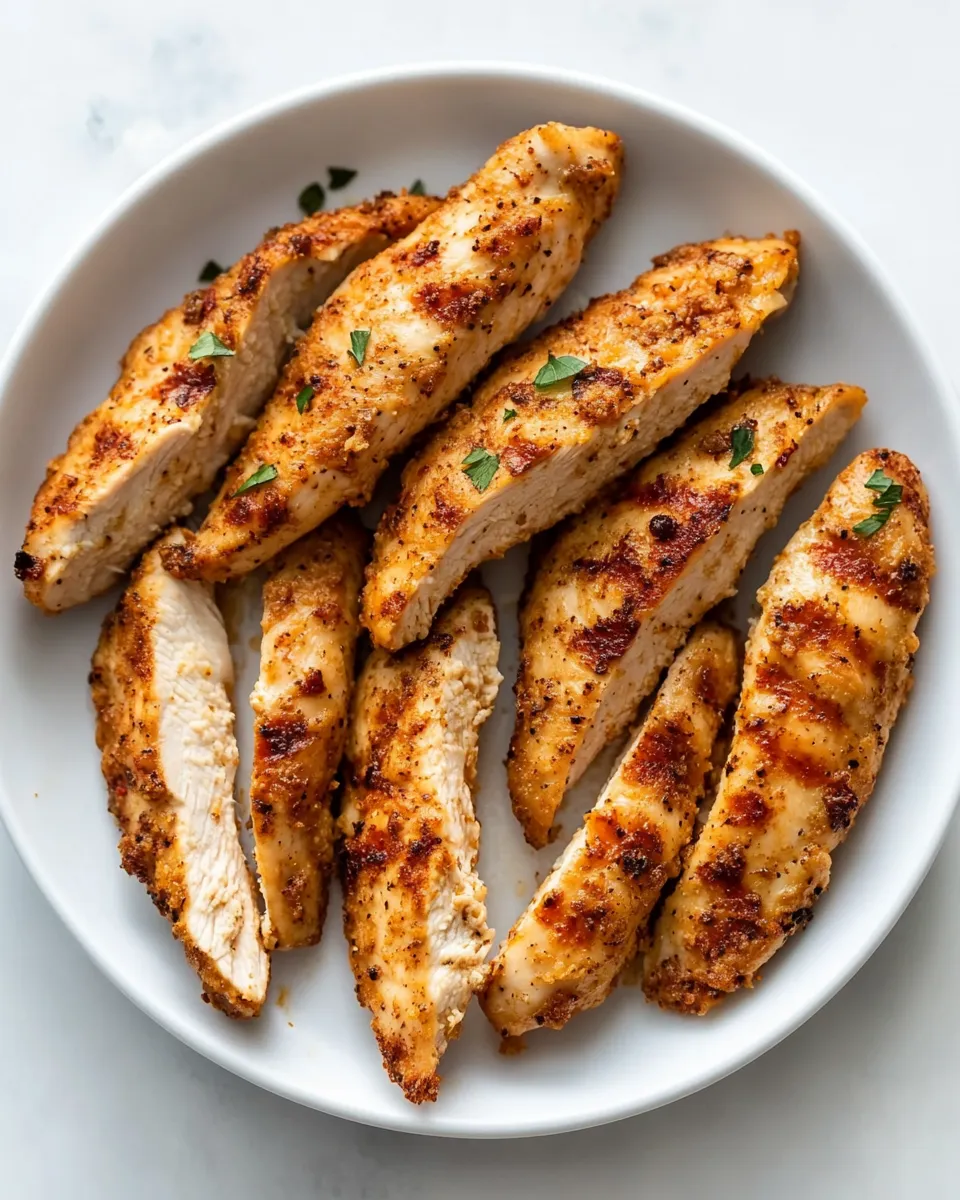
- Air-fry for 8–10 minutes total, flipping the tenders halfway through (about 4–5 minutes). Cook until an instant-read thermometer inserted into the thickest part of a tender reads 165°F.
- Let the tenders rest 1–2 minutes, then serve.
Reasons to Love Air-Fryer Chicken Tenders, No Breading
They’re fast. Preheat and cook time together are under 15 minutes for a single batch, so they’re ideal when the clock is tight. There’s minimal prep and no dredging or flouring stages.
They’re lower fuss. No breading means no bowl of sticky crumbs and no pan of hot oil. Cleanup is easier: the bowl you tossed the tenders in, the air fryer basket (wipe or rinse), and the tongs.
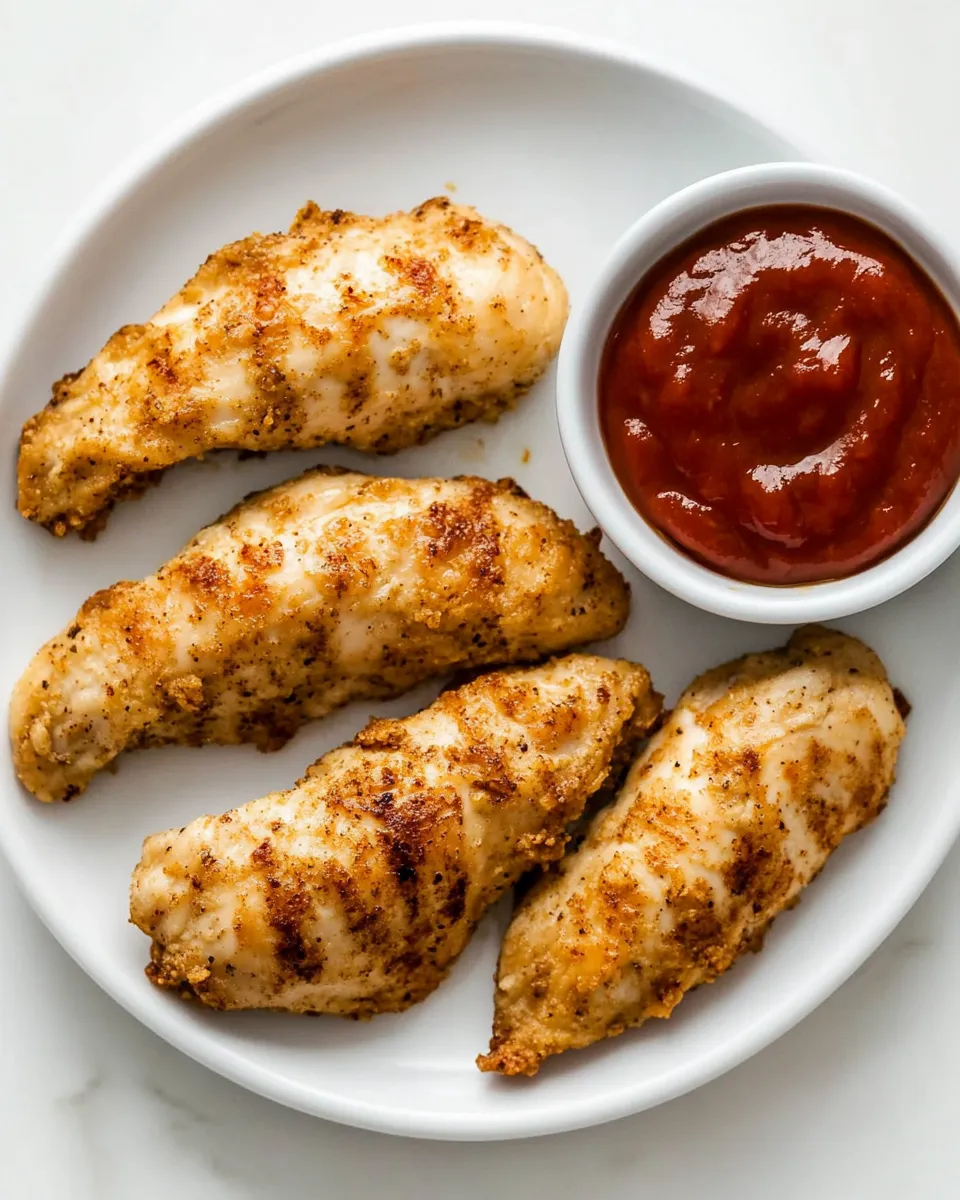
The flavor is straightforward and flexible. Seasoning salt gives a reliable savory baseline. From there you can add a squeeze of lemon, a dipping sauce, or a quick drizzle of honey if you like—everything pairs well because the tenders themselves are clean-flavored and tender.
They’re versatile. Serve them over a salad, with steamed veggies, tucked into a wrap, or on their own for protein-forward fast dinners. They’re friendly to kids and adults alike.
Texture-Safe Substitutions
- If you prefer slightly firmer meat, trim thicker tenders into more uniform strips so they cook evenly.
- If you need even faster cooking, use smaller pieces—just watch the time closely so they don’t overcook.
- For a different mouthfeel, you can use other boneless cuts, but expect a change in timing. Thicker cuts will need lower temp or longer time; thinner pieces will finish sooner.
Setup & Equipment
Air fryer: Any basket-style or drawer-style air fryer will work. A 3–5 quart unit is perfect for about a pound of tenders; larger units let you do a single batch with more room for circulation.
Thermometer: An instant-read thermometer is the most reliable way to confirm doneness. Target 165°F in the thickest part of the tender.
Basic tools: a medium bowl for tossing, tongs for placing and flipping, and a plate or tray to rest cooked tenders briefly before serving.
Watch Outs & How to Fix
Dry tenders
Cause: Overcooking. Fix: Shorten the total time and check at the lower end (8 minutes). Rely on an instant-read thermometer rather than time alone.
Undercooked centers
Cause: Crowding the basket or uneven thickness. Fix: Arrange tenders in a single layer with space between pieces; cook in batches if needed. Use consistent thickness—pound or trim larger pieces.
Pale exterior or lack of browning
Cause: Not enough oil or crowded basket. Fix: Make sure the tenders are evenly coated with the 2 teaspoons of olive oil. Give them room to circulate hot air so surfaces dry slightly and brown.
Seasoning too strong
Cause: Over-salting or aggressive seasoning salt. Fix: Reduce how much seasoning you add next time and balance with a neutral side like rice or steamed veggies. For the current batch, serve with plain sides to soften the impact.
Nutrition-Minded Tweaks
Use the smallest effective amount of oil—2 teaspoons is what this recipe calls for and it’s enough to encourage browning without excess fat. If you’re watching sodium, choose a low-sodium seasoning salt or reduce the amount you sprinkle.
Pair the tenders with fiber-rich sides: a salad, roasted vegetables, or whole grains. That balances the meal and stretches a smaller portion of chicken to feel more filling.
To cut calories further, serve with fresh salsa or a yogurt-based dip rather than creamy, higher-calorie sauces.
Notes on Ingredients
1poundchicken tenders: Buy fresh or fully thawed tenders. They’re convenient because they’re already portioned and cook quickly. If tenders vary in size, slice the larger ones so everything finishes together.
2teaspoonsolive oil: Olive oil coats the tenders and helps them brown. Measure the oil so you use just enough to promote even coloring without excess.
Seasoning salt: This provides the main seasoning. Because blends vary, start light the first time and adjust to your preference. You can also mix in a pinch of black pepper if you want a little kick—just don’t overdo it for the first run.
Leftovers & Meal Prep
Storage: Cool the tenders to room temperature (no more than an hour out), then store in an airtight container in the refrigerator for up to 3 days. For longer storage, freeze on a tray until firm, transfer to a freezer-safe bag, and keep up to 2 months.
Reheating: The air fryer is your best friend for reheating—set to 350°F and warm for 3–4 minutes until heated through, flipping halfway. This method helps regain a touch of crispness. You can also reheat in a 350°F oven for 8–10 minutes or in a skillet over medium heat for a few minutes per side.
Meal prep tip: Cook multiple batches, cool, and portion into meal containers with a carbohydrate and vegetable. Reheat in the air fryer or microwave (if in a pinch) and finish in the air fryer for texture.
Frequently Asked Questions
Q: Can I use frozen tenders? A: Cook from thawed for best results. If you must cook from frozen, expect longer cook time and check the internal temp carefully. Avoid crowding the basket, and increase the time in small increments while checking doneness.
Q: Do I need to flip the tenders? A: Yes. Flipping halfway—around 4–5 minutes—promotes even cooking and browning on both sides.
Q: Is breading necessary? A: No. This method intentionally skips breading to keep things simple and reduce prep. The tenders still brown and stay juicy when cooked at 380°F with a light oil coating.
Q: How do I know when they’re done? A: An instant-read thermometer should read 165°F in the thickest part of the tender. Time is a guide; temperature is the authority.
Final Bite
This recipe is about making a dependable, everyday chicken that doesn’t demand specialty ingredients or complicated steps. Stick to the simple formula—1 pound of tenders, 2 teaspoons of oil, and seasoning salt—follow the short air-fry schedule, and you’ll have a quick, satisfying protein ready for weeknights, lunches, or meal prep. Small touches (evenly coated oil, single-layer spacing, and a quick rest) make a big difference. Try it once exactly as written; you’ll know what to tweak next time.

Air-Fryer Chicken Tenders, No Breading
Ingredients
Ingredients
- 1 poundchicken tenders
- 2 teaspoonsolive oil
- Seasoning salt
Instructions
Instructions
- Preheat the air fryer to 380°F.
- Put 1 pound chicken tenders in a bowl, add 2 teaspoons olive oil, and toss until each tender is evenly coated.
- Sprinkle seasoning salt over the oiled tenders to your preference.
- Arrange the tenders in a single layer in the air fryer basket (do not overcrowd; cook in batches if needed).
- Air-fry for 8–10 minutes total, flipping the tenders halfway through (about 4–5 minutes). Cook until an instant-read thermometer inserted into the thickest part of a tender reads 165°F.
- Let the tenders rest 1–2 minutes, then serve.
Equipment
- Air Fryer
- Mixing Bowl
- Instant-read thermometer