
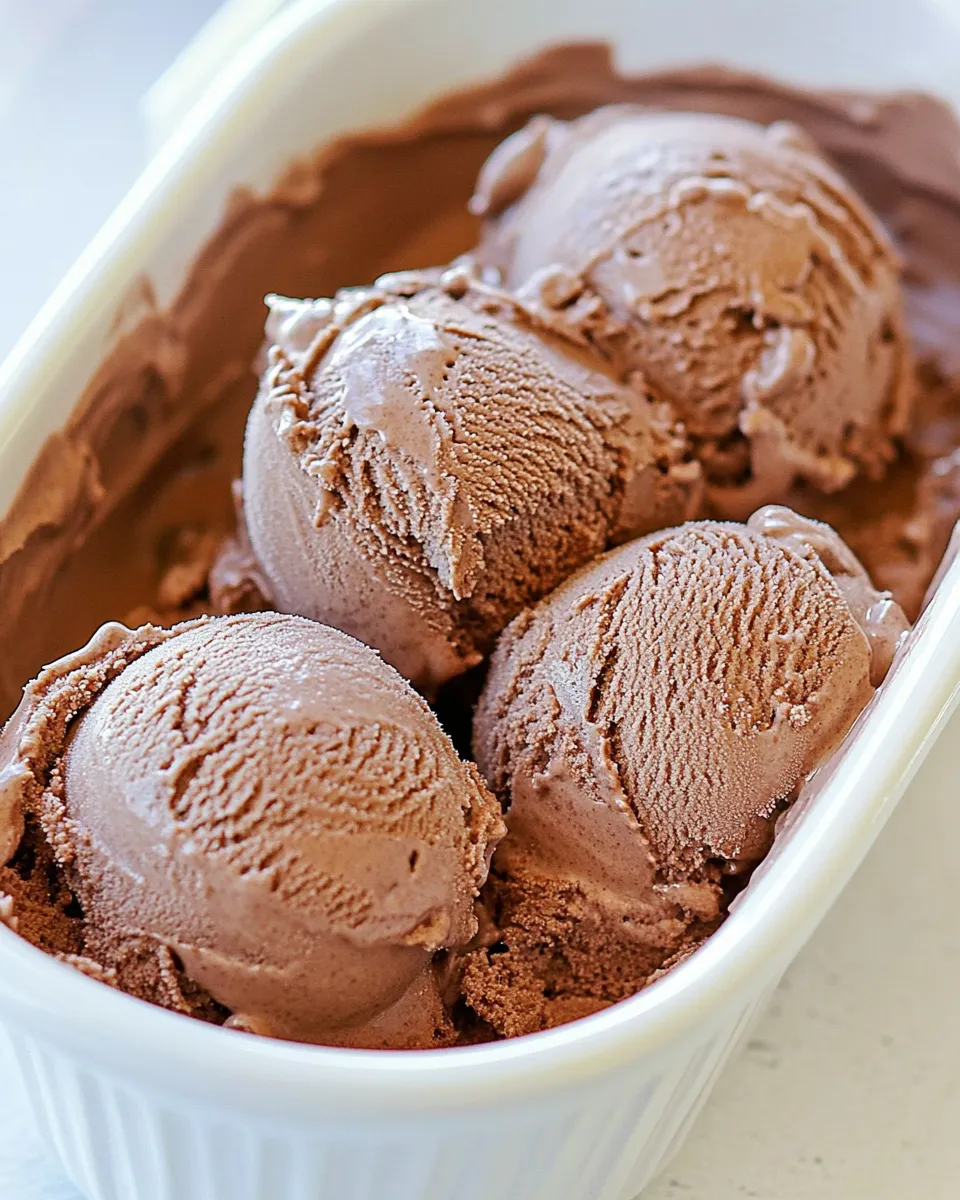
There’s something magical about enjoying a scoop of rich chocolate ice cream that transports you back to childhood summers. Today, we’re diving into an easy copycat version of the beloved Ben and Jerrys Chocolate Ice Cream Recipe (Easy Copycat). With just a handful of ingredients and a bit of patience, you can whip up this creamy delight in your very own kitchen. So, grab your ice cream maker, and let’s get started!
The Upside of Ben and Jerrys Chocolate Ice Cream Recipe (Easy Copycat)
Why go for a store-bought pint when you can create your own creamy goodness at home? This Ben and Jerrys Chocolate Ice Cream Recipe (Easy Copycat) not only saves you a trip to the grocery store but also allows you to customize the taste to your liking. Plus, there’s an undeniable satisfaction that comes from making your own ice cream. You’ll know exactly what goes into it, and you can indulge in the rich, velvety flavor without the guilt of unknown additives. Each scoop is a moment of pure bliss, bringing smiles to faces young and old.
Ingredient Breakdown
To create the magic of Ben and Jerrys Chocolate Ice Cream Recipe (Easy Copycat), you’ll need the following ingredients:
- 4 ounces unsweetened chocolate: The star of the show, providing that deep chocolate flavor.
- 1 cup milk: Adds creaminess and helps to create the perfect base.
- 2 large eggs: For richness and to help emulsify the mixture.
- 1 cup sugar: Sweetens the deal and balances the bitterness of the chocolate.
- 1 cup heavy cream: Ensures a luxurious texture that melts in your mouth.
- 1 teaspoon vanilla: Enhances the overall flavor profile.
- 1 pinch salt: Elevates the flavors and balances the sweetness.
Tools of the Trade
Having the right tools can make your ice cream-making experience a breeze. Here are the essential items you’ll need:
- Ice Cream Maker: A must-have for achieving that creamy texture.
- Double Boiler or Microwave Safe Bowl: For melting the chocolate gently.
- Mixing Bowls: To combine the ingredients seamlessly.
- Whisk: To ensure everything is well-blended.
- Spatula: Perfect for scraping down the sides of bowls and ensuring no chocolate is left behind!
Ben and Jerrys Chocolate Ice Cream Recipe (Easy Copycat): How It’s Done
Creating your own chocolate ice cream is easier than you think! Just follow these simple steps:
Step 1: Melt the Chocolate
Begin by chopping your 4 ounces of unsweetened chocolate. Place it in a double boiler or a microwave-safe bowl. If using a microwave, heat it in short bursts, stirring in between, until fully melted and smooth. Set aside to cool slightly.
Step 2: Prepare the Base
In a mixing bowl, whisk together the 2 large eggs and 1 cup of sugar until the mixture is light and fluffy. This step is crucial for incorporating air into the ice cream, giving it that delightful texture.
Step 3: Combine Milk and Chocolate
Slowly add the 1 cup of milk to the egg mixture while whisking continuously. After that, pour in the melted chocolate and mix until everything is well combined.
Step 4: Heat the Mixture
Transfer the mixture to a saucepan over medium heat. Stir continuously until the mixture thickens slightly and coats the back of a spoon. This usually takes about 5-7 minutes. Be careful not to let it boil.
Step 5: Add Cream and Flavor
Once thickened, remove the saucepan from the heat and stir in the 1 cup of heavy cream, 1 teaspoon of vanilla, and a pinch of salt. Allow the mixture to cool to room temperature.
Step 6: Chill the Mixture
Refrigerate the mixture for at least 2 hours or overnight. Chilling is essential for the best texture.
Step 7: Churn the Ice Cream
Once chilled, pour the mixture into your ice cream maker and churn according to the manufacturer’s instructions. This typically takes about 20-25 minutes.
Step 8: Freeze and Enjoy
Transfer the churned ice cream to an airtight container and freeze for at least 4 hours. Once it’s firm, scoop and serve! Enjoy your homemade version of Ben and Jerrys Chocolate Ice Cream Recipe (Easy Copycat).
Health-Conscious Tweaks
If you’re looking to lighten up this ice cream recipe without sacrificing flavor, consider these tweaks:
- Reduce Sugar: You can cut back on sugar without affecting the taste drastically.
- Use Almond Milk: Swap out regular milk for almond or oat milk for a dairy-free option.
- Dark Chocolate: Opt for dark chocolate for added antioxidants and a richer flavor.
- Greek Yogurt: Substitute some of the heavy cream with Greek yogurt for a tangy twist.
Problems & Prevention
Making ice cream is generally straightforward, but here are some common problems and how to avoid them:
- Ice Crystals: Ensure your mixture is well-chilled before churning to prevent ice crystals from forming.
- Too Hard to Scoop: Allow the ice cream to sit at room temperature for a few minutes before scooping.
- Separation: If your mixture separates, whisk it vigorously before churning.
Store, Freeze & Reheat
To keep your homemade ice cream fresh and delicious:
- Storage: Use an airtight container to minimize exposure to air and prevent freezer burn.
- Freezing: Ice cream can be stored in the freezer for up to 2 months. Just be sure it’s well sealed.
- Reheating: If the ice cream becomes too hard, let it sit at room temperature for about 10 minutes before serving.
Ben and Jerrys Chocolate Ice Cream Recipe (Easy Copycat) Q&A
Can I use chocolate syrup instead of unsweetened chocolate?
While you can use chocolate syrup, it may alter the sweetness and texture of the ice cream. Unsweetened chocolate gives a more intense flavor.
How can I make this recipe without an ice cream maker?
You can pour the mixture into a shallow container and freeze it, stirring every 30 minutes for the first 2-3 hours to break up the ice crystals.
Can I add mix-ins like nuts or chocolate chips?
Absolutely! Fold in your favorite mix-ins during the last few minutes of churning for added texture and flavor.
What’s the best way to serve this ice cream?
Serve it in a chilled bowl or cone, and consider pairing it with Edible Chocolate Chip Cookie Dough for a delicious dessert mashup!
If you loved making this ice cream, here are some delightful recipes to try next:
Let’s Eat
Indulging in a bowl of homemade chocolate ice cream is one of life’s simple joys. With this Ben and Jerrys Chocolate Ice Cream Recipe (Easy Copycat), you can satisfy your sweet tooth while enjoying the process of making it yourself. Gather your ingredients, follow the steps, and get ready to dive into a world of creamy, chocolatey bliss. Happy churning!
Ben and Jerrys Chocolate Ice Cream Recipe (Easy Copycat)
Ingredients
Ingredients:
- 4 ounces unsweetened chocolate chopped
- 1 cup milk
- 2 large eggs
- 1 cup sugar
- 1 cup heavy cream
- 1 teaspoon vanilla
- 1 pinch salt
Instructions
Instructions:
- Begin by chopping your 4 ounces of unsweetened chocolate. Place it in a double boiler or a microwave-safe bowl. If using a microwave, heat it in short bursts, stirring in between, until fully melted and smooth. Set aside to cool slightly.
- In a mixing bowl, whisk together the 2 large eggs and 1 cup of sugar until the mixture is light and fluffy.
- Slowly add the 1 cup of milk to the egg mixture while whisking continuously. After that, pour in the melted chocolate and mix until everything is well combined.
- Transfer the mixture to a saucepan over medium heat. Stir continuously until the mixture thickens slightly and coats the back of a spoon, about 5-7 minutes.
- Once thickened, remove the saucepan from the heat and stir in the 1 cup of heavy cream, 1 teaspoon of vanilla, and a pinch of salt. Allow the mixture to cool to room temperature.
- Refrigerate the mixture for at least 2 hours or overnight.
- Once chilled, pour the mixture into your ice cream maker and churn according to the manufacturer’s instructions, about 20-25 minutes.
- Transfer the churned ice cream to an airtight container and freeze for at least 4 hours. Scoop and serve!
Equipment
- Ice Cream Maker
- Double boiler or microwave-safe bowl
- Mixing bowls
- Whisk
- Spatula
Notes
- For a lighter version, consider using almond milk instead of regular milk.
- Try adding mix-ins like nuts or chocolate chips during the last few minutes of churning.
- Store in an airtight container to prevent freezer burn.


