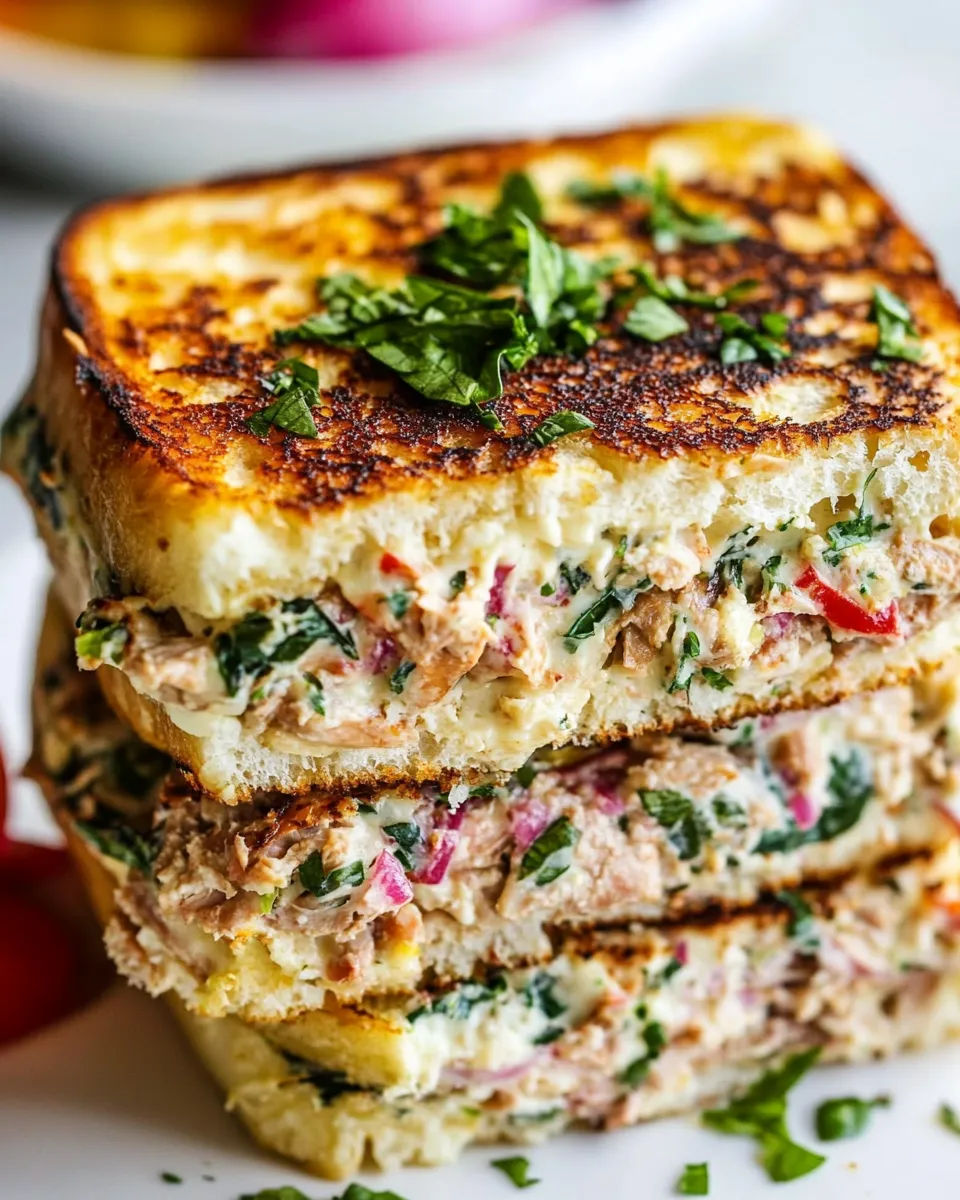
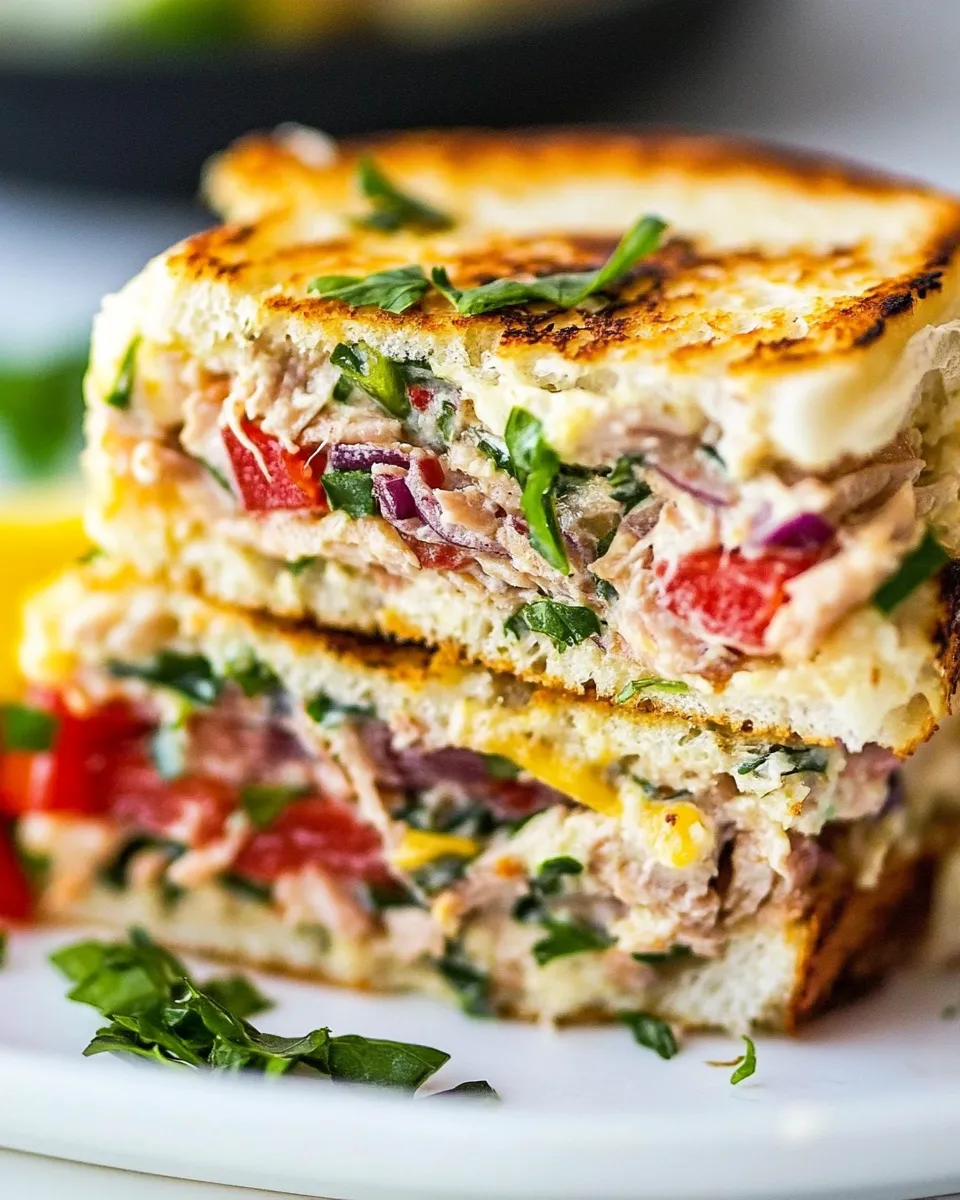
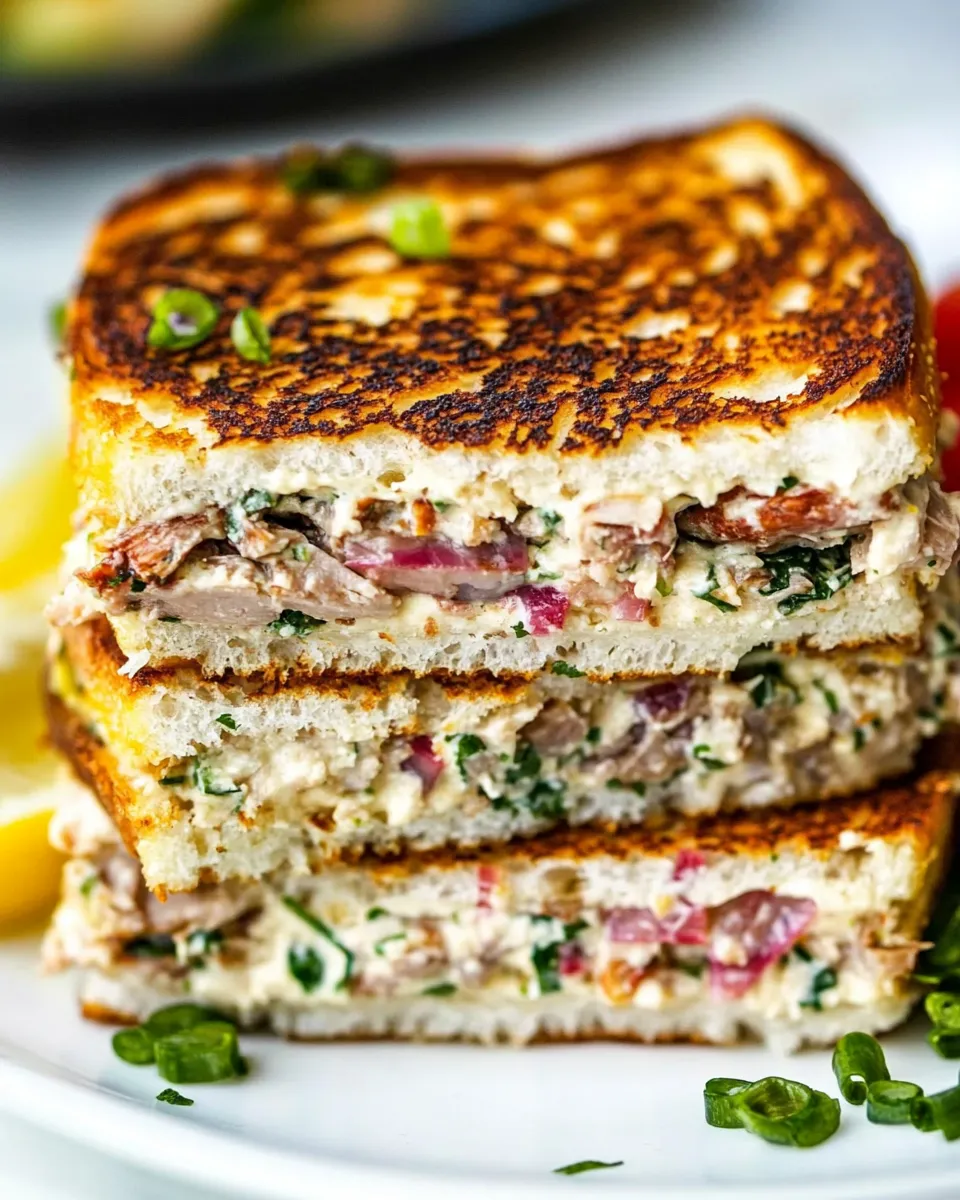
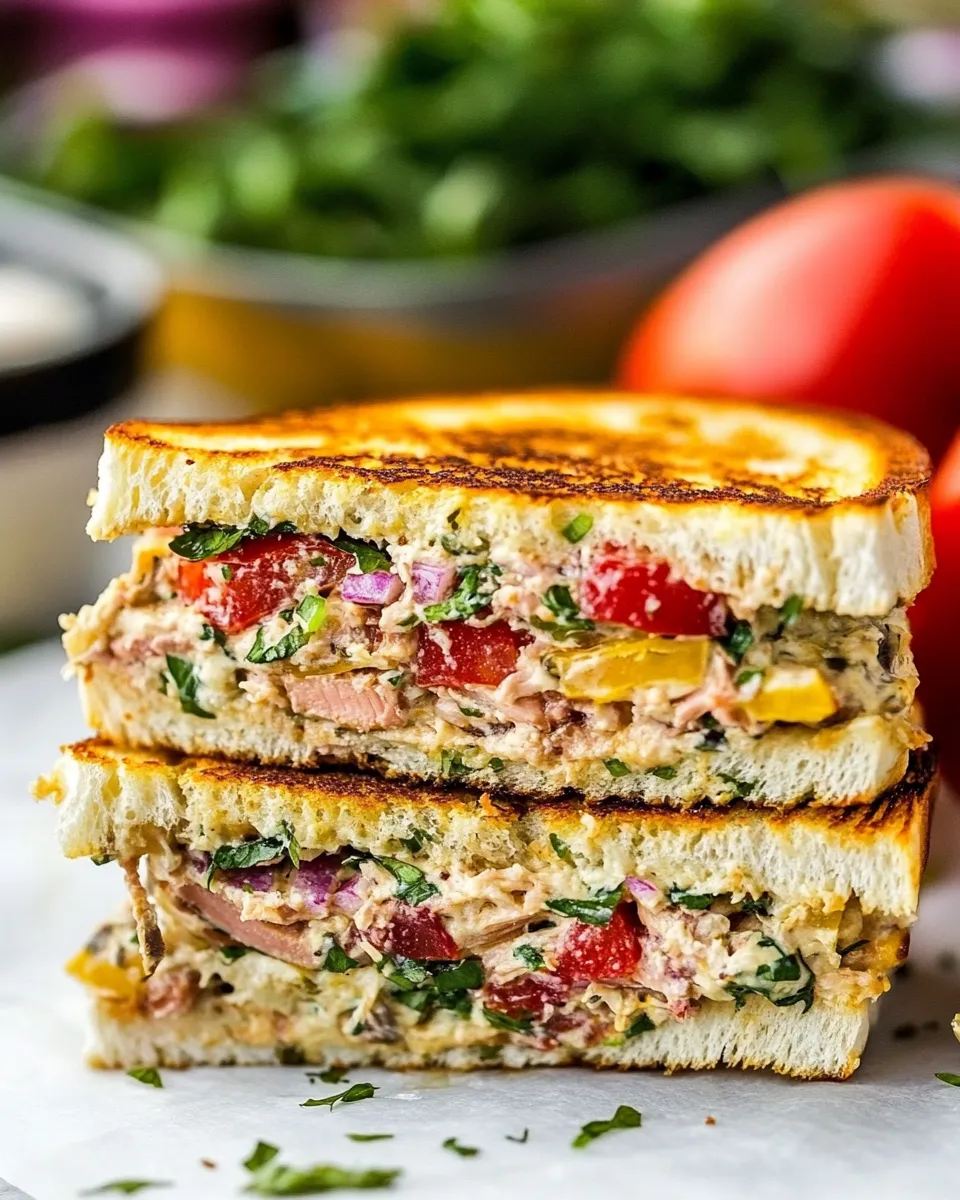
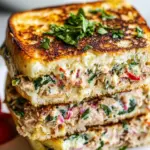
I make tuna melts a lot—enough to know which details matter and which are fuss. This version is straightforward: stable tuna salad, sharp cheddar, ripe tomato, good bread and plenty of butter for a crisp, golden crust. It’s the kind of sandwich that’s quick enough for lunch but satisfying enough to calm a busy evening.
There’s no single trick that makes it “best”—it’s the combination of reasonable ingredients, careful assembly and controlled heat. Follow the steps and you’ll get consistent results: a juicy interior, melty cheese and a toasty exterior that holds together when you bite in.
The recipe assumes you already have a prepared tuna salad (the directions call for 4 cups). If you don’t, make or buy a tuna salad you like, keep it firm rather than runny, and proceed. The sandwich builds quickly once the components are ready.
What Goes Into Ever Tuna Melt
Ingredients
- 4 cups tuna salad (click for recipe) — the filling; use a recipe that’s not too watery so sandwiches don’t get soggy.
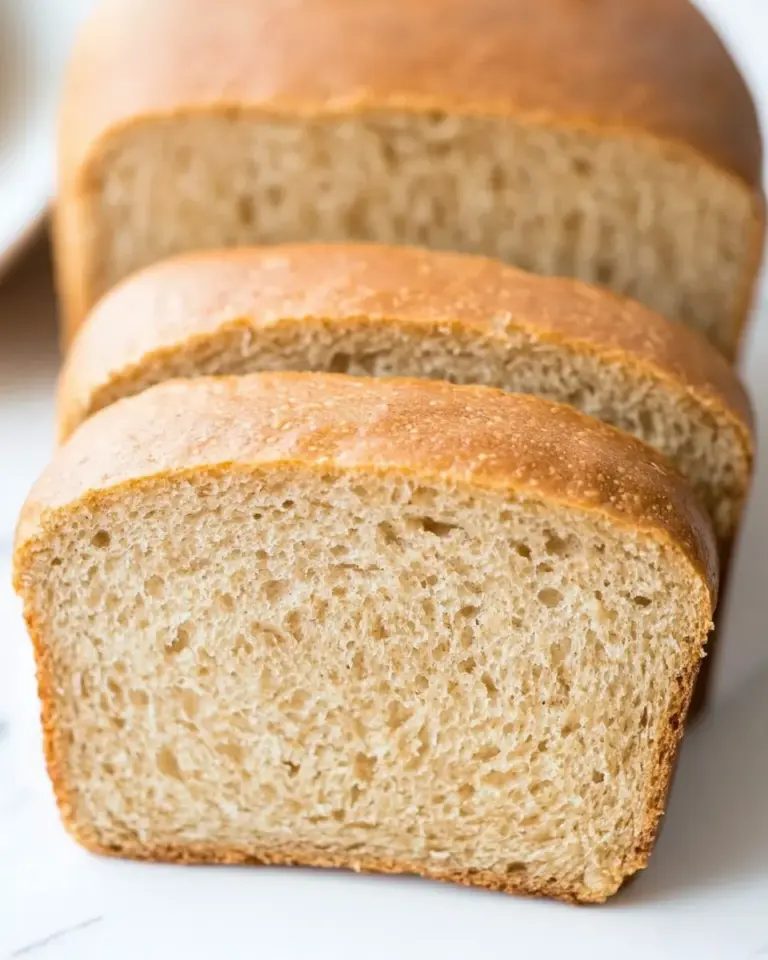
- 8 slices sourdough bread, ¼” thick, or croissant bread — sturdy slices toast well; croissant gives a richer, flakier result.
- 8 slices cheddar cheese — sharp cheddar melts well and balances the tuna’s richness.
- 3 tomatoes, sliced — ripe but firm tomatoes provide acidity and moisture; slice evenly.
- Kosher salt and freshly ground black pepper — to season the tomato and bring the sandwich to life.
- 8 tablespoons unsalted butter, softened — for pan-browning; softened butter spreads evenly and browns without burning.
The Method for Ever Tuna Melt
- Prepare 4 cups tuna salad according to the linked recipe so you have 4 cups ready.
- Slice the 3 tomatoes and set the slices aside.
- Lay out the 8 slices of sourdough (or croissant) bread. Assemble 4 sandwiches as follows for each sandwich: place 1 slice of bread, 1 slice of cheddar, 1 cup of the tuna salad (divide the 4 cups evenly), a few tomato slices (divide the sliced tomatoes among the 4 sandwiches), a pinch of kosher salt and freshly ground black pepper on the tomato, another slice of cheddar, and top with the second slice of bread.
- Heat a medium skillet over medium-high heat. Add 2 tablespoons of the softened butter and swirl until melted.
- Carefully place two assembled sandwiches in the hot skillet. Cook until the bottoms are lightly browned, about 3 to 5 minutes.
- Use a spatula to lift each sandwich onto a cutting board and flip each sandwich over. Add 2 more tablespoons of butter to the skillet and let it melt, then return the flipped sandwiches to the skillet. Cook until the second sides are nicely browned, about 3 to 5 minutes. Remove the cooked sandwiches and keep warm.
- Repeat steps 4–6 with the remaining two sandwiches, using the remaining 4 tablespoons of butter (2 tablespoons before cooking the first side and 2 tablespoons before cooking the second side).
- Cut each sandwich in half and serve immediately.
Why This Recipe Is Reliable
This method is built around balance and control. The tuna salad provides the flavor and bulk, cheddar supplies fat and melt, tomato adds brightness, and butter on the pan gives the sandwich its defining crust. Each step minimizes variables that create a soggy or underdone sandwich:
- The tuna salad quantity (4 cups) and dividing it into 1-cup portions ensures even filling and predictable cooking.
- Placing a slice of cheese both below and above the filling creates a cheese barrier that helps bind the tuna and keeps moisture away from the bread.
- Melting butter in stages and controlling the heat prevents burned bread while guaranteeing a golden crust.
Ingredient Flex Options
This recipe is forgiving when it comes to swaps—change textures or flavors without breaking the structure.
Bread
- Sourdough is recommended for structure. If you prefer softer bread, use thicker-cut sandwich bread and reduce frying time slightly to avoid over-browning.
- Croissant makes the sandwich richer and flakier; be gentle when assembling to avoid crushing the layers.
Cheese
- Cheddar is the baseline for flavor and melt. Gruyère, fontina or Swiss work well if you like nuttier notes.
Tuna salad
- Stick to a tuna salad that’s creamy but not runny. If your tuna salad is very loose, drain excess liquid or add a tablespoon of breadcrumbs or extra mayo to firm it up.
- For an herb lift, fold in a tablespoon of chopped parsley or chives to the tuna salad before assembling.
Prep & Cook Tools
There’s nothing exotic required. The right pan and a good spatula make life easier.
- Medium skillet — a 10–12″ skillet lets you cook two sandwiches at once.
- Sturdy spatula — for flipping without spilling the filling.
- Cutting board and sharp knife — for slicing tomatoes and halving sandwiches cleanly.
- Butter knife or small offset spatula — to spread softened butter evenly on bread if you prefer that to melting butter in the pan.
Errors to Dodge
A few missteps are common but easy to avoid:
- Over-wet tuna salad — a watery filling soaks bread. Drain or firm the salad first.
- Too-high heat — browned quickly? Reduce to medium. You want color, not burn; 3–5 minutes per side is the guideline because of moderate heat.
- Skipping the cheese layer next to the tuna — without cheese between bread and tuna you risk soggy bread and a sandwich that falls apart.
- Assembling too early — if you assemble and sit, the bread will absorb moisture. Assemble right before cooking or keep sandwiches on a wire rack until ready.
Tailor It to Your Diet
Make these swaps to match dietary needs while preserving the method:
- Lower sodium: Use low-sodium tuna and less salt on the tomato; use unsalted butter as written and taste before adding salt.
- Dairy-free: Replace cheddar with a plant-based melting slice; use a dairy-free butter for frying. Texture will differ but the method stays identical.
- Low-carb: Swap sourdough for thick-cut, toasted low-carb bread or grilled portobello caps for a keto-style approach.
- Higher protein: Add a thin slice of cooked ham or a fried egg inside for extra protein and richness (note: these add moisture—pat them dry).
Chef’s Rationale
I layer ingredients deliberately: cheese below and above the tuna creates a protective melt that both flavors the bread and binds the filling. Cook the sandwiches two at a time because crowding a pan drops its temperature and prevents an even crust. Butter is the browning agent; using softened, measured pats gives even coverage and reduces splatter. Finally, salt and pepper on the tomato are small but essential—they make the tomato sing against the tuna and cheese.
Storing, Freezing & Reheating
Leftovers are best eaten the same day, but you can store and reheat smartly.
- Storage: Wrap cooled sandwiches loosely in foil and refrigerate up to 24 hours. Bread will soften over time; consuming within the day preserves texture.
- Freezing: I don’t recommend freezing a fully assembled sandwich—the tomato and tuna both suffer. If you must, remove the tomato, freeze the sandwich in foil for up to 1 month, then add fresh tomato after reheating.
- Reheating: Re-crisp in a skillet over medium heat, covering briefly to help cheese remelt. An oven at 350°F (175°C) wrapped in foil for 10–12 minutes works if you want to reheat multiple sandwiches evenly.
Quick Questions
Q: Can I use canned tuna straight from the can?
A: Yes, if you mix it into a tuna salad first and adjust moisture so it’s not loose. The recipe expects 4 cups of prepared tuna salad.
Q: How do I prevent the bread from getting greasy?
A: Use softened butter sparingly and distribute it evenly. Browning in stages (as the method directs) uses the butter efficiently; you’ll get flavor without saturation.
Q: Can I make smaller or larger sandwiches?
A: Yes—scale the tuna salad portions evenly. Keep the cheese-to-tuna ratio similar so melt and structure remain balanced.
That’s a Wrap
Follow the steps and you’ll end up with a reliable, satisfying tuna melt: crisp, cheesy and balanced. Pay attention to the tuna salad texture, anchor the filling with cheese, control your heat, and time the butter additions. That’s the simple, repeatable formula behind the “best-ever” claim.
Make a batch, invite someone over, or enjoy solo with a quick salad. This sandwich rewards little care with a lot of comfort—exactly what a good tuna melt should do.
Best-Ever Tuna Melt
Ingredients
Ingredients
- 4 cupstuna saladclick for recipe
- 8 slicessourdough bread1/4" thick or croissant bread
- 8 slicescheddar cheese
- 3 tomatoessliced
- Kosher salt and freshly ground black pepper
- 8 tablespoonunsalted buttersoftened
Instructions
Instructions
- Prepare 4 cups tuna salad according to the linked recipe so you have 4 cups ready.
- Slice the 3 tomatoes and set the slices aside.
- Lay out the 8 slices of sourdough (or croissant) bread. Assemble 4 sandwiches as follows for each sandwich: place 1 slice of bread, 1 slice of cheddar, 1 cup of the tuna salad (divide the 4 cups evenly), a few tomato slices (divide the sliced tomatoes among the 4 sandwiches), a pinch of kosher salt and freshly ground black pepper on the tomato, another slice of cheddar, and top with the second slice of bread.
- Heat a medium skillet over medium-high heat. Add 2 tablespoons of the softened butter and swirl until melted.
- Carefully place two assembled sandwiches in the hot skillet. Cook until the bottoms are lightly browned, about 3 to 5 minutes.
- Use a spatula to lift each sandwich onto a cutting board and flip each sandwich over. Add 2 more tablespoons of butter to the skillet and let it melt, then return the flipped sandwiches to the skillet. Cook until the second sides are nicely browned, about 3 to 5 minutes. Remove the cooked sandwiches and keep warm.
- Repeat steps 4–6 with the remaining two sandwiches, using the remaining 4 tablespoons of butter (2 tablespoons before cooking the first side and 2 tablespoons before cooking the second side).
- Cut each sandwich in half and serve immediately.
Equipment
- ▢1 large skillet (12")preferably non-stick
Notes
See the video near the top of the blog post for visual guidance. If you liked the video, please
subscribe to our YouTube channel
.
The tuna salad can be made up to 3 days in advance. The recipe can be doubled or tripled, easily. The salad can be frozen for up to 2 months.