
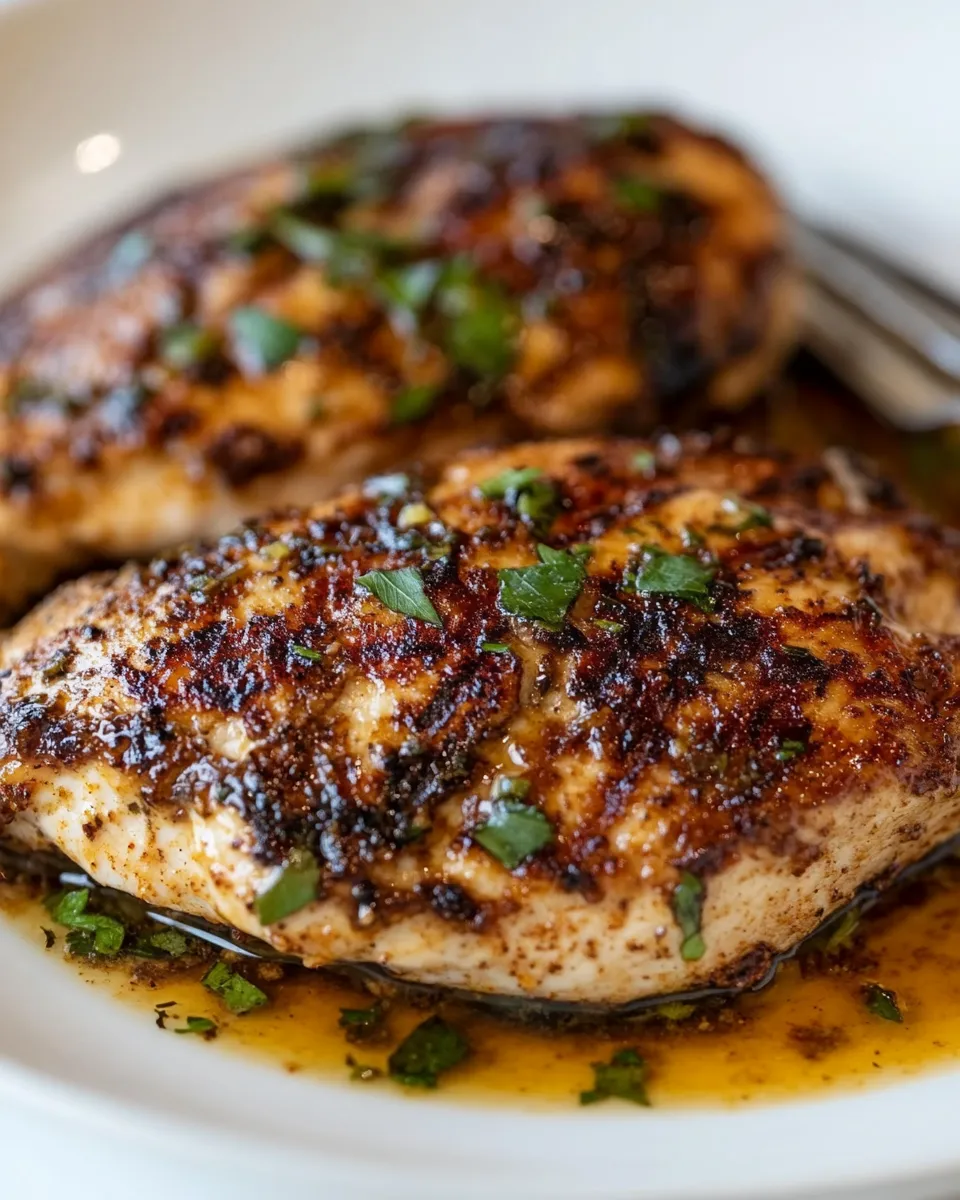
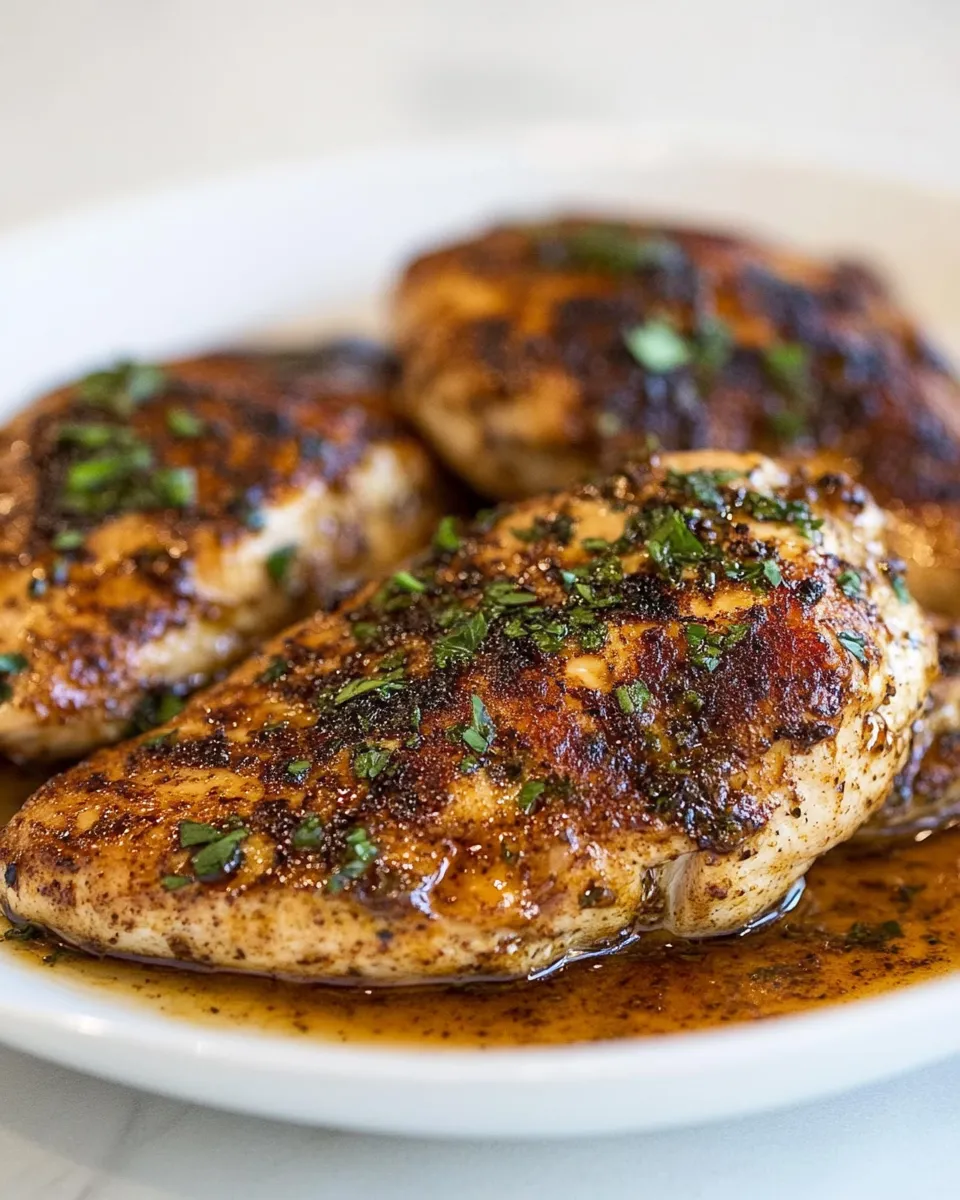
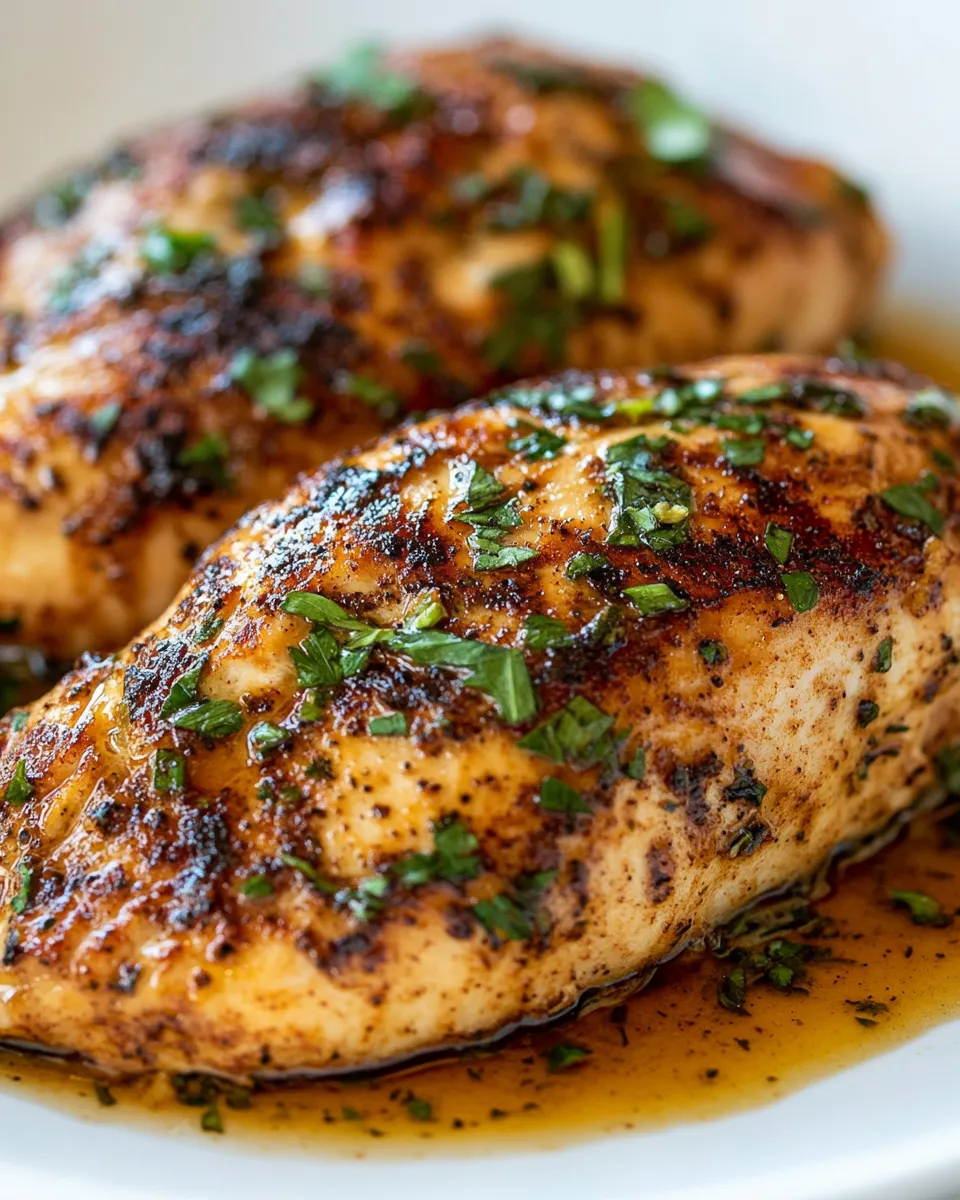
Blackened chicken is one of those midweek wins that still feels a little celebratory. It takes handfuls of pantry spices, a quick sear in a hot skillet and a short finish in the oven to deliver juicy chicken with a dark, flavorful crust. No complicated marinades. No long waits. Just good technique and bold seasoning.
I learned this method by simplifying restaurant cooks’ approaches: high heat to build color, butter to help the rub cling, and a brief oven finish to ensure even doneness without over-charring. It’s fast, forgiving, and the seasoning mix is an easy riff you’ll reach for again and again.
Below I give you the exact ingredient list and step-by-step process I use in the kitchen. I’ll also share why it works, what gear makes it easier, and the traps to avoid so your chicken is always juicy under that dark, fragrant crust.
Ingredients at a Glance
- 3 large chicken breasts — boneless and skinless; slice into 6 thin cutlets and pound to even thickness for fast, even cooking.
- 1 tablespoon smoked paprika (or regular) — the base of the rub; smoked adds depth, regular works fine.
- 1½ teaspoons garlic powder — adds savory backbone to the seasoning.
- 1½ teaspoons onion powder — rounds and sweetens the spice mix.
- ½ teaspoon dried thyme — brings a subtle herb note.
- ½ teaspoon dried oregano — adds earthy balance.
- ½ teaspoon ground white pepper — sharp, clean heat that’s visually subtle.
- ½ teaspoon ground black pepper — classic pepper bite.
- ½ teaspoon cayenne powder — the primary source of kick; small but effective.
- 1 teaspoon salt — seasons everything; don’t skip.
- ½ stick (57 g) unsalted butter, melted — used to help spices adhere and to promote a nicely seared crust.
Blackened Chicken: How It’s Done
- Preheat the oven to 350°F (180°C). Line a sheet pan with foil or parchment. Place a cast-iron skillet on the stove and begin heating it over medium-high while you prep the chicken.
- Slice the 3 large chicken breasts lengthwise into 6 thin cutlets. Pound each cutlet to an even thickness.
- In a small bowl, combine 1 tablespoon smoked paprika (or regular), 1½ teaspoons garlic powder, 1½ teaspoons onion powder, ½ teaspoon dried thyme, ½ teaspoon dried oregano, ½ teaspoon ground white pepper, ½ teaspoon ground black pepper, ½ teaspoon cayenne powder, and 1 teaspoon salt. Stir to mix.
- Pour the melted unsalted butter (½ stick / 57 g) into a small bowl. Using a pastry brush, brush both sides of each cutlet with the melted butter. Then season both sides of each cutlet evenly with the prepared spice mix.
- When the cast-iron skillet is hot (heated over medium-high), add some of the reserved melted butter to the skillet. Work in 2 batches to avoid crowding: sear 3 cutlets at a time.
- Sear each cutlet about 1 minute per side, until well-browned but not completely burned. Flip once with tongs.
- After searing each batch, transfer the cutlets to the prepared sheet pan.
- Bake the seared cutlets in the preheated oven for about 10 minutes, or until an instant-read thermometer inserted into the thickest part registers 165°F (74°C).
- Remove the chicken from the oven and let it rest 5–10 minutes before slicing and serving.
Why You’ll Keep Making It
This method gives you intense flavor with almost no hands-on time. The high-heat sear develops that dark, fragrant crust we expect from “blackened” dishes while the oven finishes the cook gently so the interior stays moist. You get contrast: crunchy exterior, tender interior. It’s fast enough for weeknights and bold enough to impress company.
Also, the spice blend is compact and pantry-friendly. You don’t need fresh herbs or long marinating times. The technique scales easily—double the batch, work in more skillet cycles—and the results are consistent. Once you learn how the heat, butter, and timing work together, you’ll make it again and again.
Ingredient Flex Options
There’s little that needs changing, but a few small adjustments keep this recipe flexible without adding new items to the list. If you don’t have smoked paprika, the recipe already allows regular paprika—the flavor will be a touch brighter and less smoky. If you prefer less heat, use a bit less cayenne; if you like it spicier, leave the cayenne amount as written.
If you only have whole chicken breasts and can’t slice them cleanly, score them into even fillets and pound through plastic to the same thickness. The technique—even thickness, butter to help spices adhere, a hot skillet, then a brief oven finish—remains the same and is what matters most.
What You’ll Need (Gear)

- Cast-iron skillet — holds and delivers high, even heat for great searing.
- Sheet pan lined with foil or parchment — makes clean-up easy and catches juices for oven finishing.
- Instant-read thermometer — the reliable way to hit 165°F (74°C) without guesswork.
- Meat mallet or rolling pin — for pounding cutlets to even thickness.
- Pastry brush — to apply the melted butter evenly.
- Tongs — for quick, safe flipping during the sear.
- Small mixing bowl and measuring spoons — for mixing the spice rub to the right proportions.
Avoid These Traps
Trap: Crowd the pan. If you add too many cutlets at once the skillet temperature will drop, and you’ll end up steaming rather than searing. Work in two batches as directed. Trap: Over-char at the expense of doneness. The rub will darken quickly; aim for a deep brown rather than blackened-burned. Trap: Skip resting. Cutting too soon releases juices and dries the meat—give it 5–10 minutes off the heat.
Trap: Use cold chicken. Let cutlets rest a few minutes after pounding so they’re closer to room temperature; they’ll sear more predictably. Finally, don’t skip the thermometer. Appearance can lie with dark crusts; the only sure sign is an internal 165°F (74°C).
In-Season Swaps
This chicken plays well across seasons because it’s principally about technique and spice. In warmer months, keep the meal light: pair the chicken with simply dressed greens or a grilled vegetable platter. In cooler months, finish the plate with heartier elements—roasted root vegetables or a warm grain salad—to balance the bold crust.
Think in terms of textures and weights rather than specific ingredients: choose bright, acidic or crisp sides for contrast in spring and summer; richer, cozy sides in fall and winter. The blackened exterior cuts through richness and lifts lighter accompaniments equally well.
Pro Perspective
Two small things that make a big difference: first, the butter. Brushing both sides with melted unsalted butter gives the rub something to cling to and promotes a better sear than dry rubs alone. Second, temperature control. Heat the skillet until it’s hot but not smoking; medium-high is the sweet spot. If the pan smokes excessively, reduce the heat a hair; you want color fast, not an acrid burned flavor.
Also, pay attention to pound thickness. Even thickness equals even doneness. If one cutlet is thicker, it will require more oven time and the thinner ones will overcook. The oven finish is there to bring the interior to temperature without further darkening the exterior.
Refrigerate, Freeze, Reheat
Store cooled cooked cutlets in an airtight container in the refrigerator for up to 3–4 days. Reheat gently to preserve juiciness: warm in a 300°F oven for 8–10 minutes or until heated through, covered lightly with foil to prevent further browning.
For longer storage, freeze cooked cutlets wrapped tightly in foil and placed in a freezer-safe bag for up to 2–3 months. Thaw overnight in the refrigerator and reheat as above. Avoid high microwave heat; it will dry the chicken and soften the crust.
Quick Q&A
- Can I use bone-in chicken? — The technique here is built around thin, even cutlets. Bone-in will require longer oven time and a different approach to avoid over-charring.
- What if I don’t have a cast-iron skillet? — A heavy stainless steel pan will work, but it won’t hold heat the same way. You may need to adjust the sear time and watch for slipping heat.
- Why butter and not oil? — Butter adds flavor and helps the dry spices form a crust. Unsalted butter controls salt. If you must, a high-smoke-point oil can be used, but expect a slightly different crust and flavor.
- How can I tell if it’s done without a thermometer? — The thermometer is the safest method. Absent one, slice into the thickest part and check for clarity of juices and lack of pink; still, use a thermometer when you can.
Bring It Home
This Blackened Chicken is a dependable, bold-flavored weeknight hero. It’s built on three reliable moves: even cutlets, a tight spice mix, and the two-stage cook—fast sear in a hot pan, short finish in the oven. The result is dramatic color and concentrated flavor without dried-out meat.
Make the spice mix once, keep it in a small jar, and you’ll find yourself reaching for it not just for chicken but for quick fish fillets, shrimp, or roasted vegetables. Serve it simply sliced over a bed of greens, tucked into a sandwich, or alongside your favorite seasonal sides. It’s fast, satisfying, and exactly the kind of recipe that earns a permanent place in your rotation.
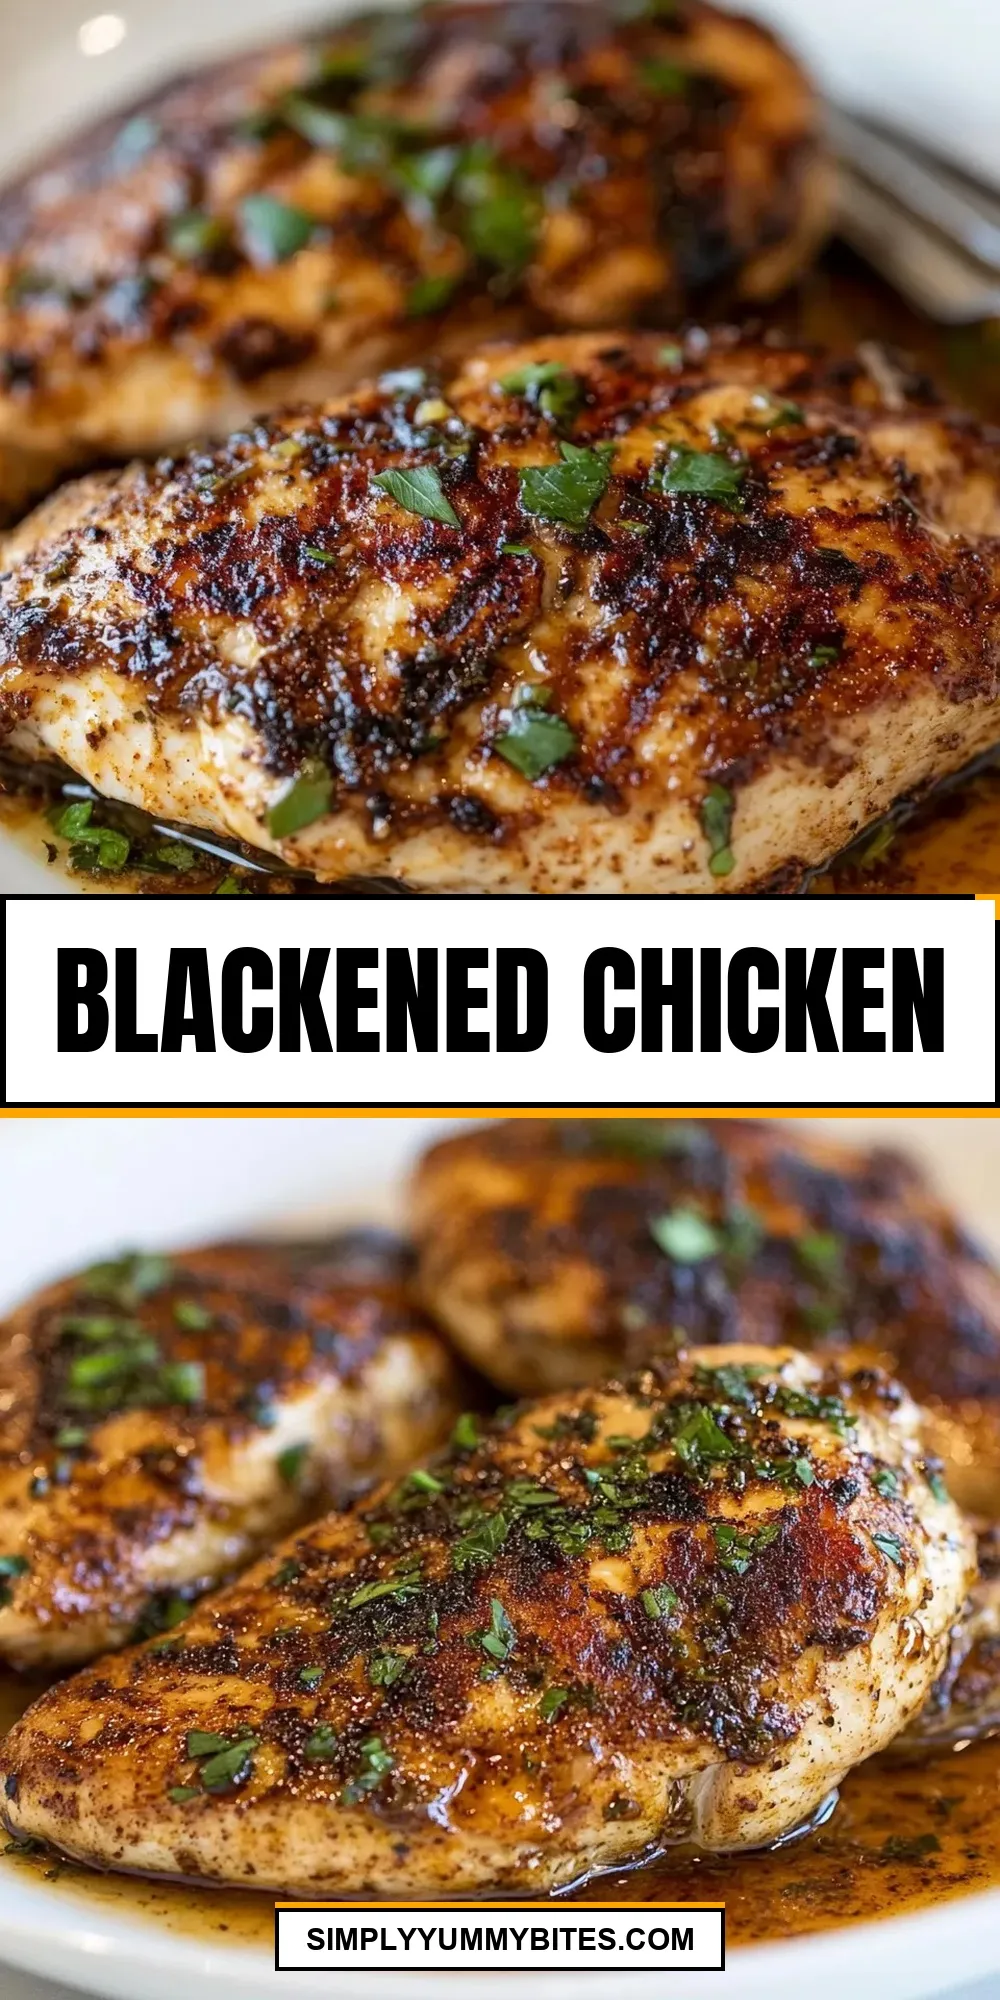
Blackened Chicken
Ingredients
Ingredients
- ?3 largechicken breastsboneless and skinless sliced into 6 thin cutlets and pounded to even thickness
- ?1 tablespoonsmoked paprikaor regular
- ?1 1/2 teaspoonsgarlic powder
- ?1 1/2 teaspoonsonion powder
- ?1/2 teaspoondried thyme
- ?1/2 teaspoondried oregano
- ?1/2 teaspoonground white pepper
- ?1/2 teaspoonground black pepper
- ?1/2 teaspooncayenne powder
- ?1 teaspoonsalt
- ?1/2 stick 57 gunsalted buttermelted
Instructions
Instructions
- Preheat the oven to 350°F (180°C). Line a sheet pan with foil or parchment. Place a cast-iron skillet on the stove and begin heating it over medium-high while you prep the chicken.
- Slice the 3 large chicken breasts lengthwise into 6 thin cutlets. Pound each cutlet to an even thickness.
- In a small bowl, combine 1 tablespoon smoked paprika (or regular), 1½ teaspoons garlic powder, 1½ teaspoons onion powder, ½ teaspoon dried thyme, ½ teaspoon dried oregano, ½ teaspoon ground white pepper, ½ teaspoon ground black pepper, ½ teaspoon cayenne powder, and 1 teaspoon salt. Stir to mix.
- Pour the melted unsalted butter (½ stick / 57 g) into a small bowl. Using a pastry brush, brush both sides of each cutlet with the melted butter. Then season both sides of each cutlet evenly with the prepared spice mix.
- When the cast-iron skillet is hot (heated over medium-high), add some of the reserved melted butter to the skillet. Work in 2 batches to avoid crowding: sear 3 cutlets at a time.
- Sear each cutlet about 1 minute per side, until well-browned but not completely burned. Flip once with tongs.
- After searing each batch, transfer the cutlets to the prepared sheet pan.
- Bake the seared cutlets in the preheated oven for about 10 minutes, or until an instant-read thermometer inserted into the thickest part registers 165°F (74°C).
- Remove the chicken from the oven and let it rest 5–10 minutes before slicing and serving.
Equipment
- Cast iron pan12 inch size
- 2 Baking sheet, half sizelined with foil.
- Kitchen tongs
- Pastry Brush
- Instant-read thermometer
Notes
Only flip the pieces once.They need to remain in place to allow the seasoning to blacken properly. If you constantly move them around, it will stick to the pan and the spices won’t sear well.
Don’t forget to open your windowsand turn on your extractor fan as there may be some smoke as the spices sizzle!
Storing:You can store blackened chicken in an airtight container in the refrigeratorfor up to 5 days.


