
I want you to have a dependable, crisp plate of boneless wings on a weeknight or for a party. This recipe is straightforward: a seasoned flour coating, a short chill to help the crust stick, deep-frying to golden-brown, and a buttery hot sauce that clings to every nugget. It’s the kind of recipe that looks fussy but behaves predictably when you follow the steps.
I test these in a small kitchen and on a busy weekend, so the notes below are practical — timing, tweaks, and what to watch for. If you’re new to deep-frying, I’ll break down the essential thermometer reads and batch sizes. If you’re a seasoned cook, there are quick reminders to keep the texture right.
What’s in the Bowl
Ingredients
- 1 cup all-purpose flour — base of the coating; gives a crisp, classic crust.
- 1 tablespoon ground paprika — adds color and mild smokiness to the breading.
- 1 teaspoon ground cayenne pepper — brings heat into the coating for balance with the sauce.
- 1½ teaspoons garlic powder — deepens savory flavor without wet marinade.
- 1 teaspoon kosher salt — seasons the coating; kosher salt dissolves cleanly when cooked.
- ½ teaspoon ground black pepper — bright note to cut through the richness.
- 1½ pounds boneless, skinless chicken breasts (cut into 2-inch nuggets) — the meat; if cutting yourself, aim for similar-sized pieces so they cook evenly.
- Vegetable oil (for frying) — neutral oil with a high smoke point; fill your pot to about 3 inches deep.
- 1 cup unsalted butter (2 sticks) — forms the sauce base; unsalted lets you control seasoning.
- ½ cup Frank’s RedHot hot sauce — the primary heat and vinegar tang in the sauce.
- 2 tablespoons brown sugar — rounds the heat with molasses notes.
- 2 tablespoons honey — adds sticky sheen and a floral sweetness.
- 2 tablespoons white vinegar — brightens and balances the butter and sugar.
- ½ tablespoon Worcestershire sauce — umami depth in the hot sauce.
- ½ teaspoon ground cayenne pepper — amps up the sauce’s heat; keep it measured for predictability.
- ½ teaspoon garlic powder — echoes the coating’s garlic for a unified flavor.
Boneless Wings in Steps
- In a large zip-top bag combine 1 cup all-purpose flour, 1 tablespoon ground paprika, 1 teaspoon ground cayenne pepper, 1½ teaspoons garlic powder, 1 teaspoon kosher salt, and ½ teaspoon ground black pepper. Seal and shake the bag until the dry ingredients are fully mixed.
- Add the chicken pieces (cut into 2-inch nuggets) to the bag in a single layer—work in small batches so pieces are not crowded. Seal the bag and shake until each piece is fully coated in the flour mixture. Remove coated pieces and place them on a parchment-lined baking sheet. Repeat until all chicken is coated.
- Place the baking sheet with the coated chicken in the refrigerator for 10–30 minutes to help the flour adhere.
- While the chicken chills, pour vegetable oil into a large stockpot or Dutch oven to a depth of about 3 inches and heat it to 360°F (use a thermometer).
- Fry the coated chicken in batches (do not overcrowd the pot) until pieces are crispy, browned, and cooked through, about 10–15 minutes per batch. Remove fried chicken with a slotted spoon and place on a paper-towel-lined plate to drain.
- When you start frying the last batch of chicken, make the sauce: in a saucepan combine 1 cup unsalted butter, ½ cup Frank’s RedHot hot sauce, 2 tablespoons brown sugar, 2 tablespoons honey, 2 tablespoons white vinegar, ½ tablespoon Worcestershire sauce, ½ teaspoon ground cayenne pepper, and ½ teaspoon garlic powder. Heat over medium-high until the butter melts and the mixture begins to bubble, then reduce heat to low and simmer, whisking often, for 10–15 minutes.
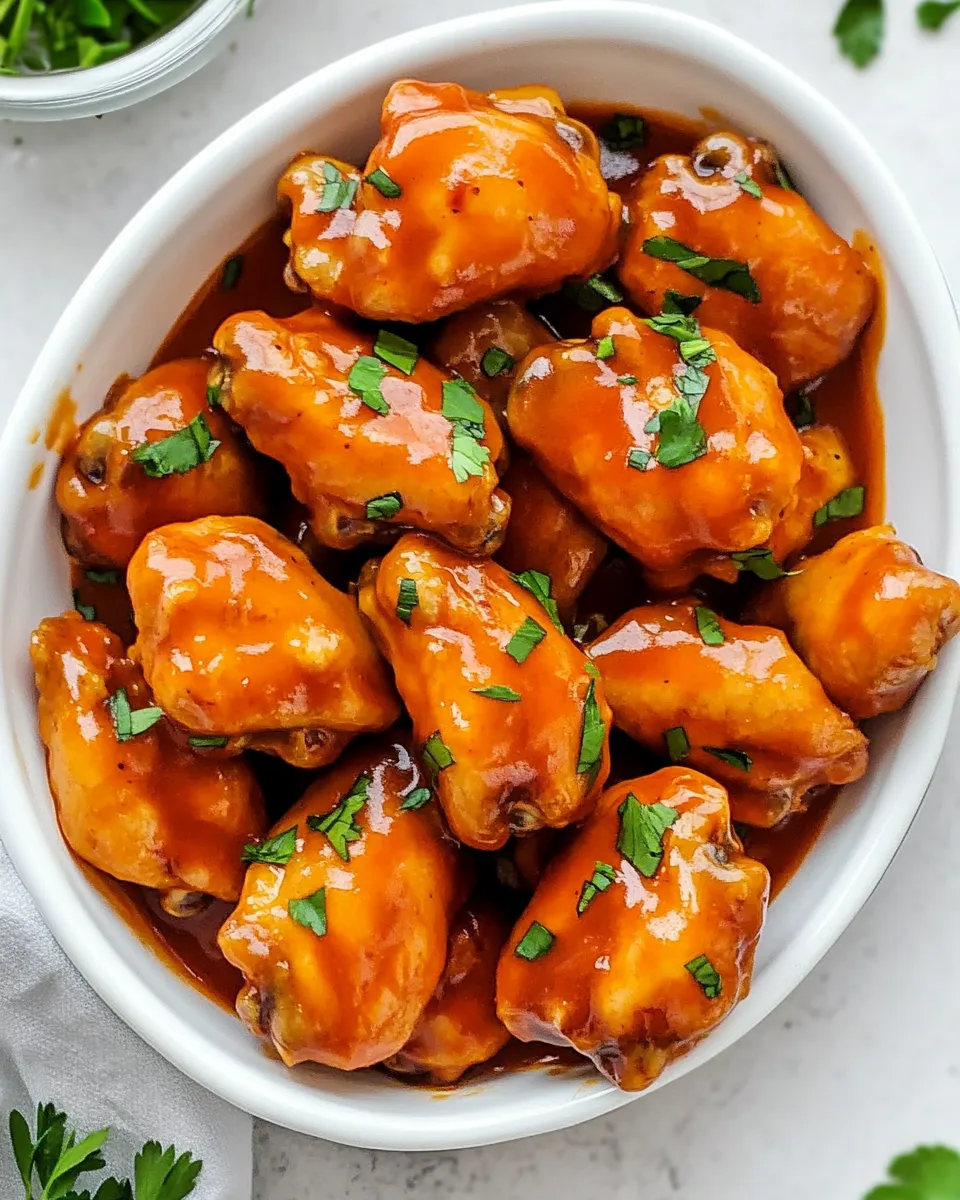
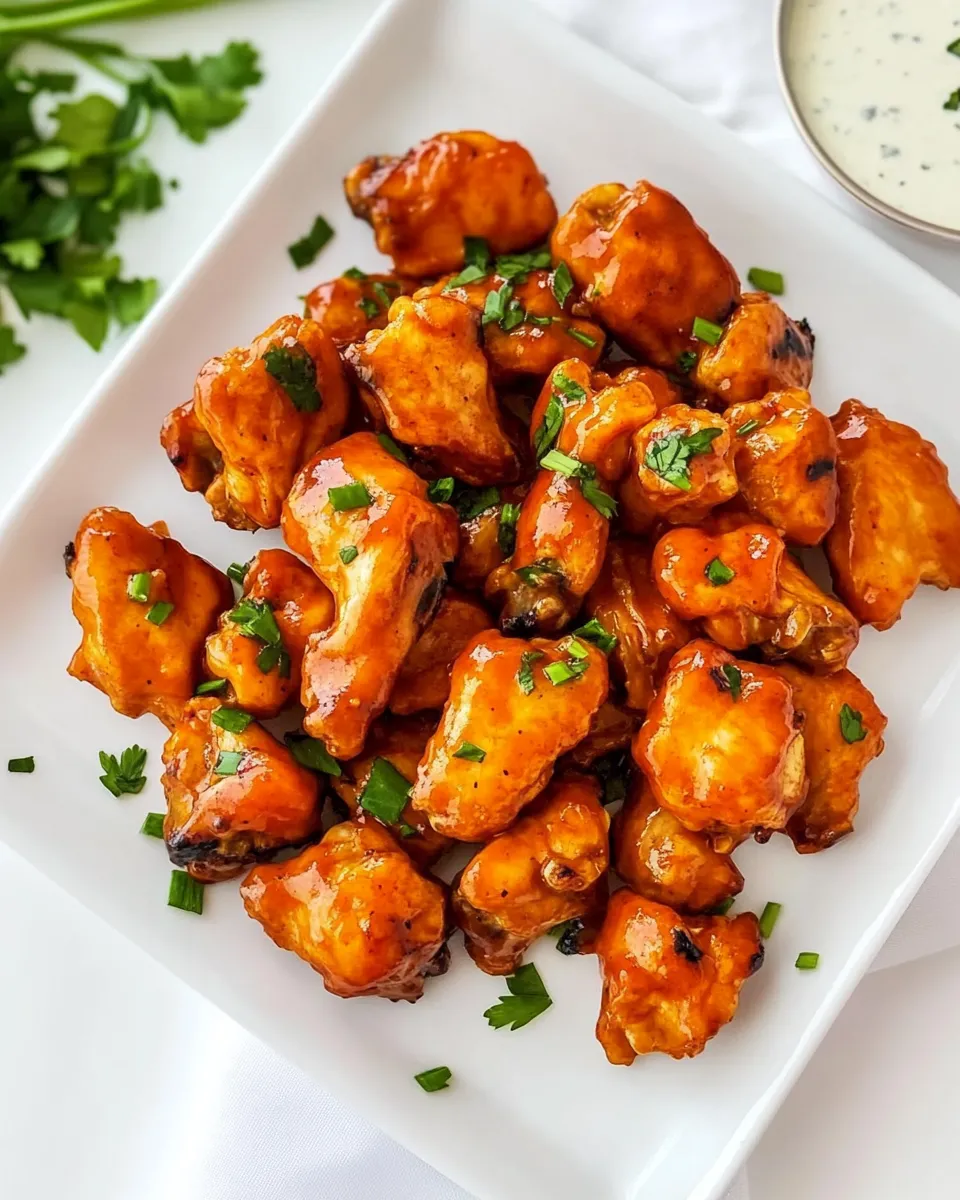
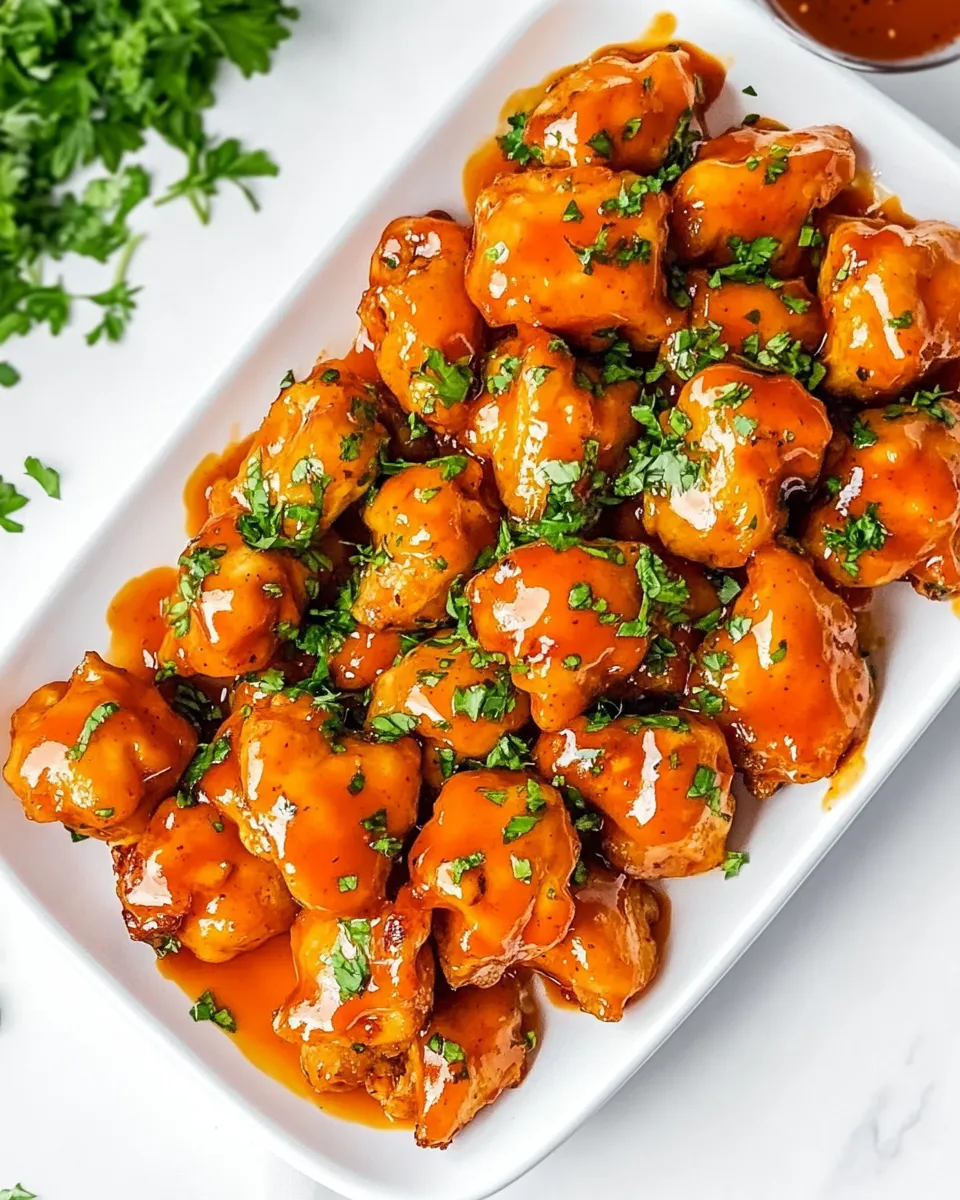
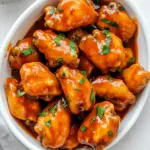
- When all chicken is fried and drained, place the pieces in a large bowl, pour the hot sauce over them, and toss thoroughly to coat. Serve immediately.
What Makes This Recipe Special
Two things: an uncomplicated dry coating that crisps reliably, and a hot-butter sauce that clings without sliding off. The chill step (10–30 minutes) is simple but key — it firms the flour, so the crust doesn’t slough off when it hits hot oil. The sauce simmers long enough to marry butter and hot sauce, giving a glossy, clingy finish that balances sweet, tangy, and spicy notes.
This recipe also scales well. The technique translates whether you’re feeding two or twenty: keep the chicken pieces uniform and don’t crowd the pot. Small adjustments — like using a thermometer and timed sauce simmer — remove guesswork and produce consistent results.
Texture-Safe Substitutions
If someone needs a gentler texture or a different mouthfeel, here are swap options that keep the intended crunch and sauce interaction without changing the recipe’s spirit.
- Coating texture — If you prefer a lighter crust, replace up to 1/4 cup of the all-purpose flour with cornstarch (use the original amount measures). Cornstarch crisps quickly and gives a thinner shell.
- Chicken cut — For a juicier bite, use boneless, skinless thigh meat instead of breasts. Thighs are slightly more forgiving and stay moist during the 10–15 minute fry.
- Oil choice — Any neutral, high-smoke-point oil works. The recipe calls for vegetable oil; sunflower or peanut oil perform similarly and handle repeated batches well.
Prep & Cook Tools
- Large zip-top bag — for even, low-mess coating.
- Parchment-lined baking sheet — holds coated pieces and makes clean-up easier.
- Refrigerator space — a brief chill is essential; free up a shelf for the tray.
- Heavy-bottomed stockpot or Dutch oven — holds oil steady and distributes heat evenly.
- Deep-fry thermometer — a must; the recipe specifies 360°F for the oil.
- Slotted spoon or spider skimmer — for removing finished pieces without excess oil.
- Paper towels and a plate — for draining in batches.
- Medium saucepan and whisk — for finishing the sauce to a smooth, glossy consistency.
- Large mixing bowl — for tossing the fried chicken with sauce so every piece is evenly coated.
Watch Outs & How to Fix
Deep-frying and a butter-based sauce both have small failure modes. Here’s what to watch for and quick fixes.
- Oil too hot (splashing or browning too fast) — If pieces brown on the outside before cooking through, reduce oil to 350°F and fry a smaller batch. Use a thermometer, not guesswork.
- Oil too cool (soggy crust) — If bites come out greasy, the oil is below 350°F. Let it return to 360°F between batches; maintain steady temperature by not overcrowding.
- Coating sliding off — Ensure pieces are dry before coating and chill on the baking sheet for 10–30 minutes as directed. The brief chill helps the flour adhere.
- Sauce too thin — Simmer longer on low, whisking often, to reduce and emulsify. The recipe specifies 10–15 minutes; if it’s still watery, give it extra time in 2–3 minute increments.
- Sauce breaking (separating butter) — Keep heat low once the butter melts and whisk steadily. If it starts to separate, remove from heat briefly and whisk; add a splash of warm hot sauce or vinegar and whisk to re-emulsify.
- Over-salted final dish — The coating includes 1 teaspoon kosher salt and the sauce has salty components like Worcestershire. If bites taste too salty, toss fried chicken with less sauce, and serve extra sauce on the side so diners can control how much they add.
Seasonal Serving Ideas
Boneless Wings are flexible with seasonal sides and drinks. In warmer months, pair with crunchy slaw or pickled vegetables to cut the richness. In cooler months, serve alongside roasted corn or a warm potato salad for a comforting plate.
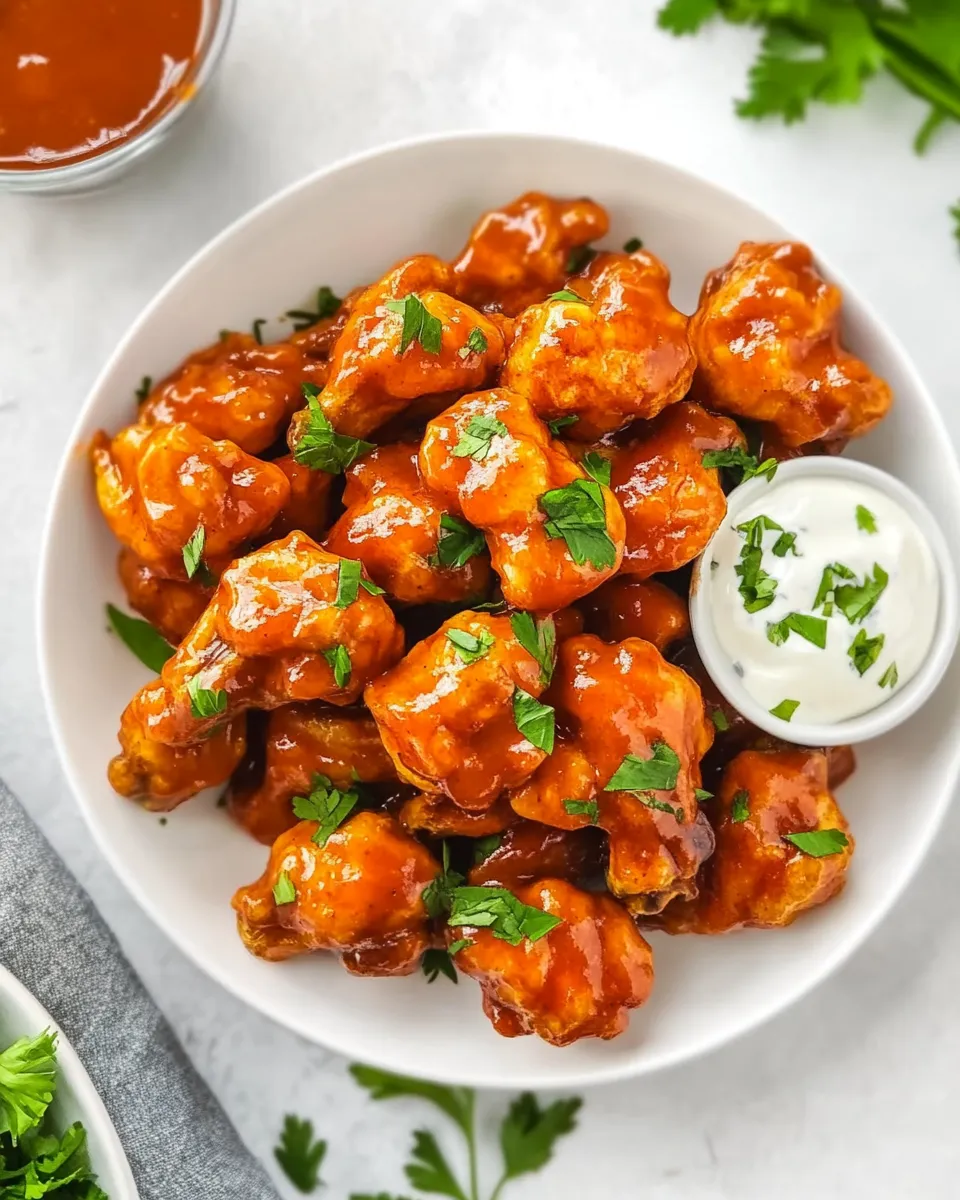
- Spring/Summer — Light citrus slaw, celery sticks, and an easy cucumber-yogurt dip on the side.
- Fall/Winter — Roasted root vegetables and a tangy green salad to balance the buttery heat.
- Game day — Keep extra sauce warm in a small slow cooker or thermal container and offer blue cheese or ranch for dipping.
Recipe Notes & Chef’s Commentary
The quantities and sequence in this recipe are deliberate. The flour mix is simple but robust; the paprika and garlic powder give warmth and aroma while the cayenne in both the breading and sauce layers the heat so it’s present but not one-dimensional.
Frying time per batch (10–15 minutes) covers variability in nugget size and the fact that chicken breasts can dry if undercut into large pieces. If you choose thighs or smaller pieces, check for doneness a few minutes earlier. Always reach an internal temperature of 165°F for safety.
Make the sauce while frying the last batch. That timing keeps the sauce hot and ensures the chicken is still crisp when tossed. If you need to hold cooked chicken, keep it loosely tented on a rack in a single layer in a 200°F oven for up to 20 minutes before saucing; this preserves crispness better than piling them.
Keep-It-Fresh Plan
Leftovers store well but lose crispness. To keep them as good as possible:
- Refrigerate — Place unsauced fried chicken in an airtight container for up to 3 days. Sauced wings will keep 1–2 days; the sauce softens the crust over time.
- Reheat — For best texture, reheat in a 375°F oven on a wire rack over a baking sheet until just warmed through (8–12 minutes). For sauced pieces, briefly reheat in the oven and then toss with a few tablespoons of reserved warm sauce just before serving.
- Freeze — Unsauced fried pieces can be frozen on a tray until firm, then transferred to a bag for up to 1 month. Reheat from frozen in a hot oven; expect some textural softening.
FAQ
- Can I bake these instead of frying? — The recipe and directions are designed for frying. Baking will produce a different texture; if you prefer baking, coat as directed, spray with oil, and bake at 425°F until golden, but note times will differ and crispiness will be reduced.
- Can I make the sauce ahead? — Yes. Make the sauce up to 24 hours ahead and refrigerate. Rewarm gently and whisk before tossing with chicken. If it firms up in the fridge, reheat low and whisk to re-emulsify.
- Is the cayenne amount adjustable? — Yes. Both the coating and the sauce include measured cayenne. Reduce either or both by half if you want milder heat.
- Why chill the coated chicken? — The 10–30 minute chill helps the flour adhere and creates a firmer crust that stands up to frying without sloughing off.
- How do I know when the chicken is done? — Pieces should be golden brown and reach an internal temperature of 165°F. Use a probe thermometer to check a few pieces from the batch.
Ready to Cook?
Gather your ingredients and tools, pre-cut the chicken into even 2-inch nuggets, and set up a station: coating bag, parchment-lined sheet, thermometer, and a draining plate. Start with the flour mix, chill the coated pieces, and keep a steady 360°F in the pot while you fry. Make the sauce as the final batch goes in, toss while both chicken and sauce are hot, and serve immediately.
Follow the steps, respect the temperatures and timing, and you’ll have a plate of Boneless Wings that are reliably crunchy, saucy, and addictive. Enjoy — and remember: keep extra sauce nearby for anyone who wants a second pour.
Boneless Wings
Ingredients
Ingredients
- 1 cupall-purpose flour
- 1 tablespoonground paprika
- 1 teaspoonground cayenne pepper
- 1 1/2 teaspoonsgarlic powder
- 1 teaspoonkosher salt
- 1/2 teaspoonground black pepper
- 1 1/2 poundsboneless skinless chicken breasts(cut into 2-inch nuggets)
- Vegetable oil for frying
- 1 cupunsalted butter 2 sticks
- 1/2 cupFrank’s RedHot hot sauce
- 2 tablespoonsbrown sugar
- 2 tablespoonshoney
- 2 tablespoonswhite vinegar
- 1/2 tablespoonWorcestershire sauce
- 1/2 teaspoonground cayenne pepper
- 1/2 teaspoongarlic powder
Instructions
Instructions
- In a large zip-top bag combine 1 cup all-purpose flour, 1 tablespoon ground paprika, 1 teaspoon ground cayenne pepper, 1½ teaspoons garlic powder, 1 teaspoon kosher salt, and ½ teaspoon ground black pepper. Seal and shake the bag until the dry ingredients are fully mixed.
- Add the chicken pieces (cut into 2-inch nuggets) to the bag in a single layer—work in small batches so pieces are not crowded. Seal the bag and shake until each piece is fully coated in the flour mixture. Remove coated pieces and place them on a parchment-lined baking sheet. Repeat until all chicken is coated.
- Place the baking sheet with the coated chicken in the refrigerator for 10–30 minutes to help the flour adhere.
- While the chicken chills, pour vegetable oil into a large stockpot or Dutch oven to a depth of about 3 inches and heat it to 360°F (use a thermometer).
- Fry the coated chicken in batches (do not overcrowd the pot) until pieces are crispy, browned, and cooked through, about 10–15 minutes per batch. Remove fried chicken with a slotted spoon and place on a paper-towel-lined plate to drain.
- When you start frying the last batch of chicken, make the sauce: in a saucepan combine 1 cup unsalted butter, ½ cup Frank’s RedHot hot sauce, 2 tablespoons brown sugar, 2 tablespoons honey, 2 tablespoons white vinegar, ½ tablespoon Worcestershire sauce, ½ teaspoon ground cayenne pepper, and ½ teaspoon garlic powder. Heat over medium-high until the butter melts and the mixture begins to bubble, then reduce heat to low and simmer, whisking often, for 10–15 minutes.
- When all chicken is fried and drained, place the pieces in a large bowl, pour the hot sauce over them, and toss thoroughly to coat. Serve immediately.
Equipment
- Baking Sheet
- Dutch Oven
- Deep Fry Oil Thermometer
Notes
Always chill the chicken before frying to help set the breading.
I recommend using a deep-frying or instant-read thermometer to monitor the oil temperature. If it is too cold, the wings will turn greasy. Too hot, and the breading will burn while the meat stays raw.
Always let the oil return to temp between batches for the best results.
Keep cooked wings on a wire rack set over a baking sheet in a 250°F oven until all batches are done. They stay hot, crisp, and ready for sauce.
Let the wings rest on a wire rack or paper towels for 1-2 minutes before tossing them in the sauce. This helps lock drain excess grease, locking in crispness.
Use a good quality unsalted butter (European-style is best if you have it) for a silky sauce that clings to the wings instead of pooling at the bottom of the bowl.
Feel free to use any wing sauce you like on these boneless wings! If you’re not feeling the buffalo, try mylemon pepper wing sauce.
The spice level depends on the type of hot sauce you use and how much of it you add to the honey butter mixture.To make the wings spicier, add more hot sauce.To make them sweeter, add more honey.
To make the wings spicier, add more hot sauce.
To make them sweeter, add more honey.
Tobakethese wings, spray them lightly with nonstick spray or olive oil and bake in a 375°F oven for 30 minutes, flipping halfway.
Toair frythese wings, preheat your air fryer to 400°F and spray the basket with olive oil or nonstick spray. Arrange the wings in a single layer, spray with more oil, and air fry for 16 minutes, flipping halfway through.


