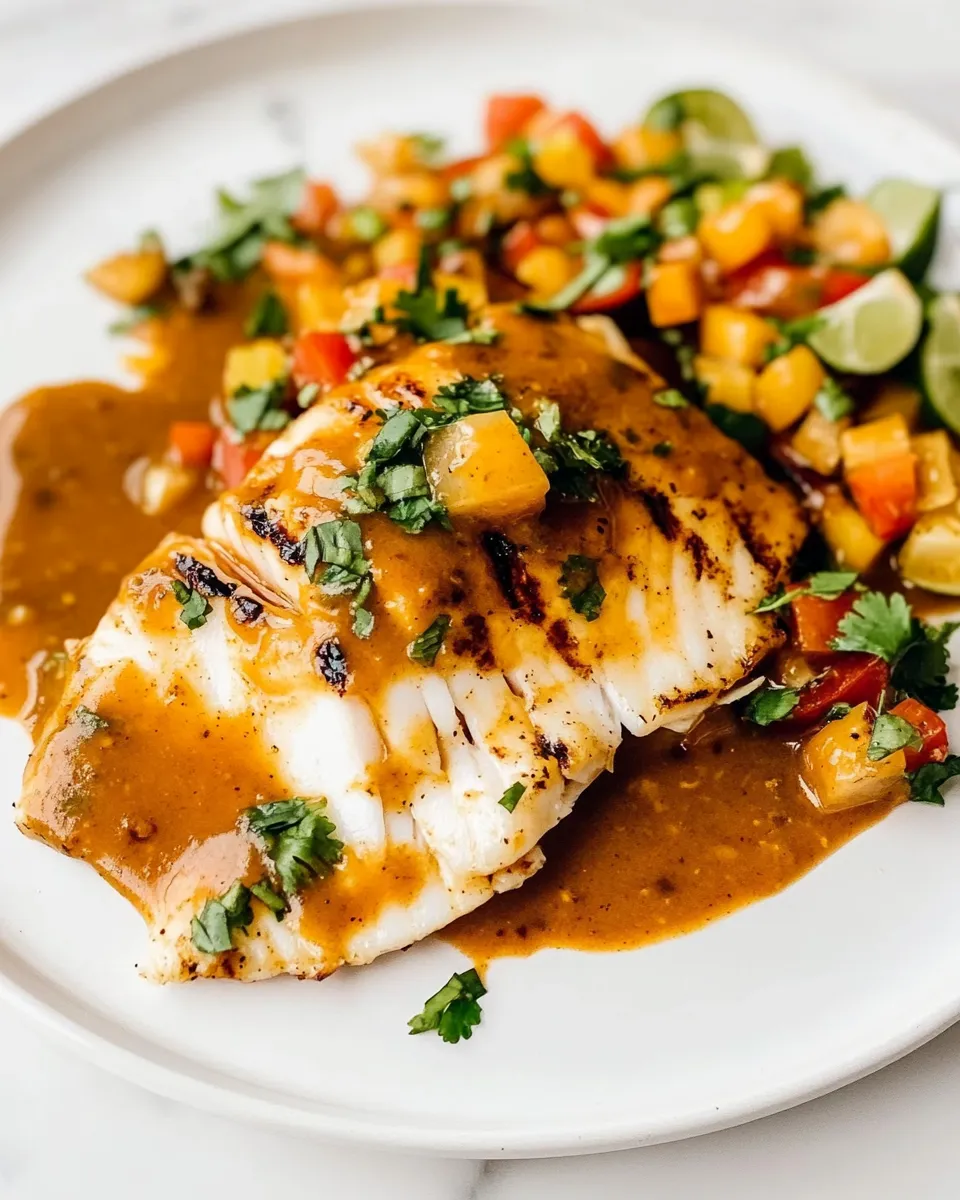
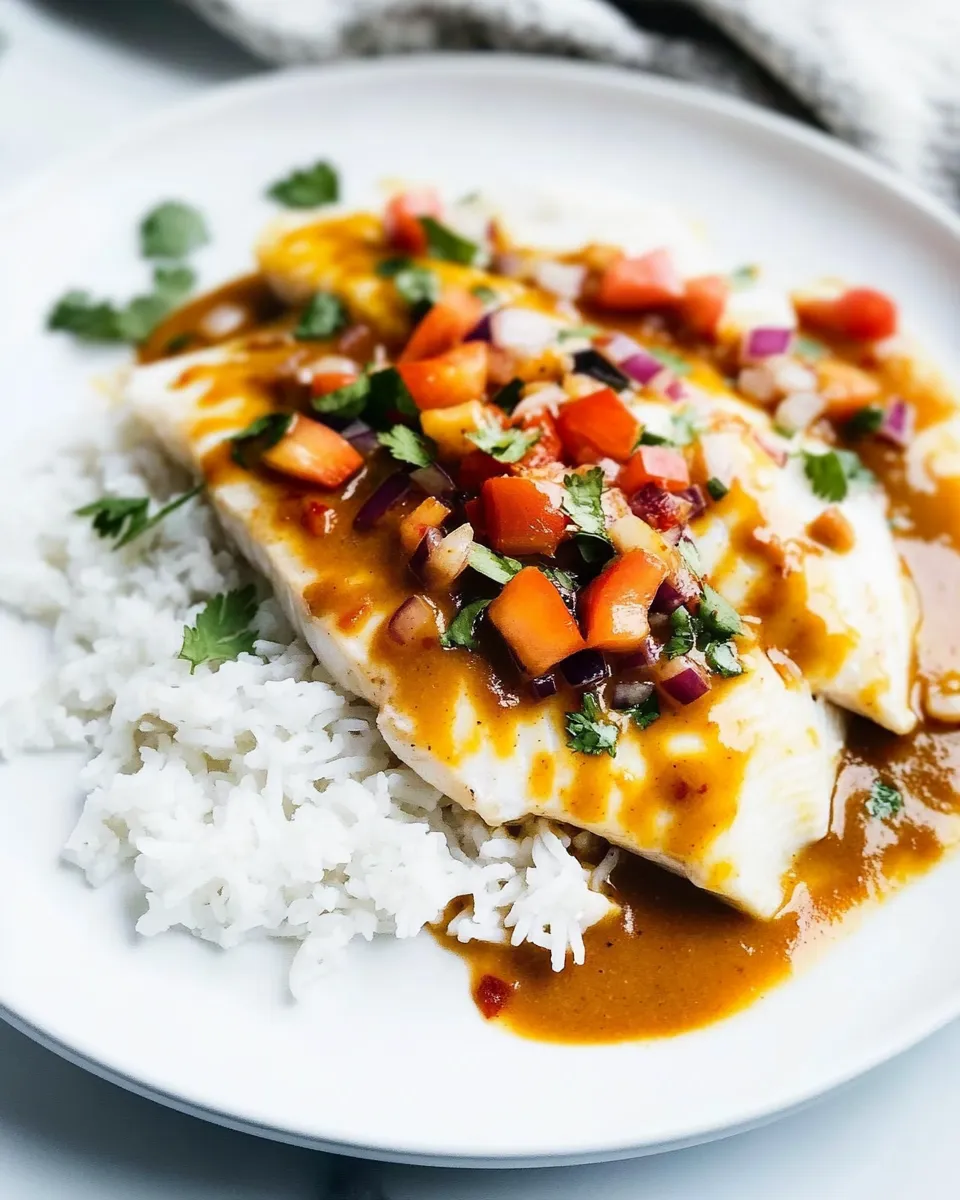
I fell for this recipe the first time I made it because it hits the balance I look for on weeknights: fast, flavorful, and forgiving. The broiler gives the tilapia a quick finish so the fish stays moist, and the Thai coconut curry sauce is bright with ginger and cilantro. It tastes like something from a restaurant but comes together on a single skillet and baking sheet.
This post gives you a clear shopping list, an ingredient breakdown with little tips, and the exact, reliable steps so you can cook it start-to-finish without surprises. I’ll also walk through simple swaps, troubleshooting, storage, and the small habits that make this dish consistently good.
Keep a pencil and your phone handy. Follow the steps in order and you’ll have dinner on the table in under 30 minutes — with room to tweak seasoning to your family’s tastes.
Your Shopping Guide
When you shop for this dish, focus on two things: fresh aromatics and a firm, mild tilapia fillet. Fresh ginger and scallions change the sauce more than an extra tablespoon of curry paste ever will. If the bell pepper looks limp, pick a brighter one — its crunch and color finish the sauce.
Buy a light coconut milk (the recipe calls for one can) and check the label for “light” or lower fat if you prefer a less rich sauce. For pantry items like curry powder and red curry paste, the brand matters a little — choose a paste that smells bright and not overly salty. The Asian fish sauce is just a splash in this sauce; if you’re cautious, buy a small bottle — it lasts a long time once opened.
Ingredients
- 1 tsp dark sesame oil, divided — toast-forward flavor; divided so some sautés the aromatics and the rest oils the fish.
- 1 tbsp minced peeled fresh ginger — bright, sharp backbone for the sauce; peel first for a cleaner texture.
- 4 garlic cloves, minced — adds savory depth; mince finely so it melts into the sauce.
- 1 cup finely chopped red bell pepper — color and a little sweet crunch; finely chopped so it softens quickly.
- 1 cup chopped scallions — both green and white parts add oniony freshness.
- 1 tsp curry powder — earthy base spice; toast briefly in the pan to bloom its flavor.
- 2 tsp red curry paste — concentrated chili and aromatics; adjust slightly if you prefer milder heat.
- 1/2 tsp ground cumin — warm background note that pairs with the curry powder.
- 4 tsp low-sodium soy sauce, use tamari for gluten-free — salt and umami; low-sodium keeps the sauce balanced.
- 1 tbsp brown sugar — balances acid and heat; brown sugar gives a deeper molasses note than white sugar.
- 2 tsp Asian fish sauce — a small amount gives savory depth; use sparingly if you’re cautious with saltiness.
- 1 14-ounce can light coconut milk — the sauce base; “light” cuts some richness while keeping creaminess.
- 1/4 cup chopped fresh cilantro — stir in at the end for freshness; don’t cook it too long or it wilts.
- 6 6-ounce tilapia fillets — mild, thin fillets that broil quickly; pat dry before oiling for better browning.
- salt — used sparingly on the fish; taste the sauce and adjust at the end.
- Cooking spray — prevents sticking on the baking sheet and makes cleanup easier.
Cooking Broiled Tilapia with Thai Coconut Curry Sauce: The Process
- Preheat the broiler and position the oven rack so the fish will be about 6 inches from the broiler heat.
- Heat 1/2 teaspoon of the dark sesame oil in a large nonstick skillet over medium heat.
- Add the minced fresh ginger, minced garlic, finely chopped red bell pepper, and chopped scallions to the skillet; cook, stirring, about 1 minute.
- Stir in the curry powder, red curry paste, and ground cumin; cook, stirring, 1 minute.
- Add the low-sodium soy sauce, brown sugar, Asian fish sauce, and the light coconut milk; bring the mixture to a gentle simmer (do not boil), then remove the skillet from the heat.
- Stir the chopped fresh cilantro into the sauce and set the sauce aside, keeping it warm.
- Coat a baking sheet with cooking spray. Pat the tilapia fillets dry, brush them with the remaining 1/2 teaspoon dark sesame oil, and lightly sprinkle with salt.
- Arrange the fillets on the prepared baking sheet and broil for 7 minutes or until the fish flakes easily when tested with a fork.
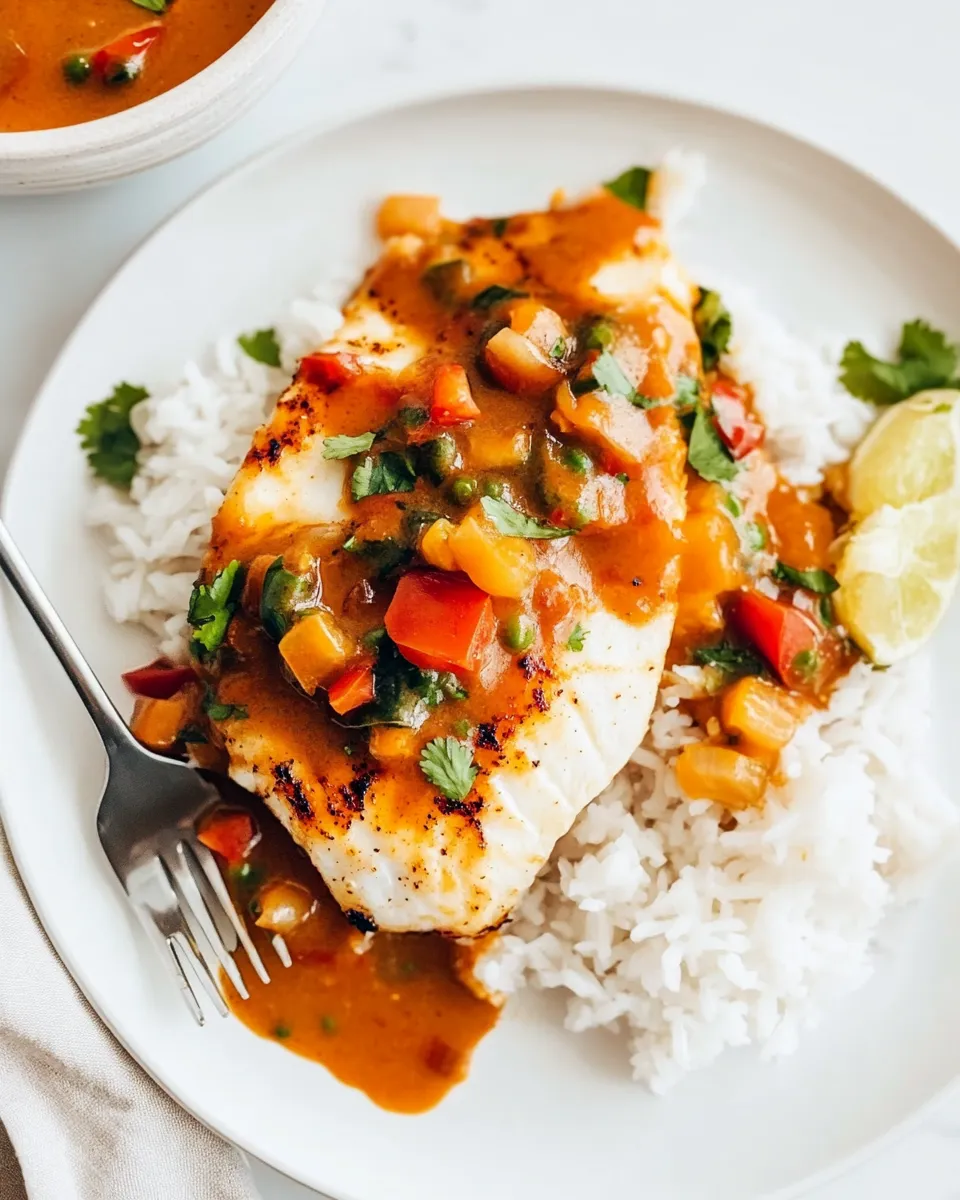
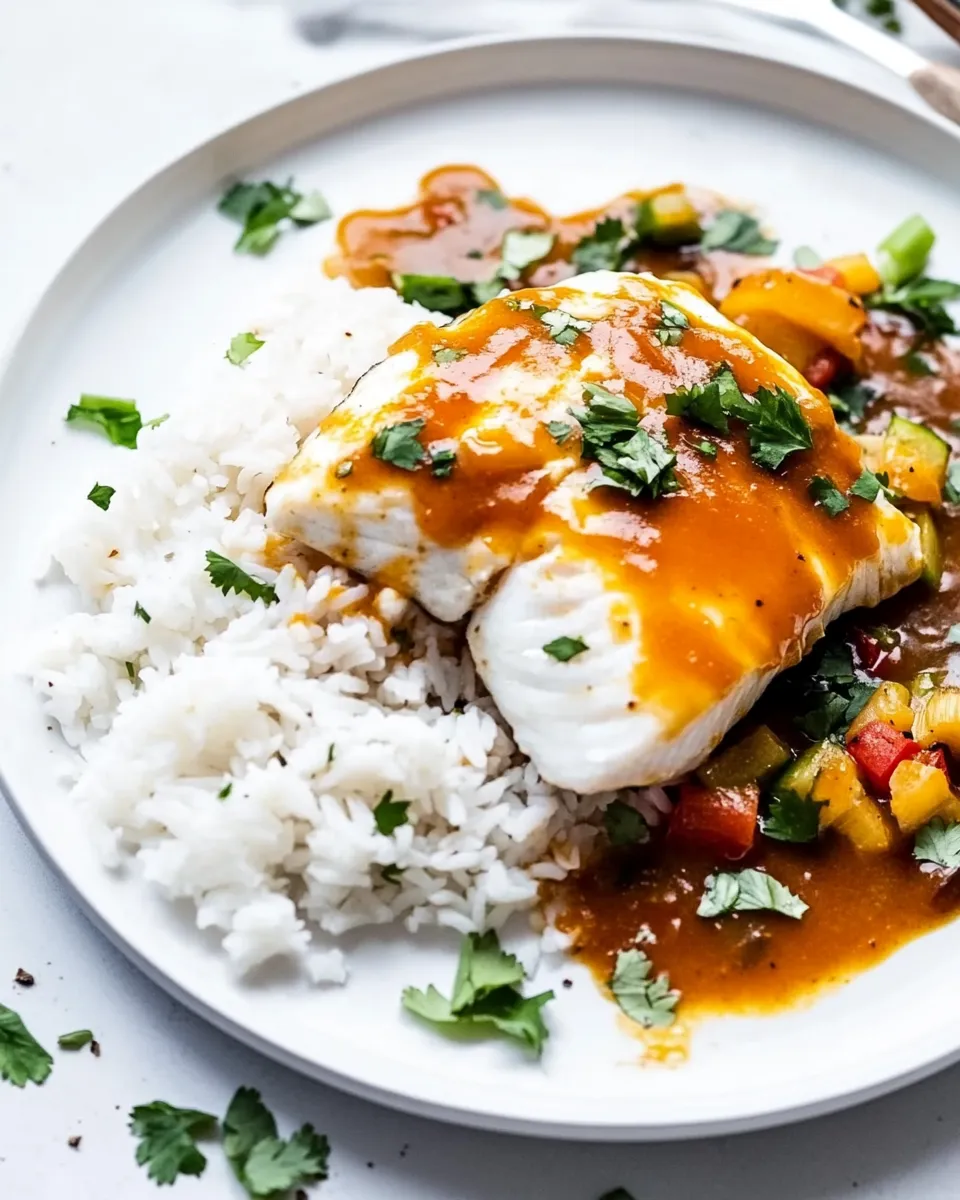
- Transfer the broiled fillets to plates and spoon the Thai coconut curry sauce over each fillet. Serve immediately.
Why It’s My Go-To
This recipe balances speed with layers of flavor. The aromatics and spices are cooked just long enough to bloom, then finished with coconut milk and cilantro for brightness. Broiling is fast and hands-off; you get a moist interior and a lightly set surface without sitting over a hot pan.
I also love the flexibility. The sauce doubles well for a family-style platter, and the components — ginger, garlic, curry paste — are pantry-friendly so you can pull this together without a special run to the store.
Budget & Availability Swaps
If tilapia is scarce or priced high at the moment, choose another firm, white fish with similar thickness so broil time stays short. If you don’t have red curry paste, a bit more curry powder plus a pinch of chili flakes will work in a pinch; taste and adjust the heat.
For the coconut milk, a regular (non-light) can works if you want extra richness. Buy a smaller can of paste or fish sauce if you won’t use them frequently; they keep in the fridge and stretch across many Asian-inspired dishes.
Tools & Equipment Needed
Minimal equipment gets this done: a large nonstick skillet for the sauce and a rimmed baking sheet for broiling. A pair of tongs or a wide spatula helps transfer fillets without breaking them. I also keep a small whisk or spoon handy for stirring the sauce and a fine knife for chopping the aromatics.
Optional but helpful: a small heatproof spatula to scrape browned bits from the pan, and an instant-read thermometer if you prefer to check fish doneness precisely (tilapia is done around 145°F/63°C, though most people use the fork-flake test).
Troubles You Can Avoid
Too stodgy or separated sauce — don’t boil the coconut milk. Keep it at a gentle simmer and remove from heat; that preserves the creaminess. If the sauce tastes flat, it usually needs an acid or salt. A small splash more soy sauce or a pinch more brown sugar will bring it back toward balance.
Overcooked fish — tilapia fillets are thin and cook quickly. Keep the oven rack about 6 inches from the broiler and watch closely in the last two minutes. The fork-flake test is your friend: the fish should flake but still be moist.
Dietary Swaps & Alternatives
Gluten-free: use tamari in place of soy sauce (the ingredient list already notes this). That keeps the sauce gluten-free without changing technique.
Lower sodium: use the low-sodium soy sauce as listed and taste before adding extra salt; fish sauce adds umami, so add it cautiously if you’re watching salt intake.
To reduce heat: cut the red curry paste slightly or replace a portion with more coconut milk to mellow the spice. Taste as you go.
Chef’s Notes
Timing
Chop all aromatics before you heat the pan — once you start cooking, things move fast. The sauce comes together in under 10 minutes, so have the baking sheet and fish prepped before you begin sautéing.
Texture
Patting the fillets dry is a small step that yields a better surface finish under the broiler. The remaining 1/2 teaspoon of sesame oil brushed on the fillets helps color and prevents sticking without adding grease.
Serving
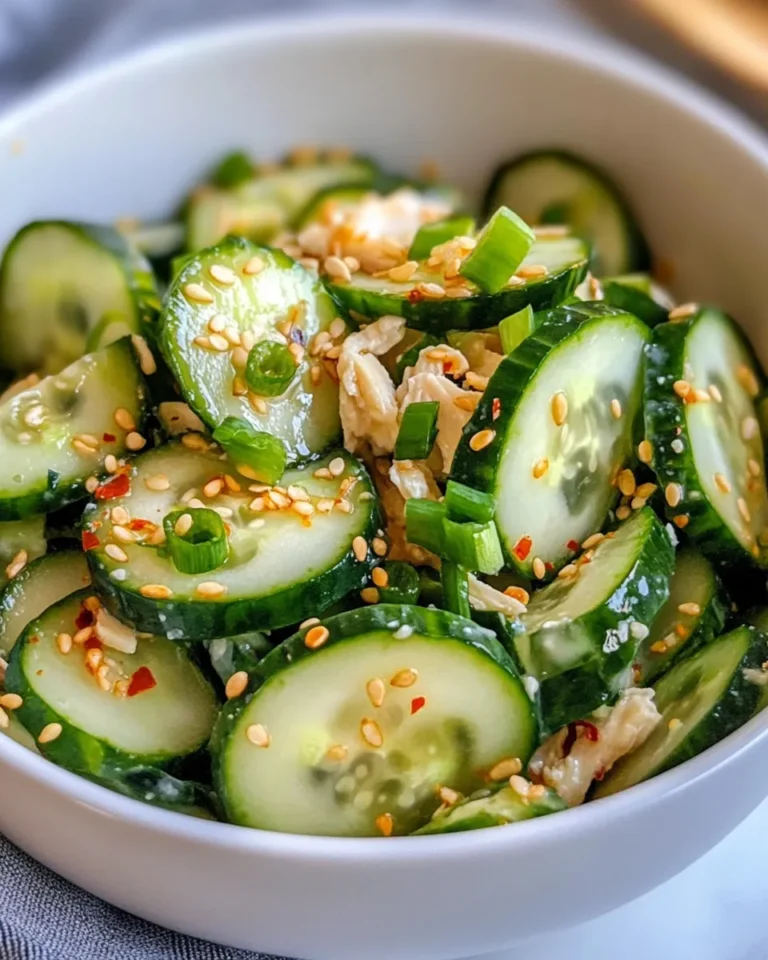
Serve the fillets over jasmine rice, steamed greens, or a simple cucumber salad to cut through the richness of the coconut sauce. Spoon sauce generously so every bite has that tang and warmth.
Keep It Fresh: Storage Guide
Leftover sauce: cool to room temperature and store in an airtight container in the refrigerator for up to 3 days. Reheat gently in a small saucepan over low heat; do not boil.
Leftover fish: tilapia can be stored for up to 2 days, but the texture changes after refrigeration. If you plan to keep leftovers, store fish and sauce separately for best results. Reheat the sauce first, then warm the fish briefly under a low broiler or in a hot oven (about 300°F) just until warmed through to avoid drying it out.
Broiled Tilapia with Thai Coconut Curry Sauce FAQs
How do I know when the fish is done? Use the fork-flake test: the fish should flake easily and look opaque throughout. For precision, an instant-read thermometer reads about 145°F when fully cooked.
Can I make the sauce ahead? Yes. Make the sauce up to 24 hours ahead and refrigerate. Reheat gently before serving. Stir in fresh cilantro just before serving for brightness.
Is the fish sauce necessary? It adds a small, important layer of savory umami. If you prefer not to use it, increase the soy/tamari slightly and taste; you may miss a bit of depth, but the sauce will still be tasty.
The Last Word
This dish is one of those weeknight wins: fast, aromatic, and forgiving. The steps are straightforward, and the sauce rewards precise but gentle cooking. Keep the aromatics fresh and don’t overcook the fish, and you’ll have a dish that feels lifted and special without the fuss.
Make it a repeat — the components are flexible, the technique is reliable, and the result feels like a dinner worth savoring. If you try it, save the sauce recipe; it’s great on other quick-cooking proteins and even roasted vegetables.

Broiled Tilapia with Thai Coconut Curry Sauce
Ingredients
Ingredients
- 1 tspdark sesame oil divided
- 1 tbspminced peeled fresh ginger
- 4 garlic cloves minced
- 1 cupfinely chopped red bell pepper
- 1 cupchopped scallions
- 1 tspcurry powder
- 2 tspred curry paste
- 1/2 tspground cumin
- 4 tsplow-sodium soy sauce use tamari for gluten-free
- 1 tbspbrown sugar
- 2 tspAsian fish sauce
- 114- ounce can light coconut milk
- 1/4 cupchopped fresh cilantro
- 66- ounce tilapia fillets
- salt
- Cooking spray
Instructions
Instructions
- Preheat the broiler and position the oven rack so the fish will be about 6 inches from the broiler heat.
- Heat 1/2 teaspoon of the dark sesame oil in a large nonstick skillet over medium heat.
- Add the minced fresh ginger, minced garlic, finely chopped red bell pepper, and chopped scallions to the skillet; cook, stirring, about 1 minute.
- Stir in the curry powder, red curry paste, and ground cumin; cook, stirring, 1 minute.
- Add the low-sodium soy sauce, brown sugar, Asian fish sauce, and the light coconut milk; bring the mixture to a gentle simmer (do not boil), then remove the skillet from the heat.
- Stir the chopped fresh cilantro into the sauce and set the sauce aside, keeping it warm.
- Coat a baking sheet with cooking spray. Pat the tilapia fillets dry, brush them with the remaining 1/2 teaspoon dark sesame oil, and lightly sprinkle with salt.
- Arrange the fillets on the prepared baking sheet and broil for 7 minutes or until the fish flakes easily when tested with a fork.
- Transfer the broiled fillets to plates and spoon the Thai coconut curry sauce over each fillet. Serve immediately.
Equipment
- Broiler
- oven rack
- large nonstick skillet
- Baking Sheet