
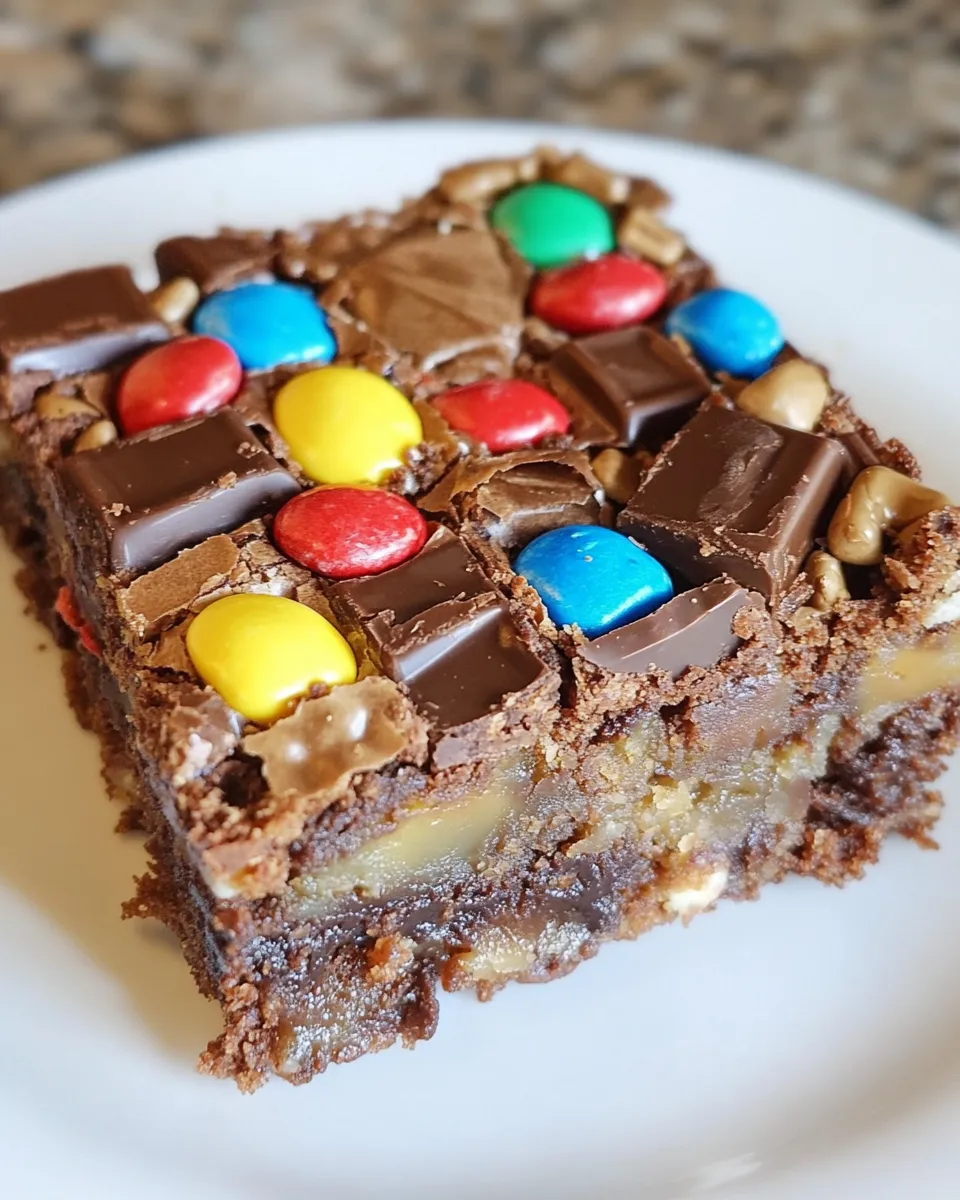
These candy bar brownies are the kind of recipe I turn to when I want something impressive with almost no drama. A boxed brownie mix gives you a reliable, fudgy base while the candy bars bring texture and surprise in every bite. It’s a straightforward assembly, but the payoff is big—melting chocolate, caramel, nougat, and crunch all wrapped in a chewy brownie.
I like this recipe for busy afternoons, last-minute get-togethers, or when you crave something nostalgic. You don’t need to temper chocolate, chop dozens of nuts, or measure out complicated syrups. Gather the few things the brownie mix asks for, pick your favorite fun-size bars, and follow the simple layering technique. It’s forgiving and fast.
Treats like these are also perfect for sharing. They travel well, feed a crowd, and invite experimentation. If you want to keep the process calm, read through the short ingredient list and step sequence once before you start. Then enjoy the process—this one is both comforting and indulgent without being fussy.
What Goes Into Candy Bar Brownies

At its core this recipe leans on a store-bought brownie mix for convenience and consistency. The mix gives you the structure, rise, and concentrated chocolate flavor. The rest comes from unwrapped fun-size candy bars placed in and on the batter to create pockets of sweetness and varied textures. No need to overthink it—pick candies you like and follow the box instructions for the batter.
Ingredients
- 1 13×9 inch size brownie mix — the base of the recipe; choose your favorite brand for fudgy or cakey texture.
- Ingredients called for in brownie mix instructions — gather whatever the box lists (eg, eggs, oil, water) so you can work efficiently.
- Assorted fun size or chopped up candy bars — unwrapped pieces that will be layered under and over the batter for mix-ins and topping.
Build Candy Bar Brownies Step by Step
- Follow the brownie mix package directions to preheat the oven and gather the additional ingredients called for on the box.
- Line a 13×9-inch baking pan with foil and spray the foil lightly with cooking spray.
- Prepare the brownie batter according to the package directions.
- Place unwrapped assorted fun-size or chopped candy bars in the bottom of the prepared pan, spacing them so batter can fill the gaps.
- Pour the prepared brownie batter evenly over the candy in the pan and spread gently so the candy remains in place.
- Arrange another layer of unwrapped candy bars on top of the brownie batter, distributing them evenly (use chopped pieces as needed).
- Bake according to the brownie mix package directions.
- Allow the brownies to cool completely in the pan. Use the foil to lift the brownies from the pan, remove the foil, cut into squares, and serve.
Reasons to Love Candy Bar Brownies

- Speed: Using a boxed mix makes this ready in a fraction of the time compared to from-scratch brownies.
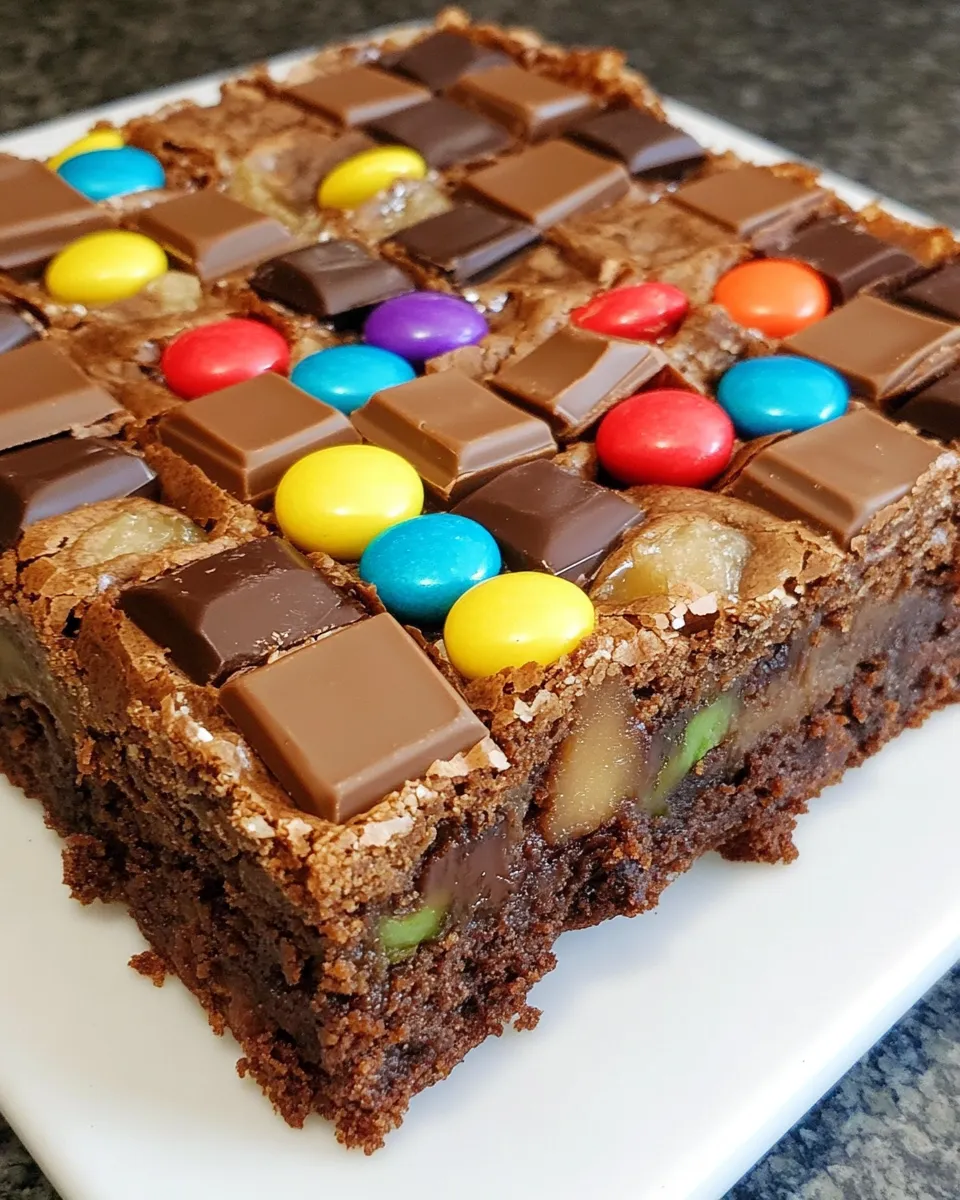
- Texture contrast: Melted candy inside and slightly toasted candy on top create a dynamic bite—soft, chewy, and sometimes crunchy.
- Customizable: Swap candy bars seasonally or by preference; you can easily adjust flavor profiles from peanutty to nougat-filled.
- Great for crowds: A 13×9 pan yields many squares, so it’s ideal for parties, potlucks, and bake sales.
- Kid-friendly and nostalgic: The candy element makes these wildly appealing to kids and adults alike.
Quick Replacement Ideas
- Swap the candy bars for chocolate chips or chopped chocolate if you want a simpler chocolate surge with fewer flavors.
- Use caramel-filled or nougat bars for gooey centers; nutty bars add crunch and salt.
- If you prefer smaller pockets of candy, chop the fun-size bars into bite-sized pieces before layering.
- For a different look, press crushed cookies or pretzels on top instead of whole candy bars.
- Change the boxed mix type—double chocolate, dark chocolate, or a cakier mix will shift texture without changing technique.
Must-Have Equipment
- 13×9-inch baking pan — the recipe and the candy layering are sized for this pan.
- Aluminum foil — lines the pan for easy lift-out and neat cutting.
- Cooking spray — prevents sticking and keeps the foil from moving while pouring batter.
- Mixing bowl and whisk or spoon — to prepare the boxed brownie batter.
- Spatula or offset spatula — for gently spreading batter over the candy layer without dislodging pieces.
Mistakes Even Pros Make
- Overcrowding the candy layer — if pieces are packed too tightly the batter won’t surround them properly, and the bake may be uneven. Space them so batter can fill gaps.
- Pouring batter too aggressively — dumping and forcing batter can push candy aside; pour gently and spread with care.
- Skipping the foil lift — trying to cut brownies in the pan often results in jagged edges and missing squares; foil makes removal and cutting clean and easy.
- Baking at the wrong temperature — follow the box times and temps. Candy bars can cause hotspots; if the edges brown too fast, tent loosely with foil near the end.
- Cutting before fully cooled — candy fillings can be molten and runny right out of the oven. Let the pan cool completely for cleaner slices.
Variations for Dietary Needs
- Gluten-free: Use a certified gluten-free brownie mix and verify that the candy bars you choose are gluten-free.
- Dairy-free: Look for dairy-free or vegan brownie mixes and choose dairy-free candy alternatives or dark chocolate pieces labeled dairy-free.
- Nut-free: Use candy bars and a brownie mix that are certified nut-free to reduce cross-contact risks. Avoid candies that list nuts or “may contain” warnings.
- Lower-sugar option: Pick a lower-sugar brownie mix and use sugar-free candy alternatives sparingly—texture will differ but flavor still works.
- Vegan: Select a vegan brownie mix (or one that only needs water and oil) and vegan candy bars or chopped vegan chocolate.
Pro Perspective
As someone who tests a lot of recipes, I’ll say the layering technique is the trick that elevates these brownies from good to memorable. The candy placed on the bottom creates surprise pockets—each bite may uncover a different combo of caramel, nougat, or nuts. The top layer browns and caramelizes slightly, giving a visually appealing finish.
Temperature control matters. If your oven runs hot, check a few minutes early and use a toothpick to test for doneness near a candy piece rather than the very center. Candy can make the center seem softer; the toothpick will catch a bit of batter, not melted chocolate. Cooling is the other pro move—cool fully in the pan so fillings set. If you’re short on time, chill the pan in the fridge for a firmer cut, but be gentle—cold brownies can be crumbly if cut too soon.
Freezer-Friendly Notes
These brownies freeze well. I recommend cutting into squares and wrapping each piece tightly in plastic wrap, then placing the wrapped squares in an airtight container or freezer bag. They’ll keep up to 3 months. For best texture, thaw in the refrigerator overnight, then bring to room temperature before serving. If you need a quick warm-up, microwave a single square for 10–15 seconds to revive the gooey quality of the candy without making the brownie too hot.
Top Questions & Answers
- Can I use full-size candy bars instead of fun-size? Yes—chop them down so they’re proportionate to the pan and spaced so batter can fill gaps. Large whole bars may overwhelm the batter volume.
- Do I need to unwrap the candy bars? Yes—place only unwrapped candy in the pan. Wrappers will melt or catch fire in the oven.
- Will the candies sink to the bottom? The technique calls for a layer on the bottom and one on top. The bottom candies should stay put because you’ll pour batter over them; if they move, the batter will fill around them. Larger, heavier pieces may shift—chop them for better distribution.
- How do I know when they’re done? Follow the box baking time. Because of the candy, a toothpick in the center might pick up melted chocolate; look for set edges and a slightly fudgy center. If edges are set and center jiggles slightly, they’re likely done.
- Can I add nuts or other mix-ins? Yes—fold small quantities of chopped nuts or chips into the batter before pouring, or sprinkle them on top with the candy.
- What’s the best way to serve them warm without being messy? Serve them with a small plate and napkin. If you warm a piece briefly, the candy will be perfectly gooey—just warn guests it’s hot.
The Last Word
Candy bar brownies are a practical, crowd-pleasing shortcut to something that looks and tastes like a labor of love. With a reliable boxed mix and your favorite fun-size bars, you can create a dessert that’s nostalgic, texturally interesting, and simple to scale. Follow the box for batter prep, take care when layering the candy, and let the pan cool before cutting. Little effort, big reward—exactly my kind of recipe.
Candy Bar Brownies
Ingredients
Ingredients
- 1 13 x9 inch size brownie mix
- Ingredients called for in brownie mix instructions
- Assorted fun size or chopped up candy bars
Instructions
Instructions
- Follow the brownie mix package directions to preheat the oven and gather the additional ingredients called for on the box.
- Line a 13x9-inch baking pan with foil and spray the foil lightly with cooking spray.
- Prepare the brownie batter according to the package directions.
- Place unwrapped assorted fun-size or chopped candy bars in the bottom of the prepared pan, spacing them so batter can fill the gaps.
- Pour the prepared brownie batter evenly over the candy in the pan and spread gently so the candy remains in place.
- Arrange another layer of unwrapped candy bars on top of the brownie batter, distributing them evenly (use chopped pieces as needed).
- Bake according to the brownie mix package directions.
- Allow the brownies to cool completely in the pan. Use the foil to lift the brownies from the pan, remove the foil, cut into squares, and serve.
Equipment
- 13x9 inch baking pan
- Foil
- Cooking spray
- Oven


