
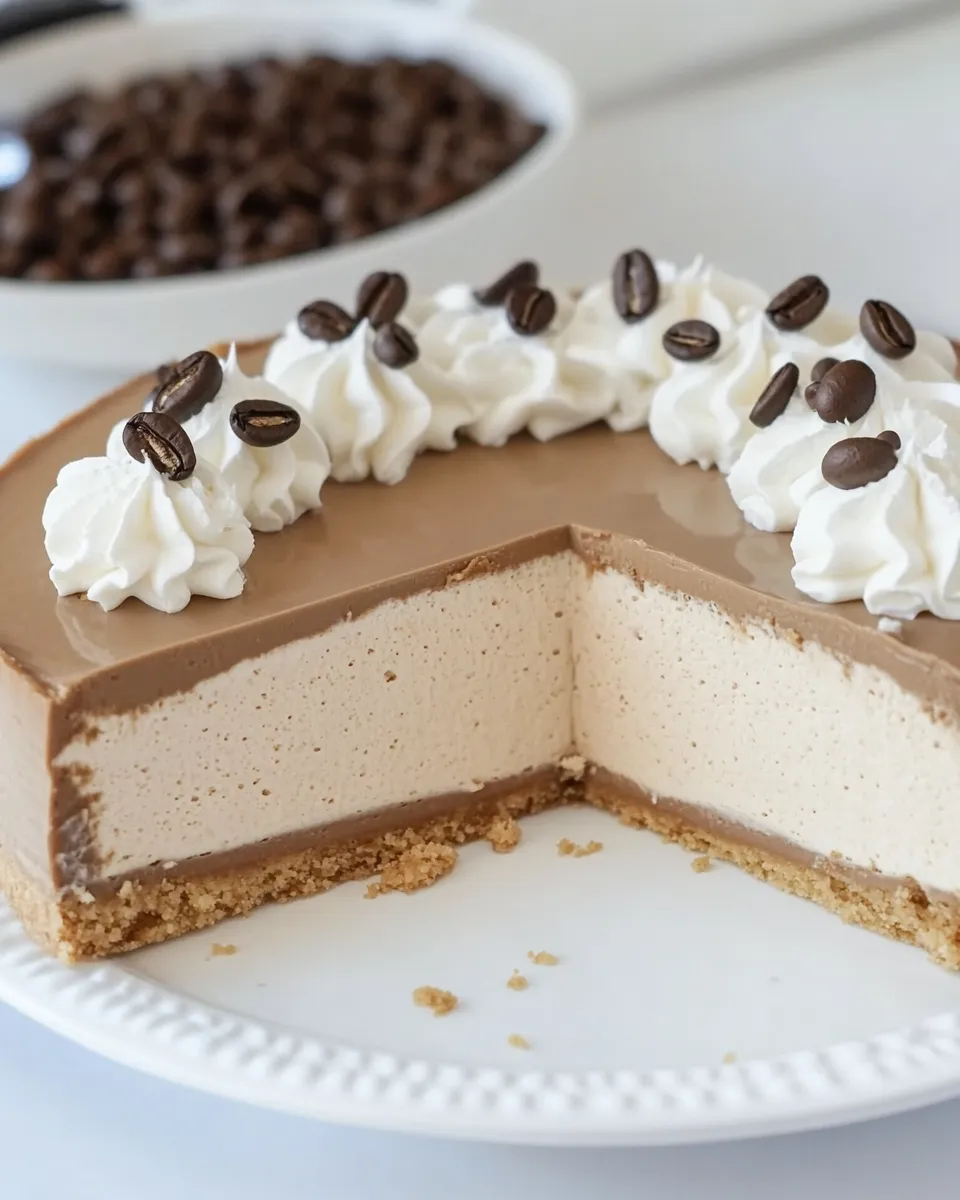
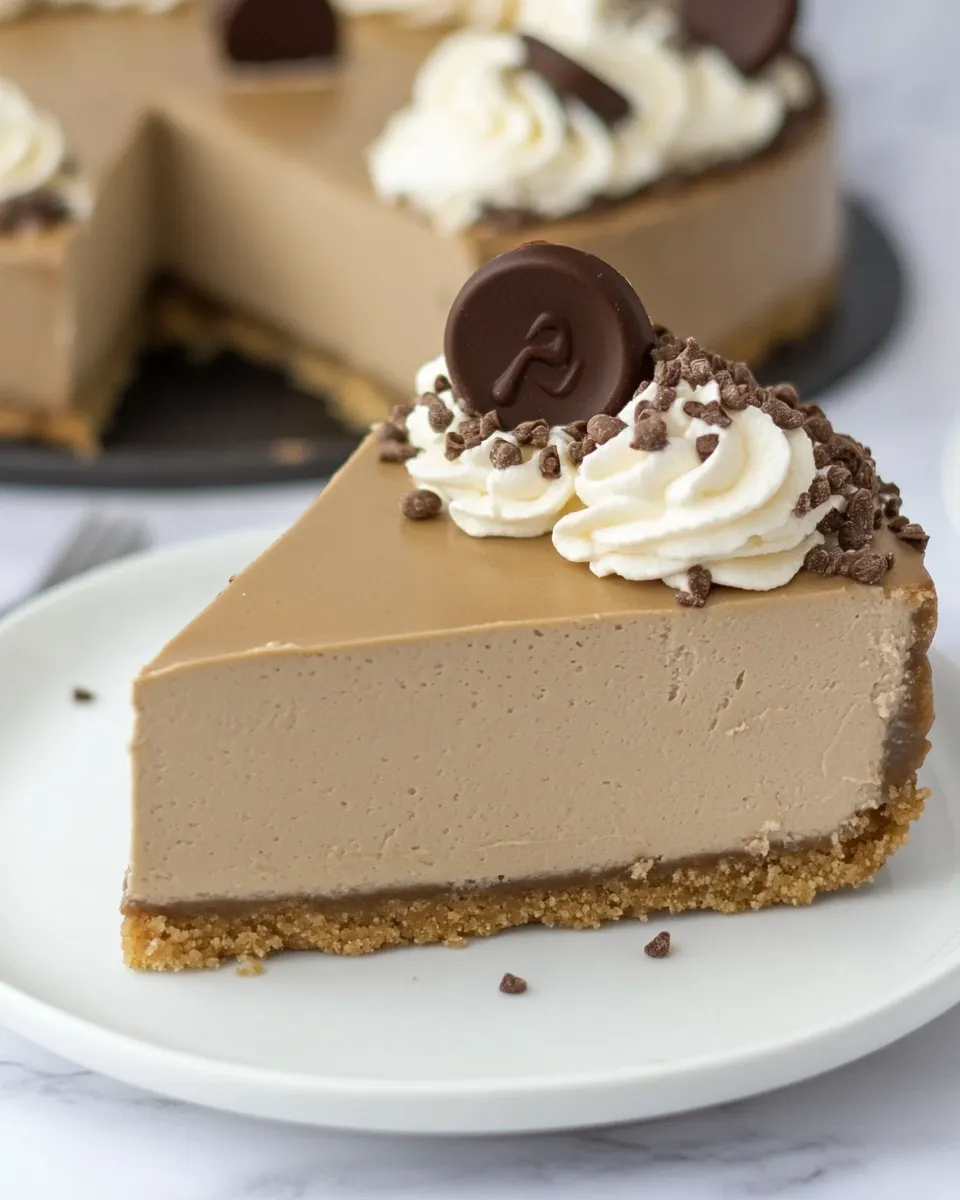
This cappuccino cheesecake is my go-to when I want dessert that feels both indulgent and grown-up. It combines a buttery graham crust with a dense, creamy filling that is subtly flavored with instant espresso. The result is rich, coffee-forward, and surprisingly simple to pull off, even on a weeknight when time is limited.
I developed this version after testing several approaches to avoid cracks and keep the texture silky. The trick is a cold crust, gentle mixing, and a short resting period in the oven after baking. Those three small steps make a big difference in the final slice.
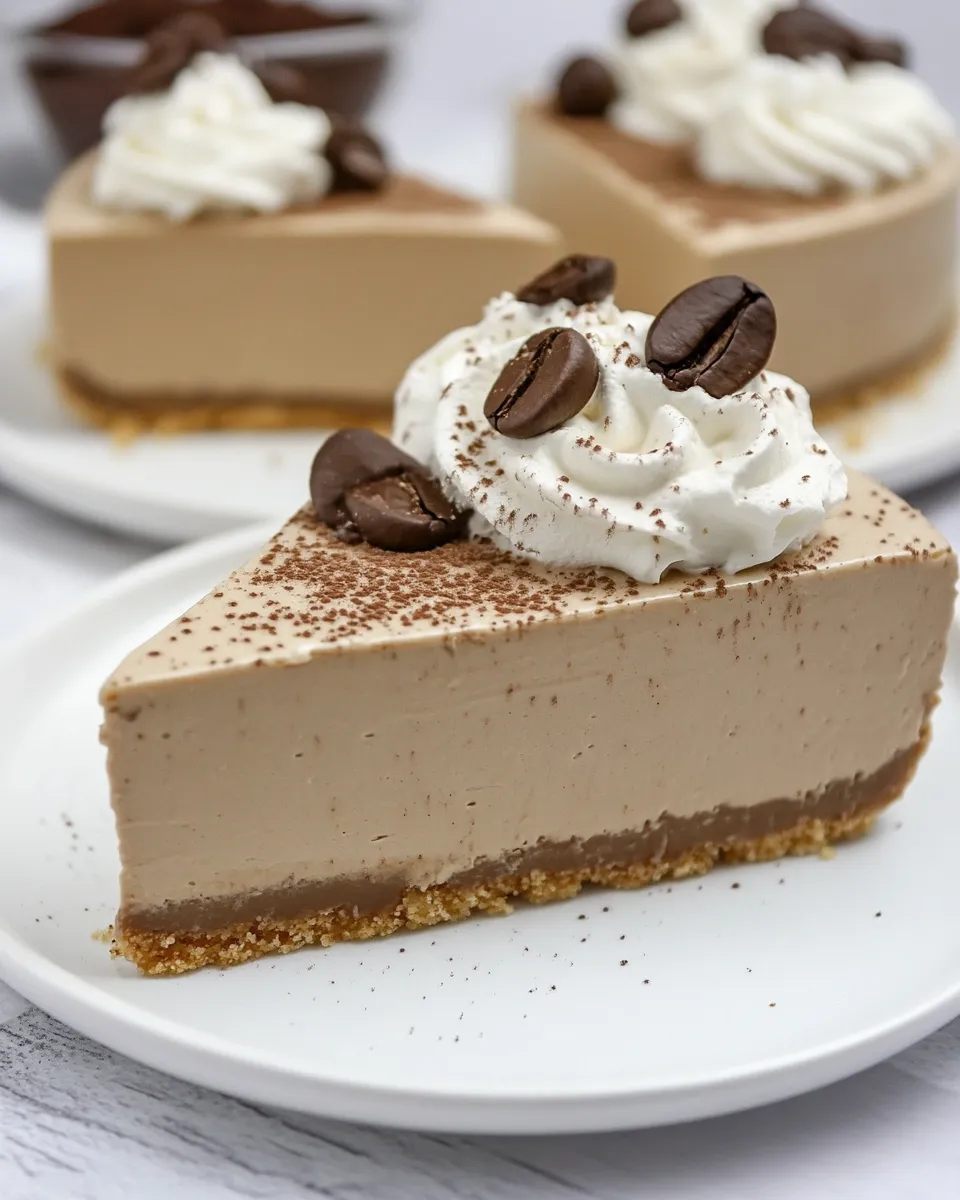
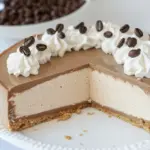
Serve it after a dinner party with a small dollop of whipped cream and a couple of chocolate-covered espresso beans for contrast. It’s great straight from the fridge, and it also travels well if you need to bring a dessert to someone’s house.
Ingredient Checklist
- 1½ cups graham cracker crumbs — forms the crisp, buttery base; press firmly for a stable crust.
- 3/4 cup granulated white sugar — sweetens and balances the crust; mixes with crumbs for even texture.
- 3 tablespoons salted butter, melted — binds the crumbs and adds a touch of savory contrast.
- Two 8-ounce packages cream cheese, at room temperature — the foundation of the filling; room temperature prevents lumps.
- 2 cups sour cream — adds tang and silkiness to the filling; helps keep the center creamy.
- 1 cup granulated white sugar — sweetens the filling; blend until combined but don’t overmix.
- 2 large eggs — provide structure; add them one at a time for even incorporation.
- 1½ teaspoons vanilla extract — rounds and lifts the espresso flavor.
- 3 tablespoons instant espresso, dissolved in a small amount of hot water — concentrated coffee flavor without extra liquid; cool slightly before adding.
- whipped cream and chocolate covered espresso beans, for garnish (optional) — decorative and complementary textures; optional but lovely.
Cappuccino Cheesecake — Do This Next
- Preheat the oven to 375°F. Place the oven rack in the center position.
- In a medium bowl, combine 1½ cups graham cracker crumbs, 3/4 cup granulated sugar, and 3 tablespoons melted salted butter. Mix with a fork or spatula until evenly moistened.
- Press the crumb mixture firmly and evenly onto the bottom of a 9-inch springform pan to form the crust. Use the bottom of a measuring cup or a flat spatula to compact it.
- Place the prepared pan in the freezer while you prepare the filling.
- Dissolve 3 tablespoons instant espresso in a small amount of hot water (just enough to dissolve the espresso) and set aside to cool slightly.
- In a food processor or in a large mixing bowl with an electric mixer, beat the two 8-ounce packages of room-temperature cream cheese until smooth and free of lumps.
- Add 1 cup granulated sugar to the cream cheese and beat until combined. Add 2 large eggs one at a time, mixing briefly after each just until incorporated.
- Add 2 cups sour cream, 1½ teaspoons vanilla extract, and the dissolved espresso. Mix on low speed (or pulse in the food processor) just until the filling is smooth and homogenous. Do not overmix.
- Remove the crusted pan from the freezer. Carefully spoon or pour the filling into the springform pan over the crust, smoothing the top with a spatula. Tap the pan gently on the counter once or twice to release any large air bubbles.
- Bake in the preheated oven for about 50 minutes, or until the edges are set and the center is only slightly jiggly when the pan is gently shaken.
- Turn off the oven and let the cheesecake sit in the oven with the door slightly ajar for 15–20 minutes (this helps prevent cracking). Then remove the pan and cool completely on a wire rack.
- Once cooled to room temperature, cover the cheesecake and refrigerate until firm and well chilled, at least 4 hours or overnight.
- When ready to serve, release and remove the springform sides. Garnish with whipped cream and chocolate-covered espresso beans if desired.
Why It Works Every Time
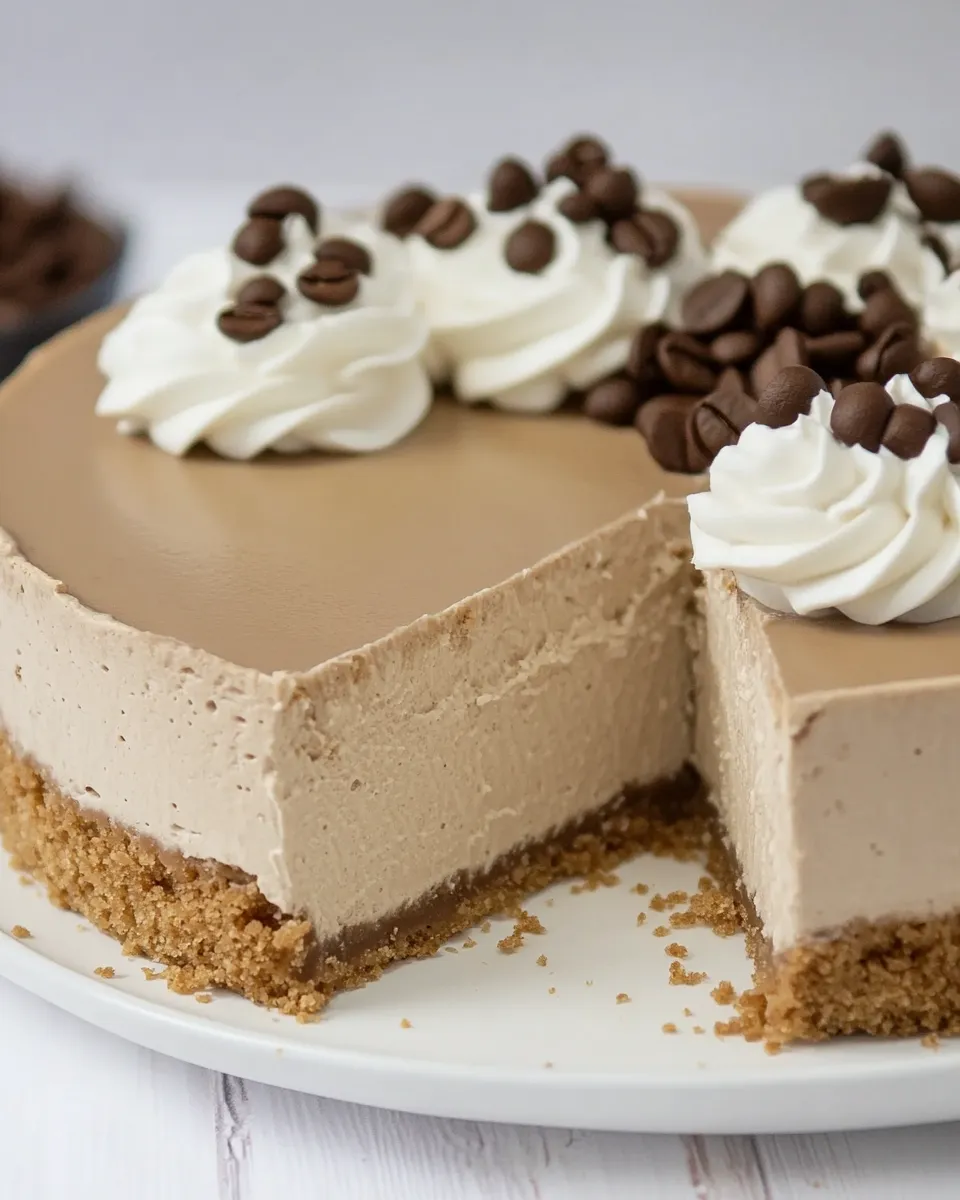
There are three technical choices here that give consistent results. First, pressing the crust firmly and chilling it in the freezer prevents it from lifting or softening while the filling bakes. A compact crust keeps the base intact when you slice the cheesecake.
Second, using room-temperature cream cheese and mixing on low prevents lumps and reduces the amount of air whipped into the batter. Less incorporated air equals fewer cracks during baking and a denser, silkier texture.
Third, the short cooling period inside the turned-off oven stabilizes the temperature and reduces rapid contraction at the edges. That small pause is what stops most cracks and keeps the surface smooth.
Allergy-Friendly Substitutes
If you need to adapt this recipe, there are straightforward swaps that keep the texture and coffee flavor. Be mindful that substitutions change the final result.
- Graham cracker crumbs — substitute with gluten-free graham or digestive biscuit crumbs in the same quantity for a gluten-free base.
- Salted butter — use unsalted butter plus a pinch of fine salt (about 1/8 teaspoon) if you don’t have salted butter on hand.
- Cream cheese — there are dairy-free cream cheese alternatives, but choose a high-fat, block-style variety rather than whipped spreads for best texture. Expect a slight change in flavor and density.
- Sour cream — plain Greek yogurt can work here, though it is tangier and a bit thicker; use full-fat for closest results.
- Instant espresso — use strong brewed espresso concentrated to about the same volume, but cool it before adding so you don’t melt the batter.
Gear Checklist
- 9-inch springform pan — essential for easy release and clean slices.
- Electric mixer or food processor — either works for smooth, lump-free cream cheese.
- Measuring cups and spoons — accurate measurements matter, especially for the crust to filling ratio.
- Mixing bowls — medium bowl for crumbs, large for filling.
- Wire rack — for cooling the cheesecake evenly.
- Spatula or measuring cup bottom — for pressing and smoothing the crust.
- Oven thermometer (optional) — useful if your oven runs hot or cool; cheesecake responds to subtle temperature shifts.
Missteps & Fixes
Problem: Cracks on top. Fix: Stop overmixing and use that 15–20 minute rest in the oven with the door ajar. Cool slowly.
Problem: Soggy crust. Fix: Press the crust firmly and chill it in the freezer before adding the filling. If it still becomes soft, bake it blind for 5–6 minutes before freezing to set the butter.
Problem: Lumpy filling. Fix: Ensure cream cheese is truly at room temperature. Beat it until smooth before adding sugar and eggs. If lumps remain, push the batter through a fine-mesh sieve or use a food processor briefly.
Problem: Overbaked, dry cheesecake. Fix: Watch for the center to stay slightly jiggly at the 50-minute mark. Residual heat will finish the set while cooling.
Health-Conscious Tweaks
You can lighten this dessert without losing its essence. Swap full-fat sour cream for full-fat Greek yogurt to reduce fat slightly while maintaining creaminess. Use reduced-fat cream cheese cautiously; the texture may be less silky and a touch more dense. Reduce the crust sugar by up to half (to about 6 tablespoons) if you want a less sweet base — the filling’s 1 cup of sugar keeps the overall balance.
For portion control, cut thinner slices and serve with a small dollop of lightly sweetened whipped cream instead of a full topping spread. One small change makes the indulgence go further without losing satisfaction.
What Could Go Wrong
If the crust appears to separate from the filling when slicing, it usually means the crust was not pressed firmly enough or the filling was poured while the crust was still too cold and contracted unevenly. Next time, press the crumbs harder and allow the crust to sit at room temperature for a couple of minutes after freezing before filling.
Another common issue is a center that refuses to set even after long chilling. That happens if the oven temperature was too low, or if the cheesecake was underbaked. Make sure the edges are set and only the center jiggles slightly when you remove it from the oven; if it’s very loose, return it to the oven for 5–10 minutes and check again.
Make Ahead Like a Pro
Refrigerate
Once the cheesecake is fully cooled and chilled for at least 4 hours (overnight is best), wrap the entire springform pan with plastic wrap or transfer to an airtight container. It will keep well in the refrigerator for up to 4 days. Slice as needed and return leftovers to the fridge promptly.
Freeze
For longer storage, freeze the cheesecake (remove the springform sides first for neatness). Wrap tightly in plastic wrap and then a layer of foil to prevent freezer burn. Freeze for up to 1 month. Thaw overnight in the refrigerator before serving; bring to room temperature for about 30 minutes for easier slicing.
Helpful Q&A
Q: Can I use regular brewed coffee instead of instant espresso? A: You can, but brewed coffee adds liquid. Use a concentrated shot (a tablespoon or two) so you don’t thin the batter. Instant espresso dissolved in minimal water gives the cleanest, strongest flavor without extra moisture.
Q: Do I need to water-bath (bain-marie) this cheesecake? A: This recipe doesn’t require a water bath because the combination of low mixing speed, oven resting, and proper chilling keeps cracking to a minimum. If you’re worried about cracks, you may use a water bath wrapped securely in foil, but it’s optional here.
Q: Why are there two different sugar amounts? A: One measure (3/4 cup) sweetens and binds the crust, while the other (1 cup) sweetens the filling. They serve different roles and shouldn’t be combined or reduced interchangeably without adjusting texture.
Q: Can I make this in an 8-inch pan? A: Yes, but expect a taller cheesecake and possibly a slightly longer bake time. Start checking at 50 minutes and add 5–10 minute intervals until the center is slightly jiggly.
Final Thoughts
This Cappuccino Cheesecake is dependable, elegant, and well worth the few simple techniques it requires. The coffee flavor is there without overwhelming the classic cheesecake silkiness. It’s a dessert that makes weeknight dinners feel a touch special and dinner parties feel like you made an effort without fuss.
Keep the crust compact, the cream cheese at room temperature, and give it the gentle oven rest. Those three steps will make your slices smooth and crack-free every time. When you serve it, add a little whipped cream and a chocolate-covered espresso bean for the picture-perfect finishing touch.
Cappuccino Cheesecake
Ingredients
Ingredients
- 1 1/2 cupsgraham cracker crumbs
- 3/4 cupgranulated white sugar
- 3 tablespoonssalted butter melted
- Two8-ounce packagescream cheese at room temperature
- 2 cupssour cream
- 1 cupgranulated white sugar
- 2 largeeggs
- 1 1/2 teaspoonsvanilla extract
- 3 tablespoonsinstant espresso dissolved in a small amount of hot water
- whipped cream and chocolate covered espresso beans for garnish (optional)
Instructions
Instructions
- Preheat the oven to 375°F. Place the oven rack in the center position.
- In a medium bowl, combine 1½ cups graham cracker crumbs, 3/4 cup granulated sugar, and 3 tablespoons melted salted butter. Mix with a fork or spatula until evenly moistened.
- Press the crumb mixture firmly and evenly onto the bottom of a 9-inch springform pan to form the crust. Use the bottom of a measuring cup or a flat spatula to compact it.
- Place the prepared pan in the freezer while you prepare the filling.
- Dissolve 3 tablespoons instant espresso in a small amount of hot water (just enough to dissolve the espresso) and set aside to cool slightly.
- In a food processor or in a large mixing bowl with an electric mixer, beat the two 8-ounce packages of room-temperature cream cheese until smooth and free of lumps.
- Add 1 cup granulated sugar to the cream cheese and beat until combined. Add 2 large eggs one at a time, mixing briefly after each just until incorporated.
- Add 2 cups sour cream, 1½ teaspoons vanilla extract, and the dissolved espresso. Mix on low speed (or pulse in the food processor) just until the filling is smooth and homogenous. Do not overmix.
- Remove the crusted pan from the freezer. Carefully spoon or pour the filling into the springform pan over the crust, smoothing the top with a spatula. Tap the pan gently on the counter once or twice to release any large air bubbles.
- Bake in the preheated oven for about 50 minutes, or until the edges are set and the center is only slightly jiggly when the pan is gently shaken.
- Turn off the oven and let the cheesecake sit in the oven with the door slightly ajar for 15–20 minutes (this helps prevent cracking). Then remove the pan and cool completely on a wire rack.
- Once cooled to room temperature, cover the cheesecake and refrigerate until firm and well chilled, at least 4 hours or overnight.
- When ready to serve, release and remove the springform sides. Garnish with whipped cream and chocolate-covered espresso beans if desired.
Equipment
- 9-inch springform pan
- Oven
- food processor or electric mixer
- Measuring Cup
- Spatula
- Freezer
- Wire Rack


