

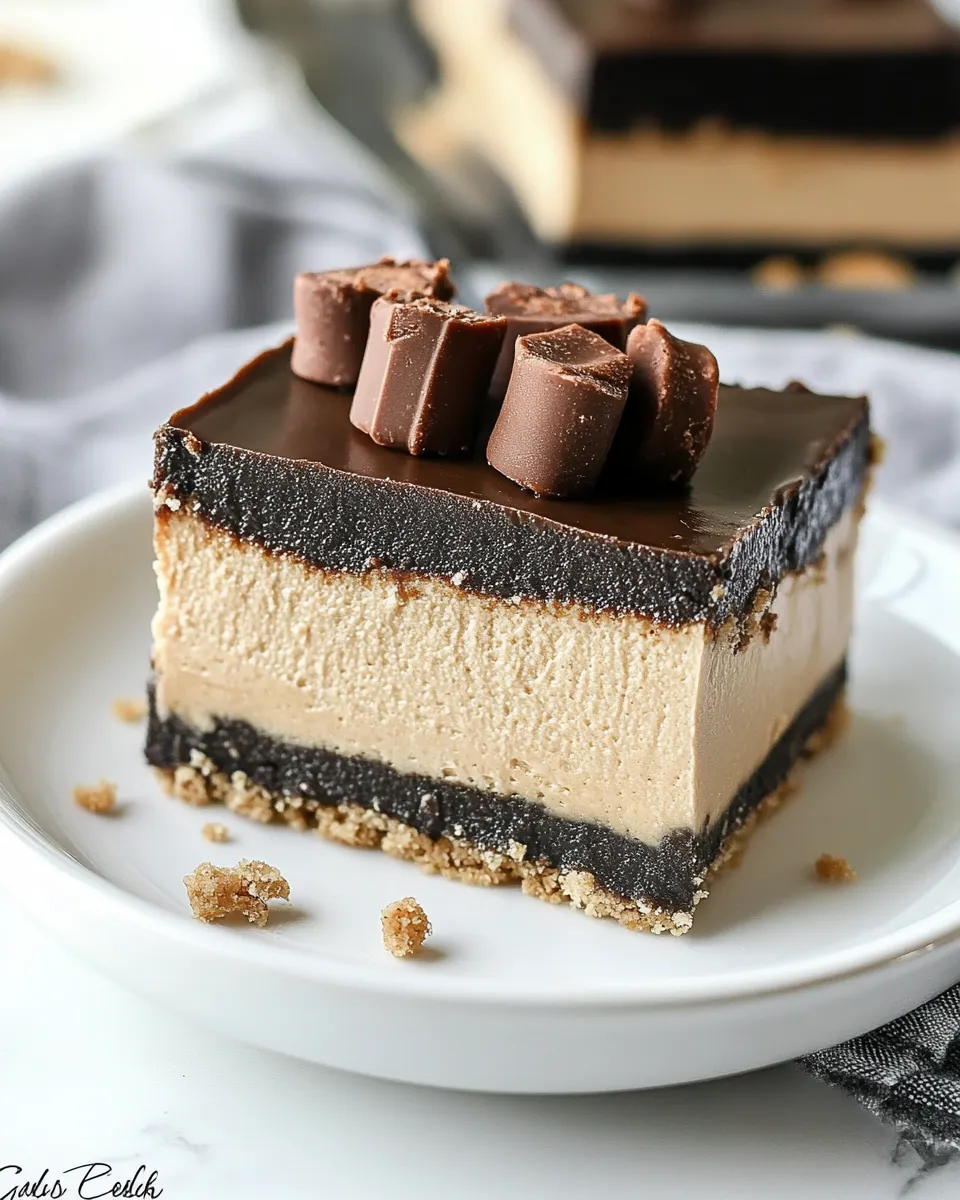
These bars start with a no-fuss Oreo crust that you can make ahead and rely on. The steps are straightforward: grind the cookies, bind with melted butter, bake briefly, chill until firm, then cut. It’s the kind of base that gives you clean bars every time — crisp edges, holdable pieces, minimal fuss.
I write this as someone who values a fast, dependable foundation. You can use this crust as the backbone for a number of layered bars or let it stand on its own as a crunchy, chocolatey base in larger desserts. The method focuses on texture: fine crumbs that stick together without getting greasy or soggy.
Read through the steps once before you start. The recipe is short but there are a few small points — like chilling the crust — that make the difference between crumbling bars and neat, sliceable treats. Follow those and you’ll be rewarded with bars that keep well and travel easily.
What You’ll Gather
Gather basic kitchen tools and a couple of pantry items. You’ll need a 9×13-inch pan for the right thickness and a food processor to get those Oreo crumbs fine and even. A little melted butter binds the crumbs into a cohesive crust that bakes up crisp and slightly fudgy.
Make sure you have a flat surface and a firm spatula or the bottom of a measuring cup to press the crumbs evenly. A wire rack helps speed cooling. Finally, plan for an hour in the refrigerator to get the crust properly firm before cutting.
Ingredients
- 36 Oreos, processed to crumbs in food processor — the cookie base provides chocolate flavor and crunch; pulse to fine crumbs so the crust packs together.
- ½ cup salted butter, melted — melts into the crumbs to bind them; salted butter adds a touch of savory balance to the sweet cookies.
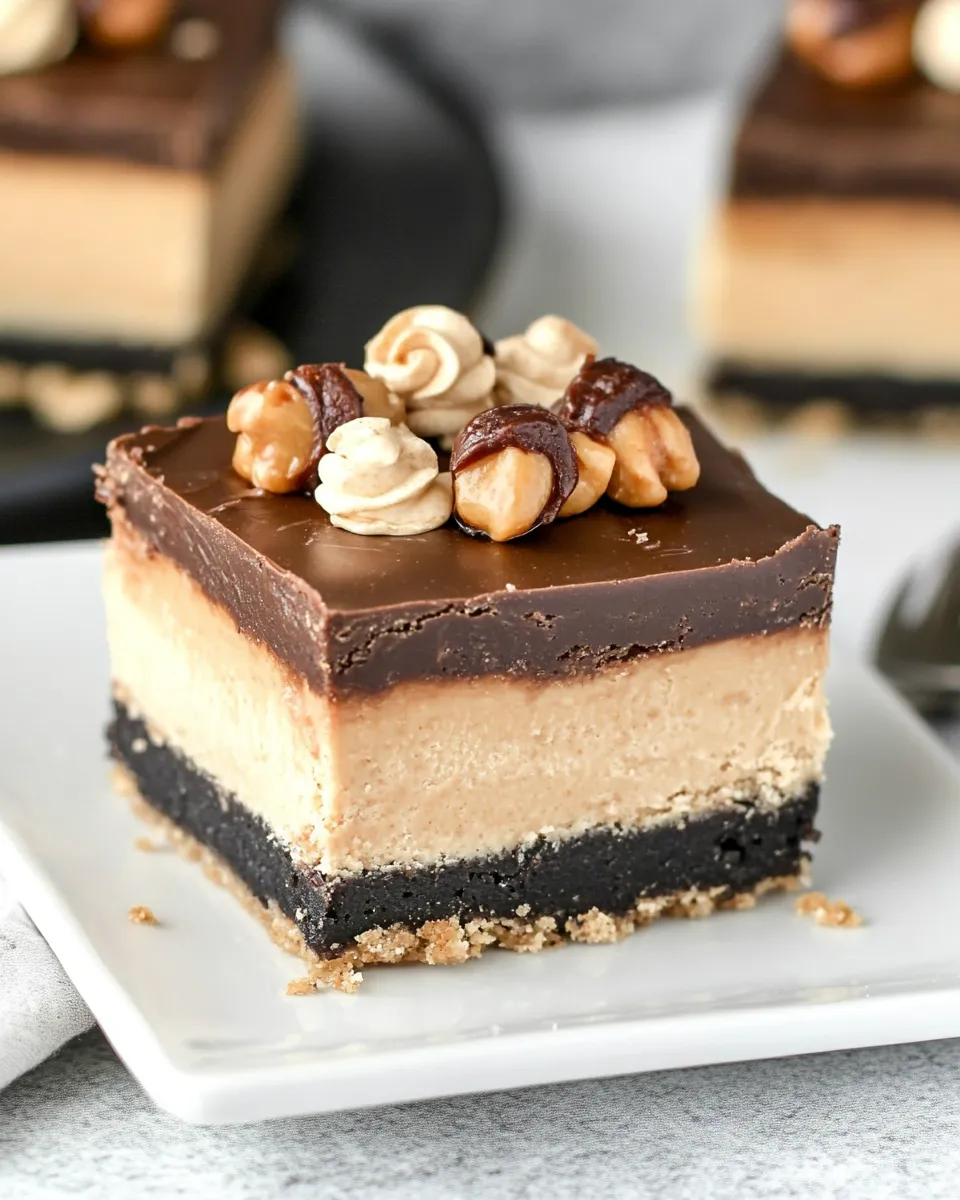
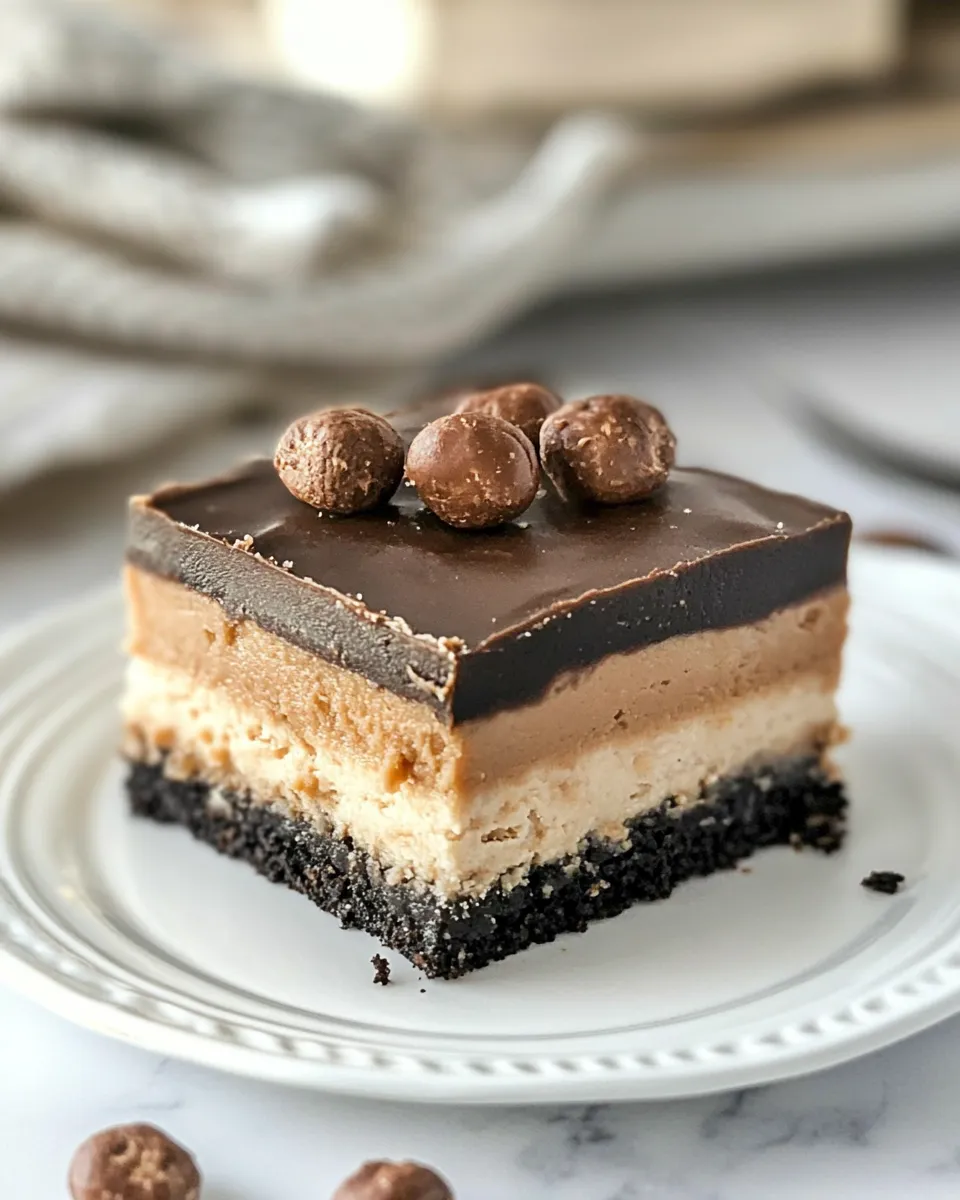
Cheesecake Peanut Butter Bars: How It’s Done
- Preheat the oven to 350°F (175°C). Line a 9×13-inch pan with nonstick foil, leaving an inch or two of overhang on two opposite sides to lift the bars out later.
- Place 36 Oreos in a food processor and pulse until they become fine crumbs. (If you already have crumbs, skip this step.)
- Place the Oreo crumbs in a medium bowl. Add ½ cup salted butter (melted) and stir until the crumbs are evenly moistened and the mixture holds together when pressed.
- Transfer the crumb mixture to the prepared pan and press it firmly and evenly into the bottom using the bottom of a measuring cup or a flat spatula.
- Bake the crust for 10 minutes. Remove from the oven and set the pan on a wire rack to cool to room temperature.
- Once cooled, chill the pan in the refrigerator until the crust is cold and firm, at least 1 hour.
- Use the foil overhang to lift the crust from the pan. Place on a cutting board and cut into bars. Store any leftovers covered in the refrigerator.
What You’ll Love About This Recipe
First, it’s reliable. The steps are short and repeatable, and the results are consistent. The cookie crust becomes crisp but still holds together, so you get clean slices instead of crumbling messes. That reliability is perfect for potlucks, school lunches, or dessert prep when you need a dependable layer.
Second, it’s fast. From start to finish the active work is minimal: blitz cookies, stir with butter, press, bake briefly, and chill. Most of the time is hands-off — chilling and a quick bake — which fits well into a busy evening or a weekend baking session.
Finally, it’s versatile. A sturdy Oreo crust works with many toppings and fillings (cheesecakes, peanut butter layers, chocolate ganache). Even if you’re only following the crust steps here, you’ll end up with a component that improves any layered bar or traybake.
Healthier Substitutions
If you want to lighten the profile a bit, aim for small swaps that preserve texture. You can reduce the butter slightly to trim calories, though too little will affect how well the crust binds. Use a plant-based or reduced-fat spread in place of butter if you prefer a dairy-free alternative; work in small batches to check texture before pressing into the pan.
If sodium is a concern, choose a lower-sodium or unsalted butter and compensate with a tiny pinch of salt to maintain flavor balance. For those watching sugar, look for reduced-sugar sandwich cookies or a version of the cookie you prefer that has less sweetness — just be aware that the flavor and color will shift a bit.
These swaps won’t be identical to the original crust, but they let you tailor the outcome to dietary needs while keeping the core method intact: fine crumbs, a binding fat, press, bake, chill.
Tools & Equipment Needed
Essential
- 9×13-inch baking pan — gives the right thickness and surface area for neat bars.
- Food processor — fastest way to get uniformly fine cookie crumbs.
- Measuring cup and small mixing bowl — for measuring and mixing crumbs with butter.
- Nonstick foil or parchment with overhang — makes lifting the baked crust easy and clean.
- Wire rack — speeds cooling and prevents sogginess from trapped steam.
Helpful extras
- Flat spatula or bottom of a measuring cup — for pressing crumbs evenly into the pan.
- Sharp knife and cutting board — for tidy slices after chilling.
- Plastic wrap or an airtight container — for storing leftovers.
Don’t Do This
Don’t skip the chilling step. The crust firms up in the refrigerator; trying to cut or move it warm will lead to crumbles and uneven bars. Chill at least an hour for clean slices.
Don’t under-process the cookies. Large chunks will prevent the crumbs from compacting uniformly, which results in weak spots and uneven texture. Pulse until you have fine, even crumbs.
Don’t use too little butter. The melted butter is what binds the crumbs into a cohesive crust. If you skimp too much the mixture won’t hold together when pressed and will fall apart after baking.
Don’t omit the overhang. Lining the pan with foil or parchment and leaving an overhang on two sides makes it easy to remove the whole slab for slicing without breaking the edges.
Nutrition-Minded Tweaks
Portion control is one of the simplest ways to manage nutrition. Cut bars into smaller pieces to keep each serving reasonable; a thinner slice still delivers satisfaction without overdoing calories. Serving size matters far more than small tweaks to the recipe when it comes to overall intake.
Swap the butter for a lower-fat spread if you want to lower saturated fat. Plant-based alternatives can reduce dairy but check labels for added hydrogenated fats. Another route: press the crust into a slightly larger pan. That increases surface area and reduces thickness so each bar contains less crust per serving.
Finally, use the crust as a component rather than the whole dessert. Pair a thinner crust with a lighter topping, such as fresh fruit (in practice, choose toppings that match your dietary goals) so the total dessert feels lighter while still hitting the texture you love.
Chef’s Rationale
This method prioritizes structure and texture. Fine, evenly processed crumbs make for a compact crust that presses together cleanly and bakes into a sturdy base. Melted butter distributes uniformly through the crumbs, coating particles so they stick and set when chilled.
Baking briefly does two important things: it toasts a little flavor into the crumbs and it helps the butter set so the crust holds together when cooled. The short bake time protects the butter from separating and keeps the crust crisp rather than oily.
Chilling is the final structural step. Cooling solidifies the fats and gives the crushed-cookie matrix time to lock in place. That’s why you get neat bars rather than crumbled messes — it’s the thermal set and compacted crumbs working together.
Cooling, Storing & Rewarming
Cool the crust on a wire rack to room temperature before refrigerating. If you place a hot pan straight into the fridge you trap steam and invite sogginess. Let it come down to room temp first, then chill for at least an hour to fully firm the butter.
Store the finished bars covered in the refrigerator. They keep well for several days when wrapped or in an airtight container. For longer storage, wrap tightly and place in the freezer; thaw in the refrigerator before slicing for the cleanest cuts.
If you freeze, slice after chilling and wrap individual bars for easier thawing and portion control. Avoid microwaving to rewarm; it will soften the crust and make bars lose their snap. Instead, move frozen bars to the refrigerator overnight to thaw gently.
Cheesecake Peanut Butter Bars Q&A
Q: Can I skip the bake step?
A: Baking gives a slight toasting and helps the butter set. Skipping it may leave a looser, greasier crust that doesn’t hold as well. If you must skip the oven, press very firmly and chill longer, but results will vary.
Q: How fine should the crumbs be?
A: Aim for fine, even crumbs without large cookie pieces. A few tiny flecks are okay, but visible chunks will prevent a compact crust. Pulse in the food processor until the texture resembles coarse sand to finer sand.
Q: Can I make the crust ahead?
A: Yes. Bake and chill the crust, then wrap and refrigerate for a couple days before assembling any additional layers. For longer storage, wrap tightly and freeze; thaw overnight in the refrigerator.
Q: Why use an overhang of foil?
A: The foil overhang creates handles. After chilling you lift the whole slab from the pan, which makes cutting and portioning much cleaner than trying to pry bars from the pan sides.
Q: My crust is crumbly after chilling — what went wrong?
A: Most likely not enough butter or the crumbs weren’t fine enough. Mix until the crumbs are evenly moistened and pack well when pressed. If you’re close, a very light brush of melted butter on the surface after pressing can help bind, but avoid adding too much.
Serve & Enjoy
Once chilled and sliced, these bars are ready to serve. They travel well and keep their shape during transport, so they’re convenient for gatherings. Serve them straight from the refrigerator for the best texture: firm edges, clean slices, and a satisfying snap when you bite in.
Keep presentation simple: a neat stack on a platter, corners trimmed for uniformity, and each piece chilled until serving. The clean technique here — fine crumbs, firm press, short bake, thorough chill — will do most of the work for you. Enjoy the bar you made with confidence in every tidy slice.
Cheesecake Peanut Butter Bars
Ingredients
Ingredients
- 36 Oreos processed to crumbs in food processor
- 1/2 cup salted butter melted
Instructions
Instructions
- Preheat the oven to 350°F (175°C). Line a 9x13-inch pan with nonstick foil, leaving an inch or two of overhang on two opposite sides to lift the bars out later.
- Place 36 Oreos in a food processor and pulse until they become fine crumbs. (If you already have crumbs, skip this step.)
- Place the Oreo crumbs in a medium bowl. Add ½ cup salted butter (melted) and stir until the crumbs are evenly moistened and the mixture holds together when pressed.
- Transfer the crumb mixture to the prepared pan and press it firmly and evenly into the bottom using the bottom of a measuring cup or a flat spatula.
- Bake the crust for 10 minutes. Remove from the oven and set the pan on a wire rack to cool to room temperature.
- Once cooled, chill the pan in the refrigerator until the crust is cold and firm, at least 1 hour.
- Use the foil overhang to lift the crust from the pan. Place on a cutting board and cut into bars. Store any leftovers covered in the refrigerator.
Equipment
- Oven
- 9x13-inch pan
- nonstick foil
- Food Processor
- Measuring Cup
- flat spatula
- Wire Rack
- Cutting Board


