
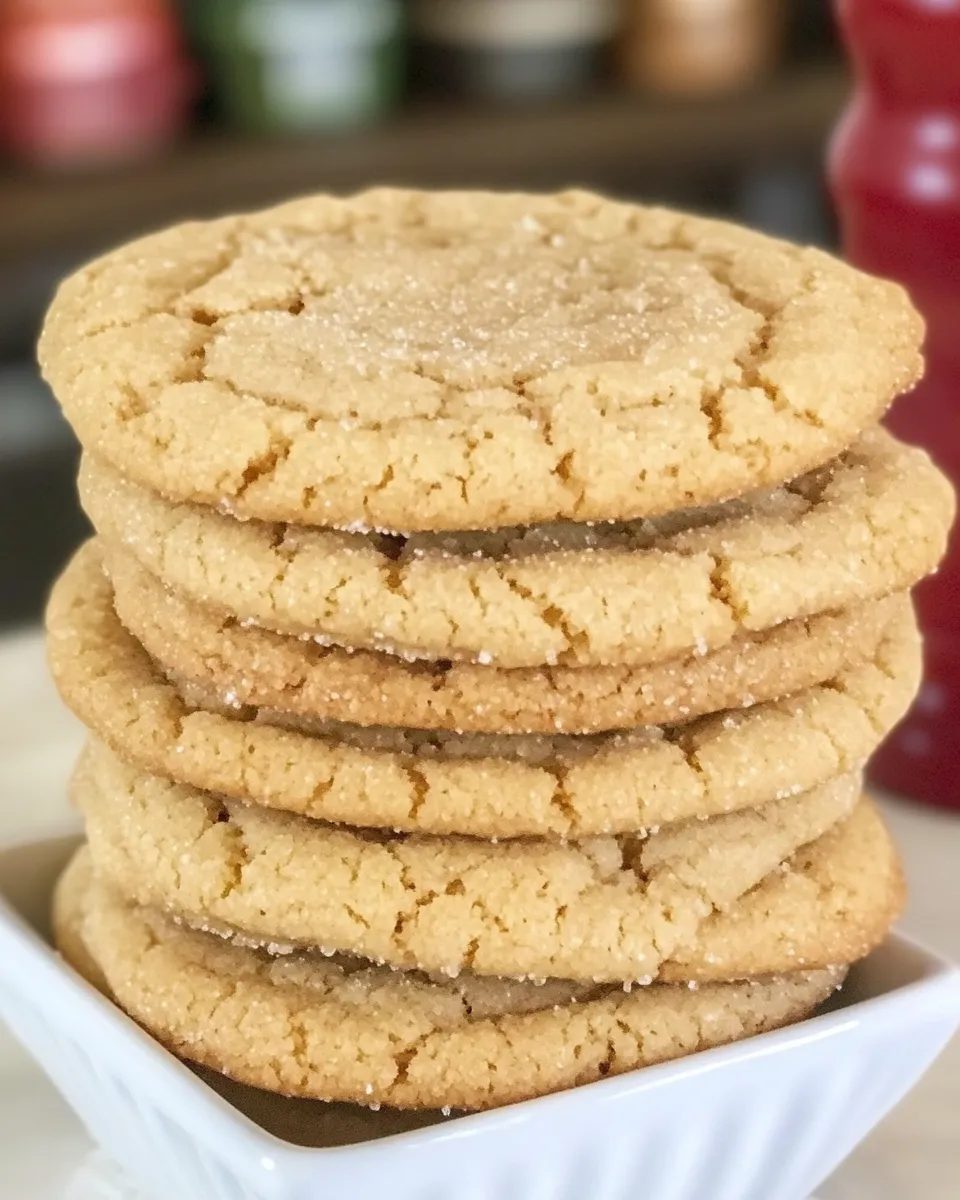
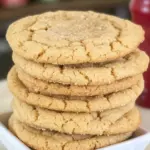
These cookies are the kind I bake when I want something simple, homey, and reliably chewy. The recipe leans on pantry staples and straightforward technique, so you get soft centers, set edges, and a pleasant butterscotch undertone without drama. They come together quickly and behave well in the oven, which is exactly what I need on a weeknight or for a last-minute dessert.
I test cookies by texture more than anything: a little give in the center, a thin crisp around the edge, and a sugar-kissed exterior. This recipe produces that every time if you follow the timing and resist overbaking. The dough is forgiving, too—portion, roll, coat, and bake. Few steps, clear results.
If you like cookies that lean chewy rather than cake-y, this is a keeper. The balance of sugars and a touch of cream of tartar give the right chew. Read through the ingredients and steps once, then dive in. You’ll have warm cookies in under half an hour from start to finish.
What You’ll Need
A quick note before we get to the ingredients and process: gather your ingredients and gear so the baking flow is uninterrupted. Room-temperature butter and an accurate oven temperature make the difference between “almost” and “perfect.”
Ingredients
- 1 cup sugar — adds sweetness and helps create the coated, slightly crunchy exterior when reserved for rolling and for the dough itself.
- 1 cup brown sugar — contributes moisture and chewiness thanks to its molasses, plus depth of flavor.
- 1 cup butter (two sticks) — provides fat for tenderness and flavor; soften to room temperature for proper creaming.
- 1 egg — binds the dough and adds a bit of lift; room temperature mixes more evenly.
- 2 teaspoons vanilla — rounds the flavor and enhances the butterscotch notes.
- 2 ½ cups flour — structure for the cookie; measure by spooning into the cup and leveling for accuracy.
- 2 teaspoons baking soda — leavening agent that helps the cookies spread and rise slightly.
- ¼ teaspoon salt — balances the sweetness and brightens the flavors. If using salted butter, taste and adjust.
- 2 teaspoons cream of tartar — gives a slight tang and helps produce a chewier texture and the classic cracked surface.
- Sugar, to coat dough balls — this extra sugar creates the sweet, sparkly shell on each cookie and adds a pleasant crunch at the edge.
How to Prepare Chewy Butterscotch Cookies
- Preheat oven to 325°F. Line one or more baking sheets with parchment paper.
- In a large bowl, cream the butter and both sugars with a handheld or stand mixer until light and fluffy (about 2–3 minutes).
- Add the egg and vanilla to the creamed mixture and beat until combined.
- In a separate bowl, whisk together the flour, baking soda, cream of tartar, and salt.
- Add the dry ingredients to the wet mixture and mix just until incorporated; do not overmix.
- Using rounded teaspoons, portion the dough and roll each portion into a ball. Roll each ball in the sugar reserved for coating.
- Place the coated dough balls on the prepared baking sheet about 2 inches apart.
- Bake for 9–10 minutes. If you make larger cookies, they may take up to 15 minutes. Remove when edges are set and centers are still slightly soft if you prefer a chewy texture.
- Let the cookies cool on the baking sheet for 2–3 minutes, then transfer them to a wire rack to cool completely.
Why This Recipe Belongs in Your Rotation
First, it’s consistent. The ingredient list is short and familiar, and the method is straightforward. That means you’re less likely to make mistakes and more likely to get the result you want every bake.
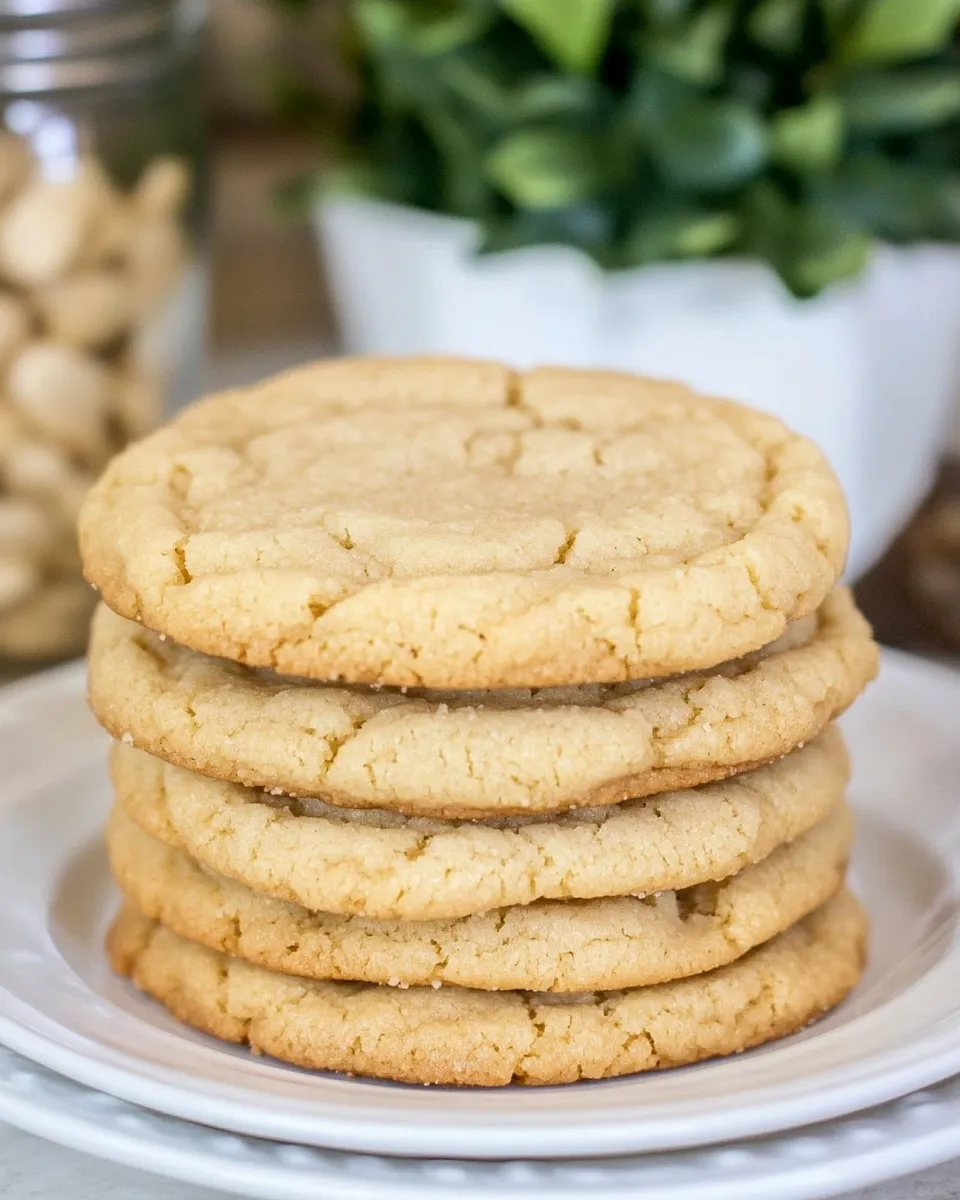
Second, texture. The interplay of granulated and brown sugar with cream of tartar keeps these cookies chewy while still allowing a delicate, set edge. You get that satisfying contrast—soft middle, slightly crisp rim—without complicated steps.
Third, versatility. These cookies are plain enough to serve at school functions or weekday snack time, but they’re flavorful and homey enough for potlucks and holiday plates. They’re dependable company for coffee or a cold glass of milk.
Ingredient Flex Options
- Room-temperature vs. slightly cooler butter: Room-temperature butter cream Faster and gives a lighter texture; slightly cooler butter will spread a touch less and yield a denser center.
- Sugar coating: If you skip rolling in sugar you’ll still have a tasty cookie, but you’ll lose the characteristic sparkly crust.
- Cookie size: The recipe works with rounded teaspoons or larger portions. Increase bake time up to 15 minutes for larger cookies and watch the centers closely.
- Chilling the dough briefly: If your kitchen is warm or you want less spread, chill the dough for 15–30 minutes before portioning and rolling.
What You’ll Need (Gear)
- Handheld or stand mixer — for creaming butter and sugars efficiently.
- Mixing bowls — one large for creaming and one for whisking dry ingredients.
- Measuring cups and spoons — accurate dry and liquid measures keep results consistent.
- Baking sheet(s) — metal sheets transfer heat well; line them with parchment for easy release.
- Parchment paper — prevents sticking and makes cleanup easier.
- Wire cooling rack — cools cookies evenly so they stop baking on the hot sheet.
- Teaspoon or small cookie scoop — for even portions; rounded teaspoons are specified in the instructions.
- Spatula — for transferring cookies to the rack without tearing.
Slip-Ups to Skip
Overmixing the combined dough is a common trap. Once you add the dry ingredients, mix just until you can’t see streaks of flour. Overworked dough yields tougher cookies.
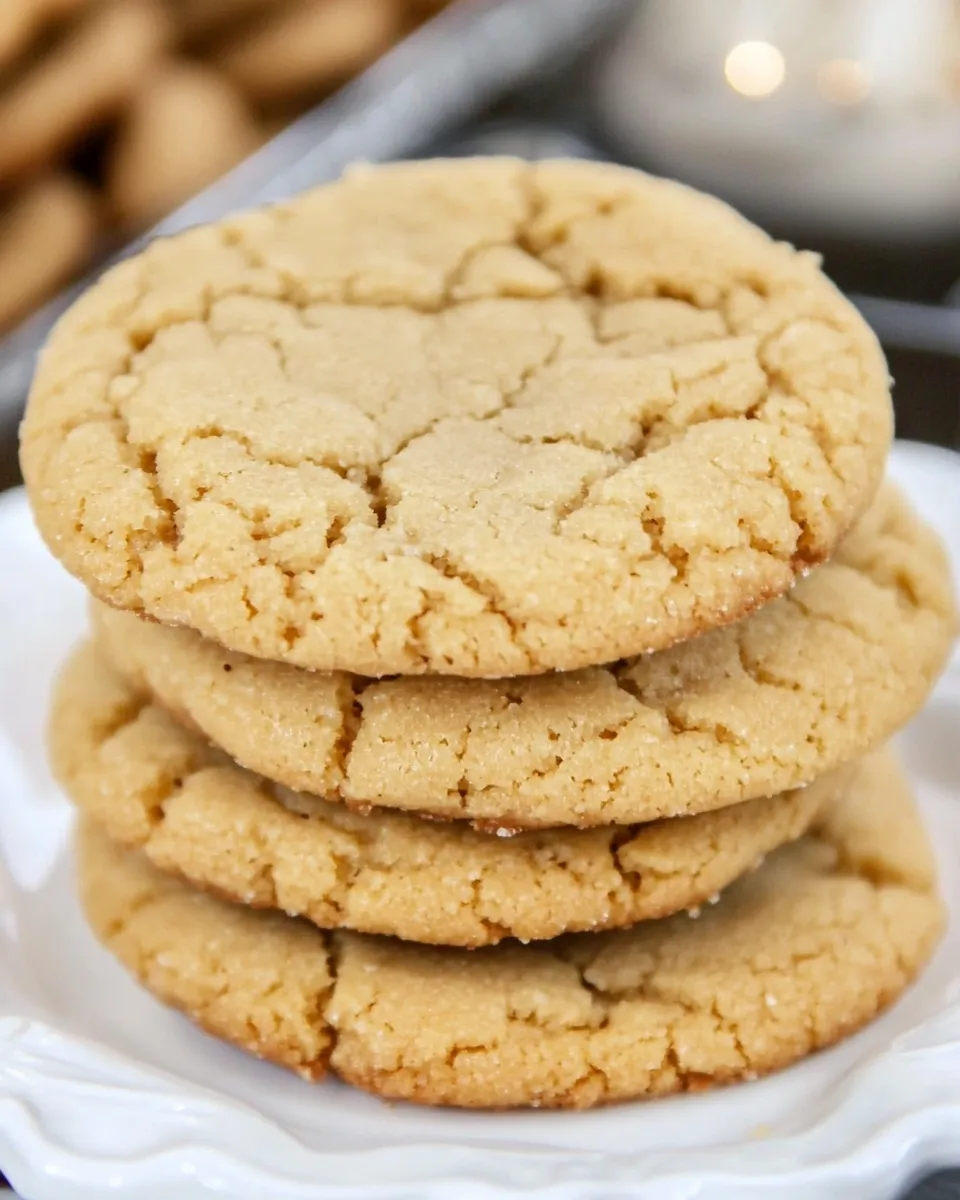
Don’t overbake. These cookies look slightly underdone in the center when they come out—if you like chewy cookies, take them out when the edges are set and centers are still soft. They’ll finish on the sheet while cooling.
Avoid skipping the sugar roll if you want the classic exterior. It’s a small extra step that makes a noticeable difference in texture and appearance.
Finally, be mindful of oven temperature. If your oven runs hot or cool, adjust accordingly. Use an oven thermometer if you’re unsure.
Smart Substitutions
- Butter — if using salted butter, reduce or omit the added salt (the recipe calls for ¼ teaspoon). If you only have cold butter, cut it into small pieces and mix a bit longer when creaming so it blends.
- Brown sugar — packed brown sugar preserves chewiness. If your brown sugar is hard, microwave it briefly (covered) or place it in a sealed bag with a slice of bread overnight to re-soften.
- Egg — for a slightly different texture, you can try a room-temperature egg replacement (like commercial egg replacers) in small batches, but results will vary; the egg in the recipe contributes to structure and moisture.
- Cream of tartar — omitting it will change the texture slightly; the cookies may be a touch less chewy and show fewer cracks, but they will still be tasty.
Flavor Logic
Knowing why each ingredient is in the dough helps you troubleshoot and adjust. Butter is your flavor and tenderness source. Granulated sugar encourages spreading and creates that browned, slightly crisp edge, while brown sugar keeps things moist and chewy because of its molasses content. The egg binds and gives structure; vanilla amplifies the sweet, caramel-like profile. Baking soda aids lift and spread, and cream of tartar keeps the cookies tender and contributes to that slightly tangy, chewy bite and the attractiveness of small surface cracks. Salt—though small—sharpens everything else and prevents a flat, overly sweet result.
Make-Ahead & Storage
Make ahead options are flexible. You can portion the dough into rolled, sugared balls and freeze them on a tray. Once frozen, transfer to a sealed bag and bake from frozen—add a minute or two to the baking time. Alternatively, bake the cookies and freeze them fully cooled; reheat briefly in a low oven to refresh the texture.
Room temperature storage: keep in an airtight container for up to 3 days; place a slice of bread in the container to help maintain softness. Refrigerate for up to a week, though cold cookies will firm up—bring them to room temperature before serving for best chew.
For longer storage, freeze baked cookies for up to 3 months. Thaw at room temperature or warm briefly in a low oven.
Chewy Butterscotch Cookies Q&A
Q: How do I keep these cookies chewy? A: Pull them from the oven when the edges are set but centers still look slightly soft. They’ll continue to set while cooling on the baking sheet. Also, don’t overmix after adding the flour; overworking develops gluten and yields a firmer cookie.
Q: What does the cream of tartar do here? A: It contributes a subtle tang and helps the cookies maintain chewiness and develop those small, attractive surface cracks. It’s a small ingredient with a noticeable textural effect.
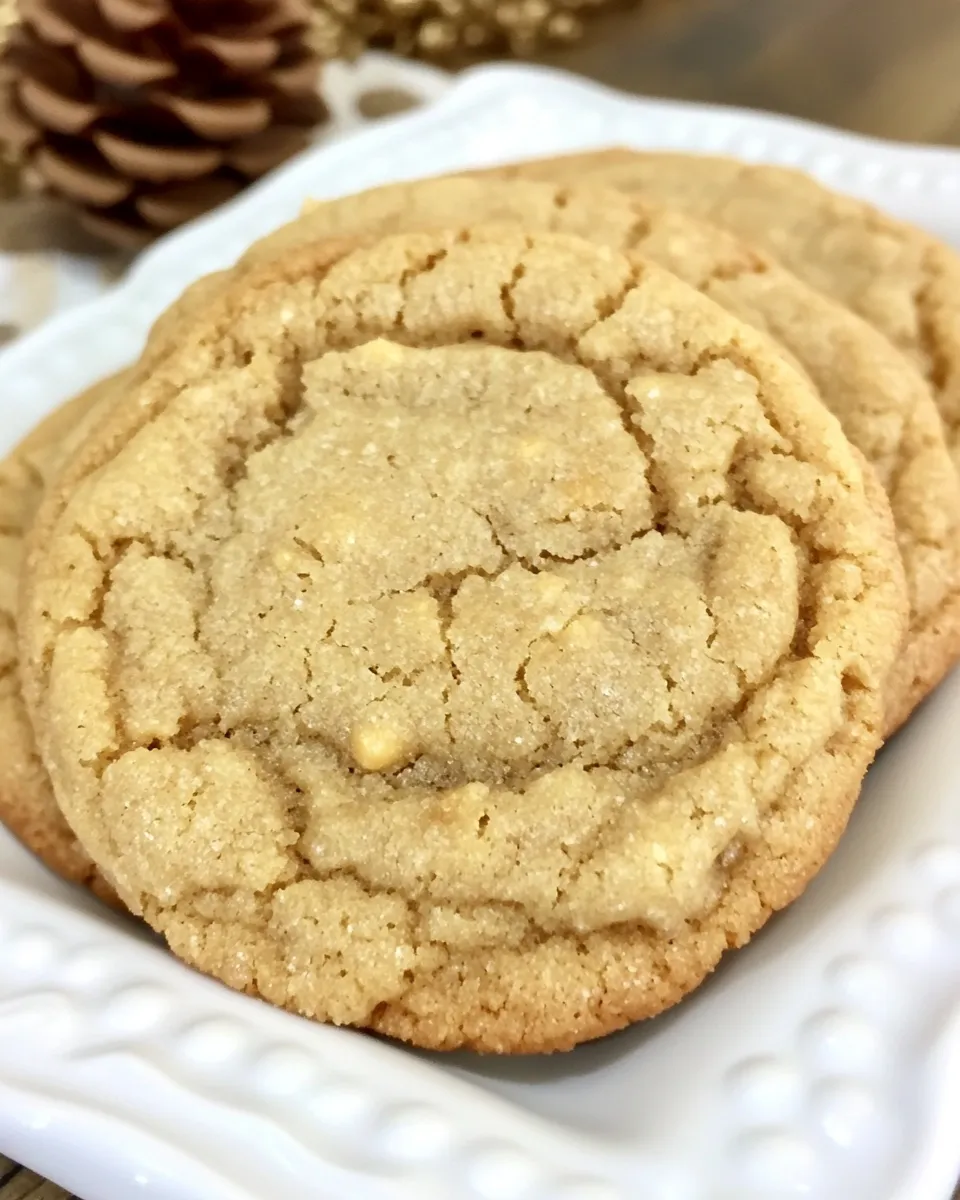
Q: Can I add mix-ins like chips or nuts? A: Yes. If you want mix-ins, fold them in after the dough comes together and portion accordingly. Because the original ingredient list doesn’t include chips, adjust bake time for larger cookies if you add sizable mix-ins.
Q: My cookies spread too much—what went wrong? A: Possible causes include overly warm butter, an oven that’s too hot, or dough that was over-creamed. Chill the dough briefly and ensure your oven temperature is accurate.
Save & Share
Save this recipe where you store your go-to bakes. It’s simple enough to memorize but worth keeping on hand for quick reference, especially the bake time and the trick about removing the cookies when the centers are still soft.
If you make a batch, share a photo with friends and note the bake time you used and any tweaks. These cookies respond well to small adjustments, so a note about oven idiosyncrasies or slight size changes helps when you bake them again. Pass them around—chewy cookies like these tend to disappear fast.
Chewy Butterscotch Cookies
Ingredients
Ingredients
- 1 cup sugar
- 1 cup brown sugar
- 1 cup butter two sticks
- 1 egg
- 2 teaspoons vanilla
- 2 1/2 cups flour
- 2 teaspoons baking soda
- 1/4 teaspoon salt
- 2 teaspoons cream of tartar
- Sugar to coat dough balls
Instructions
Instructions
- Preheat oven to 325°F. Line one or more baking sheets with parchment paper.
- In a large bowl, cream the butter and both sugars with a handheld or stand mixer until light and fluffy (about 2–3 minutes).
- Add the egg and vanilla to the creamed mixture and beat until combined.
- In a separate bowl, whisk together the flour, baking soda, cream of tartar, and salt.
- Add the dry ingredients to the wet mixture and mix just until incorporated; do not overmix.
- Using rounded teaspoons, portion the dough and roll each portion into a ball. Roll each ball in the sugar reserved for coating.
- Place the coated dough balls on the prepared baking sheet about 2 inches apart.
- Bake for 9–10 minutes. If you make larger cookies, they may take up to 15 minutes. Remove when edges are set and centers are still slightly soft if you prefer a chewy texture.
- Let the cookies cool on the baking sheet for 2–3 minutes, then transfer them to a wire rack to cool completely.
Equipment
- Mixing Bowl
- Hand mixer or stand mixer
- Measuring cups and spoons
- Baking Sheet
- Parchment Paper
- Wire Rack


