
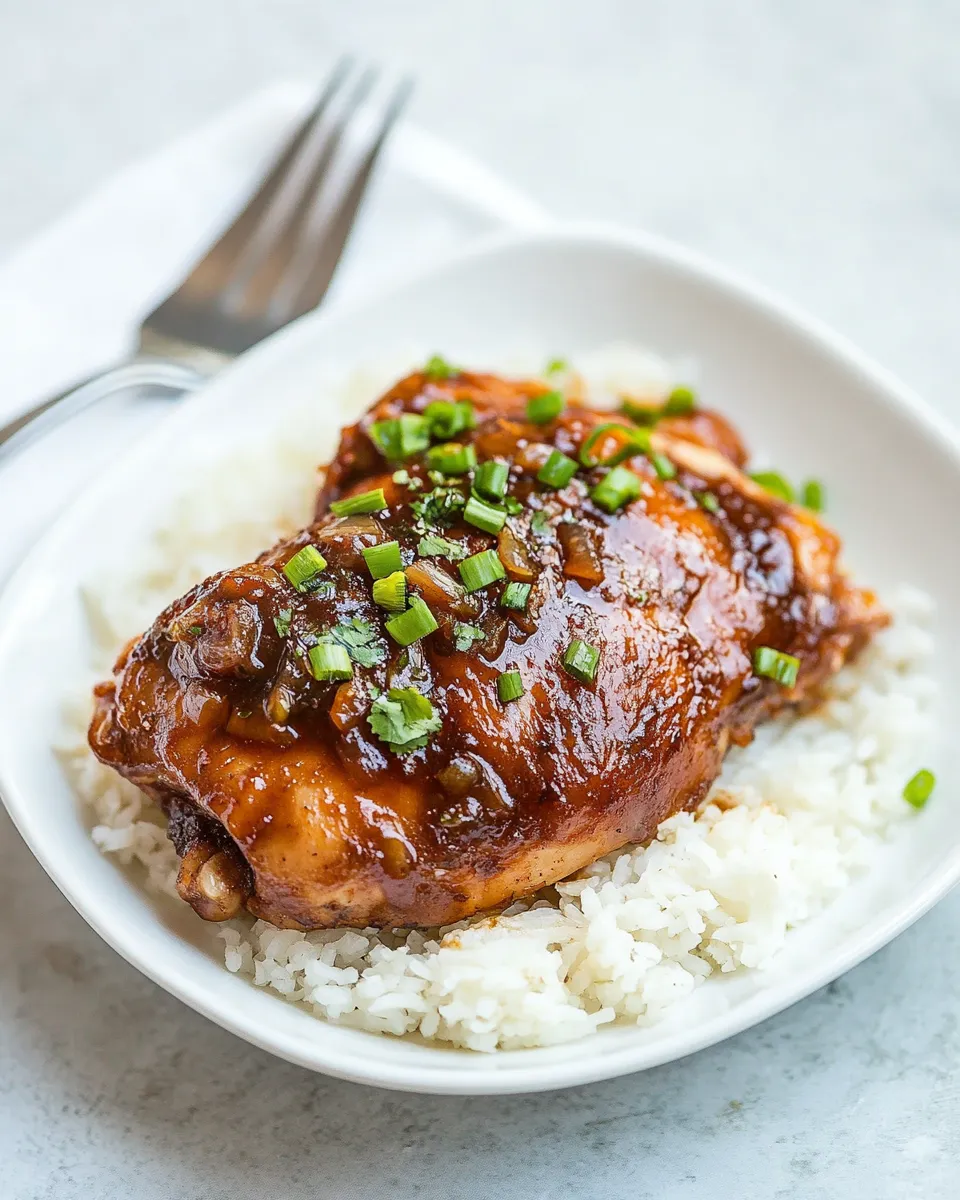
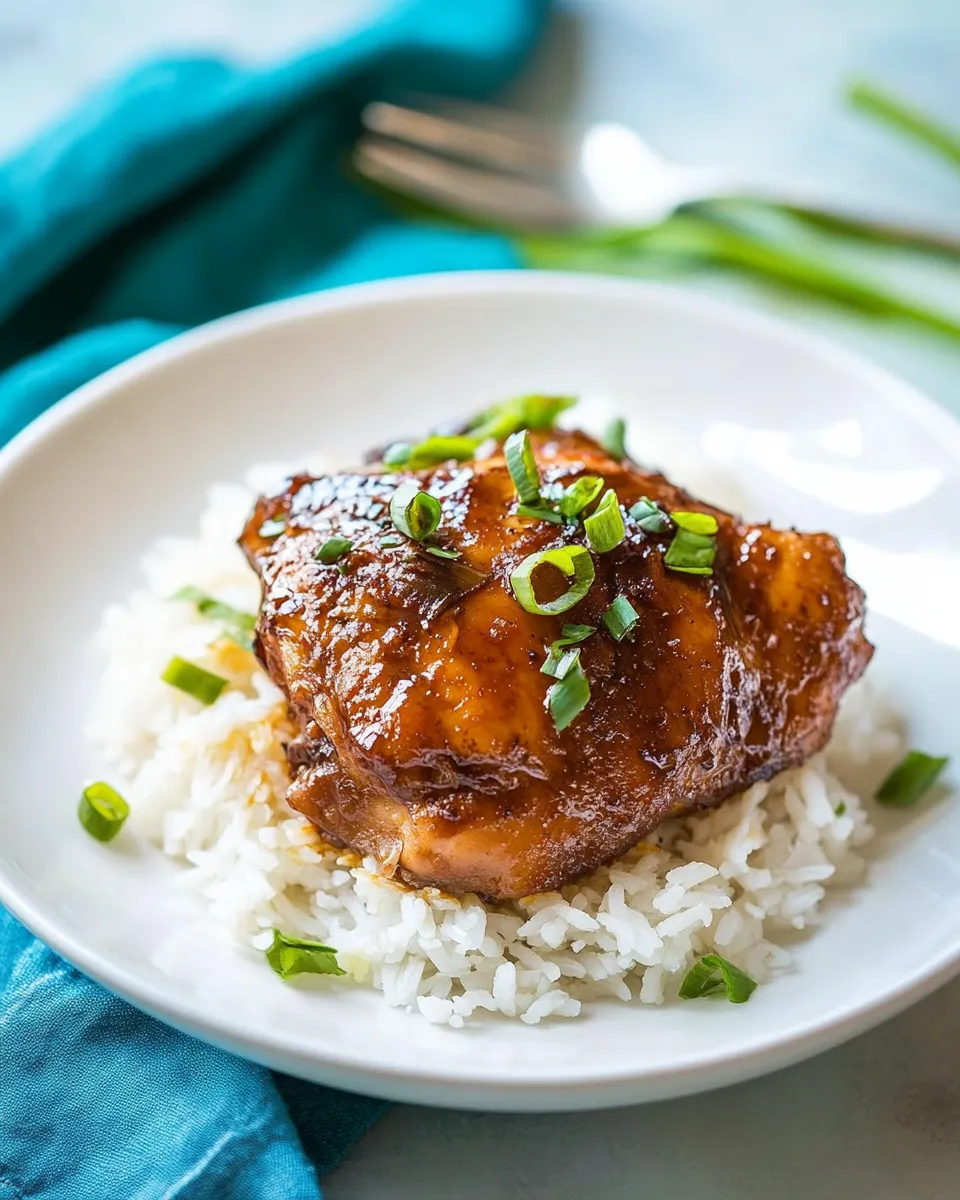
This is the adobo I cook when I want something that feels like home within an hour. It leans on the humble trio of vinegar, soy sauce, and garlic, but the technique — searing the chicken, simmering gently, and reducing the sauce — is what turns those pantry staples into something richly comforting. The skin goes glossy and deep brown; the sauce becomes tangy and savory with a little sweetness to balance.
I’ll walk you through every step I use so you can reproduce the same result on a weeknight or when guests drop by. No complicated steps, just attention to heat and timing. Treat the recipe as a template: keep the acid, salt, and aromatics in balance, and you’ll end up with tender, flavorful chicken every time.
Gather These Ingredients
Ingredients
- 1/2cupcane vinegar or rice vinegar — provides the bright acidic backbone; choose cane for a sharper tang or rice for a milder profile.
- 1/2cupsoy sauce(see notes*) — adds salt and umami; use regular or low-sodium depending on taste and dietary needs.
- 1Tbspbrown sugar or palm sugar — balances the vinegar with a touch of sweetness; palm sugar gives a deeper caramel note.
- 1tspblack peppercorns — whole peppercorns give subtle warmth and texture as they simmer in the sauce.
- 1Tbspvegetable oil — for searing the chicken; a neutral oil with a high smoke point works best.
- 6bone-in, skin-on chicken thighs (about 2 1/2 lbs), trimmed of excess skin and fat — thighs stay juicy during simmering and the skin crisps when seared.
- 5mediumgarlic cloves,crushed slightly and peeled — crushing releases more aromatics; add in the pan during searing for flavor and browning.
- 3bay leaves — subtle herbal background that complements the vinegar and soy.
Chicken Adobo: From Prep to Plate
- In a glass measuring cup, whisk together the vinegar, soy sauce, brown sugar, and black peppercorns until the sugar begins to dissolve. Set the mixture aside.
- Pat the chicken thighs dry with paper towels.
- Heat the vegetable oil in a large pot over medium-high heat until shimmering. Add 3 chicken thighs to the pot, skin side down, without crowding. Sear until the skin is golden brown, about 4–6 minutes. Transfer the seared thighs to a plate.
- Add the remaining 3 thighs to the pot, skin side down, and sear another 4–6 minutes. During the last 30 seconds of searing the second batch, add the crushed garlic cloves to the pan and sauté briefly until fragrant. Transfer these thighs to the plate with the first batch.
- Remove the pot from the heat. Carefully pour in the vinegar–soy mixture (it may sputter). Return all 6 chicken thighs to the pot, arranging them skin side down. Nestle the bay leaves among the chicken.
- Return the pot to the stove, bring the sauce just to a boil over medium-high heat, then reduce the heat to low. Cover and simmer for 20 minutes.
- Uncover and flip each thigh so the opposite side is down. Continue to simmer uncovered until the chicken is cooked through (juices run clear or an internal temperature of 165°F/74°C), about 20 minutes more.
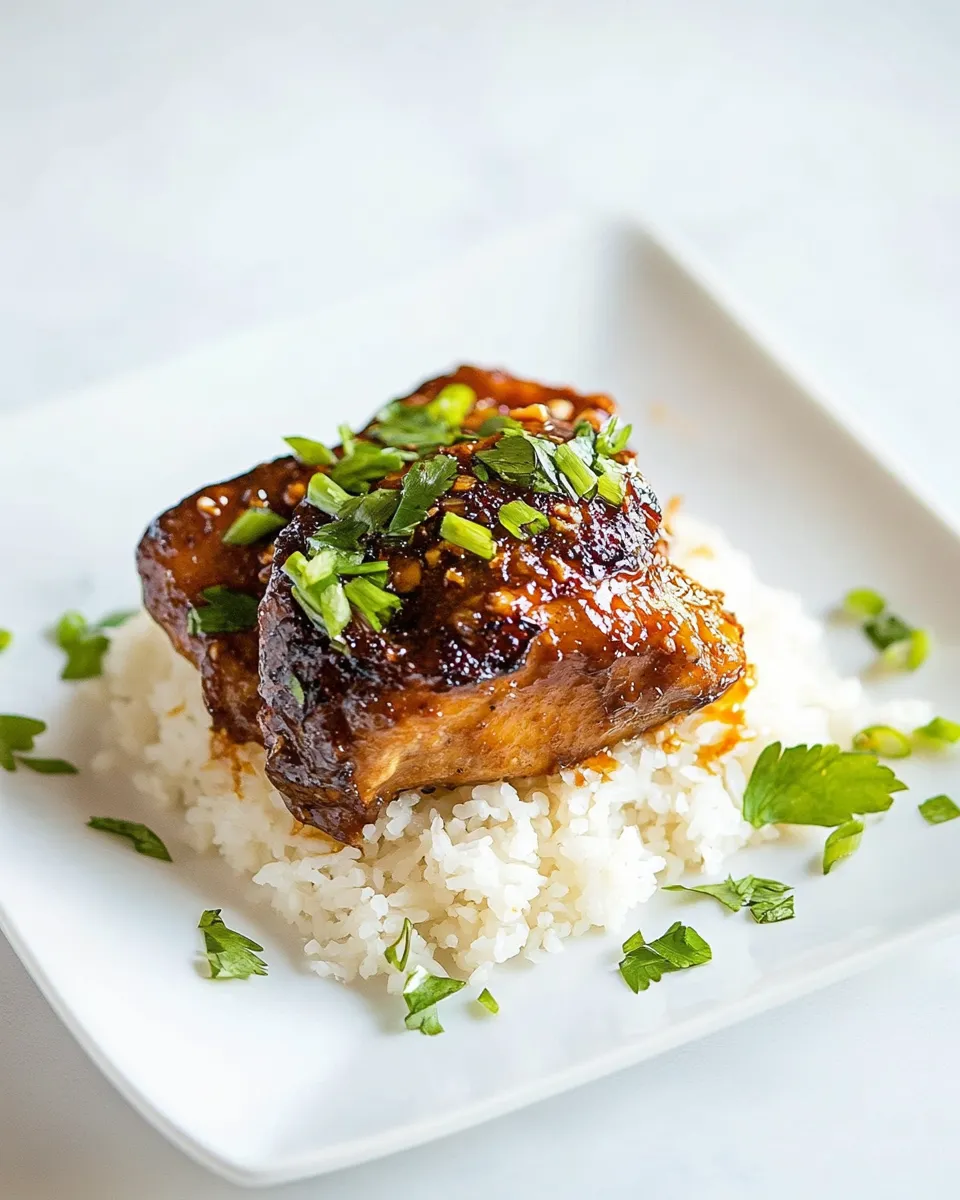
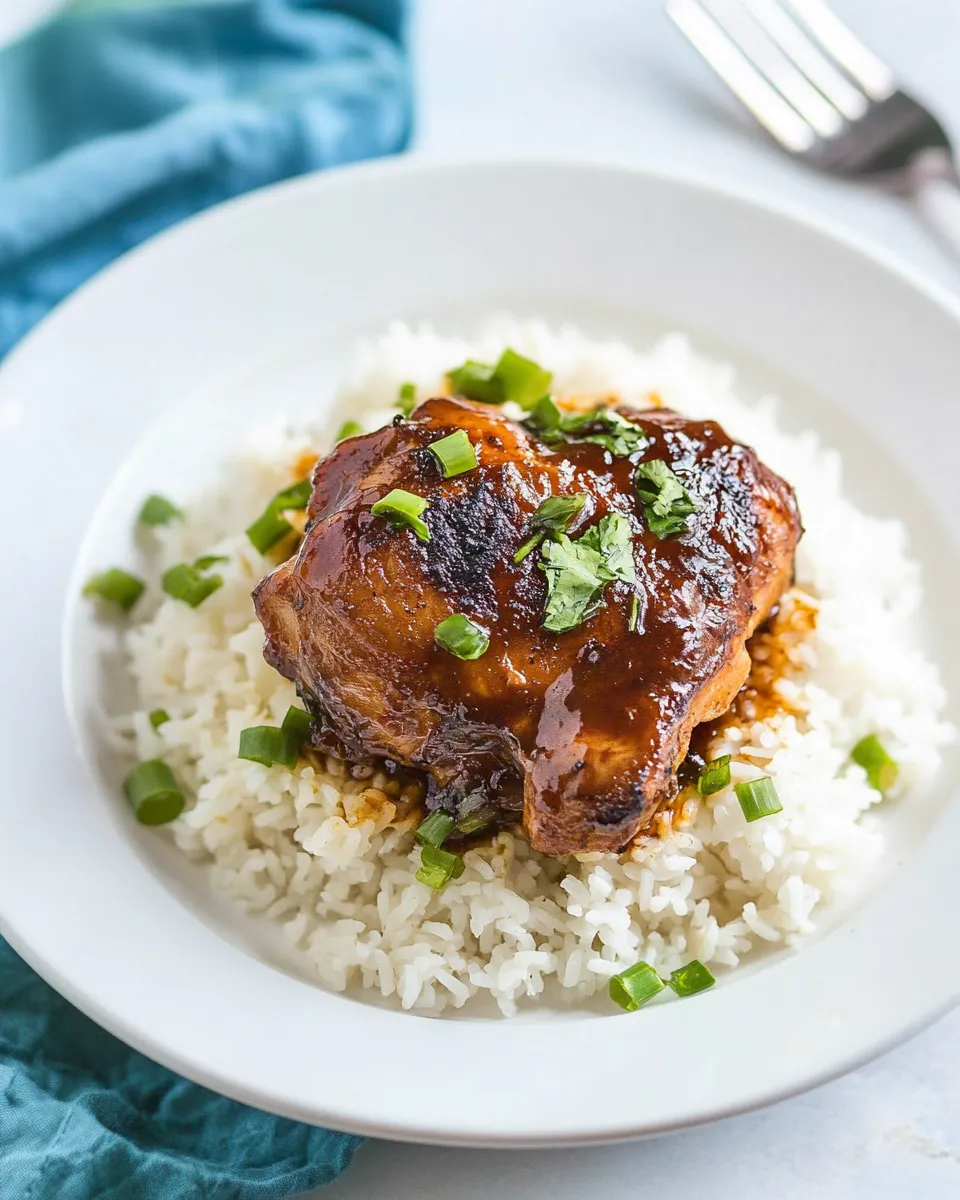
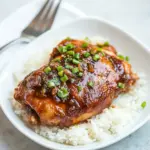
- Remove and discard the bay leaves. Serve the chicken warm with some of the cooking sauce spooned over.
Why This Recipe is a Keeper
This version of Chicken Adobo is straightforward and consistent. It relies on technique more than complicated ingredients: a good sear, a measured simmer, and a short reduction. Those few steps coax deep flavor from pantry components and transform inexpensive chicken thighs into something restaurant-worthy.
It’s forgiving. If you don’t hit the sear perfectly, the sauce still rescues the meat. If you like a more pronounced tang or a sweeter finish, small adjustments to the vinegar or sugar at the end won’t break the dish. And most importantly, it stores and reheats beautifully, which makes it perfect for meal planning.
Low-Carb/Keto Alternatives
- Swap the brown sugar or palm sugar for a granular erythritol or monk fruit-based sweetener in a 1:1 ratio if you need to keep carbs down; taste and adjust since sweeteners can vary in intensity.
- Use a low-sodium soy sauce or tamari to better control sodium and pair it with a sprinkle of salt if necessary. Tamari is also a good gluten-free option.
- If you want a richer, lower-carb sauce texture, simmer uncovered a little longer to reduce the liquid to a glaze rather than a thin sauce.
Tools of the Trade
- Large, heavy-bottomed pot or Dutch oven — holds heat well and gives even browning for searing.
- Tongs — essential for flipping seared thighs without losing the crust.
- Glass measuring cup or small bowl for whisking the sauce — easy to pour and safe with vinegar.
- Instant-read thermometer — the best way to ensure thighs reach 165°F/74°C without overcooking.
- Paper towels — to pat the chicken dry; dryness equals better sear.
Mistakes That Ruin Chicken Adobo
- Skipping the sear. If you don’t brown the skin, you miss a layer of caramelized flavor and a pleasing texture contrast.
- Adding the vinegar to a very hot pan without removing it from the heat. It can sputter aggressively; removing the pot briefly prevents burns and loss of liquid.
- Cooking at too high a simmer the whole time. A vigorous boil will toughen the meat; bring to a boil, then lower to a gentle simmer and cover as directed.
- Not tasting and adjusting at the end. Vinegar loses bite as it cooks; small adjustments to sugar or an extra splash of soy can bring the sauce back into balance.
- Overcrowding the pot during searing. If the skin steams instead of sears, you won’t get a crisp, flavorful crust.
Fresh Takes Through the Year
Spring: Add a handful of blanched green beans or snap peas right at the end to introduce a fresh crunch and color contrast. They’ll pick up the sauce quickly and stay crisp.
Summer: Finish with a squeeze of citrus (lime or calamansi if you have it) at the table to brighten the whole dish and cut through the richness. Serve with a simple tomato and cucumber salad to lighten the plate.
Fall: Stir in a couple of roasted shallots or caramelized onions when you flip the thighs for deeper sweetness and a cozy aroma. Root vegetables roasted on the side make it feel like a full autumn meal.
Winter: Let the sauce reduce to a thicker glaze and serve over mashed sweet potatoes or cauliflower mash for a comforting, warming meal.
Behind-the-Scenes Notes
I trim excess skin and fat from the thighs because the goal is crisp, not greasy, skin. The rendered fat from searing provides enough flavor; too much fat can weigh the dish down and make the sauce cloudy. Also, I use whole peppercorns rather than ground black pepper because they infuse the sauce subtly and are easy to remove if someone prefers less bite.
When pouring the vinegar–soy mixture back into the pot, I always remove the pot from the heat first. The sputter is real. A short pause protects you and helps maintain the right amount of liquid early in the simmer stage so the sauce can become concentrated without evaporating too quickly.
Best Ways to Store
- Refrigerate in an airtight container for up to 4 days. The flavor develops and often improves after a day.
- To freeze, cool completely, then transfer to a freezer-safe container for up to 3 months. Thaw overnight in the refrigerator before reheating gently on the stove.
- Reheat slowly over low heat, adding a tablespoon or two of water if the sauce has reduced too far, to prevent drying out the chicken.
Your Top Questions
- Can I use chicken breast instead of thighs? You can, but breasts will cook faster and can dry out during the long simmer. If you use breasts, reduce simmering time and monitor internal temperature closely.
- Is there a vegetarian version? You can adapt the technique to firm tofu or mushrooms — sear first, then simmer in the same vinegar–soy mixture — but that’s a different ingredient set than this recipe.
- Why do some adobo recipes call for browning sugar or caramel? Browning sugar adds a deeper color and additional caramelized flavor to the sauce. The small amount of brown or palm sugar here provides that balance without overpowering the tang.
- Do I have to remove the bay leaves? Yes, discard them before serving. They’re used for flavoring during cooking and can be sharp or unpleasant to bite into whole.
Wrap-Up
Chicken Adobo is unfussy, forgiving, and endlessly adaptable. Follow the sear-and-simmer approach here, and you’ll get juicy thighs, glossy skin, and a balanced sauce every time. Taste as you go, protect your hands from the sputter when you add the vinegar mixture, and don’t be afraid to tweak sugar or soy levels to match your palate. Make a double batch if you like eating better the next day — adobo nearly always tastes better after it rests.
Thank you for cooking along. If you try this recipe, note one small change you made and how it turned out. Those little experiments are what build confidence in the kitchen.
Chicken Adobo
Ingredients
Ingredients
- 1/2 cupcane vinegar or rice vinegar
- 1/2 cupsoy sauce see notes*
- 1 Tbspbrown sugar or palm sugar
- 1 tspblack peppercorns
- 1 Tbspvegetable oil
- 6 bone-in skin-on chicken thighs (about 2 1/2 lbs), trimmed of excess skin and fat
- 5 mediumgarlic cloves crushed slightly and peeled
- 3 bay leaves
Instructions
Instructions
- In a glass measuring cup, whisk together the vinegar, soy sauce, brown sugar, and black peppercorns until the sugar begins to dissolve. Set the mixture aside.
- Pat the chicken thighs dry with paper towels.
- Heat the vegetable oil in a large pot over medium-high heat until shimmering. Add 3 chicken thighs to the pot, skin side down, without crowding. Sear until the skin is golden brown, about 4–6 minutes. Transfer the seared thighs to a plate.
- Add the remaining 3 thighs to the pot, skin side down, and sear another 4–6 minutes. During the last 30 seconds of searing the second batch, add the crushed garlic cloves to the pan and sauté briefly until fragrant. Transfer these thighs to the plate with the first batch.
- Remove the pot from the heat. Carefully pour in the vinegar–soy mixture (it may sputter). Return all 6 chicken thighs to the pot, arranging them skin side down. Nestle the bay leaves among the chicken.
- Return the pot to the stove, bring the sauce just to a boil over medium-high heat, then reduce the heat to low. Cover and simmer for 20 minutes.
- Uncover and flip each thigh so the opposite side is down. Continue to simmer uncovered until the chicken is cooked through (juices run clear or an internal temperature of 165°F/74°C), about 20 minutes more.
- Remove and discard the bay leaves. Serve the chicken warm with some of the cooking sauce spooned over.
Equipment
- Measuring Cup
- Large Pot
- Plate
Notes
**To thicken the sauce I don't recommend simmering longer after chicken has been removed to reduce further - sauce will be too salty. Instead if you'd prefer it thicker I recommend whisking together 2 tsp cornstarch with 1 Tbsp water then adding to the pot with the sauce and simmering about 30 - 60 seconds, stirring constantly, just until thickened slightly.
Other variations on this recipe include adding 1 small yellow onion (sliced), 1/2 cup coconut milk, or adding 1 sliced Thai chili for heat. You can also make it sweeter if desired by adding more palm or brown sugar.
Nutrition estimate based on using low-sodium soy sauce.


