
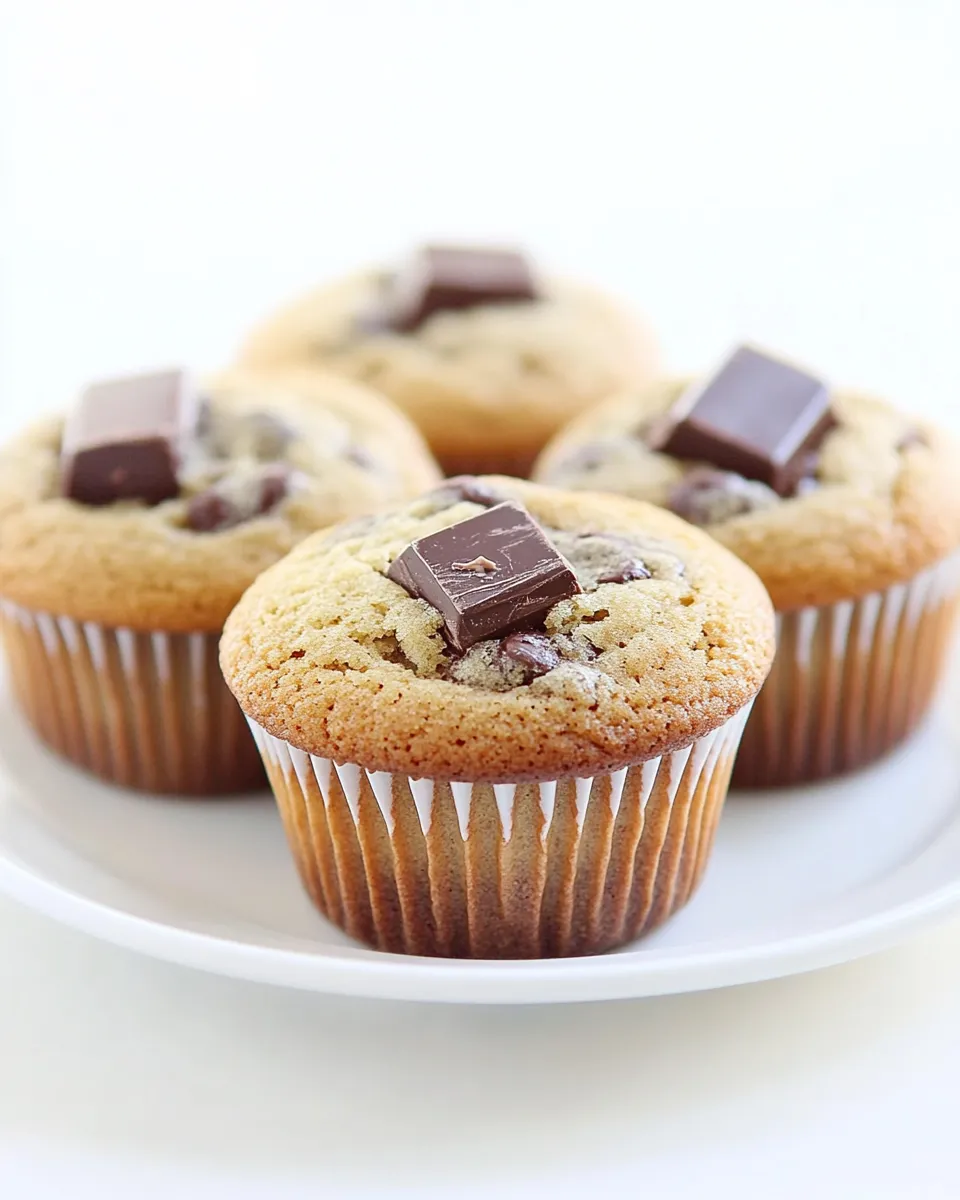
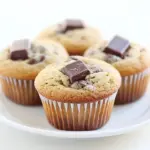
Think of these as the happiest hybrid in the bake-sale lineup: the chew of a cookie, the shape and shareability of a cupcake. They come together fast, bake reliably, and stay tender thanks to a little milk and a mix of sugars. Semi-sweet chunks give pockets of melty chocolate without turning the whole thing into a molten mess.
I test recipes the way most people test patience—by making them over and over until they behave. These cookie cupcakes are forgiving. You can scoop them, top them with a few extra chunks, and trust that they’ll bake into lightly domed, pale-golden treats with a soft center and a slightly crisp edge.
This post gives you the exact recipe, the why behind the method, smart swaps, troubleshooting, and the small tricks I use when I’m making a double batch for friends. No fuss, just practical steps so you can get to the part where you eat one warm from the rack.
Ingredient List
- 1½ cups all-purpose flour — provides the structure; measure by spooning into the cup and leveling for accuracy.
- ¾ teaspoon baking powder — a light lift so the tops are tender and not dense.
- ½ teaspoon salt — balances sweetness; adjust slightly if using salted butter.
- 1 cup (2 sticks) unsalted butter, softened — richness and mouthfeel; soften to room temperature for even creaming.
- ¾ cup granulated white sugar — contributes to crisping and sweetness.
- ¾ cup packed light brown sugar — adds moisture and a subtle caramel flavor.
- 3 large eggs — binders and structure; add one at a time as directed for even incorporation.
- 1 teaspoon pure vanilla extract — flavor enhancer; pure is best for clean flavor.
- ⅓ cup whole milk — tenderizes the crumb and loosens batter for scooping.
- 8 ounces semi-sweet chocolate, cut into ½-inch chunks (or Nestle’s Chocolate Chunks) — the chocolate pockets; reserve a few extra chunks to press on top, if you’d like.
Chocolate Chunk Cookie Cupcakes — Do This Next
- Preheat the oven to 375°F (190°C). Line two standard 12-cup muffin tins with paper liners.
- In a medium bowl, whisk together 1½ cups all-purpose flour, ¾ teaspoon baking powder, and ½ teaspoon salt. Set the dry mixture aside.
- In the bowl of an electric mixer fitted with the paddle attachment (or in a large bowl with a hand mixer), put 1 cup (2 sticks) softened unsalted butter, ¾ cup granulated sugar, and ¾ cup packed light brown sugar. Beat on medium-high speed until the mixture is pale and fluffy.
- Add the 3 large eggs one at a time, mixing after each until incorporated. Add 1 teaspoon pure vanilla extract and mix until combined.
- Reduce the mixer speed to low. Add the flour mixture in two additions, alternating with the ⅓ cup whole milk: add half the flour mixture and mix just until incorporated, add the milk and mix until combined, then add the remaining flour mixture and mix until just combined. Do not overmix.
- Fold in the 8 ounces semi-sweet chocolate chunks with a rubber spatula until they are evenly distributed.
- Using a ¼-cup measure, spoon batter into each paper liner (about ¼ cup batter per cup). If you like, press a few extra chocolate chunks on top of each cookie cupcake.
- Bake on the center oven rack at 375°F for about 20 minutes, until the tops are pale golden and a toothpick inserted into the center comes out clean or with a few moist crumbs.
- Remove the pans from the oven and let the cupcakes sit in the pans for about 5 minutes. Then transfer the cupcakes to wire racks and let them cool completely.
- Store cooled cupcakes in an airtight container at room temperature for up to 3 days, or seal and freeze; thaw before serving.
Why This Recipe is a Keeper
It’s quick, dependable, and hits broad appeal. The balance of granulated and brown sugar gives you a chewy center and a lightly crisp edge—something cookies are loved for—while the muffin tin shape keeps portions uniform and easy to share. Baking at a moderately high temperature creates that gentle doming without overbrowning, and the milk keeps the crumb tender even after a day or two.
There’s also very little fussy technique. The creaming step builds volume, but you don’t need professional equipment to get a good result. The recipe takes classic cookie elements and packages them into a format that’s great for picnics, school snacks, or a casual dessert that feels a little elevated.
Ingredient Flex Options
Want to tweak texture or flavor? Here are a few flexible, no-measure ideas that won’t break the chemistry of the batter:
- Swap semi-sweet chunks for milk or dark chocolate chunks for a different sweetness level.
- Press a few extra chocolate pieces on top before baking for a prettier, more chocolate-forward finish.
- If you prefer more chew, toss in a small handful of chopped toasted nuts (walnuts or pecans) along with the chocolate chunks.
- For a lightly spiced note, add a pinch of ground cinnamon or espresso powder to the dry mix—just a small amount to enhance flavor without changing texture.
Recommended Tools
- Two standard 12-cup muffin tins — required to hold the cookie cupcakes’ shape.
- Paper liners — make removal and cleanup easier.
- Electric mixer with paddle attachment, or hand mixer — for creaming butter and sugars smoothly.
- Medium mixing bowl and rubber spatula — for combining dry ingredients and folding in chocolate.
- ¼-cup measure or cookie scoop — for consistent portions.
- Wire racks — cool cupcakes evenly and prevent soggy bottoms.
- Toothpick — quick doneness check.
Things That Go Wrong
Here are common missteps and how to avoid them:
- Batter too dense or tough — often from overmixing after you add the flour. Stop mixing as soon as the dry ingredients are incorporated.
- Flat, greasy tops — usually a sign that the butter was too soft or melted. Use butter at room temperature, soft but still cool to the touch.
- Underbaked centers — ovens vary. If the tops are pale but a toothpick shows very wet batter, give them a couple more minutes and check again.
- Dry cupcakes — overbaking is the main culprit. Start checking at 18 minutes if your oven runs hot.
Smart Substitutions
Substitutions can save the day if you’re missing an item, but small adjustments help keep texture intact:
- If you only have salted butter, use it—reduce the added salt to about 1/4 teaspoon or skip the added salt entirely.
- Whole milk creates a tender crumb. If you only have 2% or skim, the batter will still work; expect a slightly less rich result.
- Chocolate chunks can be replaced with chocolate chips if that’s what you have on hand; chunks give larger pockets of chocolate, chips will distribute more evenly.
- If you want a gluten-free version, use a 1:1 gluten-free flour blend designed for baking; results will vary slightly with brand.
Author’s Commentary
I make these when I need something that looks special but doesn’t require frosting or elaborate finishing. They’re perfect warm with coffee or cooled and packed into a lunchbox. Pressing a few extra chocolate chunks on top is my signature move—it gives you those glossy melted nuggets on the surface and makes the cupcakes immediately more appealing.
I also appreciate that each batch yields predictable results. Between the flour-that-forms-structure and the milk that keeps things moist, this is a recipe you can rely on whether you’re baking for a small crowd or doubling up for a bake sale.
Refrigerate, Freeze, Reheat
Storage here is simple and forgiving:
- Room temperature: Store cooled cupcakes in an airtight container for up to 3 days.
- Freezing: Seal in a freezer-safe container or bag. Freeze solid and thaw at room temperature before serving.
- Reheat: Warm a cupcake in the microwave for 8–12 seconds for that just-baked feel. For a slightly crisper edge, place on a baking sheet and warm at 300°F for 5–7 minutes.
Common Qs About Chocolate Chunk Cookie Cupcakes
Q: Are these more like cookies or cupcakes? A: Texture-wise they’re cookie-like—chewy center with a tender crumb—but they bake in muffin cups for portion control and presentation.
Q: Can I refrigerate the batter overnight? A: The recipe is designed for immediate baking. You can refrigerate batter briefly, but the chemical leaveners may lose some activity; I recommend baking fresh for best rise and texture.
Q: How do I know when they’re done? A: Tops should be pale golden. A toothpick inserted into the center should come out clean or with a few moist crumbs. Avoid waiting for a fully clean toothpick if you prefer a tender center—some moist crumbs are fine.
Q: Can I make a smaller batch? A: Yes. The steps scale, but remember the baking time can change slightly with smaller fills in the tins. Keep an eye on them and check a few minutes early.
Q: Any allergy considerations? A: This recipe contains dairy, eggs, and wheat. For nut-free, omit any optional nuts. For other dietary needs, consider the substitution ideas above, but be aware texture will change.
Time to Try It
If you’re ready for something reliably delicious that doesn’t require frosting skills, make these. Preheat the oven, line the tins, and follow the steps in order—creaming, alternating dry ingredients with milk, folding in chocolate, and baking at 375°F. Keep the notes handy for troubleshooting, and press a few extra chunks on top because that’s the small flourish that makes these feel like a treat.
When you pull them out, let them rest briefly in the pan, then move them to a rack. Eat one while it’s still warm and the chocolate is soft. Then decide if you want to keep the rest for friends or hide them in the top cupboard (I won’t tell).
Chocolate Chunk Cookie Cupcakes
Ingredients
Ingredients
- 1 1/2 cupsall-purpose flour
- 3/4 teaspoonbaking powder
- 1/2 teaspoonsalt
- 1 cup 2 sticksunsalted butter, softened
- 3/4 cupgranulated white sugar
- 3/4 cuppacked light brown sugar
- 3 largeeggs
- 1 teaspoonpure vanilla extract
- 1/3 cupwhole milk
- 8 ouncessemi-sweet chocolate cut into 1/2-inch chunks(or Nestle's Chocolate Chunks) ~ you can add a few extra chunks to sprinkle on top of each cookie cupcake, if you'd like
Instructions
Instructions
- Preheat the oven to 375°F (190°C). Line two standard 12-cup muffin tins with paper liners.
- In a medium bowl, whisk together 1½ cups all-purpose flour, ¾ teaspoon baking powder, and ½ teaspoon salt. Set the dry mixture aside.
- In the bowl of an electric mixer fitted with the paddle attachment (or in a large bowl with a hand mixer), put 1 cup (2 sticks) softened unsalted butter, ¾ cup granulated sugar, and ¾ cup packed light brown sugar. Beat on medium-high speed until the mixture is pale and fluffy.
- Add the 3 large eggs one at a time, mixing after each until incorporated. Add 1 teaspoon pure vanilla extract and mix until combined.
- Reduce the mixer speed to low. Add the flour mixture in two additions, alternating with the ⅓ cup whole milk: add half the flour mixture and mix just until incorporated, add the milk and mix until combined, then add the remaining flour mixture and mix until just combined. Do not overmix.
- Fold in the 8 ounces semi-sweet chocolate chunks with a rubber spatula until they are evenly distributed.
- Using a ¼-cup measure, spoon batter into each paper liner (about ¼ cup batter per cup). If you like, press a few extra chocolate chunks on top of each cookie cupcake.
- Bake on the center oven rack at 375°F for about 20 minutes, until the tops are pale golden and a toothpick inserted into the center comes out clean or with a few moist crumbs.
- Remove the pans from the oven and let the cupcakes sit in the pans for about 5 minutes. Then transfer the cupcakes to wire racks and let them cool completely.
- Store cooled cupcakes in an airtight container at room temperature for up to 3 days, or seal and freeze; thaw before serving.
Equipment
- 12-cup muffin tins
- Paper liners
- Electric mixer or hand mixer
- Mixing bowls
- Rubber spatula
- Measuring cups and spoons
- Wire Rack


