
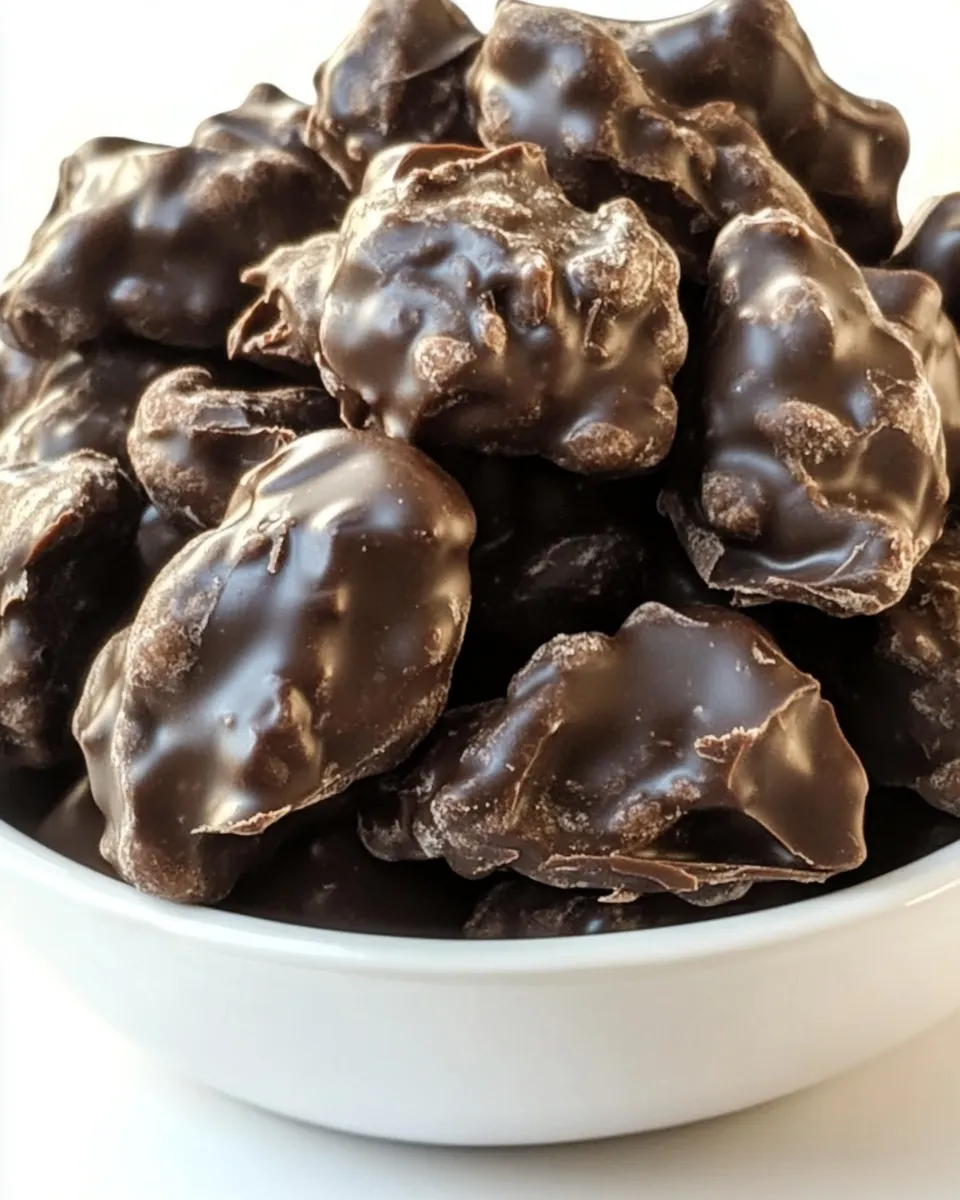
Crunchy, bittersweet, and unfussy — that’s the best way I describe these chocolate covered peanuts. They come together fast and store beautifully in the fridge, which makes them one of my favorite last-minute treats to prepare for guests, snack bowls, or a little weekend project when you want something satisfying without fuss.
The recipe leans on a straightforward chocolate-syrup-honey blend that melts into a glossy coating. It sets firm after chilling, giving each bite a clean snap and a hit of roasted peanuts inside. No tempering, no candy thermometer — just steady low heat and patience while the chocolate gets silky.
I like keeping a stash of these on hand. They travel well in a lunchbox, make a simple homemade gift, and they pair equally well with coffee or a glass of cold milk. Below I’ll walk you through notes on the ingredients, precise steps, tools that matter, common missteps, and ways to adapt the recipe for different needs.
Ingredient Notes
Ingredients
- 8 ounces unsweetened baker’s chocolate — you’ll find it in the baking aisle at the store – orange box.
- 1/2 cup brown rice syrup — or pure maple syrup.
- 1/2 cup honey — adds sweetness and helps the chocolate set with a glossy finish.
- dash of kosher or sea salt — balances sweetness and enhances chocolate flavor.
- 2 cups roasted peanuts — any type of nuts will work here, but roasted peanuts give the best crunch and flavor.
- 1 tablespoon oil — I used unrefined coconut oil…canola will also work to make the coating smoother.
Chocolate Covered Peanuts: How It’s Done
- Line a baking sheet with parchment paper and set aside. Have a tablespoon or small scoop ready for portioning.
- Break or chop the 8 ounces unsweetened baker’s chocolate into small, uniform pieces so it melts evenly.
- Place the chopped chocolate, 1/2 cup brown rice syrup (or pure maple syrup), 1/2 cup honey, 1 tablespoon oil, and a dash of kosher or sea salt in a heavy saucepan.
- Warm the saucepan over low heat, stirring constantly until the chocolate is fully melted and the mixture is smooth and glossy (do not boil).
- Remove the pan from the heat.
- Stir in the 2 cups roasted peanuts until they are evenly coated with the chocolate mixture.
- Use the tablespoon or scoop to drop bite-sized mounds of the mixture onto the prepared parchment, leaving about 1 inch between each mound.
- Transfer the baking sheet to the refrigerator and chill for a minimum of 3 hours, or until the chocolates are firm.
- Store the cooled chocolates in a Ziploc bag or airtight container in the refrigerator for up to two weeks.
Why This Recipe Belongs in Your Rotation
This is a low-drama, high-reward snack. You can make a batch in under an hour of active time and let the fridge do the rest. The method prevents you from having to temper chocolate or stabilize with specialized equipment. The texture contrast — crisp chocolate exterior, crunchy roasted peanuts — is immediate and reliable.
The ingredients are pantry-friendly and flexible. If you keep a bar of baker’s chocolate, a jar of honey, and a bag of roasted peanuts, you can put these together in a few minutes. They’re perfect for gifting because they look homemade and store well. They also adapt easily: swap the nuts, adjust salt, or change the drizzle and you’ve got a new flavor profile.
Vegan & Vegetarian Swaps
Vegetarian? You’re already set. For strict vegans, the only mandatory change is the honey. Swap the honey for extra brown rice syrup or pure maple syrup and double-check that the unsweetened baker’s chocolate is dairy-free. If you need a vegan oil, use a neutral vegetable oil instead of coconut.
If you prefer less sweetness, reduce the syrup-to-chocolate ratio next time and taste as you go — make small test mounds to see the final set and texture before committing to the whole batch. The key is to keep the coating glossy and fluid enough to coat the peanuts, then set firmly in the fridge.
Essential Tools for Success
- Heavy-bottomed saucepan — distributes heat evenly and reduces hot spots.
- Sharp knife — for breaking or chopping the baker’s chocolate into uniform pieces.
- Wooden spoon or silicone spatula — for constant, gentle stirring.
- Baking sheet and parchment paper — nonstick surface to chill the mounds cleanly.
- Tablespoon or small cookie scoop — for portion control and even-sized pieces.
- Refrigerator space — you’ll need a flat shelf to chill the tray for at least three hours.
- Airtight container or Ziploc bag — for storage in the refrigerator.
Learn from These Mistakes
- Overheating the chocolate — heat must be low and gentle. If the chocolate gets too hot it can seize or develop a grainy texture. Stir constantly and remove from heat as soon as it’s smooth.
- Chopping unevenly — large chunks melt slower and can create lumps. Cut into small, similar-sized pieces before melting.
- Boiling the mixture — the directions say do not boil. Boiling will change the texture and can cause separation of fats and sugars.
- Using too much liquid — follow the recipe quantities. Too much syrup or oil makes the coating thin and slow to set.
- Overcrowding the tray — leave about 1 inch between each mound so they set with clean edges and don’t fuse together.
- Skipping the chill time — they need a minimum of three hours to firm up properly. Don’t rush this part.
Adaptations for Special Diets
Peanut allergies are common. If you need a nut-free version, roasted sunflower seeds or lightly toasted, firm chickpeas (roasted) can be coated in the same way. The texture will differ, but the method works.
For low-sugar needs, you could experiment with a lower-sugar syrup alternative, but be aware that the syrup and honey play structural roles in helping the chocolate coat and set. Any substitution may change firmness and shelf life, so test small batches.
If you want keto-friendly options, you’ll need to replace both syrups and use a low-carb liquid sweetener formulated for cooking; again, expect textural differences and reduce the batch size for testing.
Chef’s Rationale
I rely on the three-part balance of chocolate, syrup, and oil. The syrup and honey thin the chocolate enough to coat the peanuts evenly and bake-free; they also contribute to the final set and mouthfeel. The tablespoon of oil gives the coating a glossy sheen and a smoother bite without softening the set too much.
Keeping the heat low and stirring constantly keeps the chocolate from scorching. This is a gentle melt rather than a searing one. Removing the pan from heat before stirring in the nuts prevents residual heat from overcooking the sweeteners and helps the peanuts stay intact and crunchy.
Chilling for the stated minimum ensures the coating firms without sweating. Refrigeration is reliable and predictable for home cooks; you’ll get the same clean set every time.
Save for Later: Storage Tips
These chocolates store best in the refrigerator. Place cooled chocolates in a single layer or in a container with parchment between layers to prevent sticking. An airtight container or Ziploc bag keeps them fresh. The recipe notes up to two weeks in the refrigerator — that’s realistic when stored cold and dry.
If you need longer storage, you can freeze them for several months. Freeze on a flat tray until solid, then transfer to a freezer-safe container. Thaw in the refrigerator to avoid condensation forming on the chocolate surface.
Common Qs About Chocolate Covered Peanuts
- Can I use milk or dark chocolate instead of unsweetened baker’s chocolate? Yes. Using milk or dark chocolate will change sweetness and texture. Unsweetened baker’s chocolate keeps control of sweetness via the syrups. If you substitute, taste the melted mix and adjust sweeteners accordingly.
- Can I make them without honey? Yes. Replace honey with extra brown rice syrup or pure maple syrup for a slightly different flavor and a vegan option.
- Will the coating melt at room temperature? The coating is stable at room temperature for short periods, but given the syrups and oil, refrigeration is recommended for longer storage or warm climates.
- Can I use raw peanuts? Roasted peanuts are recommended for flavor and crunch. If using raw, toast them first to bring out the flavor and remove moisture.
- How do I prevent clumping? Drop mounds with space between them and let them chill undisturbed until fully set. Stacking or rushing the chill will cause pieces to stick together.
Bring It to the Table
Serve these on a small platter or in paper cups for an attractive presentation. They make a fine addition to a dessert board alongside dried fruit, cheeses, or cookies. For gifting, pack them in small boxes with parchment or tissue paper and a handwritten note — they’re charming and low-fuss.
If you’re hosting, set them near coffee or tea for a complimentary pairing. They’re also excellent tucked into a picnic or a care package. The simplicity of the recipe means you can scale up easily when you want to feed a crowd: keep the same ratios and work in batches so you don’t overheat the chocolate.
Short version: chop the chocolate small, stir gently over low heat, coat the peanuts, portion with a scoop, and chill. The rest is patience and a little pride when you open the fridge and see neat little glossy mounds waiting for you.
Chocolate Covered Peanuts
Ingredients
Ingredients
- 8 ouncesunsweetened baker's chocolateyou'll find it in the baking aisle at the store - orange box
- 1/2 cupbrown rice syrupor pure maple syrup
- 1/2 cuphoney
- dash of kosher or sea salt
- 2 cupsroasted peanutsany type of nuts will work here
- 1 tablespoonoilI used unrefined coconut oil...canola will also work
Instructions
Instructions
- Line a baking sheet with parchment paper and set aside. Have a tablespoon or small scoop ready for portioning.
- Break or chop the 8 ounces unsweetened baker's chocolate into small, uniform pieces so it melts evenly.
- Place the chopped chocolate, 1/2 cup brown rice syrup (or pure maple syrup), 1/2 cup honey, 1 tablespoon oil, and a dash of kosher or sea salt in a heavy saucepan.
- Warm the saucepan over low heat, stirring constantly until the chocolate is fully melted and the mixture is smooth and glossy (do not boil).
- Remove the pan from the heat.
- Stir in the 2 cups roasted peanuts until they are evenly coated with the chocolate mixture.
- Use the tablespoon or scoop to drop bite-sized mounds of the mixture onto the prepared parchment, leaving about 1 inch between each mound.
- Transfer the baking sheet to the refrigerator and chill for a minimum of 3 hours, or until the chocolates are firm.
- Store the cooled chocolates in a Ziploc bag or airtight container in the refrigerator for up to two weeks.
Equipment
- Baking Sheet
- Parchment Paper
- tablespoon
- small scoop
- heavy saucepan
- Refrigerator


