
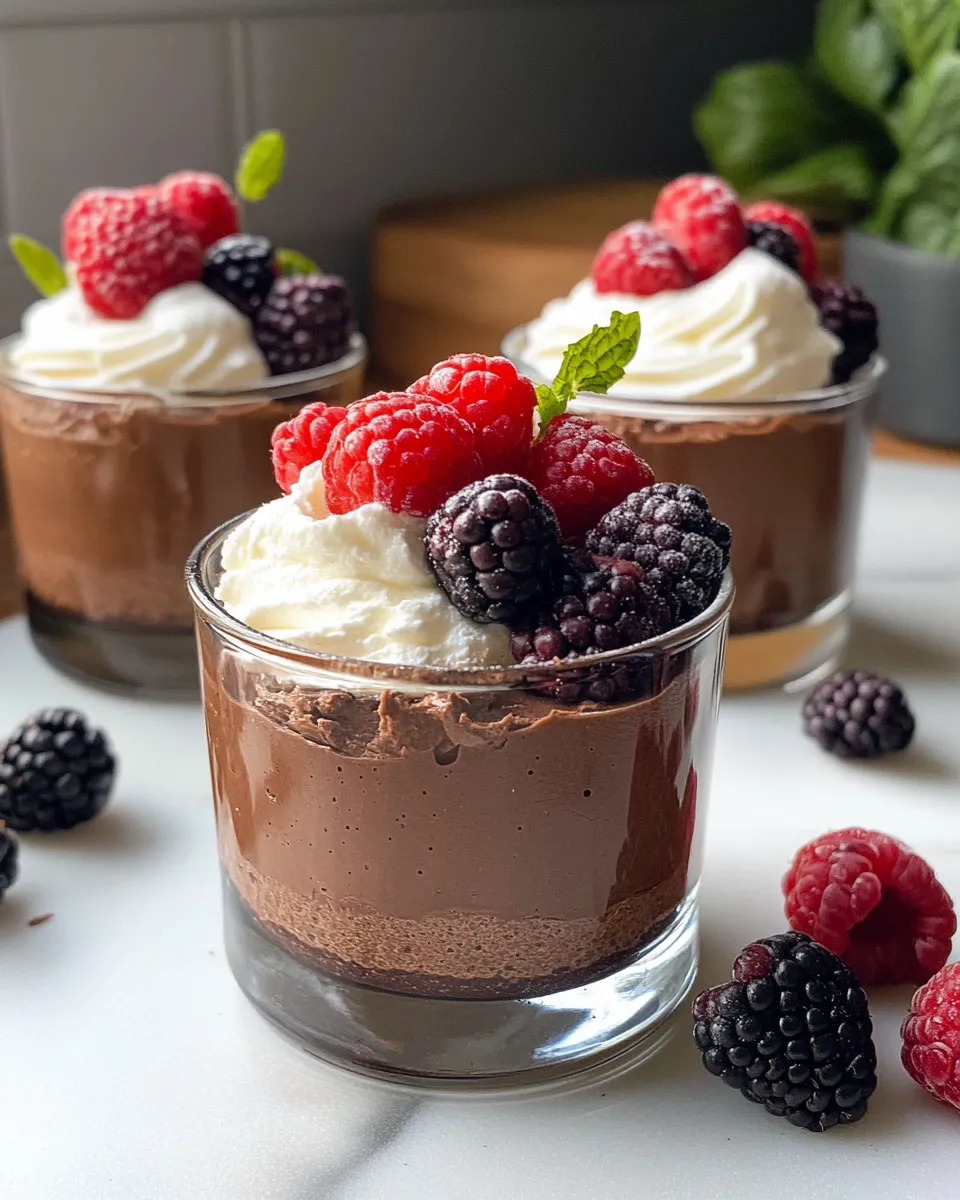
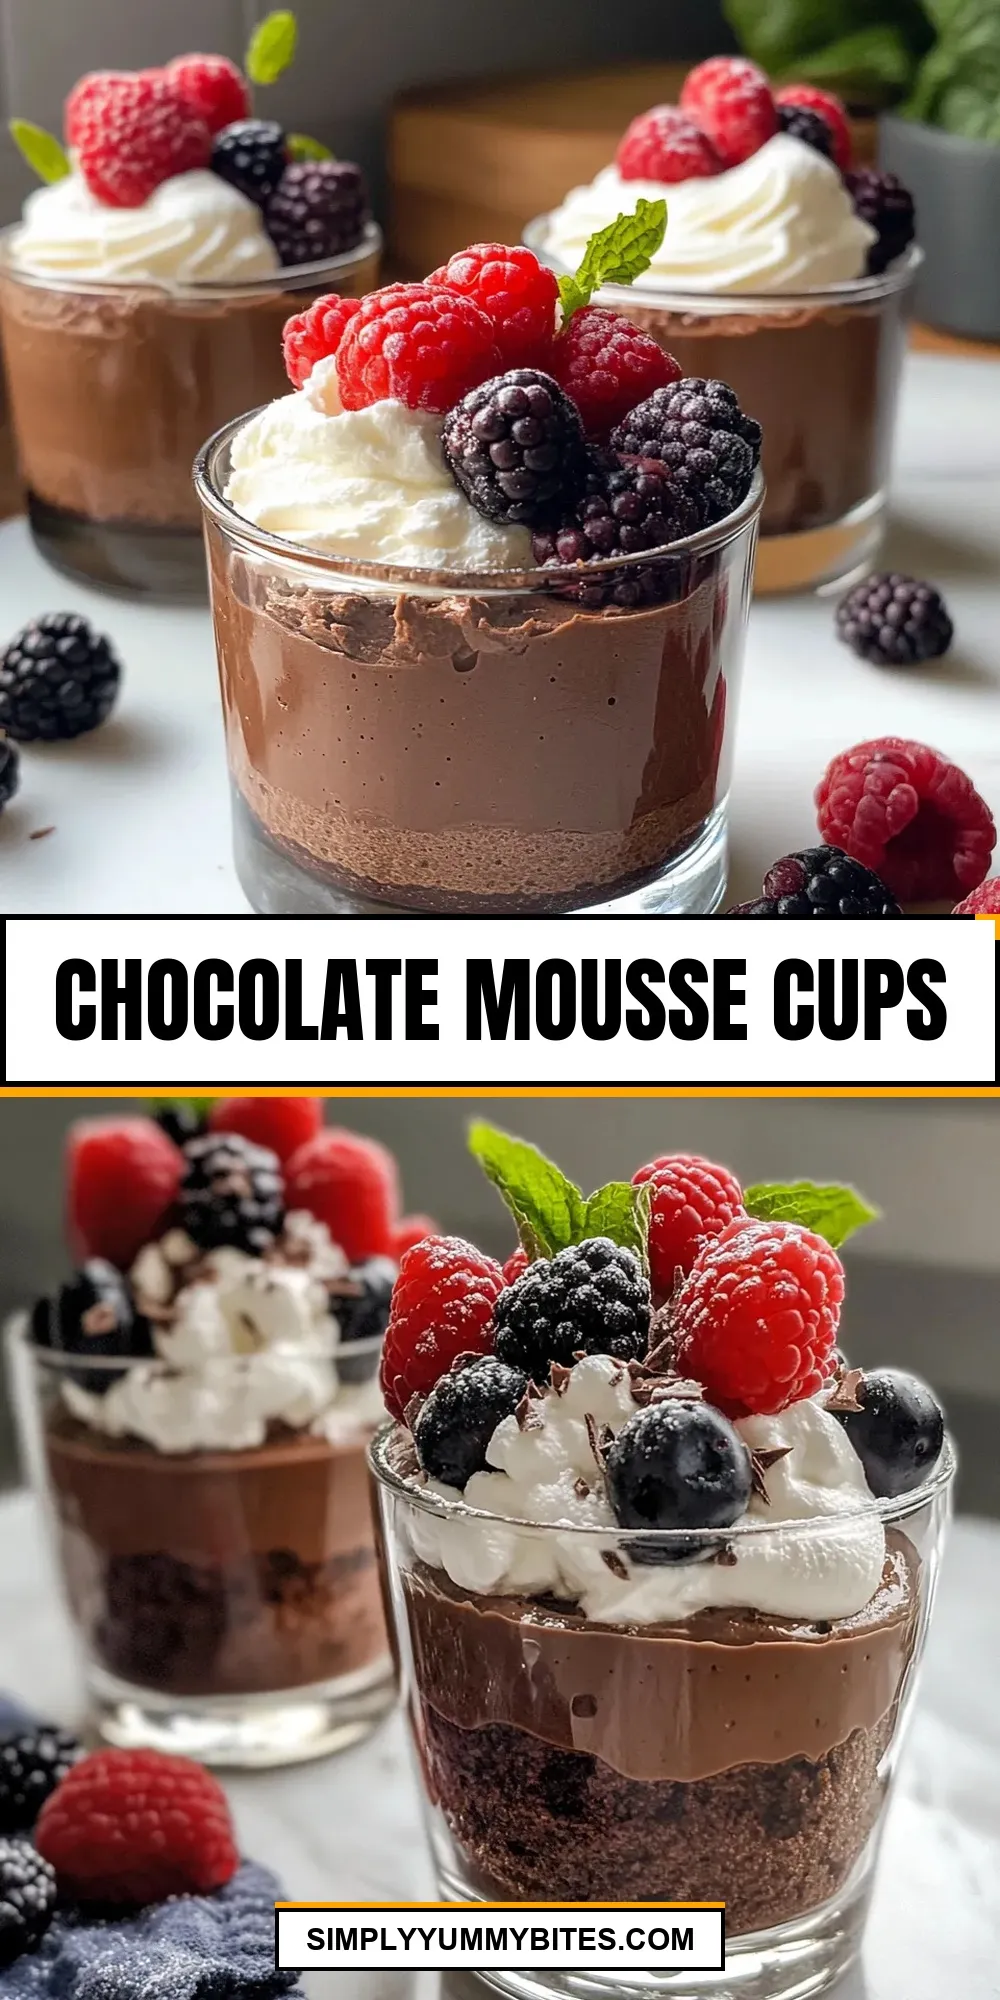
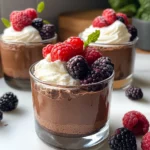
I love recipes that look elegant but don’t demand a bakery timeline. These chocolate mousse cups do exactly that: chocolaty, creamy filling tucked into a crisp chocolate shell. They’re impressive for guests, forgiving for home cooks, and come together with everyday pantry staples.
This version uses cream cheese to add body and a gentle tang, whipped egg whites and cream for lift, and two stages of chocolate so you get both structure and silkiness. There’s a little technique involved — tempering temperatures in the microwave, gentle folding, and a short chill — but nothing fussy.
Below you’ll find the ingredient list, the step-by-step directions as written, practical troubleshooting, make-ahead advice, and a few seasonal ideas that keep these cups fresh year-round. If you’ve got a muffin tin and a microwave, you’re already halfway there.
What’s in the Bowl
A quick look at what each component brings to these Chocolate Mousse Cups so you know why we’re doing each step.
Ingredients
- 8 ounces semisweet chocolate, chopped — used to form the chocolate shells; chopping ensures even, quick melting.
- 2 tablespoons butter — added to the melted chocolate for shine and a bit more pliability when spreading into liners.
- 8 ounces cream cheese, at room temperature — gives the filling body and a slight tang that balances the chocolate.
- 6 ounces semisweet chocolate, melted — folded into the filling for deep chocolate flavor and structure.
- 1/2 cup sugar, divided — sweetens both the cream cheese base and stabilizes the beaten egg whites.
- 1 teaspoon vanilla — rounds and lifts the chocolate flavors.
- 2 eggs, separated (pasteurized eggs preferred) — yolks enrich the filling; whites are whipped to add lightness. Pasteurized eggs are safer for recipes using raw whites/yolks.
- 1 cup heavy cream — whipped and folded in for silkiness and volume.
Mastering Chocolate Mousse Cups: How-To
- Line a muffin tin with foil or silicone cupcake liners. Place the 8 ounces chopped semisweet chocolate and the 2 tablespoons butter in a microwave-safe bowl. Microwave in 20–30 second intervals, stirring between intervals, until the chocolate and butter are completely melted and smooth.
- Using a spoon or small spatula, spread the melted chocolate evenly over the inside of each liner, covering bottom and sides to form a cup. Return the lined pan to the refrigerator and chill until the chocolate is firm. When firm, remove the foil or pop the silicone cups out and set the chocolate cups aside in the refrigerator (or in a cool place).
- Place the 6 ounces semisweet chocolate (to be used in the filling) in a microwave-safe bowl and melt in 20–30 second intervals, stirring until smooth. Let this melted chocolate cool slightly so it is warm but not hot.
- Separate the 2 eggs, placing yolks in one bowl and whites in another. (Pasteurized eggs are preferred for recipes using raw yolks/whites.)
- In a medium bowl, beat the 8 ounces cream cheese with 1/4 cup of the sugar and the 1 teaspoon vanilla until smooth and free of lumps.
- Stir the egg yolks into the cream cheese mixture until incorporated, then stir in the cooled melted chocolate until the mixture is uniform.
- In a clean bowl, beat the egg whites with the remaining 1/4 cup sugar until stiff peaks form but the whites are not dry.
- Gently fold the beaten egg whites into the chocolate-cream cheese mixture until no large streaks remain.
- In a separate bowl, whip the 1 cup heavy cream to soft peaks. Fold the whipped cream into the chocolate mixture until evenly combined.
- Spoon or pipe the mousse into the chilled chocolate cups, dividing the mixture evenly.
- Refrigerate the filled mousse cups until set and chilled (at least 1 hour is recommended) before serving.
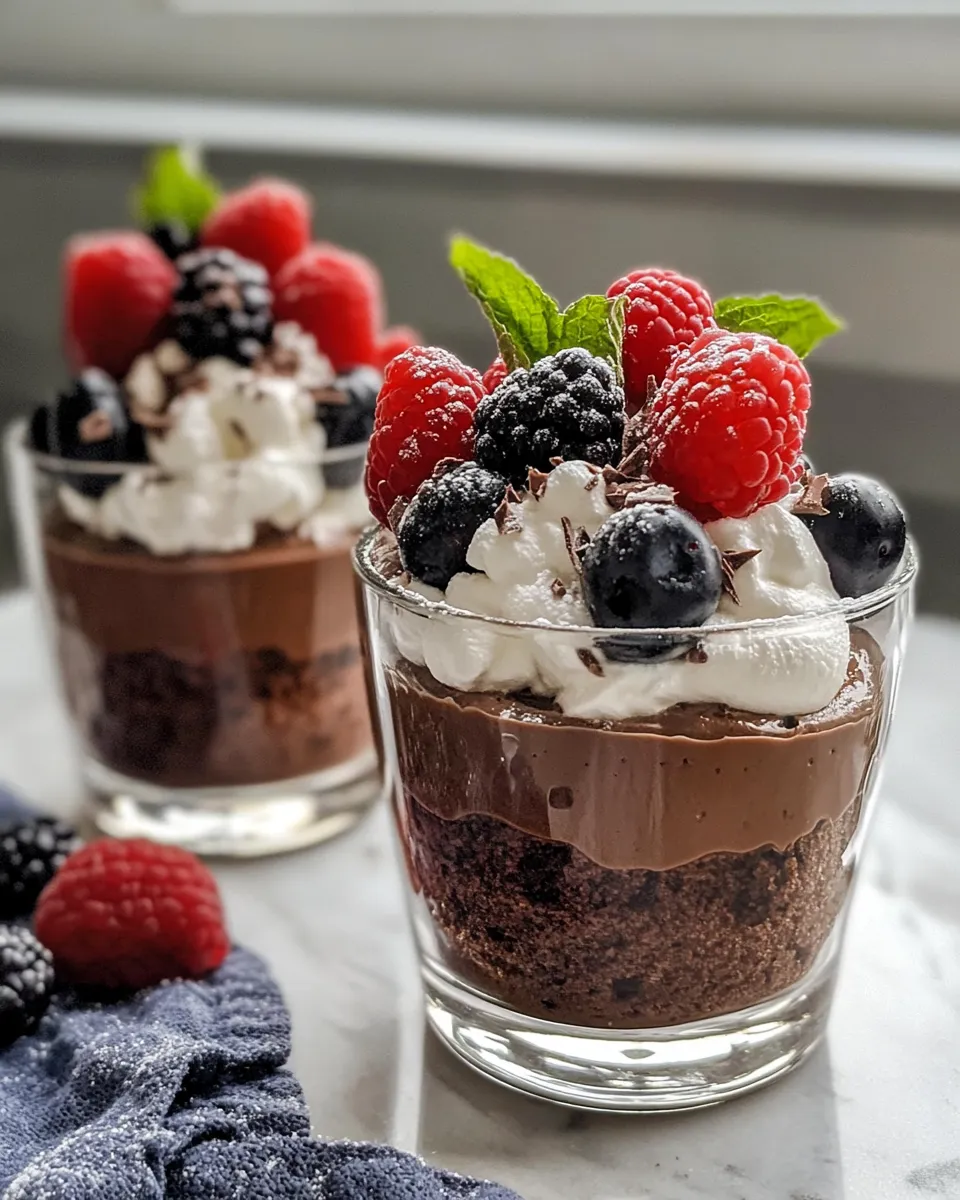
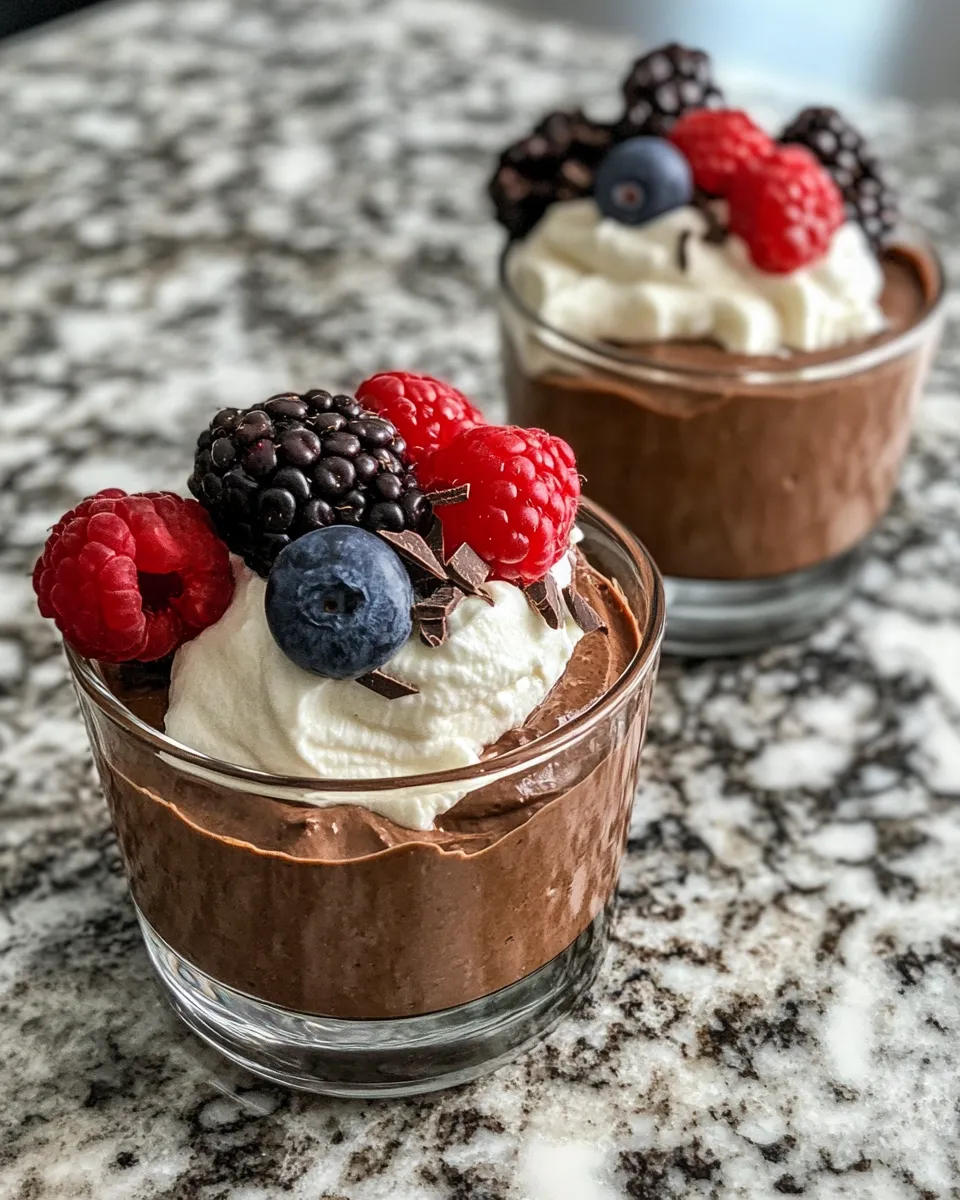
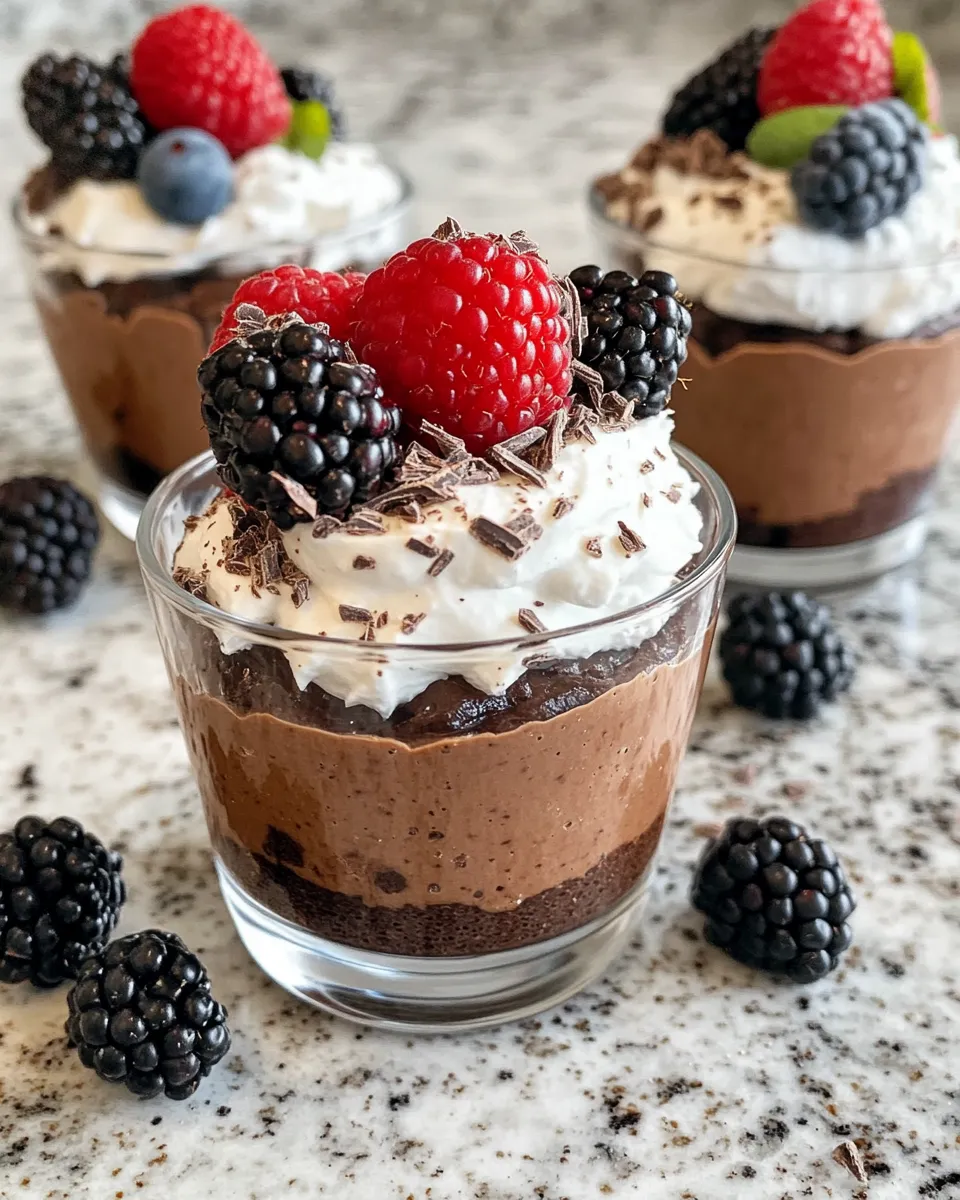
- Serve chilled; garnish as desired.
Why It Deserves a Spot
These cups combine contrast and convenience: a crisp chocolate shell against a cloudlike mousse. That textural pairing is what makes them feel special even though the technique is straightforward. They’re a great dinner-party dessert because you can make the shells ahead and fill them right before guests arrive.
The recipe scales well. A small change in presentation — piping the mousse instead of spooning it — elevates the look instantly. And the cream cheese gives a stability that helps the mousse hold shape without being heavy.
Low-Carb/Keto Alternatives
If you want to reduce carbs without reworking the technique, think in terms of swaps rather than recreating the whole recipe. Replace the granulated sugar with a 1:1 granular low-carb sweetener and choose a chocolate labeled lower in sugar or higher in cocoa solids for both shell and filling. Keep an eye on texture; some sweeteners affect whipping and the mouthfeel of whipped cream and egg whites.
Because cream cheese and heavy cream are already higher in fat, this base adapts well to lower-carb versions. Chill times and folding technique remain the same.
Appliances & Accessories
- Microwave-safe bowls — for melting chocolate in intervals without overheating.
- Muffin tin — used to shape and support the chocolate cups while they set.
- Foil or silicone cupcake liners — foil helps peel away crisp shells cleanly; silicone makes removing cups straightforward.
- Hand mixer or stand mixer — speeds up beating cream cheese and whipping egg whites/cream to the proper consistency.
- Small spatula or spoon — for spreading melted chocolate inside liners to form even shells.
- Piping bag (optional) — useful for neat filling and prettier plating.
Troubleshooting Tips
Chocolate seizes when even a drop of water hits it. If your chocolate becomes grainy while melting, remove from heat and whisk in a small spoon of warm liquid fat (butter is part of the original recipe and helps here). Microwaving in short bursts and stirring thoroughly between intervals prevents overheating.
If the chocolate cups crack when you peel foil, make sure the chocolate layer is thick enough and fully chilled. A thin shell is fragile — spread a slightly thicker layer next time. Silicone liners reduce the risk of breaking but can make the shells less crisp; if you want maximum crunch, use foil.
If the mousse turns out runny, it likely needs more whipped stability. Make sure the egg whites reach stiff peaks but stop before they dry out. Also, the whipped cream should be at soft peaks before folding. Overfolding can deflate the mousse; fold until combined but still airy.
Food safety note: this recipe uses raw egg yolks and whites. Pasteurized eggs are recommended. If using unpasteurized eggs, be aware of the small risk and consider alternatives if serving to vulnerable guests.
Seasonal Spins
One of the best things about these cups is how easy they are to adapt seasonally. In cooler months, think warm spices or a drizzle of caramel; in spring and summer, lighten them with a fresh berry compote or a bright citrus finish. You don’t need to change technique — just add a simple topper or a complementary sauce when serving.
Presentation changes are seasonal too: edible flowers or a dusting of cocoa powder for spring, a sprinkle of chopped toasted nuts for fall, or a few bright mint leaves in summer. Small touches go a long way.
Behind-the-Scenes Notes
There are a few intentional choices in this recipe. We use two chocolates: one for structure and shell, one folded into the filling. The chocolate in the shell needs to be firm and tempered enough to snap, while the melted chocolate for the filling can be slightly cooler so it blends smoothly with the cream cheese and yolks without cooking them.
Separating eggs and whipping whites adds volume without adding excess fat. Cream cheese contributes stability that plain whipped cream might lack, so you get a mousse that holds shape on a plate. That’s especially helpful if you plan to pipe the mousse into delicate shells.
Make-Ahead & Storage
You can make the chocolate shells a day or two ahead. Keep them refrigerated in a single layer so they don’t stick or crack. Fill them up to a day ahead as well; the mousse benefits from at least an hour to set, but overnight gives the best texture.
Store filled cups in an airtight container in the refrigerator for up to 3 days. Beyond that, the shell can start to soften from moisture in the mousse. Freezing isn’t ideal — ice crystals can alter the mousse’s texture and make the shell soggy when thawed.
Common Qs About Chocolate Mousse Cups
- Can I skip the cream cheese? — Cream cheese adds structure. You could try a version with more whipped cream and stabilized chocolate, but expect a softer set and slightly different flavor.
- Are raw eggs safe? — The recipe notes pasteurized eggs are preferred. Using pasteurized eggs reduces the risk associated with raw yolks and whites. If you’re serving someone vulnerable, consider using pasteurized eggs or a cooked custard base instead.
- How do I get glossy shells? — Adding the butter when melting the shell chocolate and spreading it while warm helps achieve a smoother, glossier surface.
- Can I make mini versions? — Yes. Use a mini muffin tin and scale timing accordingly. Thinner shells will set faster but handle them gently.
- Can I use a different chocolate percentage? — You can. Darker chocolate gives a more intense, less sweet result; milk chocolate will be sweeter and softer. Adjust to your taste, but watch sweetness in combination with the sugar in the recipe.
Hungry for More?
If you liked this, try pairing these cups with a simple berry compote or serve them alongside a crisp biscuit for texture contrast. I post recipes that follow the same practical approach — straightforward techniques, reliable results, and flavor first. If you try these, leave a note about what you swapped or how you garnished them; I love hearing how home cooks make recipes their own.
Chocolate Mousse Cups
Ingredients
Ingredients
- 8 ounces semisweet chocolate chopped
- 2 tablespoons butter
- 8 ounces cream cheese at room temperature
- 6 ounces semisweet chocolate melted
- 1/2 cup sugar divided
- 1 teaspoon vanilla
- 2 eggs separated (pasteurized eggs preferred)
- 1 cup heavy cream
Instructions
Instructions
- Line a muffin tin with foil or silicone cupcake liners. Place the 8 ounces chopped semisweet chocolate and the 2 tablespoons butter in a microwave-safe bowl. Microwave in 20–30 second intervals, stirring between intervals, until the chocolate and butter are completely melted and smooth.
- Using a spoon or small spatula, spread the melted chocolate evenly over the inside of each liner, covering bottom and sides to form a cup. Return the lined pan to the refrigerator and chill until the chocolate is firm. When firm, remove the foil or pop the silicone cups out and set the chocolate cups aside in the refrigerator (or in a cool place).
- Place the 6 ounces semisweet chocolate (to be used in the filling) in a microwave-safe bowl and melt in 20–30 second intervals, stirring until smooth. Let this melted chocolate cool slightly so it is warm but not hot.
- Separate the 2 eggs, placing yolks in one bowl and whites in another. (Pasteurized eggs are preferred for recipes using raw yolks/whites.)
- In a medium bowl, beat the 8 ounces cream cheese with 1/4 cup of the sugar and the 1 teaspoon vanilla until smooth and free of lumps.
- Stir the egg yolks into the cream cheese mixture until incorporated, then stir in the cooled melted chocolate until the mixture is uniform.
- In a clean bowl, beat the egg whites with the remaining 1/4 cup sugar until stiff peaks form but the whites are not dry.
- Gently fold the beaten egg whites into the chocolate-cream cheese mixture until no large streaks remain.
- In a separate bowl, whip the 1 cup heavy cream to soft peaks. Fold the whipped cream into the chocolate mixture until evenly combined.
- Spoon or pipe the mousse into the chilled chocolate cups, dividing the mixture evenly.
- Refrigerate the filled mousse cups until set and chilled (at least 1 hour is recommended) before serving.
- Serve chilled; garnish as desired.
Equipment
- Muffin Tin
- foil or silicone cupcake liners
- Microwave-safe bowls
- Spatula
- Mixing bowls
- Electric Mixer or Whisk
- Refrigerator
Notes
Chill filled mousse cups at least 1 hour before serving.


