
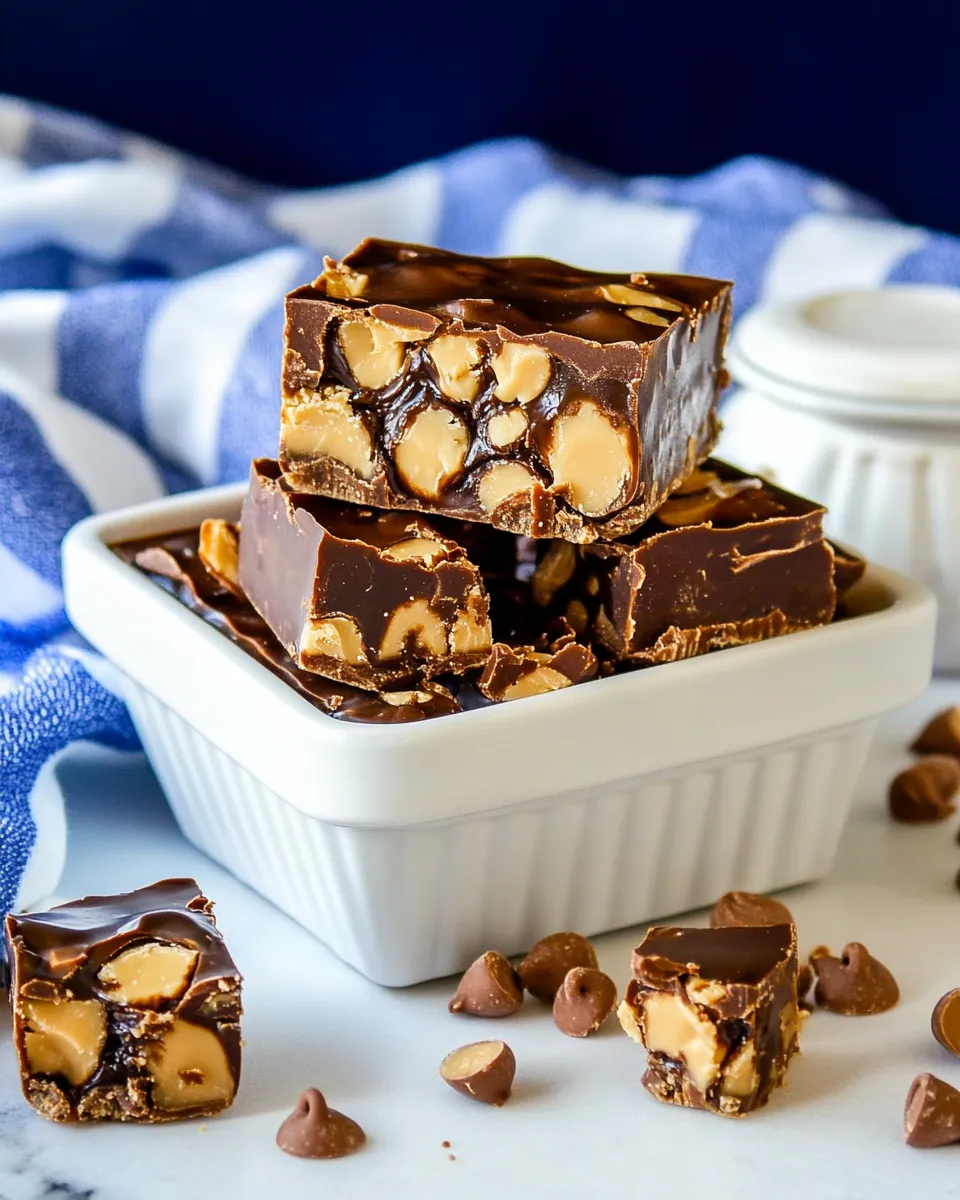
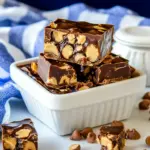
If you love the marriage of chocolate and peanut butter, this fudge is a no-fail, crowd-pleasing shortcut that delivers deep chocolate flavor, creamy texture, and pockets of salty-sweet candy in every bite. It comes together on the stovetop in one pan, then firms up in the fridge—no candy thermometer, no tempering, no fuss. That makes it perfect for gift boxes, potlucks, or when you want something indulgent without a long recipe.
I rely on a few reliable ingredients here: sweetened condensed milk for sweetness and structure, good-quality semi-sweet chocolate chips for that rounded cocoa note, and creamy peanut butter for richness and mouthfeel. The chopped mini peanut butter cups and chips on top are optional if you want extra texture and bursts of peanut-buttery candy in each square.
Read through the process before you start. A low, steady heat and constant stirring while melting are the difference between glossy, sliceable fudge and a grainy mess. I’ll walk you through equipment choices, swaps, common mistakes, and storage so you get perfect results every time.
Ingredient List
- 3 cups semi-sweet chocolate chips — the bulk chocolate in the base; provides structure, body, and chocolate flavor.
- 1 14 oz can Eagle Brand® Sweetened Condensed Milk — adds sweetness, creaminess, and a stable sugar matrix so the fudge sets without boiling or candy thermometers.
- dash salt — lifts the chocolate and balances the sweetness; a little goes a long way.
- 1/4 cup creamy peanut butter — melts into the chocolate for a silkier texture and classic peanut butter flavor throughout.
- 1 1/2 tsp vanilla — rounds and brightens the overall flavor; use pure vanilla if you have it.
- 1 cup mini peanut butter cups, chopped — folded on top for texture and candy-bar pockets; chop into bite-sized pieces so they distribute evenly.
- 1/2 cup peanut butter chips — adds concentrated peanut-butter flavor and a pretty contrast when sprinkled over the top.
- 1/2 cup semi-sweet chocolate chips — extra chips for the top layer to reinforce the chocolate flavor and create a glossy finish when pressed in.
Cooking (Chocolate Peanut Butter Cup Fudge): The Process
- Line an 8- or 9-inch square baking pan with aluminum foil, leaving foil extending over the edges to allow removal; set the pan aside.
- In a heavy-bottomed medium saucepan, combine the can of Eagle Brand® Sweetened Condensed Milk, a dash of salt, and 3 cups semi-sweet chocolate chips.
- Heat the mixture over low heat, stirring constantly, until the chocolate chips are fully melted and the mixture is smooth (take care not to boil).
- Remove the pan from the heat and immediately stir in 1/4 cup creamy peanut butter and 1 1/2 teaspoons vanilla until evenly combined.
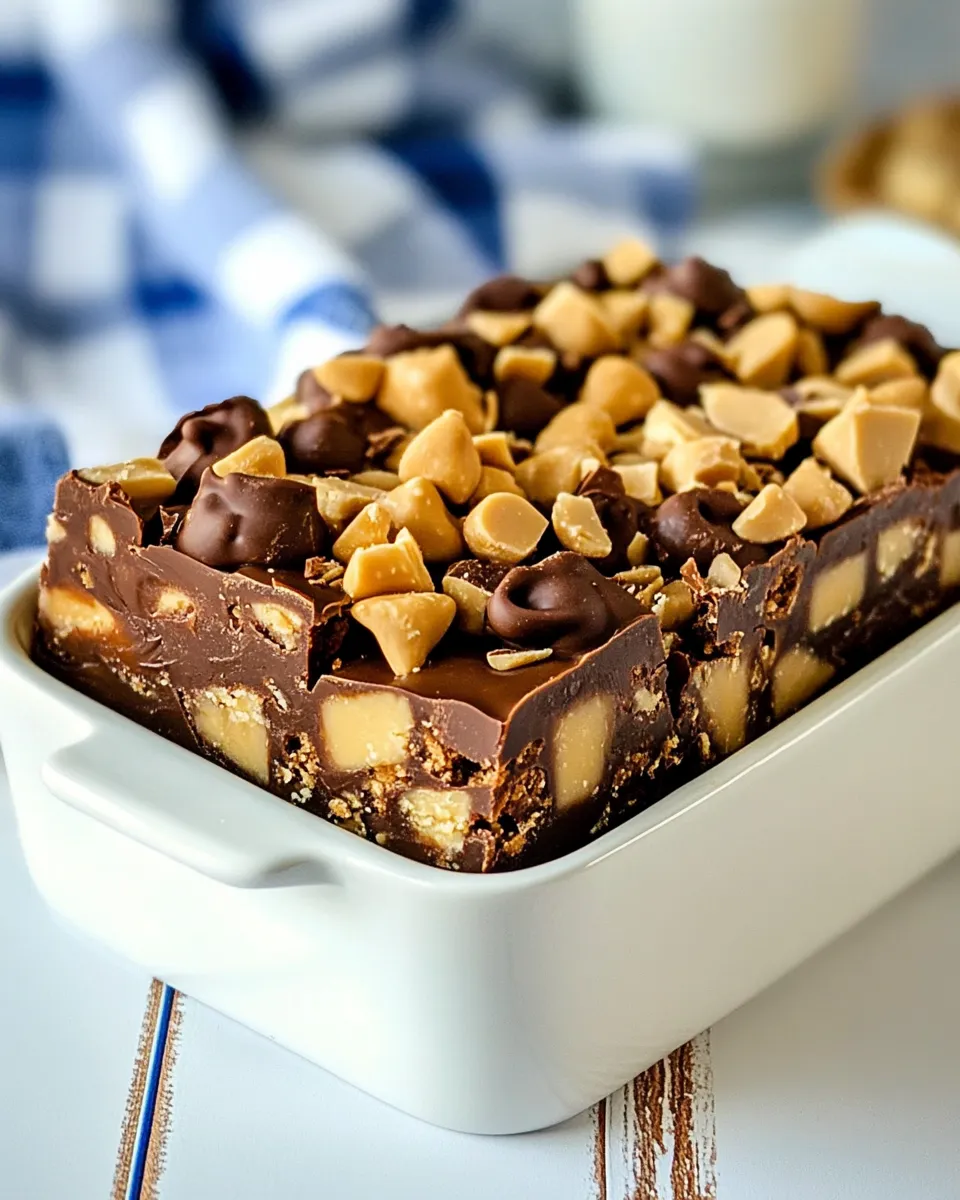
- Pour the warm fudge mixture into the prepared pan and spread it evenly with a spatula.
- Immediately sprinkle 1 cup chopped mini peanut butter cups, 1/2 cup peanut butter chips, and the remaining 1/2 cup semi-sweet chocolate chips evenly over the top; gently press the toppings into the fudge so they adhere.
- Chill the pan in the refrigerator for about 2 hours or until the fudge is firm.
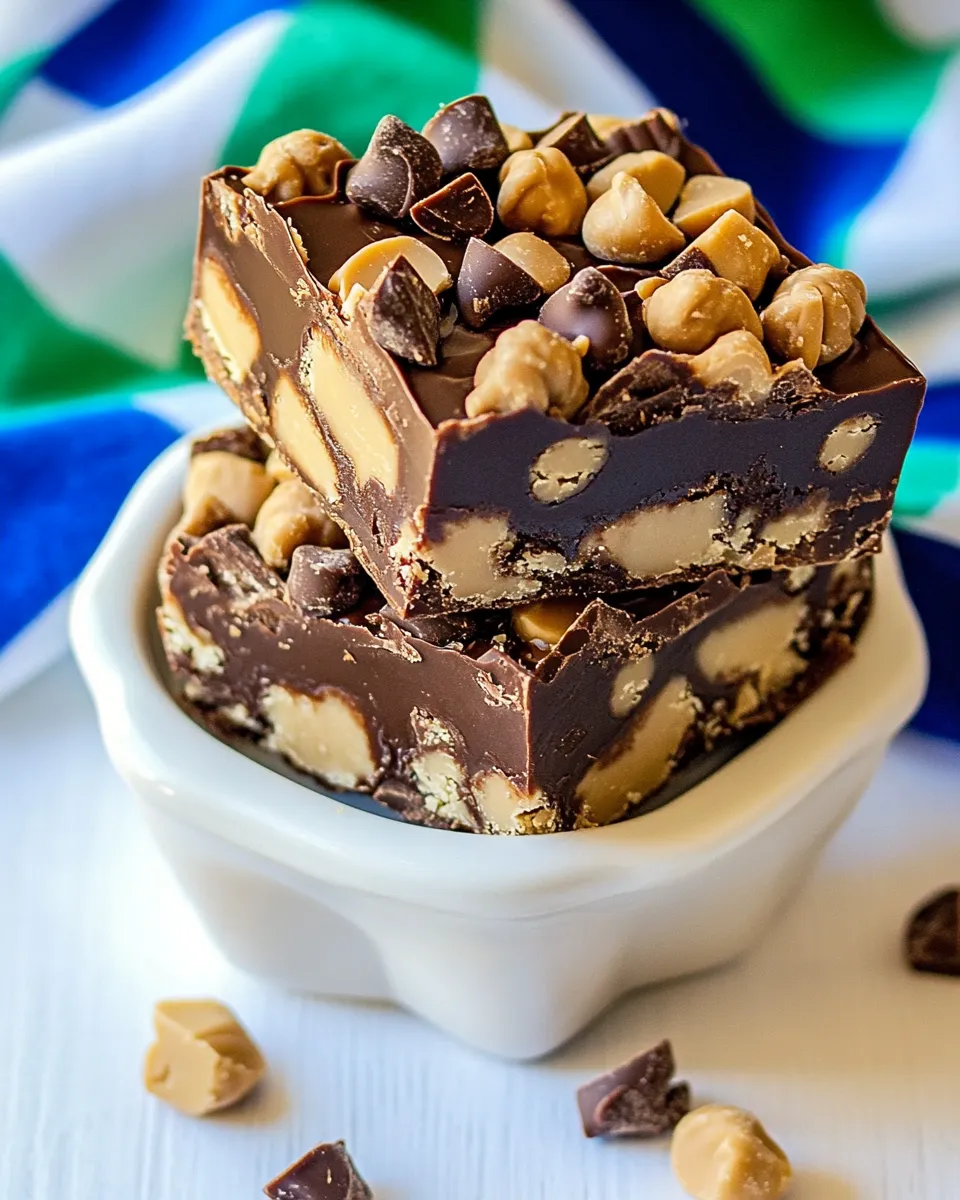
- Lift the foil to remove the fudge from the pan, peel back the foil, and cut the fudge into small squares. Store tightly covered.
Why It Works Every Time
This recipe is about balance and simplicity. Sweetened condensed milk serves two jobs: it provides most of the sugar the fudge needs and also creates a dense, creamy matrix that sets without complicated candy-making techniques. The semi-sweet chocolate chips supply the chocolate structure; when melted slowly with the condensed milk, they create a homogeneous, glossy base that chills to a firm, sliceable consistency.
Peanut butter adds fat and flavor that make the fudge richer and more forgiving. Because the recipe relies on relatively stable, low-moisture components (chocolate, condensed milk, peanut butter), there’s little risk of crystallization or graininess if you keep the heat low and stir constantly while melting. The quick scatter of chopped peanut butter cups and chips on top gives you texture and contrast—soft, smooth fudge with small, chewy candy bits.
Temperatures stay low, so you avoid seizing chocolate or burning the sugar. In short: a short ingredient list, steady low heat, and a refrigerator finish are what make this dependable.
Ingredient Swaps & Substitutions
- Chocolate chips: You can swap semi-sweet for dark chocolate chips if you prefer a less-sweet, more intense chocolate note. Milk chocolate will make the fudge sweeter and creamier. Be aware different chocolates have different fat and sugar contents; texture may vary slightly.
- Peanut butter: Creamy peanut butter works best for smooth integration. Natural peanut butter with oil separation can be used, but stir it well first; the texture may be a bit looser. If allergic or avoiding peanuts, almond butter or cookie butter are possible swaps—flavor will change accordingly.
- Mini peanut butter cups: If you don’t have mini cups, chop regular-size peanut butter cups or skip them and increase peanut butter chips on top. Crunchy peanut butter is not recommended for the base, but you can use it as a topping for texture.
- Condensed milk alternative: This recipe depends on sweetened condensed milk for structure; subbing evaporated milk or heavy cream will not set the same way and is not recommended without recipe adjustments.
Setup & Equipment
- 8- or 9-inch square baking pan — the size matters for thickness and chilling time. Using a larger pan will give thinner squares, using a smaller pan will make thicker squares and increase chilling time.
- Aluminum foil — lines the pan and makes the fudge easy to lift out for clean cutting.
- Heavy-bottomed medium saucepan — critical. A heavy bottom distributes heat evenly so chocolate melts slowly without burning.
- Heatproof spatula or wooden spoon — for constant stirring while melting.
- Rubber spatula — for spreading the warm fudge evenly in the pan.
- Sharp knife or bench scraper — for cutting tidy squares after chilling.
Steer Clear of These
- Boiling the mixture — the directions warn “take care not to boil.” Boiling can change the texture, cause separation, or make the fudge grainy.
- High heat or rushing the melt — high heat risks scorching the chocolate and reducing the smoothness. Low and steady with constant stirring is the safe route.
- Using a lightweight pan — thin pans can create hot spots that burn chocolate. A heavy-bottomed pan is intentionally specified for this reason.
- Skimping on lining the pan — if you don’t leave foil over the edges, removing and cutting the fudge becomes messy and difficult.
- Cutting too soon — the fudge needs the full chill time to firm up. If it’s still soft, pop it back in the fridge for another 30–60 minutes.
How to Make It Lighter
If you want a lighter-feeling treat without changing the method, portion control is the best tool. Cut the fudge into smaller squares and plate smaller servings. That keeps the rich flavor but reduces calories per serving.
Ingredient tweaks for a lighter texture: use reduced-fat peanut butter (recognize it alters mouthfeel), or replace half the semi-sweet chips with a higher-cocoa dark chocolate to reduce perceived sweetness. You can also skip or reduce the peanut butter cups and chips on top to cut extra candy calories. Remember that changes in fat content can slightly affect set and texture, so results may be a touch firmer or less glossy.
Flavor Logic
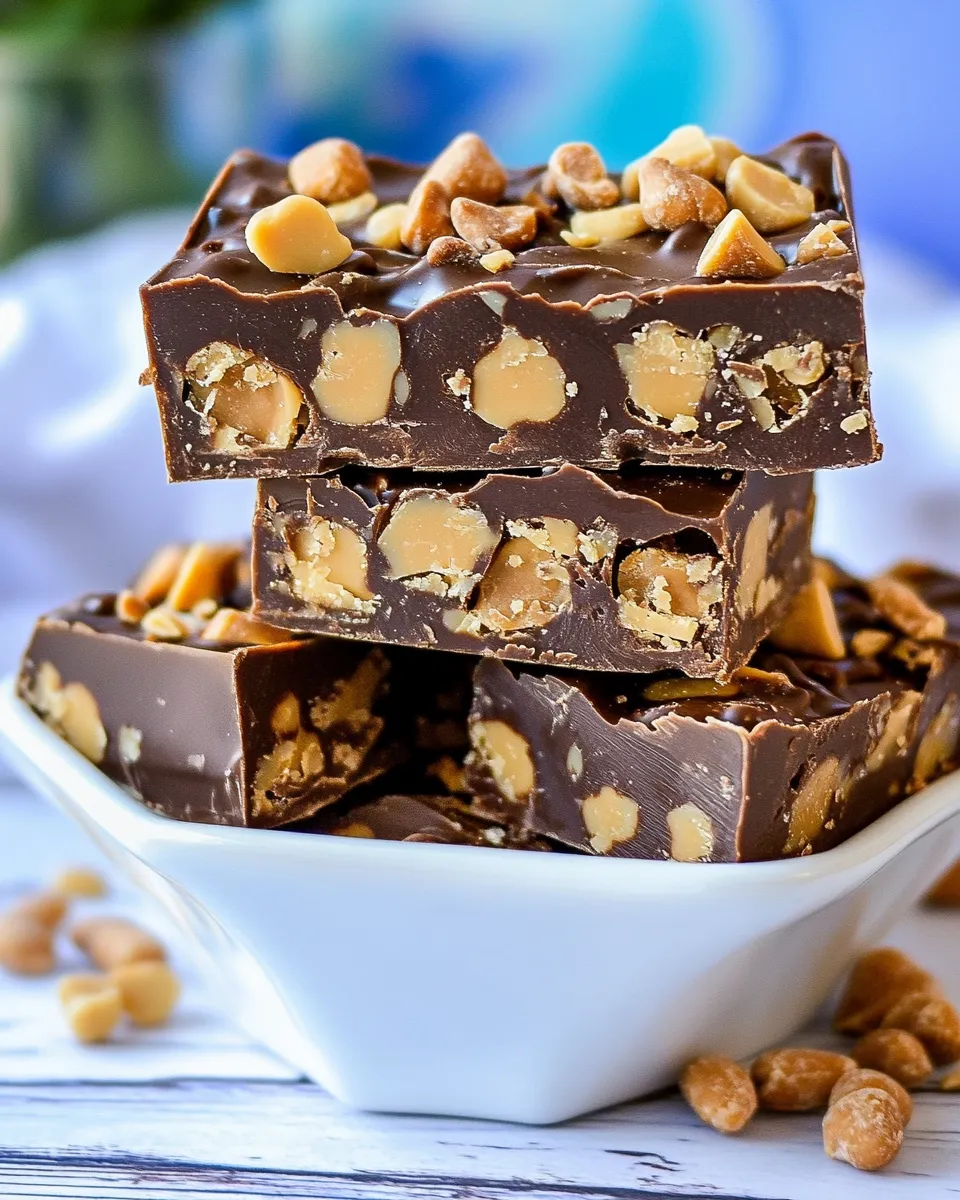
Chocolate provides the backbone: cocoa solids bring bitterness and chocolate aroma, and cocoa butter brings satiny mouthfeel. The condensed milk balances and sweetens while supplying the sugar matrix that lets the fudge set without crystallization. Peanut butter contributes both flavor and fat, making the fudge feel richer and more satisfying on the palate. The small candies sprinkled on top create contrast—soft fudge next to slightly firmer candy bits keeps the mouth interested.
Vanilla is a subtle but important amplifier. That teaspoon and a half brightens and harmonizes the chocolate and peanut butter notes. The dash of salt counters the sweetness and highlights the chocolate’s depth. Each element plays a distinct role, and together they form a balanced, nostalgic candy-like experience.
Storage & Reheat Guide
Store the fudge tightly covered. It keeps well at room temperature for a few days if your kitchen is cool, but refrigeration is recommended for longer storage or in warm climates. Stored in an airtight container or tightly wrapped in foil, the fudge will keep for about 1–2 weeks in the fridge.
For longer storage, freeze in a single layer on a baking sheet until firm, then stack with parchment between layers in an airtight container for up to 2 months. Thaw in the refrigerator or at room temperature while still wrapped to avoid condensation on the surface. There’s no need to reheat—fudge is best served chilled or at cool room temperature.
Handy Q&A
- Q: Can I use a different size pan?
A: Yes, but change in pan size changes thickness and chilling time. For a shallower pan, check firmness sooner; for a smaller pan, allow extra chill time. - Q: My chocolate seized—what happened?
A: Seizing can occur if chocolate is exposed to water or overheated. This recipe avoids that by combining chocolate with sweetened condensed milk at very low heat. If your chocolate seizes, adding a little warm cream or more condensed milk slowly can sometimes bring it back, but results vary. - Q: Can I skip the toppings?
A: Yes. The fudge will still be delicious. Toppings add texture and extra peanut-butter candy bursts—use them if you want contrast. - Q: Can I double the batch?
A: You can scale up, but maintain the same pan thickness for predictable setting. Use a larger pan and increase chilling time as needed.
Wrap-Up
This Chocolate Peanut Butter Cup Fudge is a practical, fast, and reliably delicious recipe. It’s perfect when you want something that feels like a homemade candy without the precision and equipment of classic candy making. Follow the low-heat melting steps, line the pan for easy removal, and chill until firm. Cut into small squares, wrap or box them up, and enjoy—the classic chocolate-plus-peanut-butter combination rarely disappoints.
Chocolate Peanut Butter Cup Fudge
Ingredients
Ingredients
- 3 cupssemi-sweet chocolate chips
- 114 oz canEagle Brand® Sweetened Condensed Milk
- dashsalt
- 1/4 cupcreamy peanut butter
- 1 1/2 tspvanilla
- 1 cupmini peanut butter cups chopped
- 1/2 cuppeanut butter chips
- 1/2 cupsemi-sweet chocolate chips
Instructions
Instructions
- Line an 8- or 9-inch square baking pan with aluminum foil, leaving foil extending over the edges to allow removal; set the pan aside.
- In a heavy-bottomed medium saucepan, combine the can of Eagle Brand® Sweetened Condensed Milk, a dash of salt, and 3 cups semi-sweet chocolate chips.
- Heat the mixture over low heat, stirring constantly, until the chocolate chips are fully melted and the mixture is smooth (take care not to boil).
- Remove the pan from the heat and immediately stir in 1/4 cup creamy peanut butter and 1 1/2 teaspoons vanilla until evenly combined.
- Pour the warm fudge mixture into the prepared pan and spread it evenly with a spatula.
- Immediately sprinkle 1 cup chopped mini peanut butter cups, 1/2 cup peanut butter chips, and the remaining 1/2 cup semi-sweet chocolate chips evenly over the top; gently press the toppings into the fudge so they adhere.
- Chill the pan in the refrigerator for about 2 hours or until the fudge is firm.
- Lift the foil to remove the fudge from the pan, peel back the foil, and cut the fudge into small squares. Store tightly covered.
Equipment
- 8- or 9-inch square baking pan
- Aluminum Foil
- heavy-bottomed medium saucepan
- Spatula
- Refrigerator
Notes
To make in the microwave:
Combine Eagle Brand® Sweetened Condensed Milk, salt and 3 cups chocolate chips in a large microwave safe bowl. Cook on high power for 90 seconds, remove from microwave and stir. Repeat for another 90 seconds and stir again. If chips have not fully melted, repeat 20 seconds at a time. Then follow recipe as written.


