
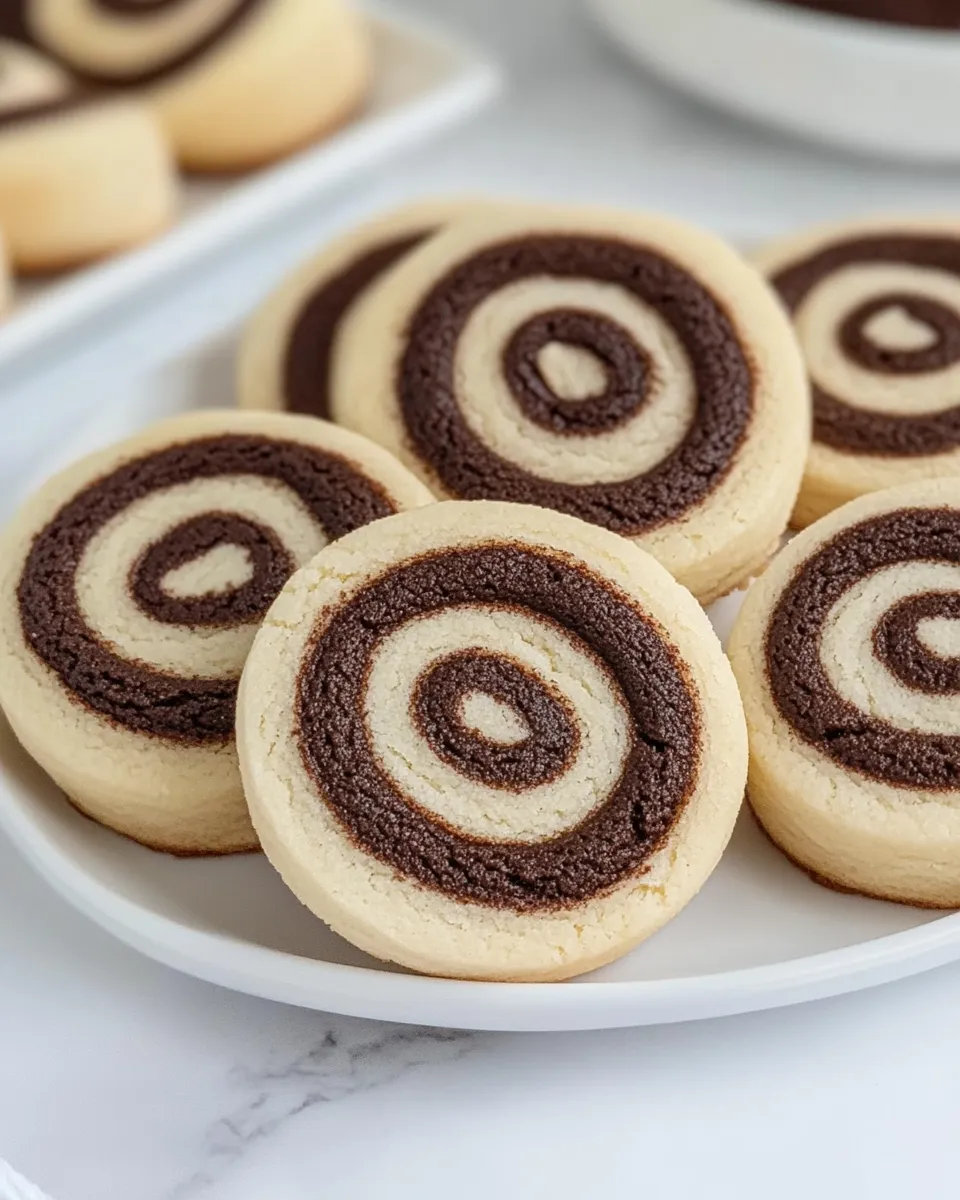
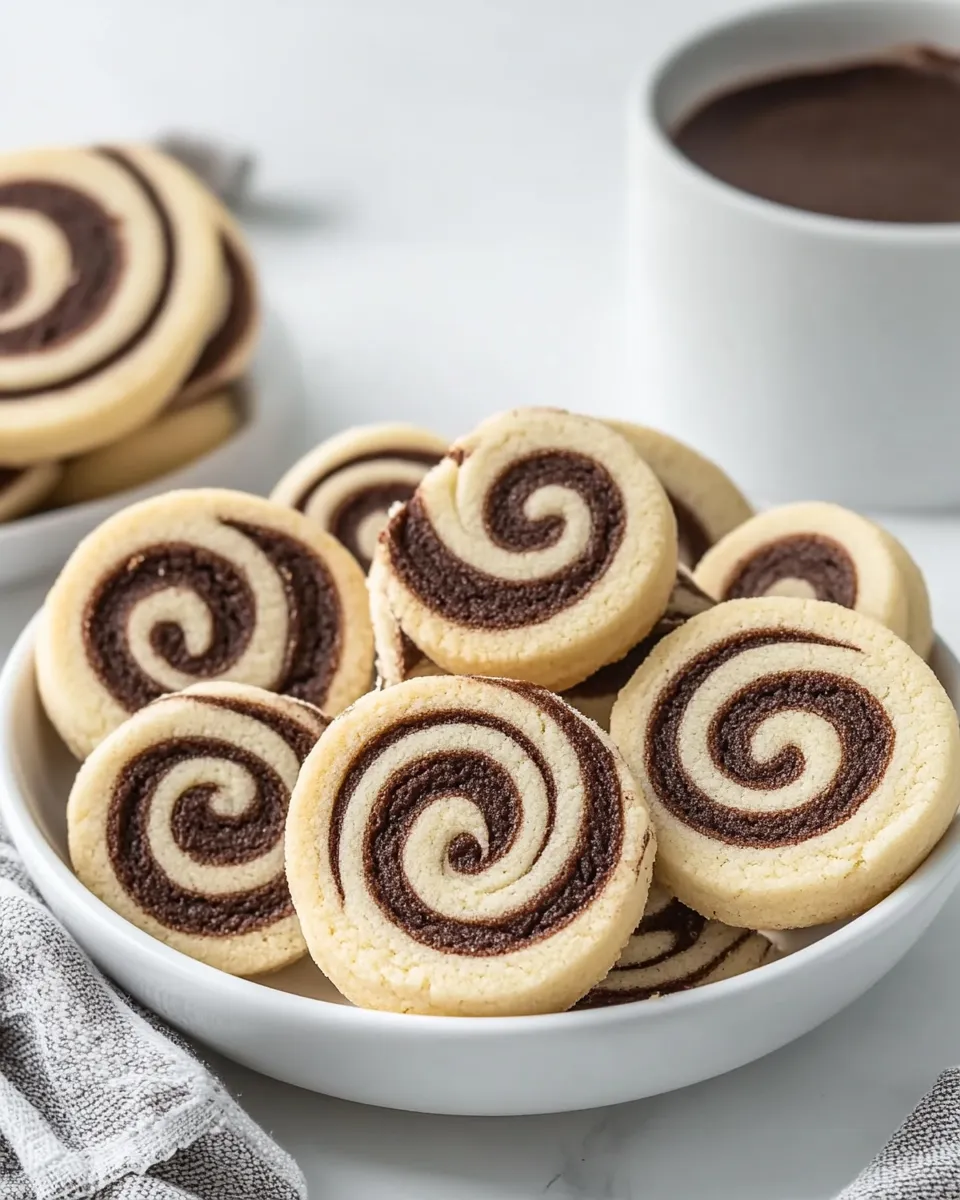
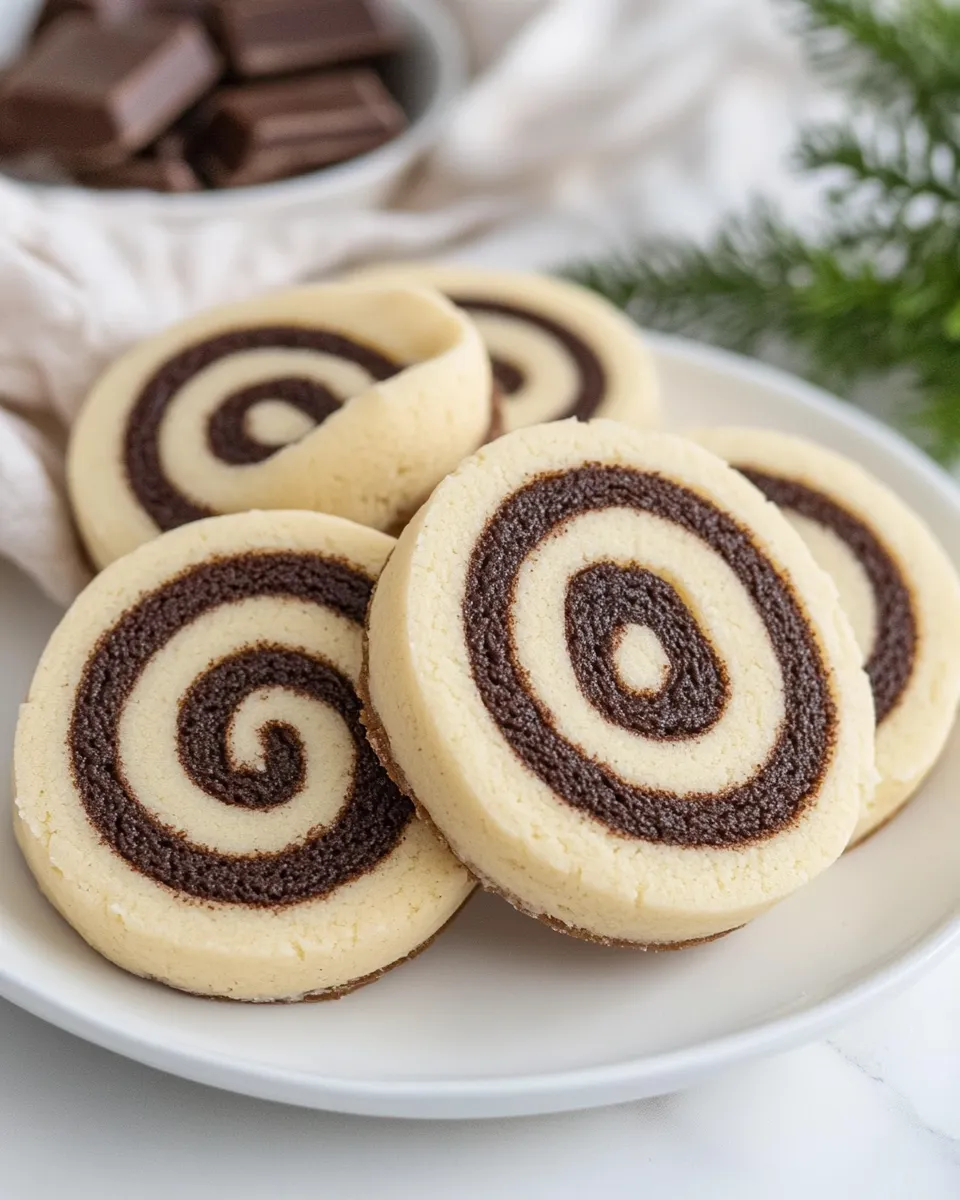
These pinwheel cookies are a small drama in the best way: two doughs, one roll, and a reveal of swirled chocolate and vanilla in every bite. They look like a bakery treat but bake up reliably in a home kitchen. If you can mix, roll, and chill, you can make these.
I test recipes obsessively, and this one earns repeat status. The dough is simple and forgiving. The cocoa layer creates a bold contrast without overwhelming the buttery vanilla base. Slices hold their shape and the texture stays tender, not crumbly.
I’ll walk you through exactly what to do, with practical notes about timing, slicing, and oven behavior. Read the steps through once before you begin; it helps avoid mid-recipe surprises and saves time.
What Goes Into Chocolate Vanilla Pinwheel Cookies
Ingredients
- 3 cups all-purpose flour (360 grams) — provides structure; measure by spooning into the cup and leveling, or weigh for best results.
- 1 teaspoon baking powder (4 grams) — a gentle leavening agent to keep cookies from being too dense.
- ¼ teaspoon kosher salt — balances sweetness; if using table salt, reduce slightly.
- 1½ cups granulated sugar (300 grams) — sweetness and some tenderness; creamed with butter for a light texture.
- 1 cup unsalted butter (226 grams), room temperature (2 sticks) — richness and flavor; room temperature butter creams smoothly with sugar.
- 2 large eggs (100 grams), room temperature — add moisture and help bind the dough; room temp eggs mix more evenly.
- 1 teaspoon pure vanilla extract (4 grams) — primary flavor for the vanilla layer; use a good-quality vanilla for best aroma.
- ¼ cup unsweetened cocoa powder (21 grams) — creates the chocolate layer and contrast; sift if lumpy.
How to Prepare Chocolate Vanilla Pinwheel Cookies
- In a medium bowl, whisk together 3 cups (360 g) all-purpose flour, 1 teaspoon (4 g) baking powder, and 1/4 teaspoon kosher salt. Set aside.
- In a large bowl, beat 1 1/2 cups (300 g) granulated sugar and 1 cup (226 g) room-temperature unsalted butter with a hand mixer until light and fluffy, about 2–3 minutes.
- Add 2 large (100 g) room-temperature eggs and 1 teaspoon (4 g) pure vanilla extract to the butter mixture and beat until combined.
- Add the flour mixture to the wet ingredients and mix on low speed until a soft dough forms. Do not overmix.
- Divide the dough evenly in half.
- Add 1/4 cup (21 g) unsweetened cocoa powder to one half and mix until the chocolate dough is uniformly colored.
- On a lightly floured surface, roll the chocolate dough into a rectangle about 9 x 14 inches. Roll the plain dough to the same size.
- Place the plain dough directly on top of the chocolate dough, aligning the edges. Gently press with a rolling pin so the two layers adhere and are even. Trim the edges with a sharp knife so they are straight.
- Starting at a long side, roll the layered dough tightly into a log (jelly-roll style). Wrap the log in parchment paper or plastic wrap and freeze for 1 hour, until firm.
- About 10–15 minutes before you’re ready to bake, preheat the oven to 350°F and line a baking sheet with parchment paper.
- Unwrap the chilled log and use a sharp knife to cut it into 1/4‑inch slices. Place the slices 1 inch apart on the prepared baking sheet.
- Bake for 10–12 minutes, until the cookies are just set around the edges.
- Immediately transfer the cookies to a wire rack to cool completely.
Top Reasons to Make Chocolate Vanilla Pinwheel Cookies
They look impressive with minimal fuss. A swirl always reads “special occasion,” but these cookies begin with a straightforward dough. If you want something that travels well, slices neatly, and serves as a crowd-pleaser, this is it.
The flavor is balanced. Butter and vanilla carry the plain layer; unsweetened cocoa gives the chocolate side just the right bitterness to prevent the whole cookie from tasting cloying. Texturally, these cookies are tender at the center with slightly firmer edges—a very satisfying bite.
They’re practical to bake in batches. You can freeze the log and cut slices directly from frozen for later. That makes them ideal for cookie trays or last-minute gatherings.
If You’re Out Of…
Out of unsalted butter? Use the same amount of salted butter and skip or reduce the ¼ teaspoon of kosher salt. Taste depends on preference, but that swap keeps science and texture similar.
No cocoa powder? You can’t make the classic pinwheel effect without a dark layer, so consider postponing or making a single-flavor vanilla dough and rolling it thinly for sandwich cookies instead.
Missing a scale? Use cup measures provided in the ingredient list. For best results, spoon and level flour into the cup to avoid packing too much in. Weighing is still the most reliable option when available.
Tools & Equipment Needed
Keep the kit simple. You’ll need a hand mixer (or a stand mixer with paddle), a medium mixing bowl and a large bowl, a rubber spatula, and a rolling pin. A sharp chef’s knife makes clean slices, and parchment paper prevents sticking.
A wire rack is helpful for cooling so the bottoms don’t steam and soften. If you plan to keep logs in the freezer, use plastic wrap or parchment to wrap tightly; both work—parchment is easier to dust off before slicing.
An oven thermometer is a small investment that pays off: temperature accuracy helps cookies bake evenly and prevents overbrowning.
Avoid These Mistakes
Don’t skip chilling the log. Cutting a warm dough leads to squashed slices and misshapen spirals. The one-hour freeze firms the roll for clean, even slices.
Measure flour correctly. Too much flour makes dry, tough cookies. Spoon and level or weigh the flour to match the recipe’s 360 grams.
Don’t overmix once you add the flour. Overmixed dough develops gluten and yields denser cookies. Mix on low speed just until the dough comes together.
Cut with a sharp knife and use swift, confident strokes. A dull knife compresses the swirl and can tear the layers.
Seasonal Adaptations
Winter: Add warm spices to the vanilla dough for seasonal depth—cinnamon or a pinch of cardamom pairs well with cocoa. Use sparingly; you don’t want to overpower the classic swirl.
Spring/Summer: Keep it light. Roll thinner logs and slice slightly thicker cookies for a more tender bite that pairs well with iced tea or lemonade.
Holidays: Press a thin layer of orange zest into the chocolate dough before rolling for a bright citrus note that complements the cocoa. Again, don’t add liquid ingredients; zest or finely grated peel is enough.
Behind-the-Scenes Notes
I always dust my work surface lightly and roll between two sheets of parchment when dough feels sticky. It saves flouring the dough excessively and produces smoother layers that adhere without blending colors.
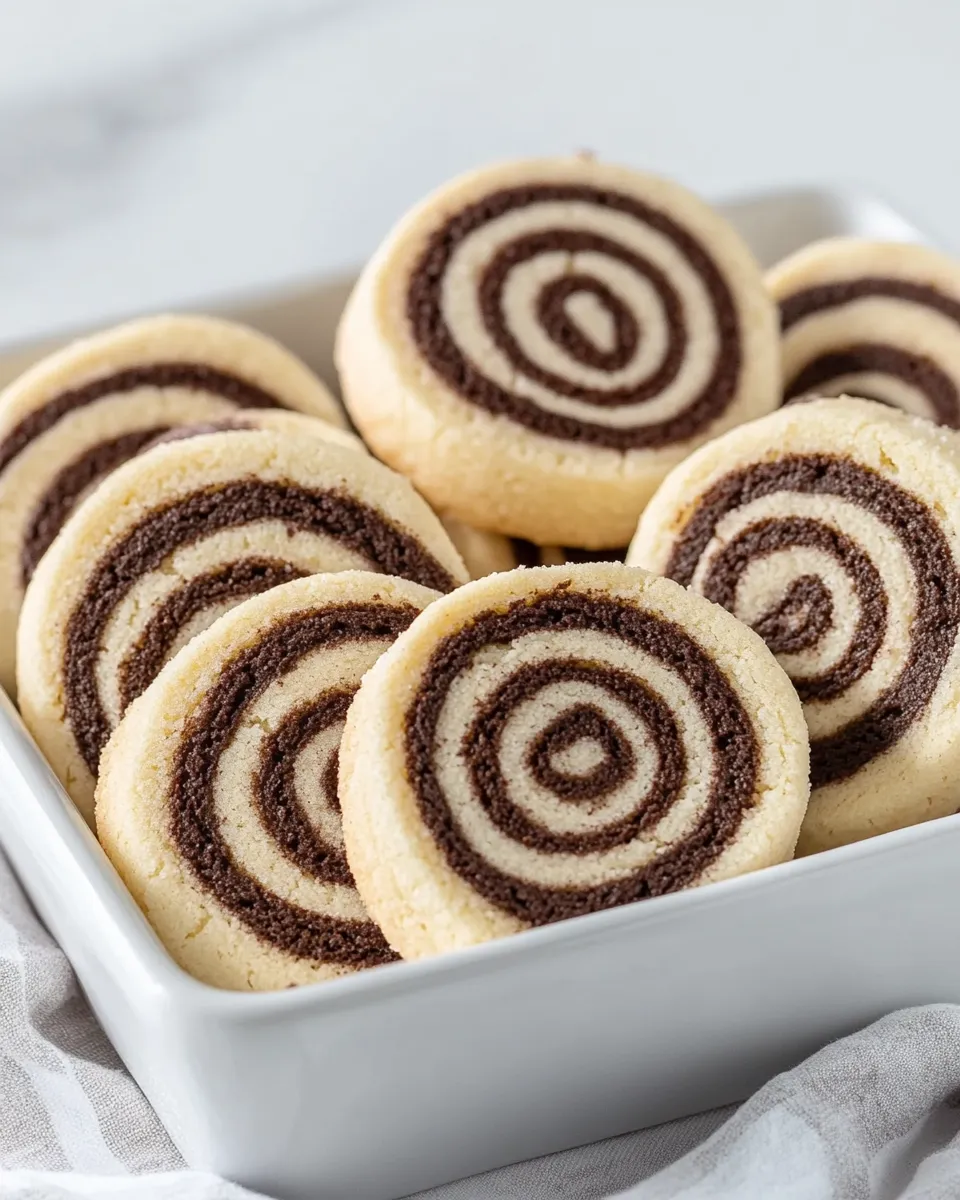
When trimming edges, cut straight and remove ragged bits. Neat edges make the final spiral uniform. If you want taller swirls, roll tighter at the start and press seams firmly so the log keeps its shape while freezing.
Timing matters: slice when the log is firm but not rock-hard. Ten to fifteen minutes out of the freezer is usually enough to soften slightly for cleaner slicing, depending on your knife and room temperature.
Save for Later: Storage Tips
Room temperature: Store cooled cookies in an airtight container for up to 3 days. Layer with parchment to prevent sticking. They’ll stay crisp at the edges and tender in the center.
Refrigerator: I don’t recommend refrigerating baked cookies; it shifts texture and can dry them out. Instead, freeze the log or fully cooled baked cookies if you need longer storage.
Freezer: Freeze the wrapped log for up to 2 months. Slice frozen and bake directly from frozen, adding a minute or two to the bake time if needed. For baked cookies, freeze in a single layer on a tray first, then transfer to an airtight container with parchment between layers.
Common Questions
Q: Can I use a stand mixer instead of a hand mixer? A: Yes. Use the paddle attachment and follow the same timing—beat until light and fluffy, then add eggs and vanilla.
Q: My slices fall apart. What went wrong? A: The log likely wasn’t chilled long enough or the seam between layers wasn’t pressed well. Re-wrap and chill until firm, then re-slice with a sharp knife.
Q: Can I make the dough ahead? A: Yes. Dough freezes well. Wrap the log tightly and freeze for up to 2 months; bake from frozen when ready.
Next Steps
Gather your ingredients and read the steps once through. Prep your trays and parchment so everything is within reach. When you start, keep the process steady: mix, divide, roll, chill, slice, and bake in that order.
Share a batch. These cookies are excellent for gifting because they travel well and look polished. If you post a photo, note the oven temperature you used and whether you chilled slightly longer—those details help other bakers replicate your success.
Make a test batch, adjust timing for your oven, and then scale up. You’ll find the rhythm quickly. Happy baking—enjoy those spirals.
Chocolate Vanilla Pinwheel Cookies
Ingredients
Ingredients
- 3 cupsall-purpose flour360 grams
- 1 teaspoonbaking powder4 grams
- 1/4 teaspoonkosher salt
- 1 1/2 cupsgranulated sugar300 grams
- 1 cupunsalted butter226 grams room temperature (2 sticks)
- 2 largeeggs100 grams room temperature
- 1 teaspoonpure vanilla extract4 grams
- 1/4 cupunsweetened cocoa powder21 grams
Instructions
Instructions
- In a medium bowl, whisk together 3 cups (360 g) all-purpose flour, 1 teaspoon (4 g) baking powder, and 1/4 teaspoon kosher salt. Set aside.
- In a large bowl, beat 1 1/2 cups (300 g) granulated sugar and 1 cup (226 g) room-temperature unsalted butter with a hand mixer until light and fluffy, about 2–3 minutes.
- Add 2 large (100 g) room-temperature eggs and 1 teaspoon (4 g) pure vanilla extract to the butter mixture and beat until combined.
- Add the flour mixture to the wet ingredients and mix on low speed until a soft dough forms. Do not overmix.
- Divide the dough evenly in half.
- Add 1/4 cup (21 g) unsweetened cocoa powder to one half and mix until the chocolate dough is uniformly colored.
- On a lightly floured surface, roll the chocolate dough into a rectangle about 9 x 14 inches. Roll the plain dough to the same size.
- Place the plain dough directly on top of the chocolate dough, aligning the edges. Gently press with a rolling pin so the two layers adhere and are even. Trim the edges with a sharp knife so they are straight.
- Starting at a long side, roll the layered dough tightly into a log (jelly-roll style). Wrap the log in parchment paper or plastic wrap and freeze for 1 hour, until firm.
- About 10–15 minutes before you’re ready to bake, preheat the oven to 350°F and line a baking sheet with parchment paper.
- Unwrap the chilled log and use a sharp knife to cut it into 1/4‑inch slices. Place the slices 1 inch apart on the prepared baking sheet.
- Bake for 10–12 minutes, until the cookies are just set around the edges.
- Immediately transfer the cookies to a wire rack to cool completely.
Equipment
- Kitchen Scale(optional)
- Hand Mixer
- Rolling Pin
- Baking Sheet
Notes
The dough can stay in the freezer for up to 3 months before baking. I would advise if you are not going to bake them the same day as the dough was made that you put the parchment paper or plastic wrapped dough log in a zip top freezer bag for add protection. When ready to bake you will need to leave the dough log out at room temperature for about 15 minutes before slicing.
Cool completely before storing in an airtight container at room temperature.


