
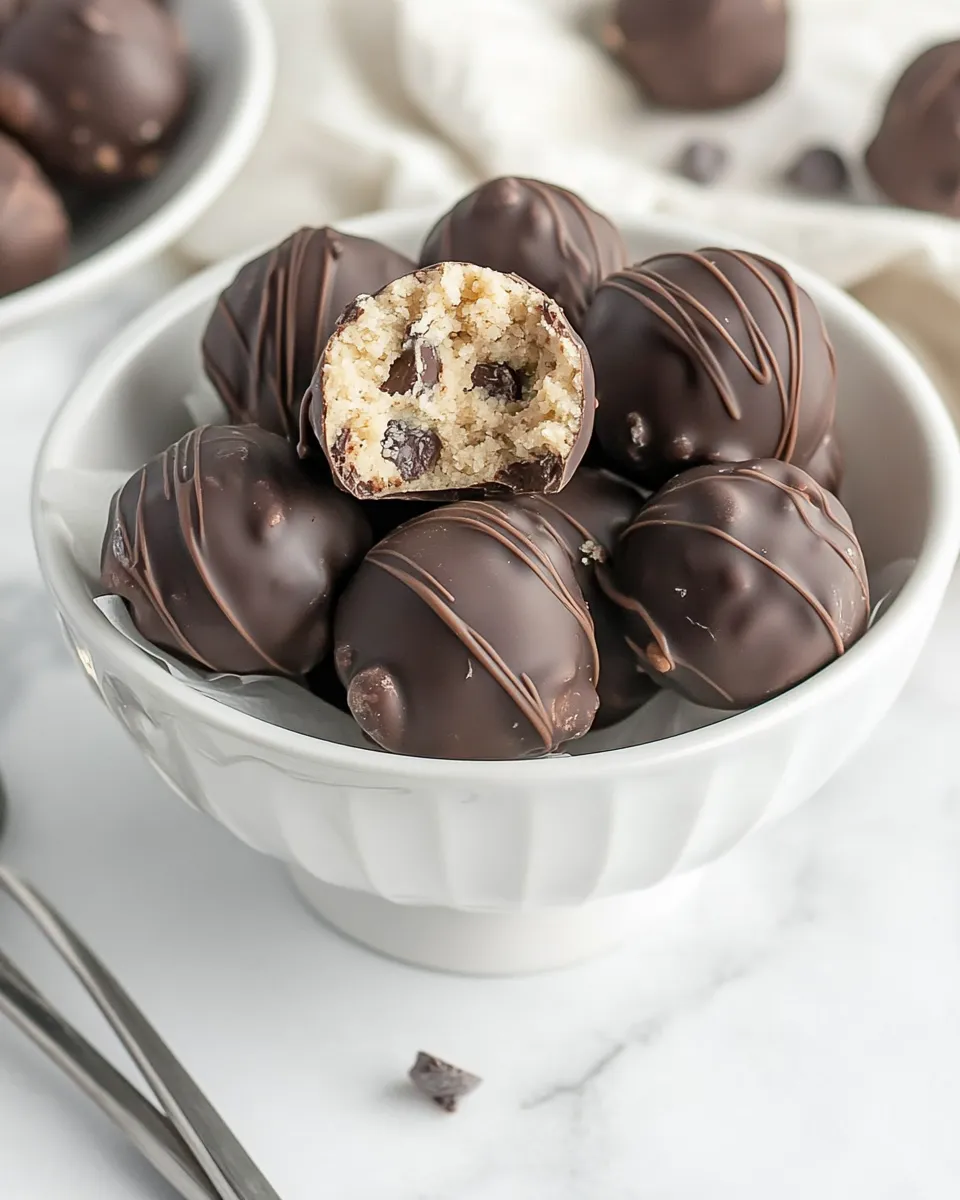
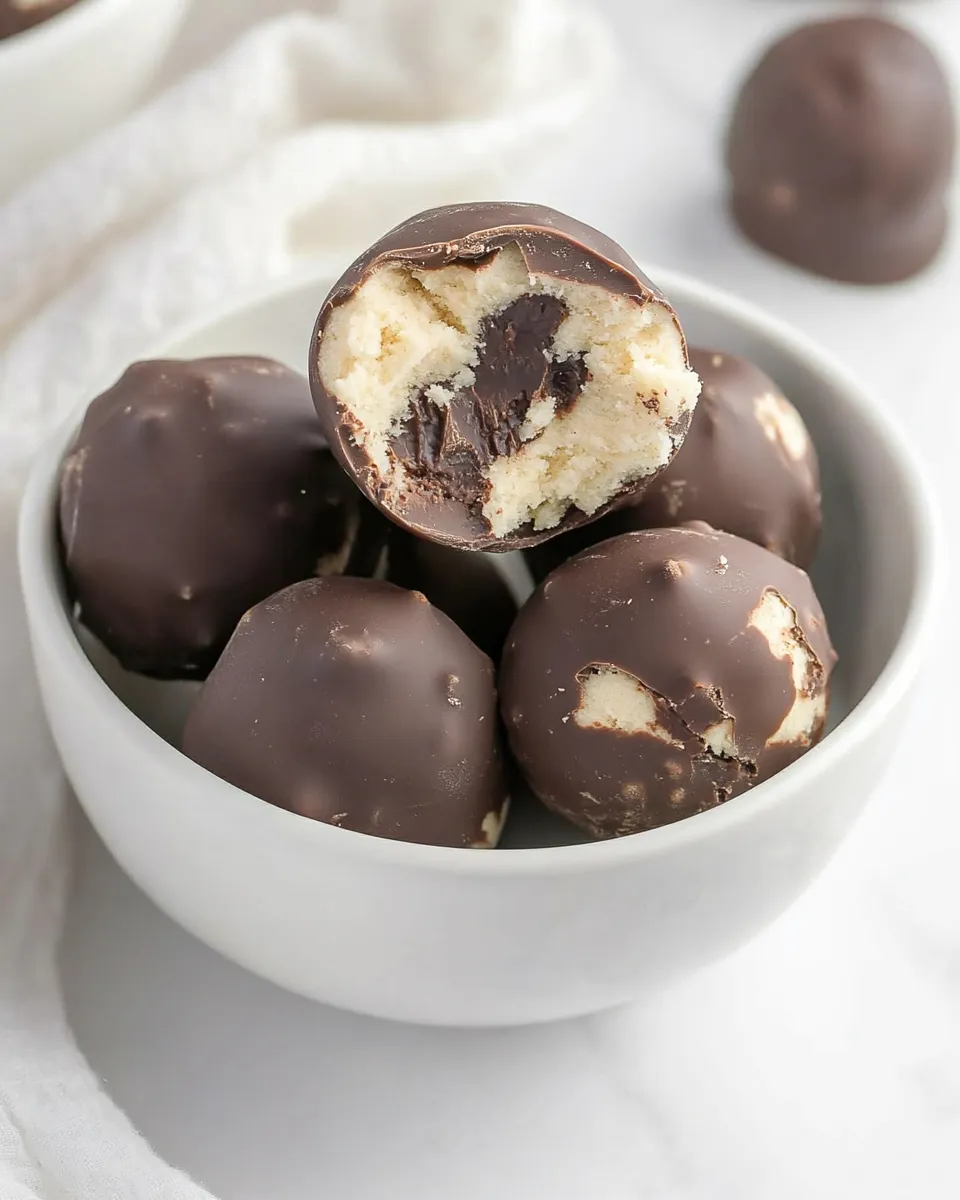
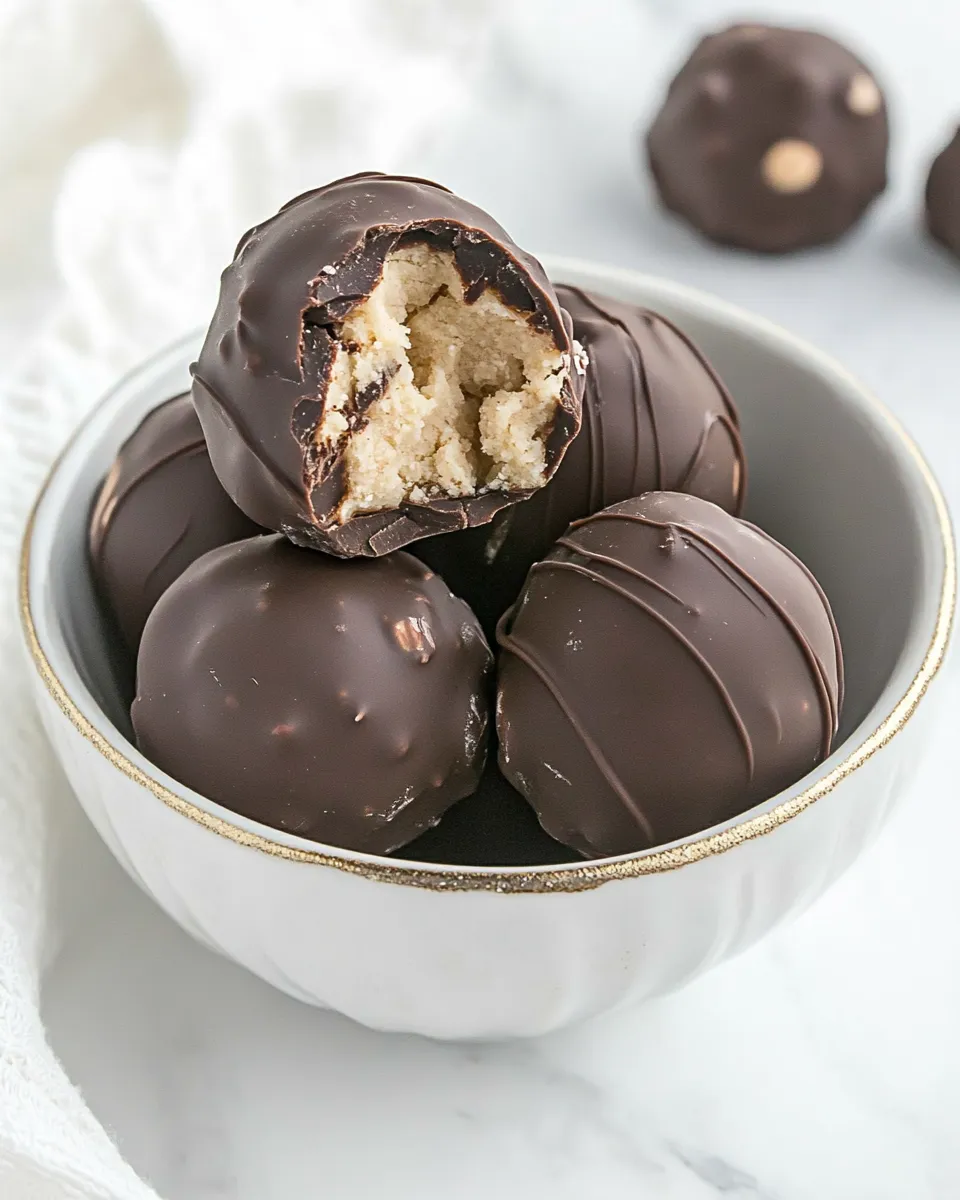
These cookie dough chocolate truffles are the kind of treat I make when I want something that feels indulgent but still comes together without drama. The dough is safe to eat because the flour is briefly baked and the butter is browned and cooled; then everything is rolled, chilled, and dipped in a glossy dark coating. They look fancy, but they’re straightforward — and reliably addictive.
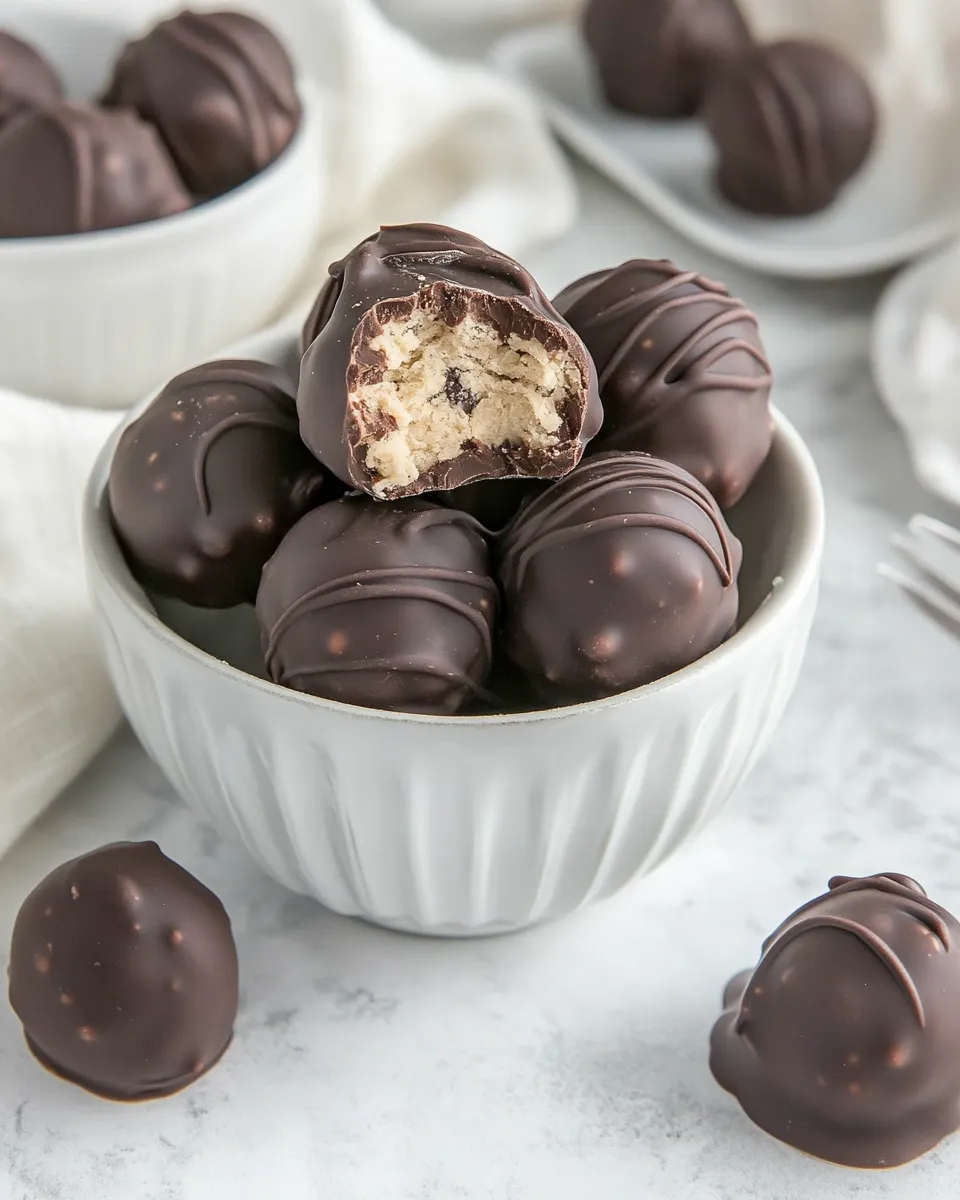
I love them for parties and for quiet evenings when I want a handful of something sweet with a little crunch from mini chips or a sprinkle of Heath. They store well in the fridge, so you can make a batch ahead and have dessert ready when guests arrive, or keep a stash for yourself.
Below you’ll find the ingredient checklist, step‑by‑step instructions from prep to plate (kept exactly as written), troubleshooting tips, equipment notes, and my reasoning behind a few of the key steps. Let’s make them.
Ingredient Checklist
Ingredients
- 1 stick (8 tablespoons) butter, cut into chunks* — browned for nutty flavor and then chilled so it can be creamed without melting the dough.
- ¾ cup brown sugar — sweetens and adds moisture and chew; it also deepens flavor with its molasses notes.
- ¼ cup heavy cream — binds and softens the dough so it’s scoopable and smooth.
- ½ teaspoon vanilla extract — boosts overall flavor and rounds the sweetness.
- ¼ teaspoon salt — balances sweetness and enhances chocolate notes.
- 1 cup plus 2 tablespoons flour* — toasted briefly to make it safe to eat and to change its flavor slightly.
- ½-¾ cup mini semi-sweet chocolate chips — little pockets of chocolate inside the dough; quantity range lets you choose how chocolatey you like the interior.
- 12 ounces Ghirardelli Dark Melting Wafers — coating that sets firm and shiny; darker chocolate provides contrast to the sweet dough.
- Crushed Heath bars or sprinkles to garnish, optional — optional texture and visual contrast; add immediately after dipping so they adhere to the wet chocolate.
Cookie Dough Chocolate Truffles: From Prep to Plate
- Preheat oven to 350°F. Spread the 1 cup plus 2 tablespoons flour in an even layer on a rimmed baking sheet and bake for 5 minutes. Remove from oven and let the flour cool completely on the pan.
- While the flour bakes, brown the butter: place the 1 stick (8 tablespoons) butter pieces in a light-colored saucepan over medium heat. Stir frequently as the butter melts, foams, then turns a light golden-brown and gives a nutty aroma. Remove from heat as soon as the brown flecks appear and the aroma is pronounced.
- Immediately scrape the browned butter into a heatproof bowl and refrigerate until it solidifies (firm and cool to the touch), about 30–60 minutes.
- When the flour is cooled and the browned butter is solid, remove the butter from the fridge and let it sit at room temperature just until it softens enough to mix (about 5–10 minutes). Do not let it fully melt.
- Add the ¾ cup brown sugar, ¼ cup heavy cream, ½ teaspoon vanilla extract, and ¼ teaspoon salt to the softened brown butter. Mix with a spatula or electric mixer until the mixture is smooth and well combined.
- Stir the cooled, baked flour into the butter mixture until incorporated and a dough forms. Fold in ½–¾ cup mini semi-sweet chocolate chips until evenly distributed.
- Using a tablespoon measure, scoop out level tablespoonfuls of dough and place them on a parchment-lined baking sheet, spacing them about 1 inch apart. Chill the scooped dough in the refrigerator until firm enough to handle, about 20–30 minutes.
- Remove chilled dough pieces and quickly roll each between your palms to form smooth balls. Return the rolled balls to the parchment-lined sheet and keep refrigerated while you prepare the coating.
- Melt the 12 ounces Ghirardelli Dark Melting Wafers according to the package directions (or microwave in short bursts, stirring between intervals, until smooth).
- Using a fork or dipping tool, dip each cookie dough ball into the melted wafers to fully coat, letting excess chocolate drip back into the bowl. Place coated truffles back on the parchment. If desired, sprinkle crushed Heath bars or sprinkles onto the chocolate while it is still wet so they adhere.
- Let the chocolate set at room temperature or refrigerate until the coating is firm. If you want a drizzle, reheat a small amount of the melted wafers or reserve some before dipping, and drizzle over the set coating.
- Store the finished truffles covered in the refrigerator.
Top Reasons to Make Cookie Dough Chocolate Truffles
- Quick impressive treat: They look like something from a boutique chocolatier but mostly require chilling and dipping.
- Party-friendly: Easy to make ahead and keep chilled; they travel well in a covered container.
- Textural contrast: Soft cookie-dough interior with a firm chocolate shell and optional crunchy garnish.
- Customizable: Change the garnish or chocolate to suit tastes without reworking the core technique.
- Safe-to-eat dough: Briefly baking the flour and handling the butter as described reduces raw-flour concerns while preserving that fresh cookie-dough feel.
International Equivalents
If you’re baking outside the U.S., most of these ingredients have clear equivalents. Brown sugar is sold as soft/dark brown sugar in many countries; use the local version that contains molasses. Heavy cream can be labeled as double cream or whipping cream with a higher fat percentage—choose the richer option to match texture.
Ghirardelli Dark Melting Wafers are a brand-specific melting coating. Look for dark melting chocolate, couverture, or compound chocolate labeled for dipping. Mini semi-sweet chips are often sold as “mini chocolate chips” or “baking chips”—any small semi-sweet option will work inside the dough. Flour is plain/all-purpose flour in most markets.
Before You Start: Equipment
- Rimmed baking sheet — to toast the flour and to chill/hold the dough pieces.
- Light-colored saucepan — makes it easier to judge the color of browning butter.
- Heatproof bowl — to hold browned butter for chilling.
- Spatula or electric mixer — for creaming softened browned butter with sugar and cream.
- Parchment paper — prevents sticking when chilling and after dipping.
- Tablespoon scoop — yields consistent truffle sizes for even dipping and presentation.
- Fork or dipping tool — for coating the truffles cleanly in the melted wafers.
- Refrigerator space — you’ll need room for chilling both dough balls and finished truffles.
Avoid These Traps
- Don’t skip toasting the flour. Raw flour can carry bacteria; a short bake reduces risk and removes the raw flour taste.
- Avoid letting the browned butter fully melt when you take it from the fridge. It should be softened, not liquid, so it incorporates without making the dough greasy.
- Don’t overheat the melting wafers. Overheating can make the coating grainy or scorch; use short bursts in the microwave and stir frequently.
- Don’t try to roll dough that’s not cold enough. Warm dough will be sticky and hard to shape; chill until firm enough to handle.
- Skip dipping if the dough balls are too cold straight from the freezer; very frozen centers can crack the coating. Use chilled but not frozen dough for the best result.
In-Season Swaps
These truffles don’t depend on seasonal produce, but you can swap garnishes to match the time of year. In colder months, try a sprinkle of crushed toffee or a dusting of espresso powder for warmth. In spring and summer, use bright-colored sprinkles or chopped freeze-dried fruit pieces for a fresh look. The core dough and coating remain the same — small garnish swaps give a seasonal spin.
Chef’s Rationale
There are a few intentional moves in this recipe that matter more than they might seem at first glance. Toasting the flour briefly is a targeted safety and flavor step: five minutes at 350°F reduces the rawness of the flour without toasting it so much that the texture changes. Browning the butter adds nutty, caramelized notes that deepen the overall flavor of an otherwise very sweet dough.
Chilling the butter after browning gives you the best of both worlds: the flavor of brown butter without the handling problems of melted butter. Softened, not melted, butter can still trap and hold the sugar and cream to create a cohesive dough. The chilled dough also firms up enough to roll — and keeps its shape when coated in warm chocolate.
Finally, the choice of a dark, sturdy coating is practical. It sets hard and provides a textural contrast to the soft interior. Reserving a little of the melted wafers before dipping makes a quick drizzle optional and visually pleasing.
Storage & Reheat Guide
Store the finished truffles covered in the refrigerator. A single layer on a parchment-lined tray inside a covered container prevents sticking and keeps the coating intact. When you’re ready to serve, take them out of the fridge for a few minutes to take the chill off — they taste best when the interior is slightly softer than straight-from-cold.
If you need to transport them, keep them chilled in an insulated cooler or cooler bag to prevent the coating from softening in warm conditions.
Quick Questions
- Can I skip browning the butter? You can, but the truffles will miss the deeper, toasty flavor that brown butter provides. Regular melted-and-cooled butter will still work for structure, but flavor will be flatter.
- Is the flour really safe after 5 minutes at 350°F? The brief bake is the specified method in this recipe to reduce raw-flour taste and risk. Make sure the flour cools completely before combining with other ingredients.
- Can I use a different chocolate for coating? Yes—look for a dipping chocolate or couverture that melts smoothly. If using block chocolate, tempering is ideal but not required if you accept a softer set.
- Can I freeze them? Yes, you can freeze coated truffles. Pack them in a single layer or between parchment sheets and keep them in an airtight container. Thaw in the refrigerator before serving to avoid condensation on the coating.
Time to Try It
These truffles are worth the few steps they require. The technique is simple: toast, brown, chill, roll, and dip — and each step has a clear purpose. Make a batch this weekend. Keep some plain, dress some with crushed toffee, and taste the difference that brown butter and a good dark coating make. Then come back and tell me which garnish won your household over.
Cookie Dough Chocolate Truffles
Ingredients
Ingredients
- 1 stick 8 tablespoons butter, cut into chunks*
- 3/4 cup brown sugar
- 1/4 cup heavy cream
- 1/2 teaspoon vanilla extract
- 1/4 teaspoon salt
- 1 cup plus 2 tablespoons flour*
- 1/2-3/4 cup mini semi-sweet chocolate chips
- 12 ounces Ghirardelli Dark Melting Wafers
- Crushed Heath bars or sprinkles to garnish optional
Instructions
Instructions
- Preheat oven to 350°F. Spread the 1 cup plus 2 tablespoons flour in an even layer on a rimmed baking sheet and bake for 5 minutes. Remove from oven and let the flour cool completely on the pan.
- While the flour bakes, brown the butter: place the 1 stick (8 tablespoons) butter pieces in a light-colored saucepan over medium heat. Stir frequently as the butter melts, foams, then turns a light golden-brown and gives a nutty aroma. Remove from heat as soon as the brown flecks appear and the aroma is pronounced.
- Immediately scrape the browned butter into a heatproof bowl and refrigerate until it solidifies (firm and cool to the touch), about 30–60 minutes.
- When the flour is cooled and the browned butter is solid, remove the butter from the fridge and let it sit at room temperature just until it softens enough to mix (about 5–10 minutes). Do not let it fully melt.
- Add the ¾ cup brown sugar, ¼ cup heavy cream, ½ teaspoon vanilla extract, and ¼ teaspoon salt to the softened brown butter. Mix with a spatula or electric mixer until the mixture is smooth and well combined.
- Stir the cooled, baked flour into the butter mixture until incorporated and a dough forms. Fold in ½–¾ cup mini semi-sweet chocolate chips until evenly distributed.
- Using a tablespoon measure, scoop out level tablespoonfuls of dough and place them on a parchment-lined baking sheet, spacing them about 1 inch apart. Chill the scooped dough in the refrigerator until firm enough to handle, about 20–30 minutes.
- Remove chilled dough pieces and quickly roll each between your palms to form smooth balls. Return the rolled balls to the parchment-lined sheet and keep refrigerated while you prepare the coating.
- Melt the 12 ounces Ghirardelli Dark Melting Wafers according to the package directions (or microwave in short bursts, stirring between intervals, until smooth).
- Using a fork or dipping tool, dip each cookie dough ball into the melted wafers to fully coat, letting excess chocolate drip back into the bowl. Place coated truffles back on the parchment. If desired, sprinkle crushed Heath bars or sprinkles onto the chocolate while it is still wet so they adhere.
- Let the chocolate set at room temperature or refrigerate until the coating is firm. If you want a drizzle, reheat a small amount of the melted wafers or reserve some before dipping, and drizzle over the set coating.
- Store the finished truffles covered in the refrigerator.
Equipment
- Rimmed baking sheet
- Saucepan
- Heatproof bowl
- Spatula
- Electric Mixer
- Parchment-lined Baking Sheet
- Refrigerator
- Fork or Dipping Tool
- Microwave-safe Bowl


