

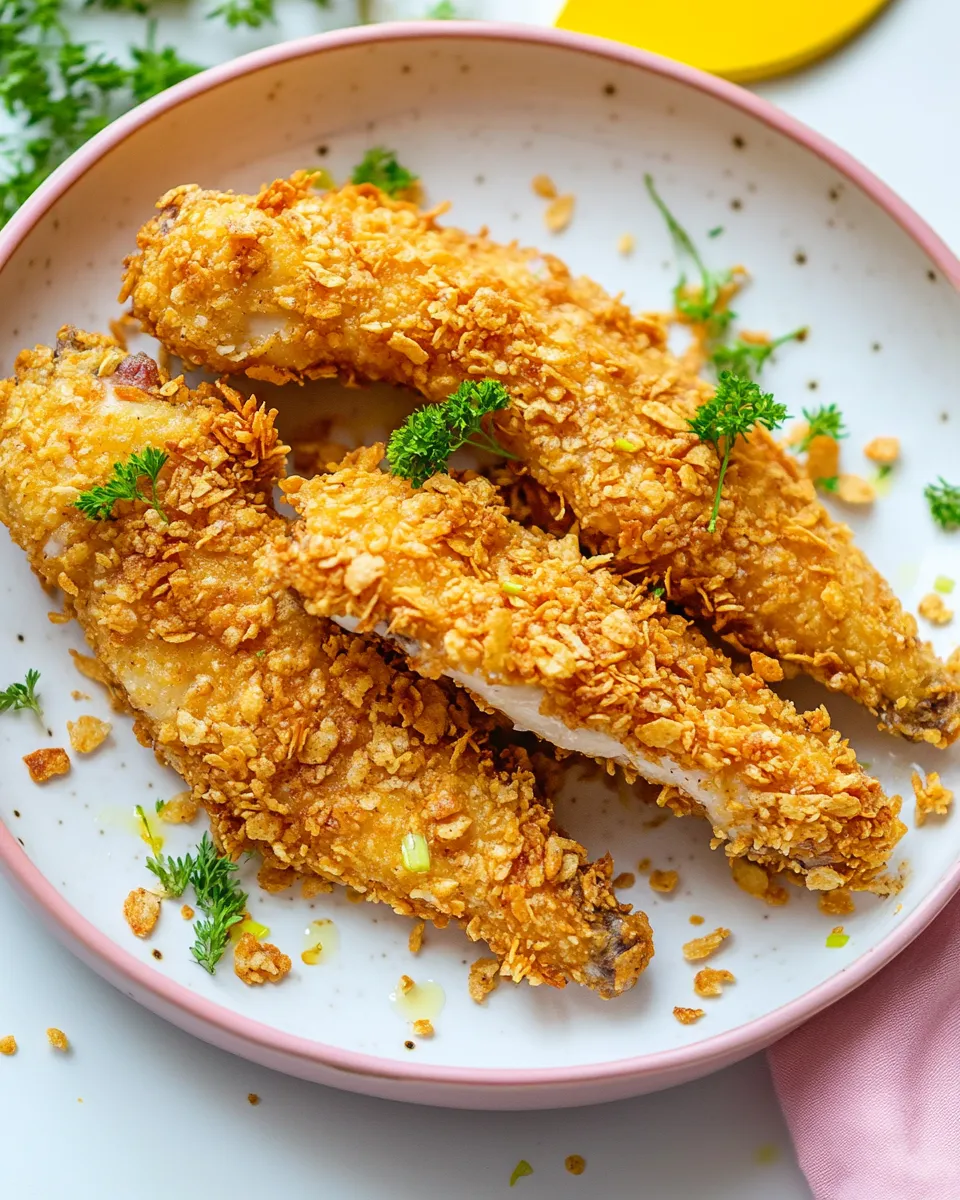
This is a practical, no-nonsense recipe for crunchy, golden-baked chicken that hits every weekday and weekend note. It uses pantry-friendly cornflakes and a simple milk-and-egg dip to create a crisp coating without frying. Expect a flaky, savory crust and tender chicken inside.
I test this version because the method is reliable: a hot oven, a single pan, and a light spray of oil deliver the crunch we want. The steps are straightforward enough to follow when you’re short on time, and flexible enough to scale for family dinners or meal prep. Keep your mise en place and the results will be consistent.
Below you’ll find the exact ingredients and the method as written, plus practical tips, common mistakes to avoid, and sensible adaptations for different diets. Read the ingredient list, then follow the method step by step for the best outcome.
What Goes In

Ingredients
- Olive oil spray — helps the cornflake coating brown and crisp in the oven without deep-frying.
- 1/2 cup low-fat milk — thins the eggs and helps the coating stick; use as written for texture.
- 2 large eggs — provide lift and bind the crumbs to the chicken.
- 4 cups cornflakes (unsweetened) — the primary crunchy coating; pulses to coarse crumbs for texture.
- 1 teaspoon smoked paprika — adds warm color and subtle smoky flavor to the crumbs.
- 1/4 teaspoon garlic powder — background savory note in the coating.
- 1/2 teaspoon sea salt — seasons both crust and meat; adjust at the table if needed.
- 1/4 teaspoon freshly ground black pepper — a mild peppery contrast to the sweet cornflake crust.
- 1 1/4 pounds chicken tenders or boneless, skinless chicken breasts cut into 1-inch strips — main protein; pat dry for the best adhesion of the coating.
- Fresh parsley, finely chopped — a bright garnish to finish and add color.
The Method for Crispy Cornflake Chicken
- Preheat the oven to 425°F. Line a baking sheet with parchment paper and lightly coat the parchment with olive oil spray.
- In a shallow dish, whisk together 1/2 cup low-fat milk and 2 large eggs until combined.
- In a food processor, combine 4 cups cornflakes (unsweetened), 1 teaspoon smoked paprika, 1/4 teaspoon garlic powder, 1/2 teaspoon sea salt, and 1/4 teaspoon freshly ground black pepper; pulse until you have coarse crumbs. Transfer the crumb mixture to a shallow dish.
- If using boneless skinless chicken breasts, cut them into 1-inch strips; if using chicken tenders, leave them whole. Pat the chicken pieces dry with a paper towel.
- Working one at a time, dip each chicken piece into the milk-and-egg mixture, allowing excess to drip off, then press firmly into the cornflake crumb mixture so the crumbs adhere. Place each coated piece on the prepared baking sheet in a single layer, making sure pieces do not touch.
- Lightly spray the tops of the coated chicken pieces with olive oil spray.
- Bake in the preheated oven for 25 minutes, until the coating is golden and crispy and the chicken is cooked through (internal temperature should reach 165°F).
- Remove from the oven and let the chicken rest for a few minutes. Sprinkle with finely chopped fresh parsley and serve.
Top Reasons to Make Crispy Cornflake Chicken

- Crunch without deep-frying — you get a satisfyingly crisp crust using just the oven and a light olive oil spray.
- Simple pantry ingredients — cornflakes, eggs, milk, and a few spices. Minimal shopping required.
- Fast weeknight option — from prep to plate in about 35 minutes, including baking time.
- Kid-friendly and versatile — works for lunchboxes, salads, tacos, or served with mashed potatoes.
- Hands-off cooking during baking — once the tray is in the oven you can finish sides or clean up.
Vegan & Vegetarian Swaps
- Use firm, pressed tofu or thick cauliflower steaks in place of chicken. Press excess moisture from tofu so the coating sticks.
- Replace the milk and eggs with a plant-based milk plus a binder (for example, a thickened non-dairy milk or a commercial egg replacer) to help crumbs adhere.
- Keep the cornflake crumbs and spices the same to preserve the crunchy, seasoned exterior.
Before You Start: Equipment
- Food processor or sturdy plastic bag and rolling pin — for pulsing cornflakes into coarse crumbs.
- Shallow dishes — one for the milk-and-egg mix and one for the crumb mixture; saves time and keeps everything organized.
- Baking sheet lined with parchment — prevents sticking and makes cleanup quick.
- Olive oil spray — a quick way to encourage browning without excess oil.
- Digital instant-read thermometer — optional but the best way to ensure chicken reaches 165°F without overcooking.
Don’t Do This
- Don’t skip patting the chicken dry. Wet chicken prevents the coating from sticking reliably.
- Don’t overcrowd the pan. Crowding traps steam and softens the crust; give pieces space to crisp.
- Don’t use sweetened cornflakes. They’ll caramelize awkwardly and skew the flavor.
- Don’t skip the oil spray. The spray is what gives the crumbs their golden finish in the oven.
- Don’t assume color equals doneness. Use a thermometer or check that juices run clear and the meat is no longer pink.
Adaptations for Special Diets
- Gluten-free: Use certified gluten-free cornflakes. The rest of the method stays the same.
- Dairy-free: Substitute a neutral plant milk for the low-fat milk. Combine with a binder in place of the eggs if strictly dairy-free and egg-free.
- Lower sodium: Reduce the added salt in the crumb mix and finish with a squeeze of lemon for brightness instead.
- Higher protein: Keep the same chicken portion and serve with a side of legumes or a hearty salad to boost protein and fiber.
Chef’s Notes
Texture and Crust
The cornflakes should be pulsed to coarse crumbs — not powder. You want small, crunchy pieces that create contrast with the tender chicken. Press the crumbs firmly onto the wet chicken to ensure they stick through baking.
Heat and Timing
425°F is deliberate. It’s hot enough to brown quickly without drying the meat. If your oven runs hot, check at 20 minutes. If you use very thick chicken pieces, they may need a few extra minutes; confirm with a thermometer.
Flavor Boosters
If you want a sharper finish, add a little lemon zest to the crumbs or a pinch more smoked paprika. Keep additions small so they complement, not overpower, the cornflake crust.
Make Ahead Like a Pro
- Prep the crumb mixture up to 24 hours ahead and store it airtight in the fridge. Keeps the process fast on the day you cook.
- Coat the chicken completely, then arrange on the baking sheet and cover tightly. Bake within 2–3 hours for best adhesion; the coating can soften if left too long.
- Cooked chicken keeps in the fridge for 3–4 days. Reheat in a 400°F oven on a wire rack for 8–10 minutes to revive crispness.
Common Qs About Crispy Cornflake Chicken
- Can I fry this instead? Yes. If you prefer deep-frying, maintain the same coating but watch the oil temperature closely and drain on paper towels. The recipe is written for oven-baking to keep it lighter.
- Why pulse cornflakes instead of crushing by hand? A food processor gives consistent crumb size. If you crush by hand, aim for coarse pieces — not dust — to keep texture.
- Will the coating fall off? If crumbs fall away, the chicken was likely too wet or the crumbs weren’t pressed firmly. Pat the chicken dry and press the crumbs in with your palm.
- Can I double the recipe? Yes. Use two baking sheets and rotate them in the oven if your oven space is limited. Keep pieces from touching so they crisp evenly.
- Is the oven temperature critical? 425°F provides the best balance of browning and cooking through. A lower temp will extend cook time and may soften the crust.
Ready, Set, Cook
Set up your workflow: line the pan, mix the egg wash, pulse the crumbs, and dry the chicken. Work one piece at a time and press the crumb mix on firmly. Bake at 425°F for 25 minutes and let the chicken rest briefly before serving.
Finish with a scatter of finely chopped parsley for freshness. Serve hot alongside a crisp salad, roasted vegetables, or a favorite dipping sauce. This method gives consistently crunchy results without the fuss of frying. Try it, tweak it to your taste, and keep the technique — it’s a winner every time.

Crispy Cornflake Chicken
Ingredients
Ingredients
- Olive oil spray
- 1/2 cuplow-fat milk
- 2 large eggs
- 4 cupscornflakesunsweetened
- 1 teaspoonsmoked paprika
- 1/4 teaspoongarlic powder
- 1/2 teaspoonsea salt
- 1/4 teaspoonfreshly ground black pepper
- 1 1/4 poundschicken tenders or boneless skinless chicken breastscut into 1-inch strips
- Fresh parsleyfinely chopped
Instructions
Instructions
- Preheat the oven to 425°F. Line a baking sheet with parchment paper and lightly coat the parchment with olive oil spray.
- In a shallow dish, whisk together 1/2 cup low-fat milk and 2 large eggs until combined.
- In a food processor, combine 4 cups cornflakes (unsweetened), 1 teaspoon smoked paprika, 1/4 teaspoon garlic powder, 1/2 teaspoon sea salt, and 1/4 teaspoon freshly ground black pepper; pulse until you have coarse crumbs. Transfer the crumb mixture to a shallow dish.
- If using boneless skinless chicken breasts, cut them into 1-inch strips; if using chicken tenders, leave them whole. Pat the chicken pieces dry with a paper towel.
- Working one at a time, dip each chicken piece into the milk-and-egg mixture, allowing excess to drip off, then press firmly into the cornflake crumb mixture so the crumbs adhere. Place each coated piece on the prepared baking sheet in a single layer, making sure pieces do not touch.
- Lightly spray the tops of the coated chicken pieces with olive oil spray.
- Bake in the preheated oven for 25 minutes, until the coating is golden and crispy and the chicken is cooked through (internal temperature should reach 165°F).
- Remove from the oven and let the chicken rest for a few minutes. Sprinkle with finely chopped fresh parsley and serve.
Equipment
- Oven
- Baking Sheet
- Parchment Paper
- Food Processor
- Shallow Dish
- paper towel


