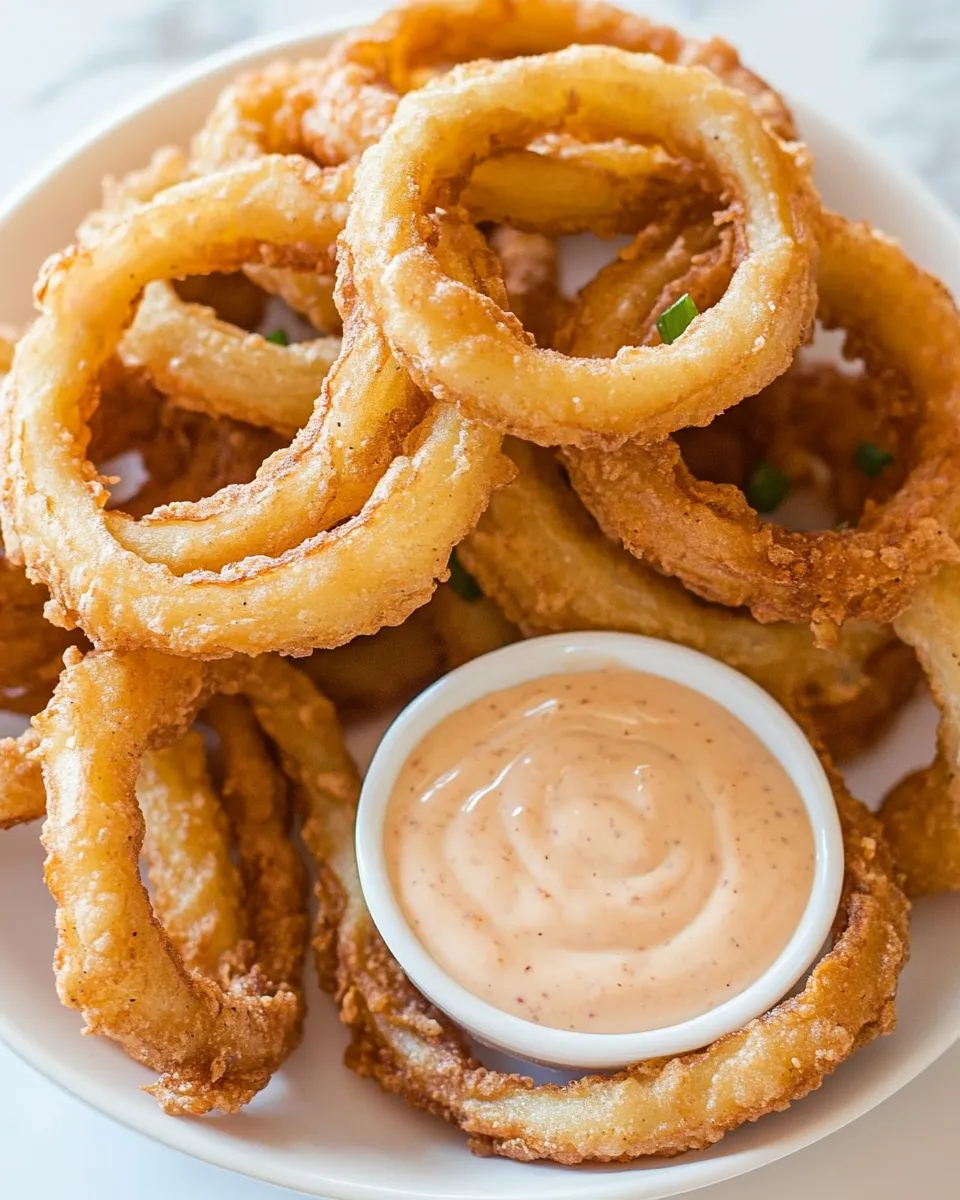
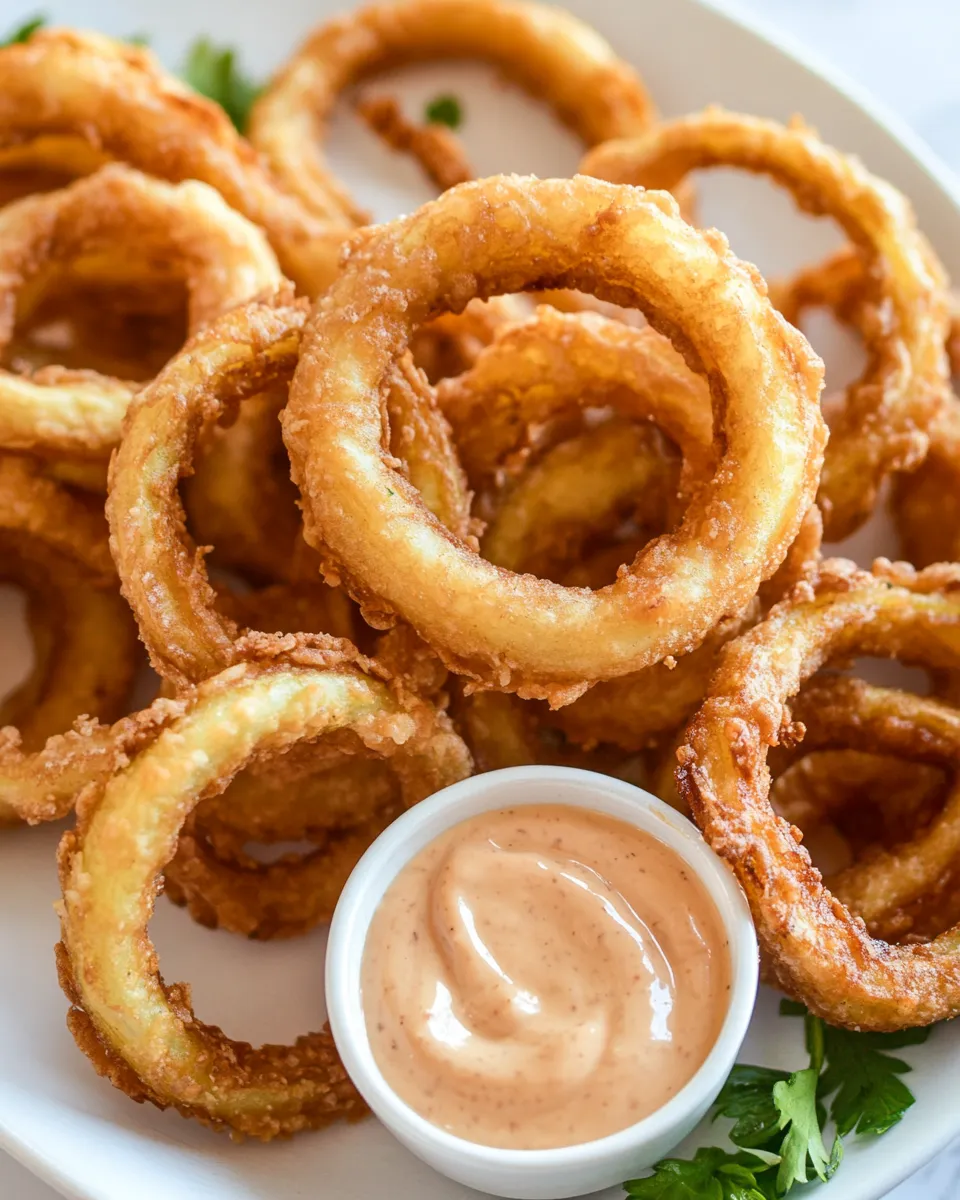
I remember the first time I made these onion rings: the kitchen smelled like a fairground, and every crisp bite pulled everyone into the living room. They’re exactly what you want for a Saturday night snack or when friends drop by unexpectedly. The outside is crackly and golden; the inside stays tender and sweet.
This recipe is straightforward and forgiving. The double-battering step gives the rings that signature crunch without turning them greasy. The dipping sauce is simple, so the star—sweet onion—shines through. I’ll walk you through what to buy, the exact frying steps, and the little tips that keep them from going soggy.
Shopping List
- 1 large sweet or yellow onion — choose a firm onion with tight layers.
- Milk — whole or 2% works fine for the wet batter.
- White vinegar — for a quick buttermilk substitute.
- Sour cream — keeps the batter tangy and slightly thick.
- All-purpose flour — the base for the dry coating.
- Salt, black pepper, garlic powder — basic seasonings to flavor the coating.
- Oil for frying (canola or other high smoke-point oil) — you need oil you can bring to 375°F safely.
- Paper towels — for draining the fried rings.
Ingredients
- 1 large sweet or yellow onion, thickly sliced into 1/2-inch thick rings — the centerpiece; slice uniformly so rings cook evenly.
- 1 cup milk — combined with vinegar to mimic buttermilk and thin the wet batter.
- 1 Tbsp white vinegar — acidifies the milk, tenderizes the coating and adds brightness.
- 1/2 cup sour cream — makes the wet batter rich and helps the dry mix adhere.
- 1 cup all-purpose flour — forms the crisp, browned exterior; use as given.
- 1/2 Tbsp salt — seasons the dry coating; balances the sweetness of the onion.
- 1/4 tsp black pepper — a touch of heat and depth.
- 1 tsp garlic powder — aromatic and savory; it lifts the flavor without overpowering.
- Oil for frying, I used canola oil – use something with a high smoke point — neutral oil is best so the onion flavor comes through.
Cooking (Crispy Onion Rings with Dipping Sauce): The Process
- Peel the 1 large sweet or yellow onion and slice it into 1/2-inch-thick rings; separate the rings and set them aside.
- In a medium bowl, whisk together 1 cup milk and 1 Tbsp white vinegar; let sit 5 minutes. Whisk in 1/2 cup sour cream until smooth — this is the wet batter.
- In a separate bowl, whisk together 1 cup all-purpose flour, 1/2 Tbsp salt, 1/4 tsp black pepper, and 1 tsp garlic powder — this is the dry coating.
- In a Dutch oven (or deep fryer), add about 1 inch of oil (or enough to cover the rings) and heat over medium. Use a thermometer and bring the oil to 375°F before frying.
- Coat the rings: working a few at a time, dip each ring into the wet batter, then dredge in the dry coating. Dip the floured ring a second time in the wet batter and dredge again in the dry coating to double-batter. Use a fork to transfer rings between bowls if you prefer. Place the finished rings on a plate in a single layer until ready to fry.
- Fry in batches so you do not overcrowd the oil. When the oil is at 375°F, carefully add 3–4 double-battered rings in a single layer. Fry about 3 minutes total, flipping once halfway through, until the exterior is crisp and light golden brown. Return oil to 375°F between batches if it cools.
- Use a slotted spoon or tongs to transfer cooked rings to a paper towel-lined plate to drain.
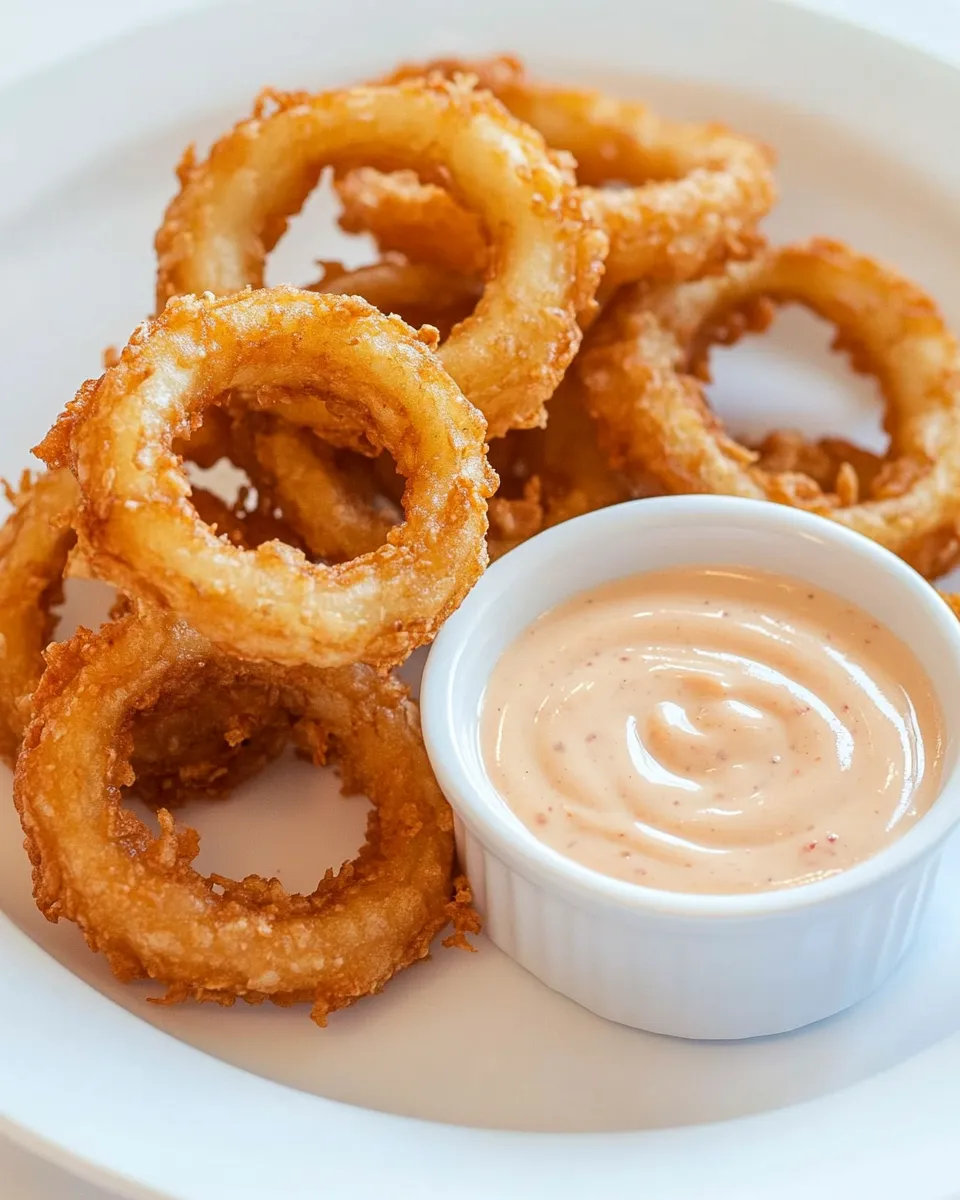
- Serve the onion rings hot.
Why It’s Crowd-Pleasing
Crunch is universal. The double-batter locks in that crackle and keeps oil out, so each bite stays crisp rather than floppy. Sweet or yellow onions bring natural sweetness that balances the savory coating. The texture contrast—warm, tender onion inside a light, golden shell—makes these irresistible. They’re also shareable finger food, perfect for parties, game nights, or as an elevated side to burgers and sandwiches.
The assembly is simple, and most steps can be prepped ahead: slice the onions, set up your batter stations, and maintain the oil temperature during frying. That low-effort, high-reward combination is what gets people excited every time.
International Equivalents
Variations of fried onion exist worldwide. In the UK, onion rings are a classic pub side—thicker cuts, often single-coated and deep-fried. In parts of South Asia, thinly sliced onions are tossed in chickpea flour batter and fried into pakoras, which are spicier and denser. Japanese tempura sometimes includes onion slices in a much lighter batter. The method here—double-battering for extra crunch—sits between the airy tempura and the thicker pakora, giving both heft and crispness.
Equipment & Tools
- Sharp chef’s knife — for even 1/2-inch onion slices.
- Cutting board — stable surface for slicing.
- Two medium bowls — one for wet batter, one for dry coating.
- Dutch oven or deep fryer — to hold oil and maintain steady temperature.
- Candy/frying thermometer — essential to keep oil at 375°F.
- Slotted spoon or tongs — for safe handling and draining.
- Paper towels and a plate — for resting and absorbing excess oil.
Avoid These Traps
Trap: overcrowding the oil. When you add too many rings at once the oil temperature drops and you end up with greasy, soggy coating. Fry only 3–4 rings at a time as instructed.
Trap: uneven slicing. If rings are very different thicknesses they won’t cook evenly. Take a minute to slice uniformly; it pays off.
Trap: skipping the second batter. That double-dip is what creates the sturdy, crackling shell. A single coat will be good, but not the same.
Trap: not using a thermometer. Visual cues alone can be misleading. At 375°F the coating browns quickly without absorbing too much oil.
Allergy-Friendly Swaps
Dairy-free: replace milk and sour cream with plant-based alternatives (unsweetened soy or oat milk plus a splash of vinegar; and a thick dairy-free yogurt). Note that texture will differ slightly.
Gluten-free: swap the all-purpose flour for a 1:1 gluten-free baking flour that includes xanthan gum, or a rice flour blend. The coating may be a touch lighter; adjust frying time to reach a crisp golden color.
Lower oil concerns: shallow-fry with a little more oil depth in a skillet, flipping more often, though full immersion in about 1 inch of oil as instructed gives the most consistent results.
Notes from the Test Kitchen
Temperature control mattered most in testing. I timed and measured oil between batches; letting it climb back to 375°F produced uniformly golden rings. If the oil drops too much you’ll see pale, greasy rings that soak oil instead of crisping.
The wet batter texture should be smooth but not runny; when using the exact 1 cup milk + 1 Tbsp vinegar and 1/2 cup sour cream the mix clings nicely to the onion. If yours looks too thick or too thin, whisk briefly to even it out rather than adding more liquid.
For handling: use a fork to move rings between bowls if you want to keep hands clean, and place finished double-battered rings in a single layer so they don’t stick together before frying.
Storage Pro Tips
Leftover onion rings are best eaten the same day. If you must store them, cool completely on a rack (not paper towels), then place in a single layer in an airtight container lined with paper towel to absorb moisture. Reheat in a 400°F oven or a toaster oven on a wire rack for 5–8 minutes to restore crispness. Avoid the microwave; it makes them soggy.
If you plan to batch-cook for a party, fry just before serving. You can slice onions and prepare both batter stations ahead; keep them refrigerated and then batter and fry on demand for best texture.
Your Top Questions
Can I use yellow onions instead of sweet? Yes. The recipe lists sweet or yellow onion. Sweet onions are milder and slightly sweeter when cooked; yellow onions work well and hold shape.
What oil is best? Use a neutral oil with a high smoke point—canola, vegetable, or peanut oil are good choices. The recipe specifies a high smoke-point oil and that I used canola.
How do I know when they’re done? Look for a crisp exterior and light golden brown color. Fry about 3 minutes total per instructions, flipping halfway.
Can I make the batter ahead? The wet batter can be held briefly in the fridge, but the double-battered rings are best fried right after coating to avoid sogginess.
Final Bite
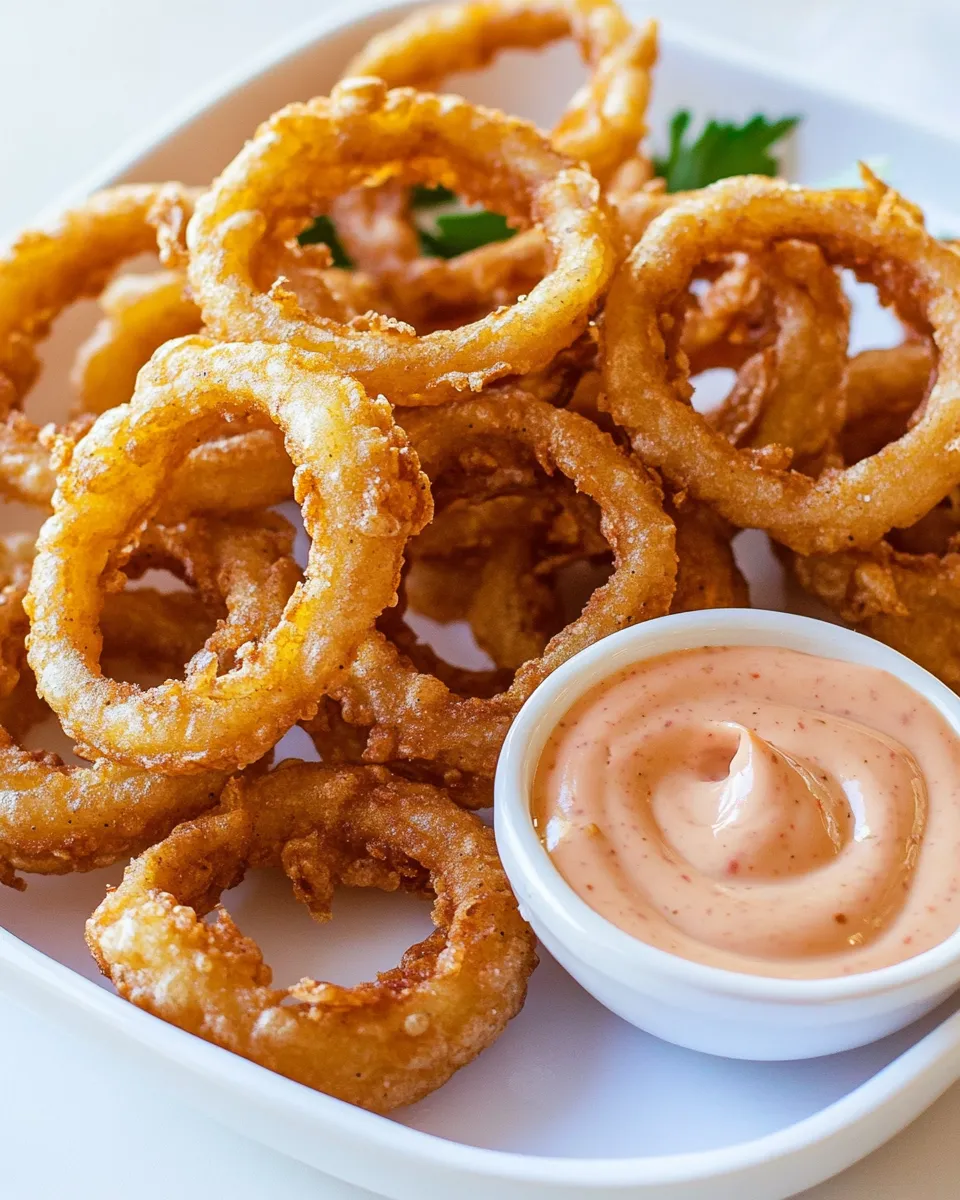
These Crispy Onion Rings with Dipping Sauce are simple, dependable, and addictively crunchy. Follow the temperature, double-batter, and batch-frying steps, and you’ll pull hot, golden rings from the oil that disappear fast. They’re proof that a few basic ingredients—used with care—can make something special. Grab a cold drink, a small stack on a plate, and enjoy the satisfying crackle of the first bite.
Crispy Onion Rings with Dipping Sauce
Ingredients
Ingredients
- 1 large sweet or yellow onion thickly sliced into 1/2-inch thick rings
- 1 cupmilk
- 1 Tbspwhite vinegar
- 1/2 cupsour cream
- 1 cupall-purpose flour
- 1/2 Tbspsalt
- 1/4 tspblack pepper
- 1 tspgarlic powder
- Oil for frying I used canola oil – use something with a high smoke point
Instructions
Instructions
- Peel the 1 large sweet or yellow onion and slice it into 1/2-inch-thick rings; separate the rings and set them aside.
- In a medium bowl, whisk together 1 cup milk and 1 Tbsp white vinegar; let sit 5 minutes. Whisk in 1/2 cup sour cream until smooth — this is the wet batter.
- In a separate bowl, whisk together 1 cup all-purpose flour, 1/2 Tbsp salt, 1/4 tsp black pepper, and 1 tsp garlic powder — this is the dry coating.
- In a Dutch oven (or deep fryer), add about 1 inch of oil (or enough to cover the rings) and heat over medium. Use a thermometer and bring the oil to 375°F before frying.
- Coat the rings: working a few at a time, dip each ring into the wet batter, then dredge in the dry coating. Dip the floured ring a second time in the wet batter and dredge again in the dry coating to double-batter. Use a fork to transfer rings between bowls if you prefer. Place the finished rings on a plate in a single layer until ready to fry.
- Fry in batches so you do not overcrowd the oil. When the oil is at 375°F, carefully add 3–4 double-battered rings in a single layer. Fry about 3 minutes total, flipping once halfway through, until the exterior is crisp and light golden brown. Return oil to 375°F between batches if it cools.
- Use a slotted spoon or tongs to transfer cooked rings to a paper towel-lined plate to drain.
- Serve the onion rings hot.
Equipment
- Medium Bowl
- Separate Bowl
- Dutch oven or deep fryer
- Thermometer
- Slotted spoon
- Tongs
- Paper Towels
- Fork
Notes
1/4 cup sour cream
1/4 cup ketchup
1 Tbsp Worcestershire sauce
2 tsp creamy horseradish, or hot sauce
1 tsp ground paprika
1/2 tsp fine sea salt