
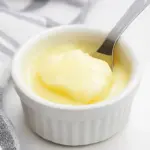
I love custard for its quiet simplicity and comforting texture. It’s one of those desserts that feels thoughtful without needing a lot of gear or fuss. This version is smooth, reliably set, and carries pure vanilla and butter for richness. I make it when I want something homey, fast, and honest.
Read through the steps once and you’ll see it’s about timing and attention—whisking to keep things even, tempering the yolks so they don’t scramble, and a final strain that leaves the texture satin-smooth. Little details make the difference, and I’ll point them out as we go.
Below you’ll find a clear ingredients list with short notes, a step-by-step method taken exactly as written, and practical advice on substitutions, equipment, storage, and serving. Keep it handy the first few times and you’ll have a custard you can rely on anytime.
Ingredients at a Glance
Ingredients
- ½ cup granulated sugar — primary sweetener and helps with texture.
- 2 tablespoons granulated sugar — folded into the yolks to smooth and sweeten them.
- 3 tablespoons cornstarch — the thickening agent that creates a stable, silky custard.
- 2½ cups whole milk — base liquid; whole milk gives richness and mouthfeel.
- 2 teaspoons pure vanilla extract — flavor anchor; use a good-quality vanilla for the best result.
- 4 extra-large egg yolks or 3 jumbo egg yolks (room temperature, slightly beaten) — provide structure, color, and a rich texture.
- 1 tablespoon salted sweet cream butter — adds gloss and a rounded finish.
Make Custard: A Simple Method
- In a 3- to 4-quart heavy-bottom saucepan, combine ½ cup granulated sugar, 3 tablespoons cornstarch, and 2½ cups whole milk; whisk until smooth.
- Place the saucepan over medium heat and whisk constantly until the mixture reaches a low bubble and begins to thicken, about 6 to 8 minutes.
- While the milk mixture is heating, place 4 extra-large egg yolks or 3 jumbo egg yolks (room temperature, slightly beaten) in a small bowl and whisk in 2 tablespoons granulated sugar until smooth.
- Remove the saucepan from the heat. Whisk 1 cup of the hot milk mixture into the egg yolk mixture to temper the yolks.
- Whisk the tempered egg mixture back into the saucepan. Return the saucepan to medium-low heat and whisk continuously for another 2 to 3 minutes, until the custard is thickened and heated through.
- Remove the saucepan from the heat and whisk in 1 tablespoon salted sweet cream butter and 2 teaspoons pure vanilla extract until smooth.
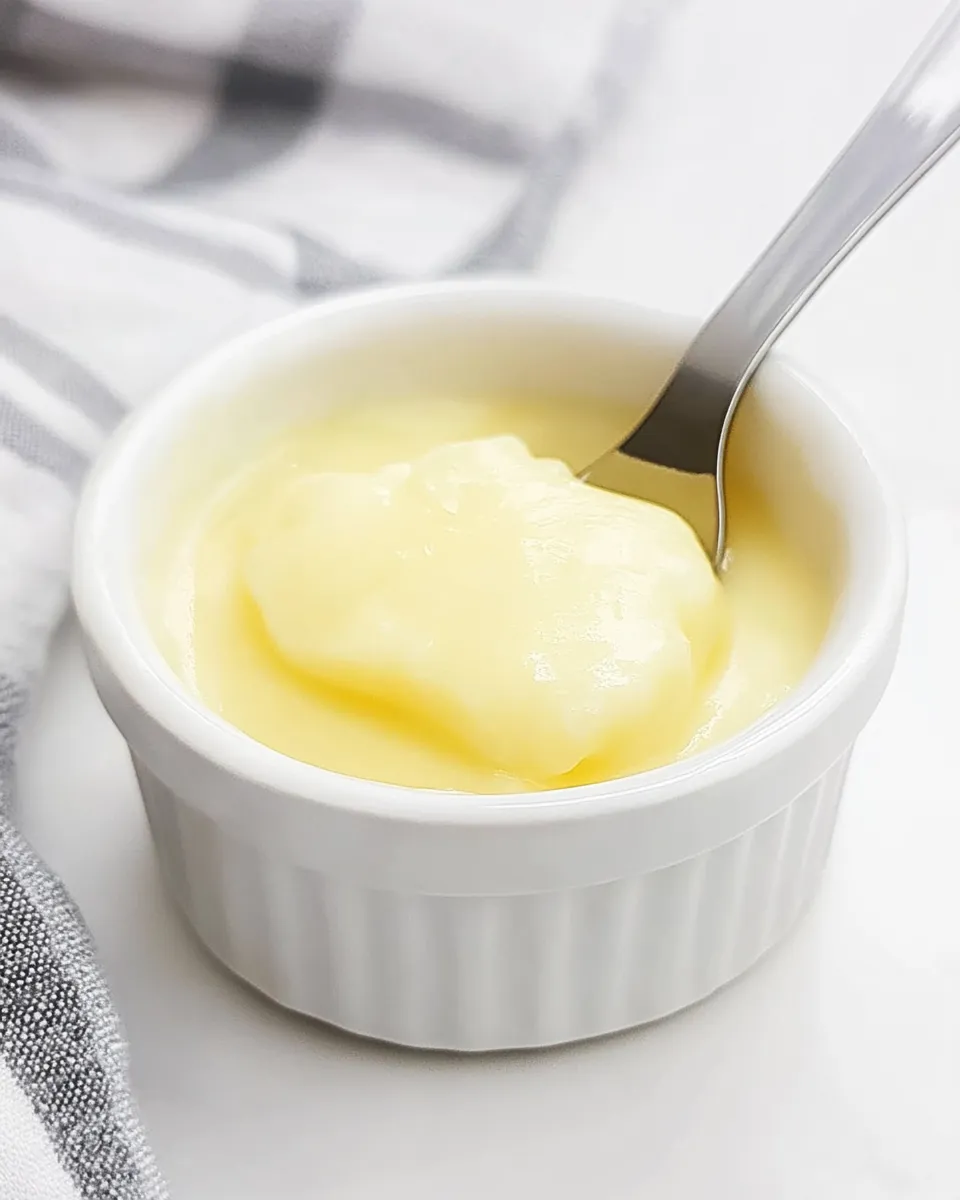
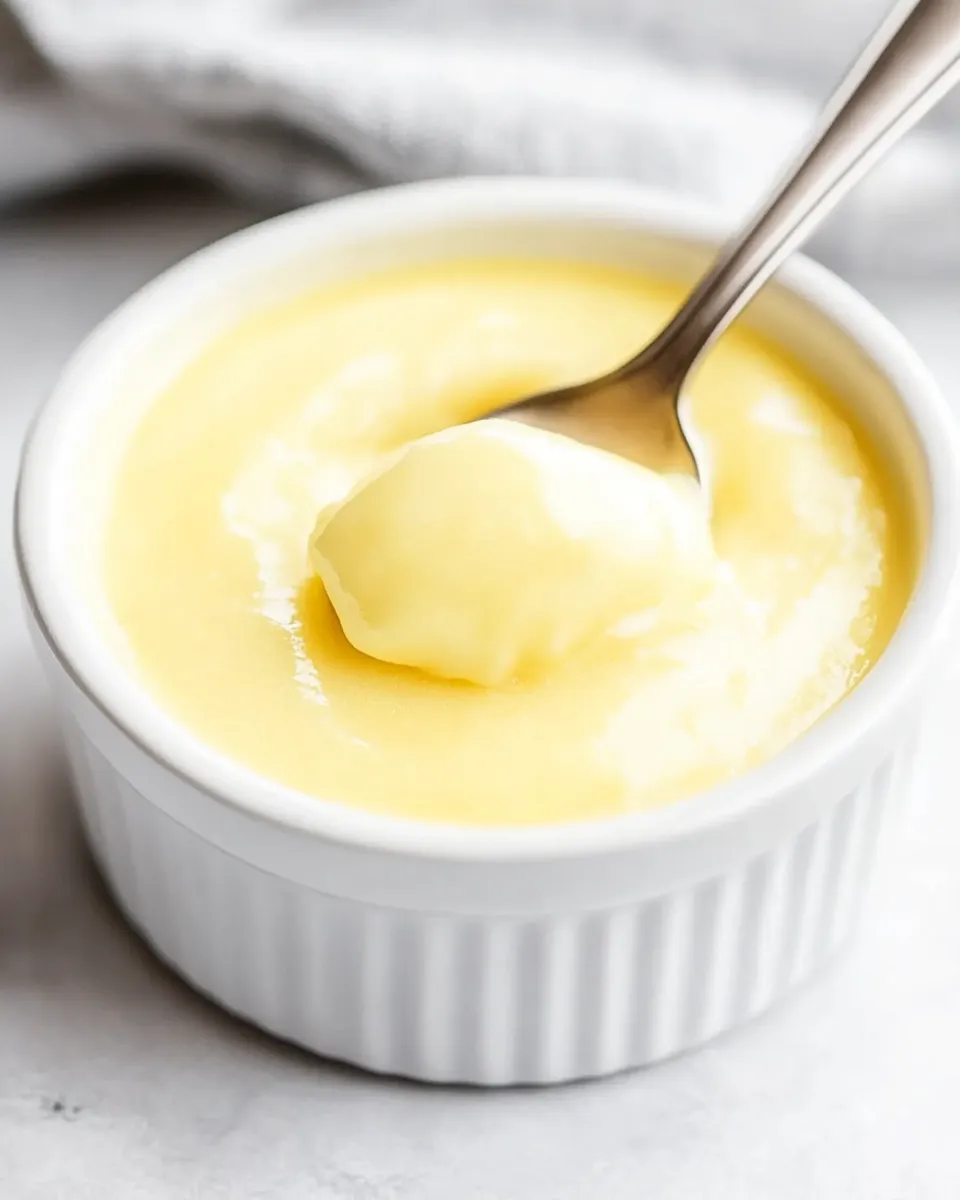
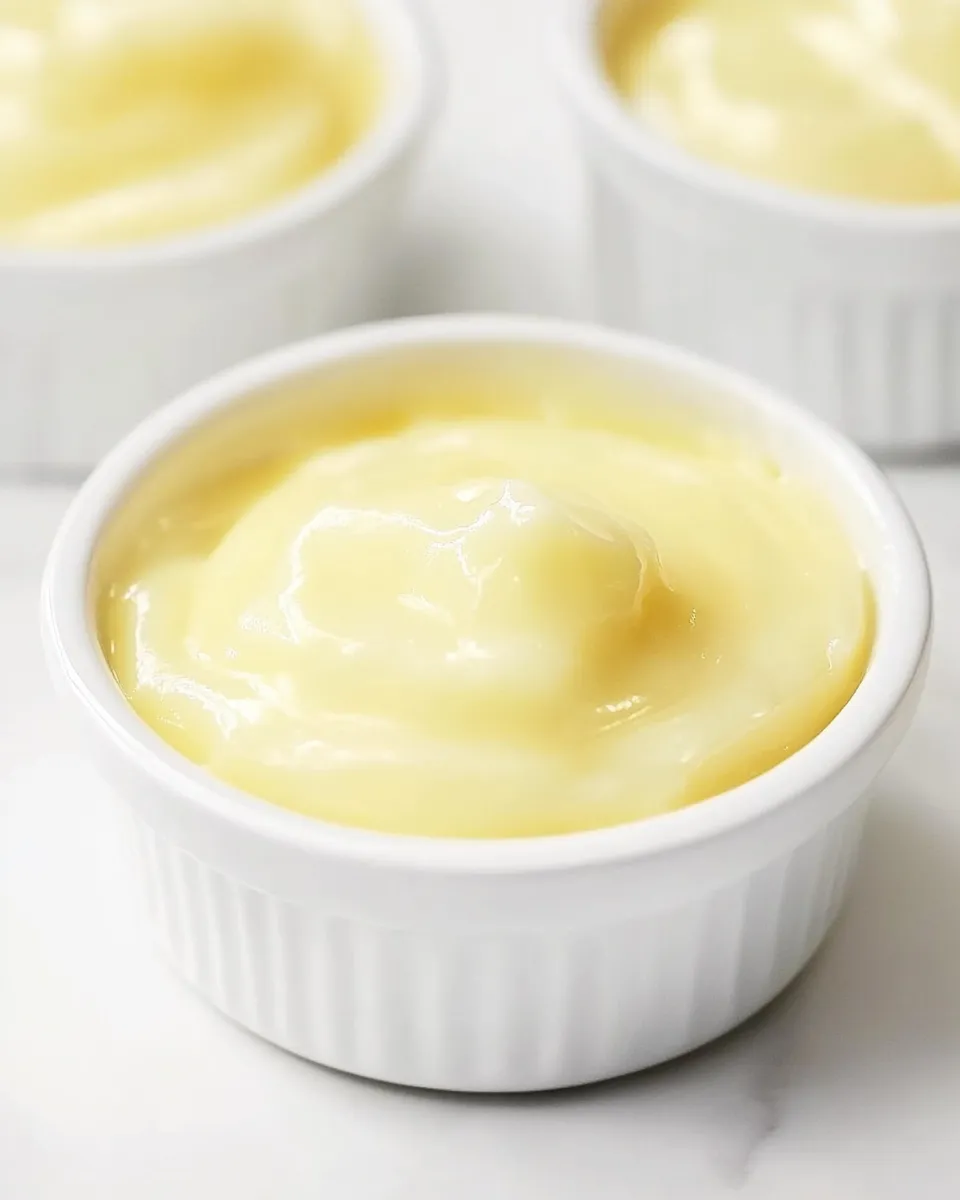
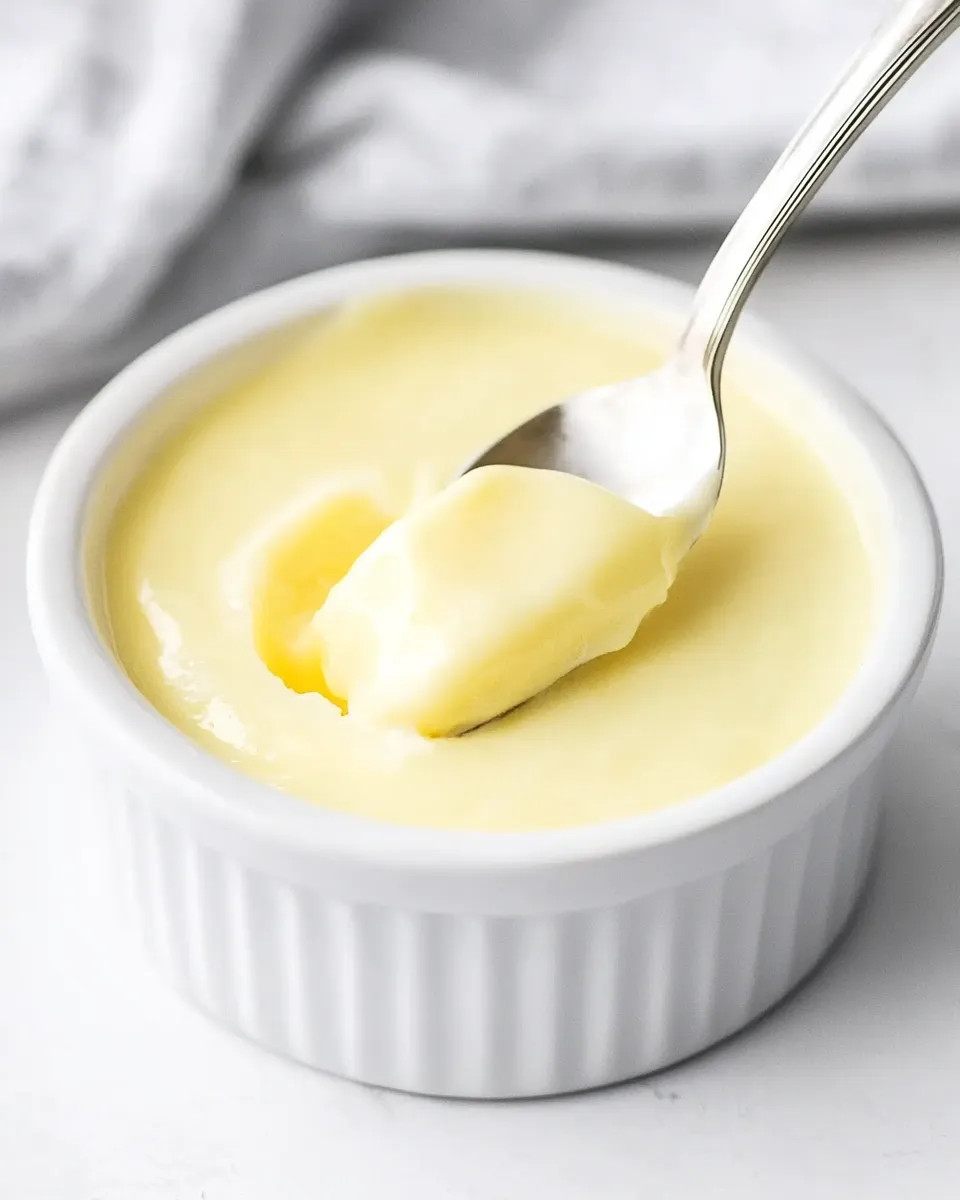
- Strain the custard through a fine-mesh sieve into a heat-safe medium bowl or into individual serving bowls.
- Press plastic wrap directly onto the surface of the custard to prevent a skin from forming. Refrigerate for 2 hours before serving.
Why It Works Every Time
This recipe is built on two simple principles: controlled heat and stabilization. Cornstarch and eggs each play a role. Cornstarch swells under heat and thickens the milk, giving a stable base that won’t collapse once chilled. The egg yolks add richness and a silkier mouthfeel while contributing to the custard’s body.
Tempering the yolks—whisking hot milk into them before returning them to the pot—prevents curdling by bringing the yolks up to temperature slowly. Whisking continuously during heating distributes heat evenly so no hot spot cooks the yolks into scrambled bits. The final strain removes any stubborn bits and guarantees a satin finish.
Adding butter at the end gives a glossy sheen and slightly softens the finished texture. Vanilla added off the heat retains its delicate aromatic notes. Chilling with plastic pressed directly on the surface prevents the familiar skin from forming and keeps the texture uniform.
Substitutions by Category
Milk
You can use 2% milk for a slightly lighter result, but the custard will be less rich and may feel thinner. For a silkier, richer finish, replace up to half the whole milk with half-and-half. Avoid plant milks if you want the exact texture here; they behave differently when thickened.
Sugar
If you need less sweetness, reduce the combined sugar slightly, but do so in small increments (1 to 2 tablespoons). Sugar affects texture and set, so don’t remove large amounts without testing.
Thickener
Cornstarch is central to this method. If you must, substitute equal parts tapioca starch for a similar clear finish. Wheat flour will produce a different flavor and opacity and needs longer cooking.
Eggs
The recipe relies on yolks for richness. Using whole eggs will change the texture and set; you’d need to reduce liquid and test for doneness. For an eggless custard, consider a specially formulated recipe with different thickeners.
Flavoring and Butter
Vanilla is the classic; for variation, add a split vanilla bean while heating the milk and remove before tempering, or fold in a touch of citrus zest after straining for brightness. You can use unsalted butter and add a pinch of fine sea salt if you prefer precise control over seasoning.
Before You Start: Equipment
- 3- to 4-quart heavy-bottom saucepan — even heat distribution minimizes scorching.
- Whisk — for constant, smooth movement while cooking and tempering.
- Small bowl — to whisk the egg yolks and sugar.
- Fine-mesh sieve — removes any cooked bits for a silky finish.
- Heat-safe medium bowl or individual serving bowls — for cooling and setting.
- Plastic wrap — presses directly on the surface to avoid a skin.
- Measuring cups and spoons — accurate amounts matter here.
- Optional: Instant-read thermometer — can help confirm temperatures if you like precision.
What Not to Do
- Do not rush the heating. High heat creates hot spots and will curdle the yolks or scorch the milk.
- Do not skip tempering. Adding the hot milk directly to the yolks without tempering risks scrambled yolks and a lumpy texture.
- Do not walk away while the custard is finishing on the stove. Continuous whisking is the insurance against lumps.
- Do not skip the sieve. Even a few specks of cooked egg can ruin the otherwise smooth mouthfeel.
- Do not serve immediately if you want a set custard. It needs at least 2 hours in the refrigerator to chill and firm up properly.
Nutrition-Minded Tweaks
If you’re watching calories or fat, a few adjustments can help while keeping the custard intact. Swap to 2% milk or use a mix of skim and whole to lower fat, understanding the texture will be lighter. Reduce the sugar slightly if you prefer less sweet—start with cutting 1 to 2 tablespoons and taste after chilling.
For sodium control, use unsalted butter and add a pinch of salt to taste. If you need to boost protein, serve smaller portions with a spoonful of Greek yogurt on top instead of heavier toppings. Keep in mind that changing fat or sugar alters mouthfeel and set; make small adjustments and test.
Behind the Recipe
This custard is rooted in classic stovetop technique—simple ingredients treated carefully. The combination of cornstarch and egg yolks gives a forgiving custard that sets reliably without the anxiety of baking custards in a water bath. I refined these amounts through repetition to hit a balance: not too firm, not too soft, and a smooth finish every time.
Personal story: I started making this when I wanted a quick dessert that could be made in the afternoon and chilled for a dinner crowd. The final extra tablespoon of butter became my signature touch because it lifts the flavor and leaves a pleasant sheen. It’s the kind of small habit that makes weeknight desserts feel special.
Storing Tips & Timelines
Store custard covered, with plastic wrap pressed to the surface, in the refrigerator. It will keep well for up to 3 days; I prefer consuming it within 48 hours for the best texture and flavor. Avoid freezing—custard separates and becomes grainy when thawed.
If you need to chill faster, place the bowl in an ice bath until it cools to room temperature, then press plastic on the surface and transfer to the fridge. For individual servings, cover each ramekin tightly. Reheat only gently if you must—use a warm water bath and serve immediately, though the texture changes when reheated.
Ask the Chef
Q: What if my custard is lumpy?
A: Strain it through a fine-mesh sieve while still warm. Lumps usually come from overcooked yolks or uneven heating; the sieve removes cooked bits and smooths the texture.
Q: Can I make this ahead?
A: Yes. Make it the day before and chill for at least 2 hours (preferably overnight). Keep plastic wrap on the surface to avoid a skin.
Q: Can I use less cornstarch?
A: You can try, but reducing it will yield a softer set. If you reduce cornstarch, expect a looser custard and possibly longer cook time to thicken with egg alone.
Q: Why does mine taste eggy?
A: Overcooked yolks or insufficient vanilla can make the egg flavor dominant. Make sure to temper properly, whisk continuously, and finish with good vanilla and the butter for balance.
Bring It to the Table
Custard is versatile. Serve it plain in a bowl to highlight its silky texture, or top with fresh berries, caramel, toasted nuts, or a sprinkle of cinnamon. For a quick twist, add a spoonful of fruit compote or a scattering of toasted coconut. Plate it with a short cookie or biscotti for a pleasant contrast in textures.
Portion-wise, this recipe makes a comfortable dessert for four to six, depending on serving size. Use small ramekins for individual presentation or a single medium bowl for family-style serving. Either way, keep it chilled until the last minute and garnish just before serving so it looks as fresh as it tastes.
Make it once exactly as written, and you’ll have a clear sense of what each tweak does. From there you can customize—flavors, toppings, or a lighter milk—but the basic method will keep you anchored. Enjoy the warmth of a well-made custard; it’s a simple pleasure that rewards attention.
Custard
Ingredients
Ingredients
- 1/2 cupgranulated sugar
- 2 tablespoonsgranulated sugar
- 3 tablespoonscornstarch
- 2 1/2 cupswhole milk
- 2 teaspoonspure vanilla extract
- 4 extra-large egg yolks or 3 jumbo egg yolks room temperature, slightly beaten
- 1 tablespoonsalted sweet cream butter
Instructions
Instructions
- In a 3- to 4-quart heavy-bottom saucepan, combine ½ cup granulated sugar, 3 tablespoons cornstarch, and 2½ cups whole milk; whisk until smooth.
- Place the saucepan over medium heat and whisk constantly until the mixture reaches a low bubble and begins to thicken, about 6 to 8 minutes.
- While the milk mixture is heating, place 4 extra-large egg yolks or 3 jumbo egg yolks (room temperature, slightly beaten) in a small bowl and whisk in 2 tablespoons granulated sugar until smooth.
- Remove the saucepan from the heat. Whisk 1 cup of the hot milk mixture into the egg yolk mixture to temper the yolks.
- Whisk the tempered egg mixture back into the saucepan. Return the saucepan to medium-low heat and whisk continuously for another 2 to 3 minutes, until the custard is thickened and heated through.
- Remove the saucepan from the heat and whisk in 1 tablespoon salted sweet cream butter and 2 teaspoons pure vanilla extract until smooth.
- Strain the custard through a fine-mesh sieve into a heat-safe medium bowl or into individual serving bowls.
- Press plastic wrap directly onto the surface of the custard to prevent a skin from forming. Refrigerate for 2 hours before serving.
Equipment
- heavy-bottom saucepan (3- to 4-quart)
- Whisk
- Small Bowl
- heat-safe medium bowl or individual serving bowls
- Fine Mesh Sieve
- Plastic Wrap
Notes
It is really important to keep whisking as you don’t want to burn the custard.
It is very important to quickly whisk the hot mixture into the yolks (temper) so you do not end up with scrambled eggs in your custard.


