
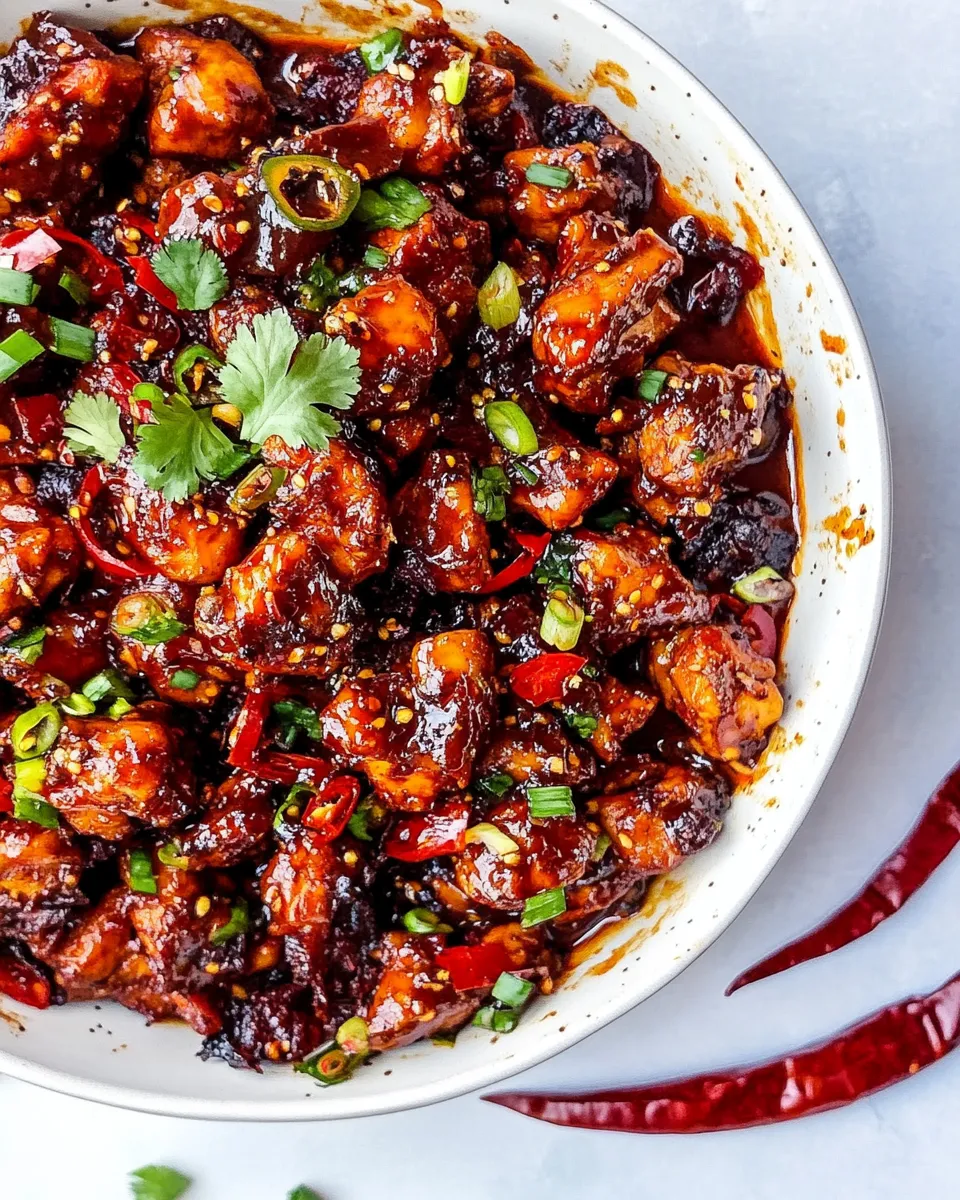
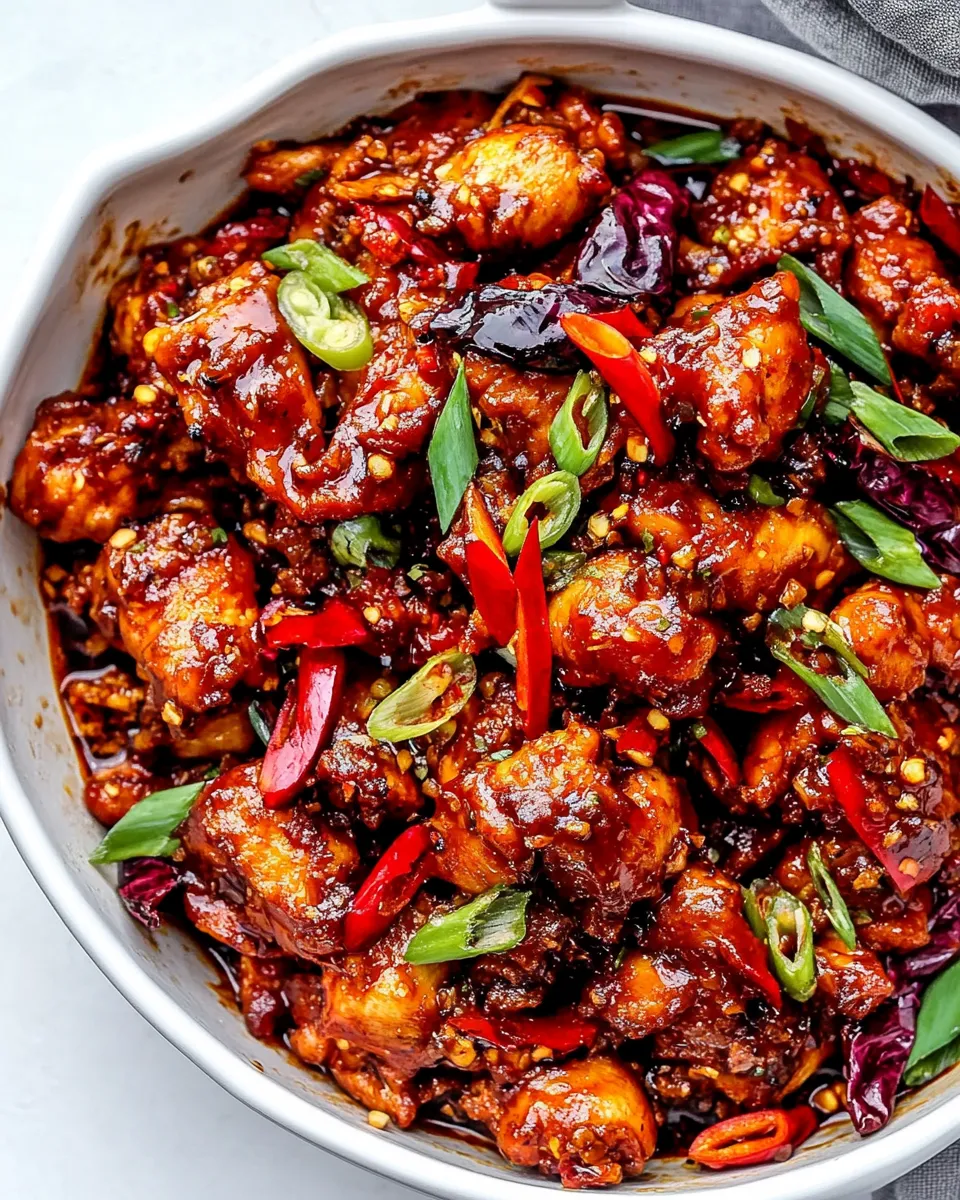
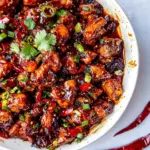
I fell in love with Dragon Chicken because it hits every button I want in a weeknight dinner: crunchy, tangy, a little spicy, and fast when you plan ahead. It’s the kind of dish that looks like work on a plate but is actually very manageable. The fried chicken gives a satisfying crisp, while the sauce and toasted cashews bring the sweet-sour-spicy balance that keeps people going back for another forkful.
This recipe is practical and forgiving. The marinade softens the chicken and gives it backbone. The double-stage cooking—fry first, then toss in the skillet with vegetables and sauce—means you control texture and keep everything bright. Small steps, obvious results.
I’ll walk you through every stage: what to have ready, the exact steps, swaps that preserve flavor, equipment to rely on, and storage tips. No fluff, just clear notes so you can get this on the table confidently.
What You’ll Need

Ingredients
- 1 pound boneless skinless chicken breast — the main protein; slice into strips for even cooking.
- 1 large egg — binds the marinade and helps breading stick.
- 2 tablespoons soy sauce, low-sodium — salt and umami in the marinade.
- 2 tablespoons chili paste — primary heat element in the marinade.
- 1 tablespoon ginger paste, or grated ginger — bright, warming flavor in the marinade.
- 2 teaspoons garlic paste, or grated garlic — savory depth for the marinade.
- ½ cup all-purpose flour — base for the breading to create crunch.
- ¼ cup cornstarch — adds extra crispness to the coating.
- 2 teaspoons chili powder — backbone spice in the breading.
- 1 teaspoon garlic powder — layered garlic flavor in the breading.
- 1 teaspoon ground ginger — subtle warmth in the breading.
- ½ teaspoon black pepper — mild heat and balance.
- Oil for frying — enough for deep-frying in a skillet; neutral oil works best.
- 1 tablespoon vegetable oil — for the sauce stage and to toast the veggies/cashews.
- 1 cup cashews, unsalted — crunchy, buttery contrast; toasted in the skillet.
- 1 red bell pepper, thinly sliced — color and fresh sweetness.
- ½ red onion, thinly sliced — bite and caramelized flavor when cooked briefly.
- 3 dried red chilis — concentrated heat and a toasty chili note.
- Sliced green onions for garnish — fresh finish and color.
- ¼ cup ketchup — base for the sauce’s sweet-tangy element.
- ¼ cup soy sauce, low-sodium — salt and savory for the sauce.
- 2 tablespoons chili paste — extra heat and depth for the sauce.
- 2 teaspoons garlic paste, or grated garlic — bright garlic in the sauce.
- 2 teaspoons ginger paste, or grated ginger — fresh ginger in the sauce.
- 2 teaspoons sugar — balances acid and heat in the sauce.
- 2 teaspoons rice vinegar — brightness and acidity in the sauce.
- 1 teaspoon cornstarch — thickens the sauce for a glossy finish.
Step-by-Step: Dragon Chicken
- Cut 1 pound boneless skinless chicken breast into strips about 1/2 inch by 2 inches and place the pieces in a sealable bag or large bowl.
- In a bowl, whisk together the marinade: 1 large egg, 2 tablespoons low-sodium soy sauce, 2 tablespoons chili paste, 1 tablespoon ginger paste (or grated ginger), and 2 teaspoons garlic paste (or grated garlic). Pour the marinade over the chicken, seal or cover, and refrigerate for 30 minutes.
- In a separate bowl, combine the breading mixture: 1/2 cup all-purpose flour, 1/4 cup cornstarch, 2 teaspoons chili powder, 1 teaspoon garlic powder, 1 teaspoon ground ginger, and 1/2 teaspoon black pepper. Mix well.
- Pour enough Oil for frying into a large skillet for deep-frying and heat over medium-high until the oil is hot but not smoking.
- Remove the chicken from the marinade, letting excess drip off. Coat each piece evenly in the breading mixture, pressing gently so the breading adheres.
- Working in batches so you do not overcrowd the skillet, carefully add the breaded chicken to the hot oil in an even layer. Fry each batch about 4–5 minutes total, turning as needed, until the pieces are golden brown and cooked through.
- Transfer fried chicken to a paper towel–lined plate to drain. Repeat with remaining chicken. When finished frying, carefully discard the used oil and wipe the skillet clean (or use a clean skillet) for the sauce stage.
- Heat 1 tablespoon vegetable oil in the cleaned skillet over medium-high heat. Add 1 cup unsalted cashews, 1 red bell pepper (thinly sliced), 1/2 red onion (thinly sliced), and 3 dried red chilis. Cook, stirring frequently, about 4–5 minutes, until the vegetables are tender and the cashews are lightly toasted.
- While the vegetables cook, whisk the sauce in a small bowl until smooth: 1/4 cup ketchup, 1/4 cup low-sodium soy sauce, 2 tablespoons chili paste, 2 teaspoons garlic paste (or grated garlic), 2 teaspoons ginger paste (or grated ginger), 2 teaspoons sugar, 2 teaspoons rice vinegar, and 1 teaspoon cornstarch.
- Add the fried chicken to the skillet with the vegetables, pour the sauce over everything, and cook, stirring continuously, until the sauce thickens and evenly coats the chicken and vegetables (about 1–2 minutes).
- Remove from heat, transfer to a serving dish, and garnish with sliced green onions before serving.
The Upside of Dragon Chicken
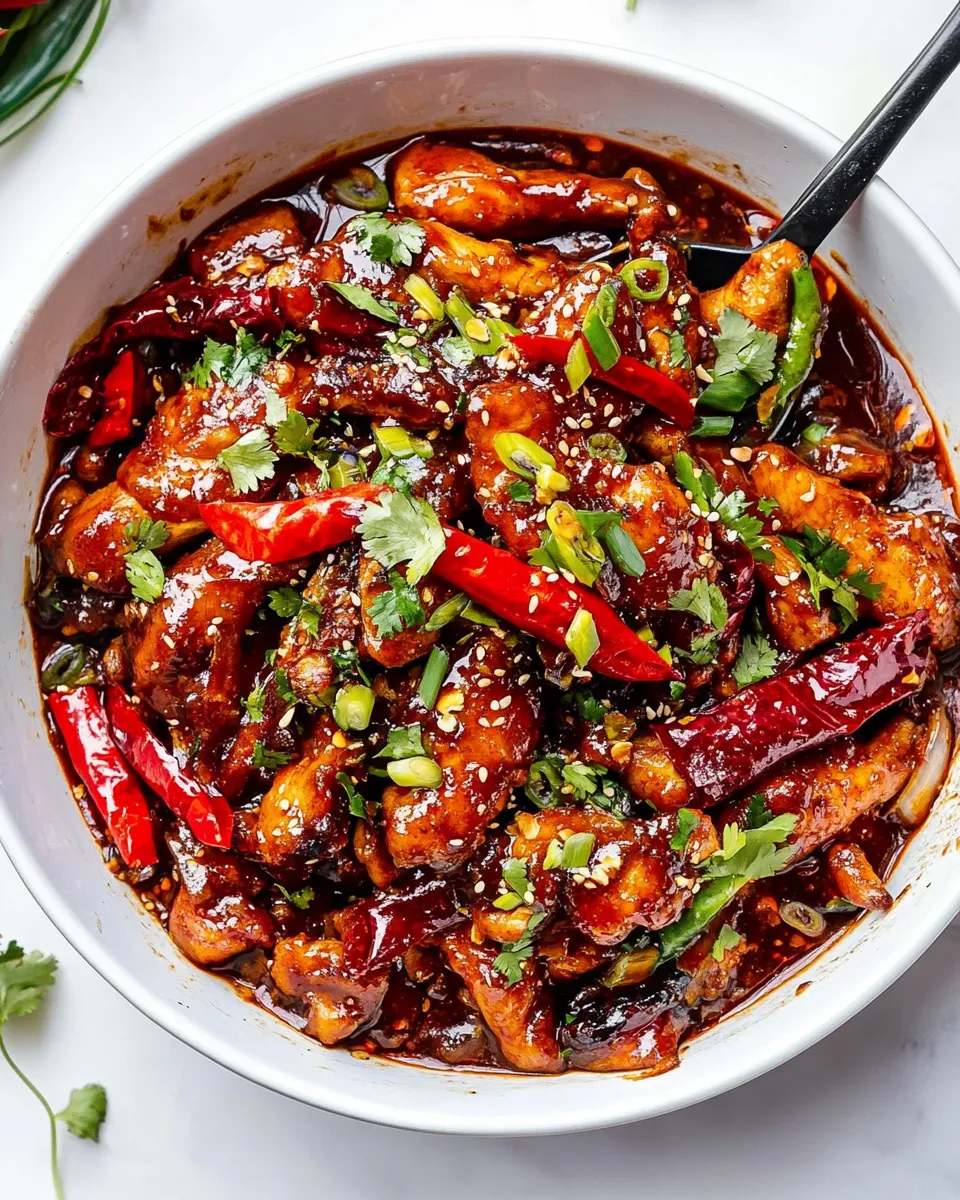
This dish delivers contrast: crisp fried chicken, crunchy toasted cashews, soft peppers and onions, all tied together by a glossy, balanced sauce. It’s flexible at the table — serve it over rice, noodles, or with a simple salad. The method separates frying and saucing, so you can get great texture without sogginess.
Scaling is straightforward. The marinade is quick and does most of the heavy lifting on flavor, while the breading mix is small but effective. The total active time is reasonable for a dinner that’s impressive but not fussy.
Healthier Substitutions
- Oven finish: After breading, bake the chicken on a wire rack at high heat until crisp instead of deep-frying to reduce oil. No new quantities required; judge doneness by color and internal temperature.
- Less sugar: Reduce or omit the 2 teaspoons sugar in the sauce if you want less sweetness; the ketchup and vinegar still give a balanced flavor.
- Lighten the nuts: Omit the cup of cashews or use fewer to cut calories while keeping texture from the bell pepper and onions.
- Serve choices: Use a larger portion of vegetables and a smaller portion of chicken per plate to reduce overall calories while keeping the same recipe intact.
Equipment & Tools
A few basic pieces of equipment make this smooth. Use a large, heavy skillet for frying so oil temperature stays steady; a thermometer helps but isn’t required if you watch for hot-but-not-smoking oil. A clean skillet for the sauce stage avoids burnt bits and gives a clear pan for toasting cashews and cooking vegetables. Have a paper towel–lined plate ready for draining fried pieces, and small bowls for the marinade and sauce to keep the workflow efficient.
Don’t Do This
Don’t overcrowd the skillet when frying. Too many pieces at once drops oil temperature and yields soggy breading. Also, don’t skip draining on paper towels briefly; excess oil ruins the sauce’s cling. Finally, don’t add the sauce until the cashews and vegetables are nicely toasted and tender — premature saucing steams rather than toasts the vegetables.
Make It Fit Your Plan
Want this for meal prep? Keep components separate: store fried chicken, sauce/vegetables, and cashews individually so you can reheat gently and combine just before serving. For family-style dinners, plate the chicken on a tray and pour sauce at the table to keep pieces crisp for a few extra minutes.
If you need a gluten-free version, swap the all-purpose flour with a gluten-free flour blend and confirm cornstarch is acceptable for your diet. Avoid adding new quantities—use the same proportions called for in the breading and sauce but check ingredient labels.
Pro Tips & Notes
Marinating
Thirty minutes in the marinade is the sweet spot here: long enough for flavor without breaking down the chicken. If you plan ahead, you can leave the chicken up to a few hours, but bring it back to refrigerator temperature for safe handling.
Frying & Texture
Press the breading onto the chicken so it adheres well. Work in small batches and give each piece room. Use a slotted spoon or tongs to turn gently. After frying, let pieces rest briefly on paper towels so excess oil drains — that keeps the sauce from getting greasy.
Sauce Finish
Whisk the sauce until smooth so the 1 teaspoon cornstarch integrates and thickens quickly. Add the fried chicken only after the vegetables and cashews are toasted; the sauce needs just 1–2 minutes to thicken and coat everything.
Prep Ahead & Store
Prep steps you can do ahead: slice the chicken and store it covered in the fridge; whisk the marinade and toss the chicken in it up to a few hours ahead. Mix the dry breading and keep it in a shallow dish the day of cooking. Toasted cashews and cooked vegetables combined with sauce are best used within a day.
Store leftovers in airtight containers in the refrigerator for up to 3 days. Reheat gently in a skillet over medium heat with a splash of water to loosen the sauce, or reheat portions in a microwave briefly and finish in a hot pan to regain some crispness. Avoid reheating repeatedly.
Common Questions
Q: Can I use chicken thighs instead of breasts? A: Yes. Thighs will be a bit juicier and forgiving; adjust cooking time slightly if pieces are thicker. The recipe’s steps and proportions stay the same.
Q: How can I control the heat level? A: The chili paste and dried red chilis are the main heat sources. Reduce the chili paste amounts or remove one dried chili during the toast stage to lower the spice without changing other measurements.
Q: Why discard the frying oil? A: The frying oil collects breading and can become dark and flavored. For best sauce clarity and safety, discard used oil after frying and use fresh oil for the sauce stage as instructed.
Final Bite
Dragon Chicken gives you show-stopping texture and a balanced sauce without complicated techniques. Follow the steps as written, mind the small but important timings—marinade, fry, toast, then sauce—and you’ll get crisp, saucy, satisfying results. It’s a reliable recipe to pull out when you want something a little special but still straightforward.
Dragon Chicken
Ingredients
Ingredients
- 1 poundboneless skinless chicken breast
- 1 large egg
- 2 tablespoonssoy sauce low-sodium
- 2 tablespoonschili paste
- 1 tablespoonginger paste or grated ginger
- 2 teaspoonsgarlic paste or grated garlic
- 1/2 cupall-purpose flour
- 1/4 cupcornstarch
- 2 teaspoonschili powder
- 1 teaspoongarlic powder
- 1 teaspoonground ginger
- 1/2 teaspoonblack pepper
- Oil for frying
- 1 tablespoonvegetable oil
- 1 cupcashews unsalted
- 1 red bell pepper thinly sliced
- 1/2 red onion thinly sliced
- 3 dried red chilis
- sliced green onions for garnish
- 1/4 cupketchup
- 1/4 cupsoy sauce low-sodium
- 2 tablespoonschili paste
- 2 teaspoonsgarlic paste or grated garlic
- 2 teaspoonsginger paste or grated ginger
- 2 teaspoonssugar
- 2 teaspoonsrice vinegar
- 1 teaspooncornstarch
Instructions
Instructions
- Cut 1 pound boneless skinless chicken breast into strips about 1/2 inch by 2 inches and place the pieces in a sealable bag or large bowl.
- In a bowl, whisk together the marinade: 1 large egg, 2 tablespoons low-sodium soy sauce, 2 tablespoons chili paste, 1 tablespoon ginger paste (or grated ginger), and 2 teaspoons garlic paste (or grated garlic). Pour the marinade over the chicken, seal or cover, and refrigerate for 30 minutes.
- In a separate bowl, combine the breading mixture: 1/2 cup all-purpose flour, 1/4 cup cornstarch, 2 teaspoons chili powder, 1 teaspoon garlic powder, 1 teaspoon ground ginger, and 1/2 teaspoon black pepper. Mix well.
- Pour enough Oil for frying into a large skillet for deep-frying and heat over medium-high until the oil is hot but not smoking.
- Remove the chicken from the marinade, letting excess drip off. Coat each piece evenly in the breading mixture, pressing gently so the breading adheres.
- Working in batches so you do not overcrowd the skillet, carefully add the breaded chicken to the hot oil in an even layer. Fry each batch about 4–5 minutes total, turning as needed, until the pieces are golden brown and cooked through.
- Transfer fried chicken to a paper towel–lined plate to drain. Repeat with remaining chicken. When finished frying, carefully discard the used oil and wipe the skillet clean (or use a clean skillet) for the sauce stage.
- Heat 1 tablespoon vegetable oil in the cleaned skillet over medium-high heat. Add 1 cup unsalted cashews, 1 red bell pepper (thinly sliced), 1/2 red onion (thinly sliced), and 3 dried red chilis. Cook, stirring frequently, about 4–5 minutes, until the vegetables are tender and the cashews are lightly toasted.
- While the vegetables cook, whisk the sauce in a small bowl until smooth: 1/4 cup ketchup, 1/4 cup low-sodium soy sauce, 2 tablespoons chili paste, 2 teaspoons garlic paste (or grated garlic), 2 teaspoons ginger paste (or grated ginger), 2 teaspoons sugar, 2 teaspoons rice vinegar, and 1 teaspoon cornstarch.
- Add the fried chicken to the skillet with the vegetables, pour the sauce over everything, and cook, stirring continuously, until the sauce thickens and evenly coats the chicken and vegetables (about 1–2 minutes).
- Remove from heat, transfer to a serving dish, and garnish with sliced green onions before serving.
Equipment
- Skillet
- Bowl
- Whisk
- Paper Towels
Notes
This recipe calls for the chicken to marinate for 30 minutes. I usually let it sit while I prepare the rest of the recipe, but don’t marinate longer than 2 hours.
To test if the oil is ready for frying, take a wooden skewer or a long toothpick and poke it into the oil down to the bottom of the pan. Bubbles should form around the skewer quickly. If the oil starts smoking it’s too hot.


