
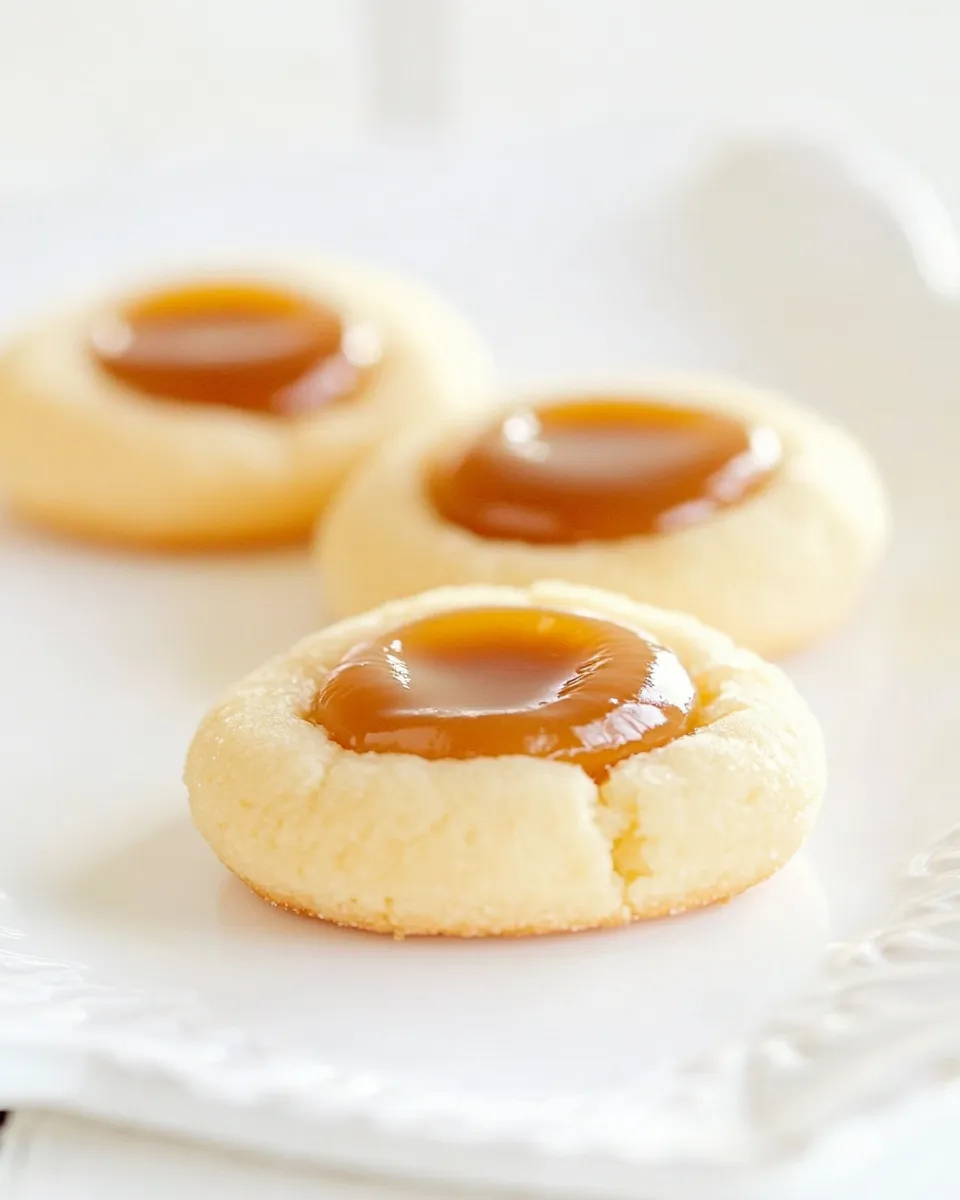
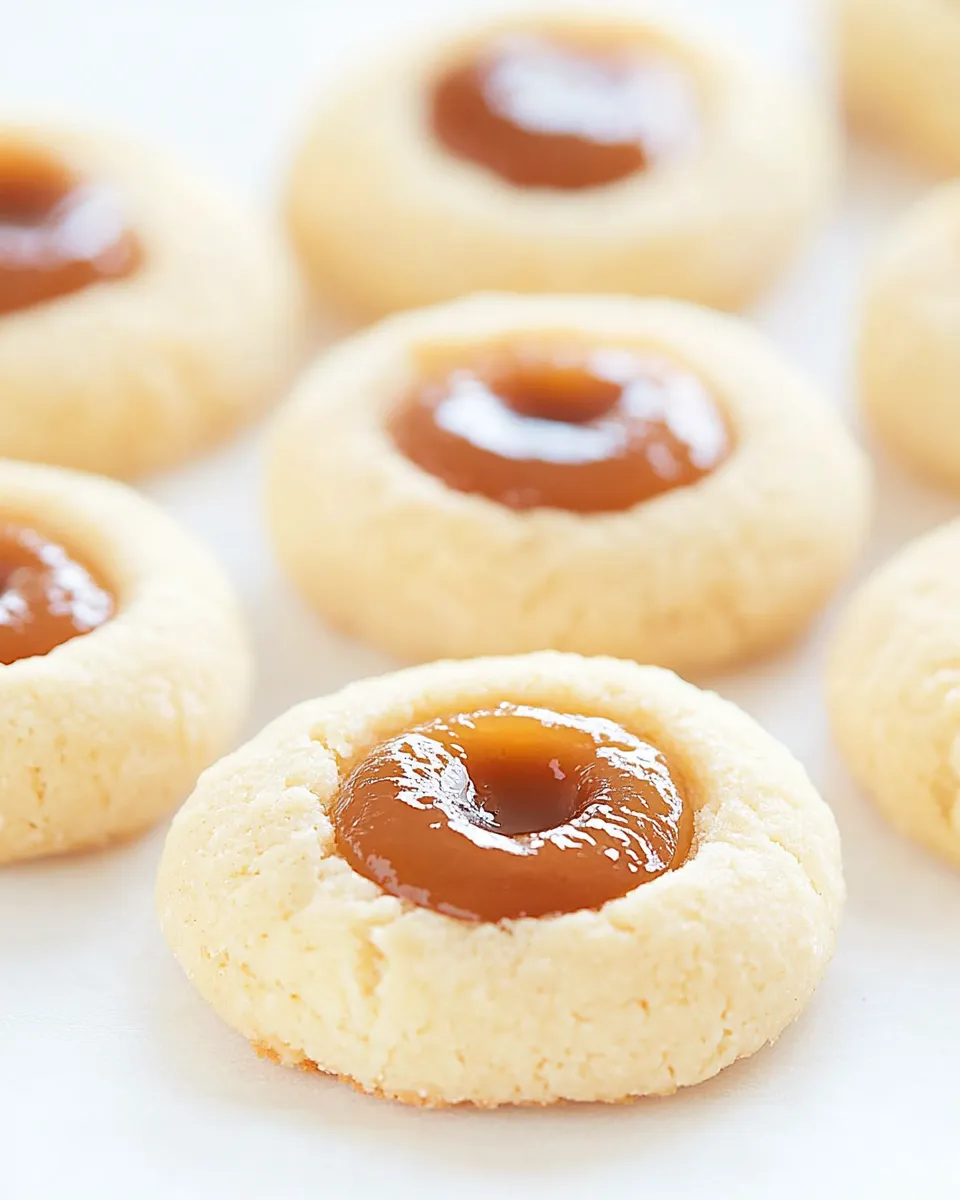
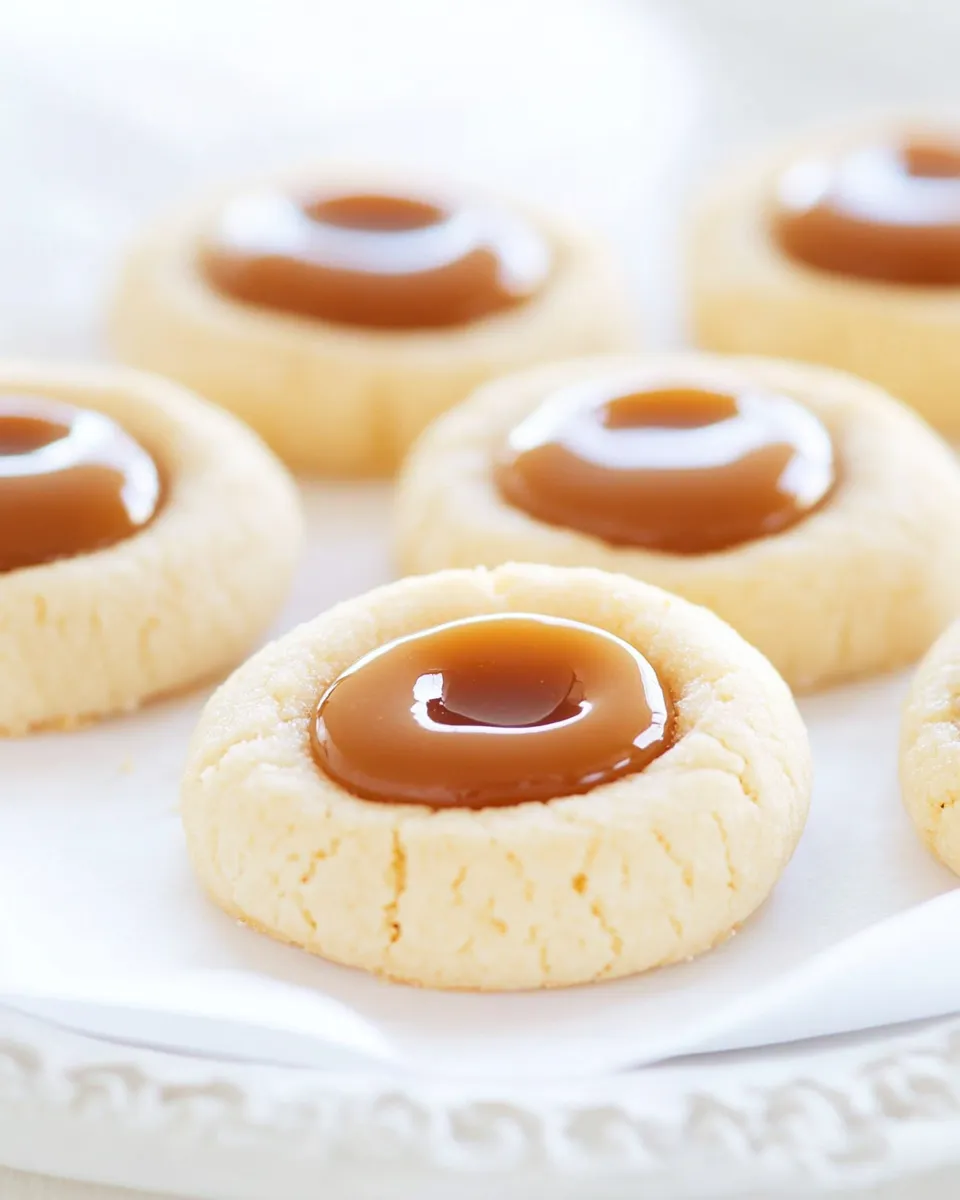
These thumbprint cookies are the kind of small, deliberate baking that rewards patience. They’re shortbread in texture—rich, tender, a little crumbly—and their indented centers cradle sweet, silky dulce de leche. If you want a cookie that reads as homemade but travels well for a bake sale or a holiday tin, this is it.
I keep my notes practical and my expectations realistic: this recipe is straightforward but precise. Room-temperature butter and a single egg yolk give structure and richness. The shaping is gentle—make the thumbprints shallow enough that the dulce de leche spreads but deep enough to stay put. The total hands-on time is short and the results feel special.
What’s in the Bowl
Think of this section as a quick inventory before you begin. Everything here is classic shortbread with one bright addition: dulce de leche. Use good-quality dulce de leche—store-bought or homemade—because a little goes a long way in flavor. The dough itself is forgiving, but attention to texture at the mixing stage will give you the best cookie.
Ingredients
- 1 cup (2 sticks) unsalted butter, room temperature — provides richness and the short, tender crumb shortbread is known for; bring to room temp so it creams smoothly.
- 2/3 cup granulated sugar — sweetens and helps the cookies hold some structure when creamed with butter.
- 1 large egg yolk — adds fat and binds the dough without turning it cakey; only the yolk is used to keep texture dense.
- 1 teaspoon vanilla extract — rounds the flavor; use pure vanilla if you have it.
- 2 1/4 cups (280g) all-purpose flour — the main structure; measure by spooning into the cup and leveling or use a scale for accuracy.
- 1/2 teaspoon kosher salt — balances sweetness and enhances the buttery notes; use kosher for consistent texture.
- 6 ounces dulce de leche — the filling; spoon about 1/2 teaspoon into each indentation so the ratio of cookie to filling stays balanced.
The Method for Dulce de Leche Shortbread Thumbprint Cookies
- Preheat oven to 375°F (190°C). Line a light- or medium-colored heavy-weight baking sheet with parchment paper or a silicone baking mat.
- In a large bowl, beat 1 cup (2 sticks) unsalted butter (room temperature) and 2/3 cup granulated sugar with an electric mixer on medium-high speed for about 1 to 2 minutes, until light and fluffy. Scrape down the bowl as needed.
- Add 1 large egg yolk and 1 teaspoon vanilla extract and beat just until combined.
- Add 2 1/4 cups (280 g) all-purpose flour and 1/2 teaspoon kosher salt. Mix on low speed until the flour is incorporated and the dough comes together into a soft, cohesive ball. Do not overmix.
- Roll the dough into 1-inch balls and place them on the prepared baking sheet about 2 inches apart.
- Flatten each ball slightly with the ball of your hand. Use your thumb or the back of a small spoon to press a shallow indentation into the center of each cookie.
- Bake for 8 to 10 minutes, or until the bottoms are just barely golden.
- Remove the baking sheet from the oven. If any indentations have lost definition, gently re-press them with the back of a spoon. Fill each indentation with approximately 1/2 teaspoon dulce de leche (use the 6 ounces dulce de leche).
- Return the baking sheet to the oven and bake an additional 3 minutes, until the dulce de leche levels out and the bottoms of the cookies are lightly golden.
- Transfer the cookies to a wire rack and cool completely before serving.
Why Cooks Rave About It
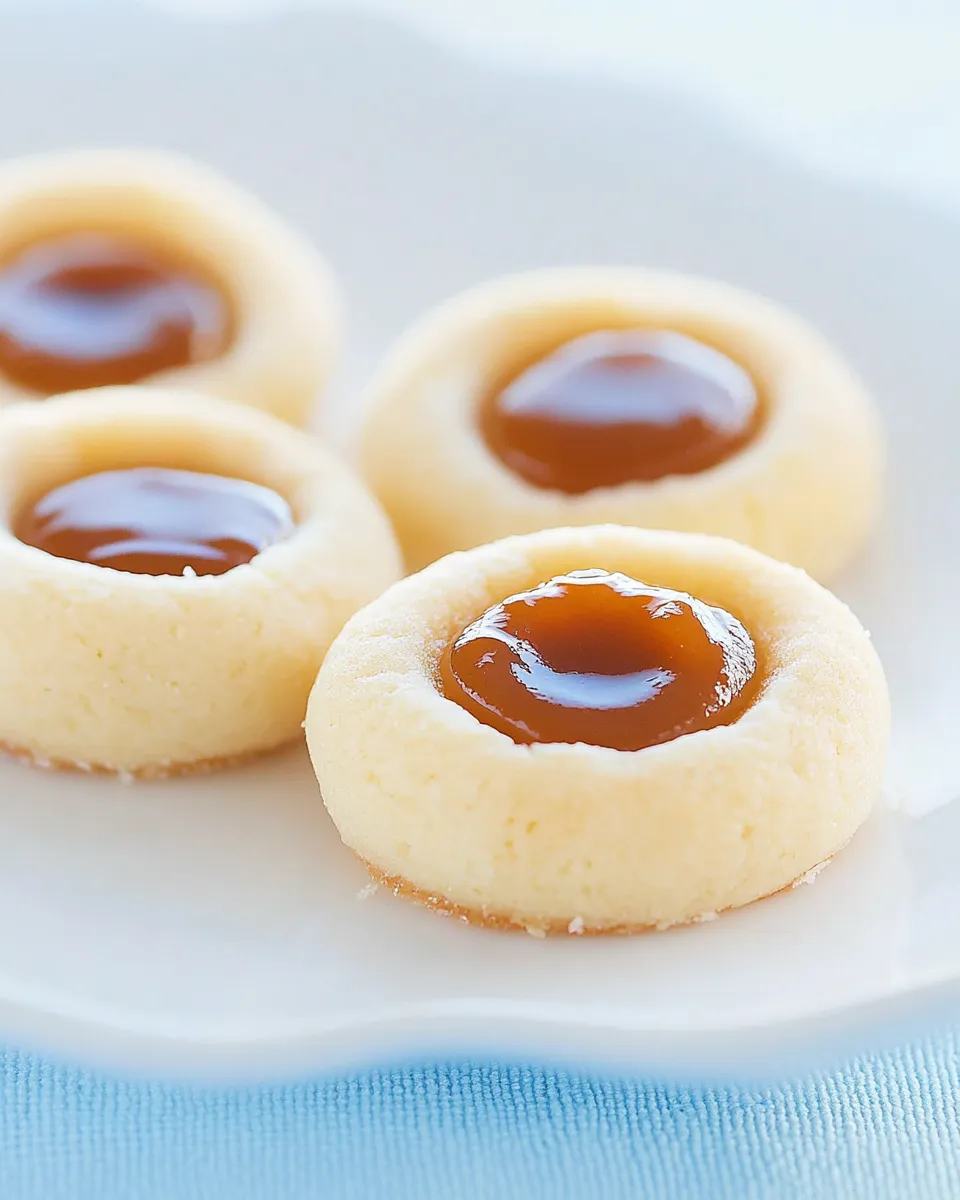
The texture is the headline: shortbread that snaps slightly at the edge and melts on the tongue. The single yolk keeps the crumb dense and satisfying instead of airy. Dulce de leche brings a deep caramel note that feels indulgent without being cloying. This combination is familiar but elevated—classic shortbread with a Latin-inspired filling.
It’s also reliably forgiving. The dough doesn’t need chilling for this recipe, so you can move from mixing to baking in one session. Bakers appreciate that the cookies hold their shape but remain tender; home cooks like the predictable timing and simple shaping technique. Finally, these cookies look charming in a tin, which makes them popular for gifts and gatherings.
Swap Guide
Want to change something? Here are swap ideas that keep the result consistent without inventing new elements.
- Butter — stick with unsalted butter at room temperature for the best texture. Using salted butter will change the salt balance; if you must, reduce or omit additional salt.
- Sugar — granulated sugar is essential for the right mouthfeel. Substituting brown sugar will add moisture and a hint of molasses and will change texture noticeably.
- Dulce de Leche — if you can’t source it, make it from sweetened condensed milk (cook sealed cans in a water bath until caramelized) or buy a jarred version; flavor strength varies between brands.
- Flour — all-purpose gives the proper structure. Don’t swap for cake flour or whole-wheat without adjusting ratios; those flours change texture a lot.
Equipment Breakdown
You don’t need anything fancy. Here’s what I use and why it matters:
- Electric mixer — for creaming the butter and sugar until light; you can do it by hand, but it takes more effort and time.
- Baking sheet (light- or medium-colored) — dark sheets brown cookies faster; the instructions call for light/medium to avoid overbrowning on the bottoms.
- Parchment paper or silicone baking mat — prevents sticking and ensures even bake and easier cleanup.
- Wire rack — for cooling so steam doesn’t soften the bottoms after baking.
Pitfalls & How to Prevent Them
Shortbread is simple, but a few missteps will show up in texture or shape. I’ve baked these enough to know the common issues and how to avoid them.
Overmixed Dough
Problem: Tough cookies. Prevention: Mix flour in on low speed and stop as soon as the dough forms a cohesive ball. Overworking develops gluten and makes shortbread less tender.
Indentations Disappear
Problem: If the thumbprints bake out, the filling won’t stay in place. Prevention: Press a defined, shallow indentation before baking and check again immediately after the first bake—re-press gently if needed, then add dulce de leche.
Overbrowned Bottoms
Problem: Cookies with burnt-tasting undersides. Prevention: Use a light or medium baking sheet and parchment. If your oven runs hot, lower the temperature by 10–15°F and watch the first batch closely.
Make It Fit Your Plan
Serving for a party, packing for travel, or making ahead? Here’s how to adapt.
For a Crowd
Double the recipe and bake in batches. Use multiple trays and rotate them between racks if your oven has uneven heat. Cool completely before stacking in tins to avoid sogginess.
For Gifting
Stack in parchment-lined tins with layers separated by paper. These cookies hold up well for several days at room temperature if stored properly (see storage notes).
For a Make-Ahead Shortcut
Complete the dough through shaping, then freeze the unbaked balls on a sheet tray. Once frozen, transfer to a bag. Bake from frozen, adding a minute or two to the bake time and monitoring the bottoms closely. Add the dulce de leche after the first bake as directed.
Little Things that Matter
Small choices make a difference when the recipe is simple.
- Butter temperature — too cold and you won’t cream properly; too soft and the dough can spread. Aim for cool room temperature.
- Measuring flour — spoon and level or weigh. Too much flour yields dry, dense cookies.
- Placement on the sheet — give about 2 inches between cookies so air circulates and edges bake evenly.
- Type of dulce de leche — thick dulce will mound; softer dulce spreads. The recipe calls for filling with about 1/2 teaspoon so try a test cookie to judge texture.
Meal Prep & Storage Notes
Once cooled, these cookies store well and are low-maintenance.
- Room temperature — keep in an airtight container for up to 4 days. Layer with parchment to prevent sticking.
- Refrigeration — you can refrigerate for up to 2 weeks, but bring to room temperature before serving for best texture.
- Freezing — freeze baked cookies in a single layer on a tray until firm, then transfer to a freezer bag for up to 3 months. Thaw at room temperature.
FAQ
Q: Can I use a whole egg instead of one yolk?
A: The recipe uses a single yolk to keep the texture dense. Adding the white will change the crumb and could make the cookies slightly cakier.
Q: Do I need to chill the dough?
A: Not for this recipe. The dough is workable at room temperature. If your kitchen is very warm, a short rest in the fridge (10–15 minutes) can help with shaping.
Q: Why does my dulce de leche sink in?
A: If the indentation is too deep, the filling may spread too thin. Make a shallow dent—just enough to hold about 1/2 teaspoon—and re-press after the initial bake if the shape softens.
Q: Can I pipe the dulce de leche?
A: Yes. If your dulce de leche is soft, use a small piping bag or zip-top bag with the corner snipped. That gives cleaner fill amounts than a spoon.
The Takeaway
These Dulce de Leche Shortbread Thumbprint Cookies are deliberate but uncomplicated. The dough comes together quickly, bakes in short bursts, and finishes with a warm dollop of caramel-like dulce de leche. Pay attention to butter temperature, measure the flour carefully, and keep those indentations defined. Follow the steps exactly and you’ll get consistent, gift-worthy cookies every time.
Make a test batch if you’re trying a new brand of dulce de leche or a different baking sheet. Once you dial it in, this becomes an easy go-to for a treat that feels handmade and thoughtful.

Dulce de Leche Shortbread Thumbprint Cookies
Ingredients
Ingredients
- 1 cup 2 sticks unsalted butter, room temperature
- 2/3 cup granulated sugar
- 1 large egg yolk
- 1 teaspoon vanilla extract
- 2 1/4 cups 280 g all-purpose flour
- 1/2 teaspoon kosher salt
- 6 ounces dulce de leche*
Instructions
Instructions
- Preheat oven to 375°F (190°C). Line a light- or medium-colored heavy-weight baking sheet with parchment paper or a silicone baking mat.
- In a large bowl, beat 1 cup (2 sticks) unsalted butter (room temperature) and 2/3 cup granulated sugar with an electric mixer on medium-high speed for about 1 to 2 minutes, until light and fluffy. Scrape down the bowl as needed.
- Add 1 large egg yolk and 1 teaspoon vanilla extract and beat just until combined.
- Add 2 1/4 cups (280 g) all-purpose flour and 1/2 teaspoon kosher salt. Mix on low speed until the flour is incorporated and the dough comes together into a soft, cohesive ball. Do not overmix.
- Roll the dough into 1-inch balls and place them on the prepared baking sheet about 2 inches apart.
- Flatten each ball slightly with the ball of your hand. Use your thumb or the back of a small spoon to press a shallow indentation into the center of each cookie.
- Bake for 8 to 10 minutes, or until the bottoms are just barely golden.
- Remove the baking sheet from the oven. If any indentations have lost definition, gently re-press them with the back of a spoon. Fill each indentation with approximately 1/2 teaspoon dulce de leche (use the 6 ounces dulce de leche).
- Return the baking sheet to the oven and bake an additional 3 minutes, until the dulce de leche levels out and the bottoms of the cookies are lightly golden.
- Transfer the cookies to a wire rack and cool completely before serving.
Equipment
- Electric Mixer
- Large Bowl
- Baking Sheet
- Parchment Paper
- Silicone Baking Mat
- Spoon
- Wire Rack


