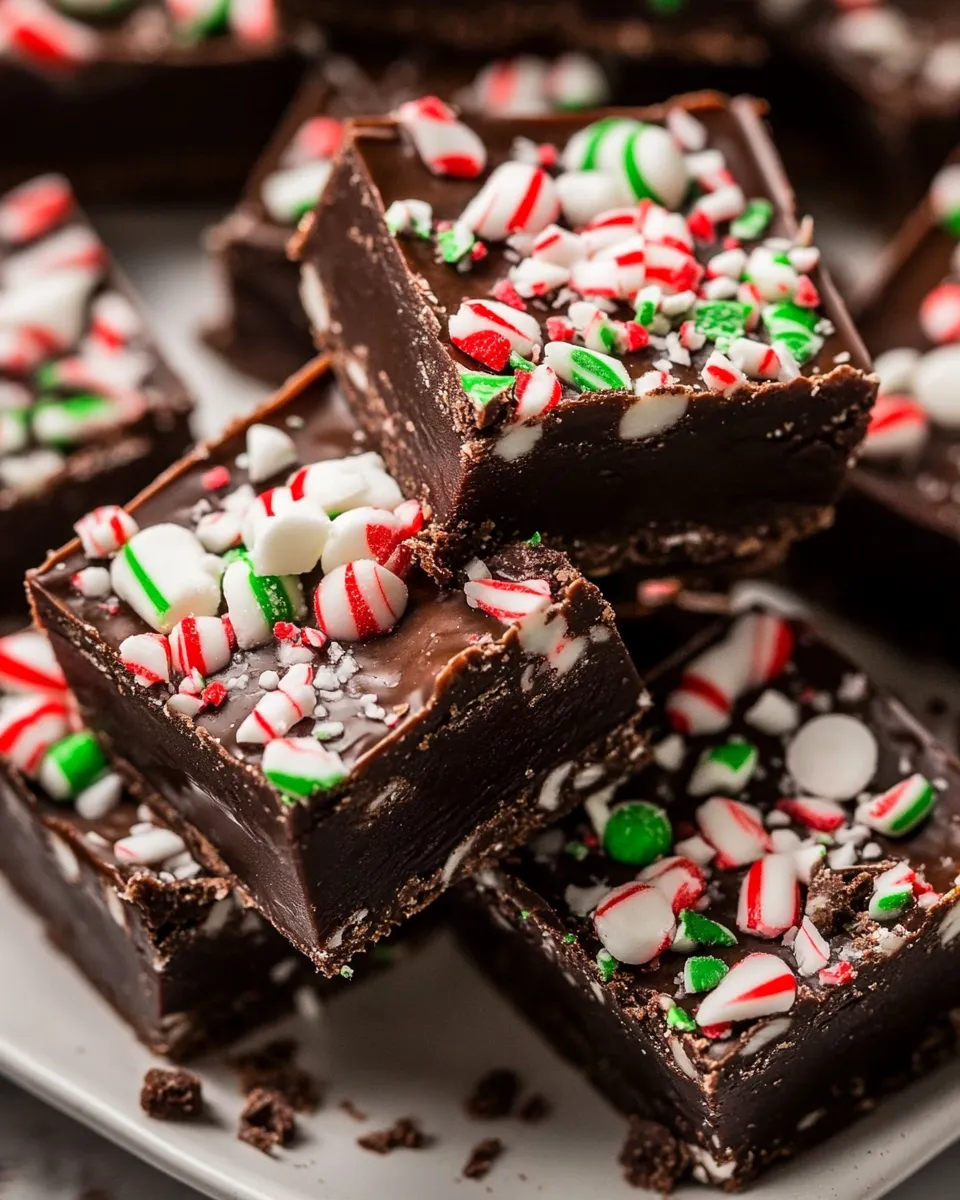
This fudge is one of those recipes I reach for when I want something that looks festive but actually comes together in minutes. It’s chocolate-forward with a cool peppermint lift and a satisfying little crunch from crushed candy canes. No candy thermometer. No tempering. Just a reliable double-boiler melt and a short chill.
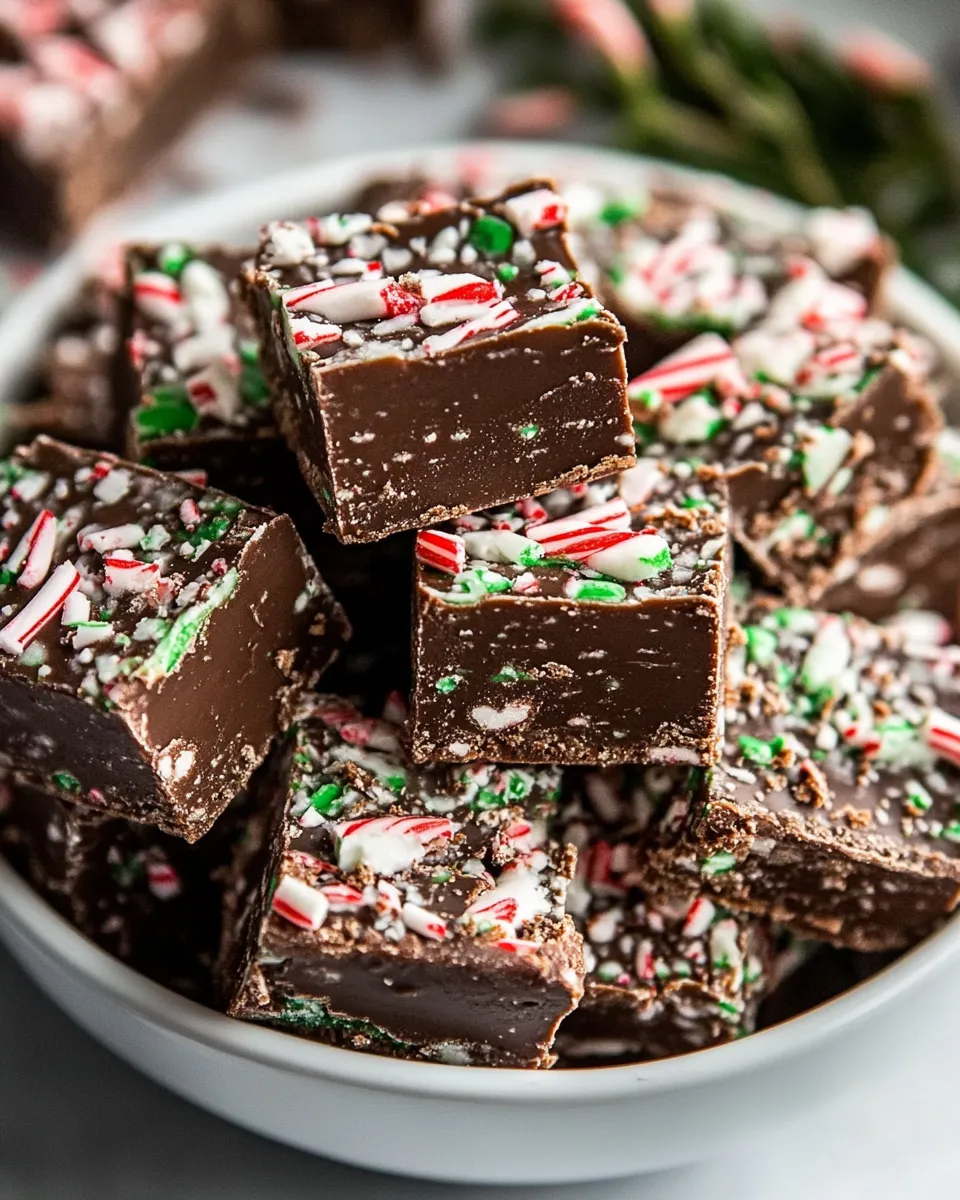
It’s forgiving, gift-friendly, and keeps well in the fridge — perfect for a last-minute tray or a thoughtful tin for neighbors. Follow the method below exactly for dependable texture, and use the tips later on if you need to adapt or troubleshoot.
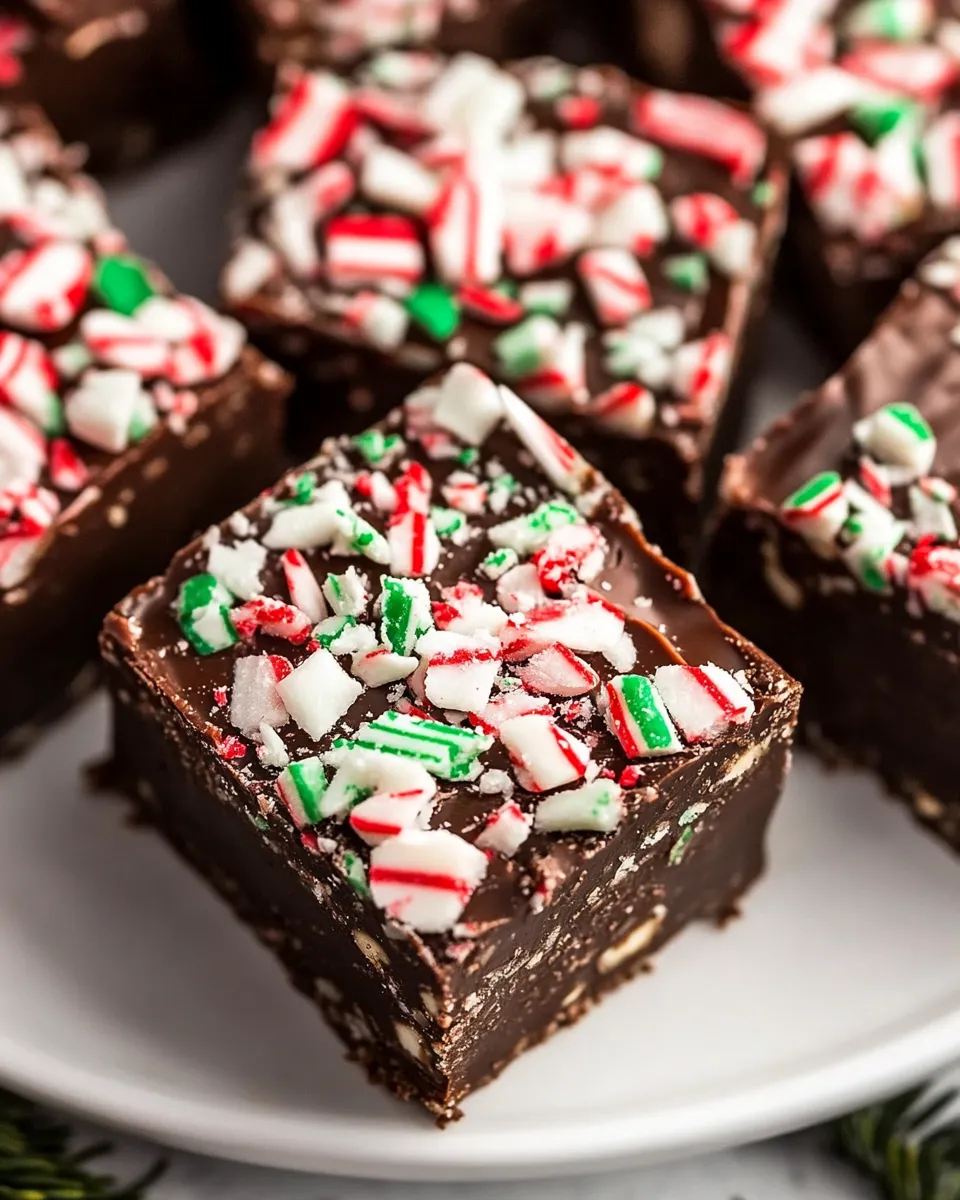
Make it in an 8 x 8-inch pan, slice it small, and serve — people disappear it fast. If you like neat, bite-size pieces or rustic squares with lots of crunch, this recipe will deliver both depending on how you cut it.
Gather These Ingredients
Ingredients
- 14 ounce can sweetened condensed milk — provides body, sweetness, and the glossy, fudgy texture.
- 18 ounces semi-sweet chocolate, roughly chopped — the main flavor and structure; chop so it melts evenly.
- 3 tablespoons unsalted butter, cut into 1/2-inch pieces, at room temperature — adds shine and a smoother mouthfeel; room temperature helps it melt quickly.
- 1 teaspoon peppermint extract — concentrated peppermint flavor; measure carefully so it doesn’t overpower.
- 1/2 teaspoon pure vanilla extract — softens and rounds the chocolate and peppermint.
- 1/3 cup crushed candy canes — for texture and a bright, minty crunch on top.
How to Prepare Chocolate Peppermint Fudge
- Lightly grease an 8 x 8-inch baking pan. Line the pan with parchment paper, allowing the paper to overhang two opposite sides; set the pan aside.
- In a large heatproof bowl combine the 14 ounce can sweetened condensed milk, 18 ounces semi-sweet chocolate (roughly chopped), and 3 tablespoons unsalted butter (cut into 1/2-inch pieces, at room temperature). Set the bowl aside.
- Pour water into a saucepan to about 1/4 of its depth and bring to a gentle boil. Reduce the heat until the water is barely simmering.
- Set the heatproof bowl on top of the saucepan to form a double boiler, making sure the bottom of the bowl does not touch the water. Stir the mixture frequently with a sturdy spatula or spoon until the chocolate and butter are fully melted and the mixture is completely smooth, about 8 minutes.
- Remove the bowl from the saucepan. Immediately stir in 1 teaspoon peppermint extract and 1/2 teaspoon pure vanilla extract until evenly incorporated. The mixture will be thick.
- Scrape the fudge mixture into the prepared pan and smooth the top with a spatula. Evenly sprinkle 1/3 cup crushed candy canes over the surface, gently pressing them into the top if desired.
- Refrigerate the pan until the fudge is firm, at least 2 hours.
- Run a butter knife around the inside edge of the pan to loosen the fudge. Use the parchment paper overhang to lift the fudge out of the pan and place it on a cutting board. Peel off the parchment paper.
- Slice the fudge into small pieces with a sharp knife (wipe the knife between cuts if needed). Serve immediately or store in the refrigerator for up to 1 month, or freeze in an airtight freezer-safe container for up to two months.
What Makes This Recipe Special

This recipe is special because it turns pantry staples into a confection that feels elevated. The sweetened condensed milk does a lot of the heavy lifting: it brings sugar, milk solids, and a glossy density that gives the fudge body without long cooking. Paired with chopped semi-sweet chocolate and a little butter, the result is rich and melt-in-your-mouth rather than grainy or greasy.
Peppermint extract brightens the chocolate, and the crushed candy canes add a popping crunch and festive look. The process uses a double boiler, which is gentler than direct heat and reduces the risk of scorching the chocolate. That combination — simple ingredients, gentle heat, and a short chill — is what makes this recipe reliable and crowd-pleasing.
Texture-Safe Substitutions
If you need to adjust, keep texture in mind. The goal is a smooth, glossy mass that sets firm but not rock-hard. Here are safe swaps that won’t ruin the mouthfeel:
- Use a different chocolate type: swap semi-sweet for bittersweet (darker) or milk chocolate for a sweeter, creamier end result. Note that darker chocolate will make the fudge less sweet and slightly firmer.
- Unsalted vs. salted butter: if you only have salted butter, use it — the small amount won’t overly salt the fudge. Taste-conscious eaters can reduce added finishing salt elsewhere.
- Vanilla options: pure vanilla extract is called for, but an equal amount of vanilla bean paste will work and add small vanilla flecks.
Avoid replacing the sweetened condensed milk with dry ingredients or thin milks; the texture will suffer unless you follow a different method entirely.
Equipment Breakdown
Keep the equipment simple. The right tools make this smooth and fast.
- 8 x 8-inch baking pan — the size the recipe is written for; it yields a tidy thickness for small squares.
- Parchment paper — provides the overhang to lift the fudge cleanly out of the pan.
- Large heatproof bowl — metal or glass; it sits over the saucepan for the double boiler.
- Saucepan — wide enough so the bowl can sit on top without touching the water.
- Sturdy spatula or spoon — for stirring the thick mixture until smooth.
- Sharp knife — for clean slicing; wiping between cuts prevents dragging chocolate crumbs.
Problems & Prevention
Chocolate seizes or becomes grainy
Cause: excessive steam or water droplets getting into the chocolate, or overheating. Prevention: keep the water at a bare simmer and ensure the bowl bottom doesn’t touch the water. If water splashes into the chocolate, a small amount can cause the mixture to seize.
Fudge is too soft after chilling
Cause: not chilled long enough or pan size too large. Prevention: use the specified pan and refrigerate at least 2 hours. If it’s still soft after chilling, try another hour or two. A firmer chocolate (higher cocoa solids) will also set more firmly.
Fudge is too hard or brittle
Cause: too much chocolate relative to sweetened condensed milk or overcooking (not typical with a double boiler). Prevention: follow ingredient amounts carefully and remove the bowl as soon as the chocolate is fully melted and smooth.
Toppings bleed color or sink
Cause: putting warm fudge in contact with colored candies. Prevention: press toppings in gently but wait a few minutes after pouring if the surface is very hot; chilled or room-temperature toppings will keep their color and texture better.
Fit It to Your Goals
Want bite-size for cookie trays? Slice thin and stack in small paper cups. Planning a bake sale? Make multiple batches and package them in airtight tins with parchment between layers. Need a quick neighbor gift? Cut squares, tie with ribbon, and you’re done.
Scaling: the recipe is written for an 8 x 8-inch pan. If you scale up, keep proportions identical and use a proportionately larger pan — thickness affects setting time and final texture. When in doubt, use the same method and a few extra chilling minutes for larger volumes.
Flavor Logic
Chocolate provides fat and cocoa solids that carry flavor; the sweetened condensed milk contributes sweetness and milk proteins that stabilize the texture. Butter adds fat for shine and a silkier mouthfeel. Peppermint extract is a high-impact, low-volume ingredient: a little goes a long way, adding freshness and contrast to the chocolate. Vanilla smooths the edges and rounds out the flavor profile.
The crushed candy canes do more than decorate. They add a bright, crunchy counterpoint to the dense chocolate and release tiny bursts of mint when you bite, which balances the chocolate’s richness.
How to Store & Reheat
Store in the refrigerator for up to 1 month. Keep pieces in a single layer or separated by parchment to prevent sticking. For longer storage, freeze in an airtight, freezer-safe container for up to two months. Thaw in the refrigerator overnight before serving; avoid microwaving directly from frozen — it can make the texture greasy or grainy.
If you’d like slightly softer squares right before serving, set the pieces on the counter for 10–15 minutes to take the chill off. For warmer, molten bites, briefly warm a single piece in the microwave in 5–7 second bursts, watching closely so it doesn’t melt completely.
Chocolate Peppermint Fudge FAQs
Can I make this without a double boiler?
You can microwave the mixture in short bursts, stirring between intervals, but be careful — microwave heats unevenly. The double boiler is the gentlest way to melt chocolate and keeps you from scorching.
Can I use candy canes mixed into the fudge instead of just on top?
Yes. If you fold some crushed candy canes into the finished mixture before spreading, you’ll get mint distributed throughout. Expect some slight color flecks from the candy, and press remaining pieces on top for presentation.
How small should I cut the pieces?
Cut to your preference. Small, bite-size 1-inch squares are common for rich fudge because the flavor is concentrated. Larger squares work for casual serving, but they’ll feel more decadent per bite.
Will this work with flavored chocolates?
Flavored chocolates will work but may change the taste profile. Keep an eye on the overall balance; peppermint and other strong flavors can compete with infused chocolates.
Final Thoughts
This Chocolate Peppermint Fudge hits the sweet spot between easy and impressive. It’s fast enough for last-minute gifting yet polished enough for a holiday platter. Follow the method, respect the chilling time, and use the troubleshooting notes if anything looks off. The combination of glossy chocolate, mellow vanilla, bright peppermint, and crunch is hard to beat.
Make a batch, cut small, and enjoy watching it disappear. If you try a variation, I’d suggest changing only one element at a time so you can tell how it affects texture and flavor. Happy making — and happy gifting.

Easy Chocolate Peppermint Fudge
Ingredients
Ingredients
- 1 14 ounce can sweetened condensed milk
- 18 ouncessemi-sweet chocolate roughly chopped
- 3 tablespoonsunsalted butter cut into 1/2-inch pieces, at room temperature
- 1 teaspoonpeppermint extract
- 1/2 teaspoonpure vanilla extract
- 1/3 cupcrushed candy canes
Instructions
Instructions
- Lightly grease an 8 x 8-inch baking pan. Line the pan with parchment paper, allowing the paper to overhang two opposite sides; set the pan aside.
- In a large heatproof bowl combine the 14 ounce can sweetened condensed milk, 18 ounces semi-sweet chocolate (roughly chopped), and 3 tablespoons unsalted butter (cut into 1/2-inch pieces, at room temperature). Set the bowl aside.
- Pour water into a saucepan to about 1/4 of its depth and bring to a gentle boil. Reduce the heat until the water is barely simmering.
- Set the heatproof bowl on top of the saucepan to form a double boiler, making sure the bottom of the bowl does not touch the water. Stir the mixture frequently with a sturdy spatula or spoon until the chocolate and butter are fully melted and the mixture is completely smooth, about 8 minutes.
- Remove the bowl from the saucepan. Immediately stir in 1 teaspoon peppermint extract and 1/2 teaspoon pure vanilla extract until evenly incorporated. The mixture will be thick.
- Scrape the fudge mixture into the prepared pan and smooth the top with a spatula. Evenly sprinkle 1/3 cup crushed candy canes over the surface, gently pressing them into the top if desired.
- Refrigerate the pan until the fudge is firm, at least 2 hours.
- Run a butter knife around the inside edge of the pan to loosen the fudge. Use the parchment paper overhang to lift the fudge out of the pan and place it on a cutting board. Peel off the parchment paper.
- Slice the fudge into small pieces with a sharp knife (wipe the knife between cuts if needed). Serve immediately or store in the refrigerator for up to 1 month, or freeze in an airtight freezer-safe container for up to two months.
Equipment
- 8 x 8-inch baking pan
- Parchment Paper
- large heatproof bowl
- Saucepan
- sturdy spatula or spoon
- Knife
- Cutting Board
- Refrigerator