
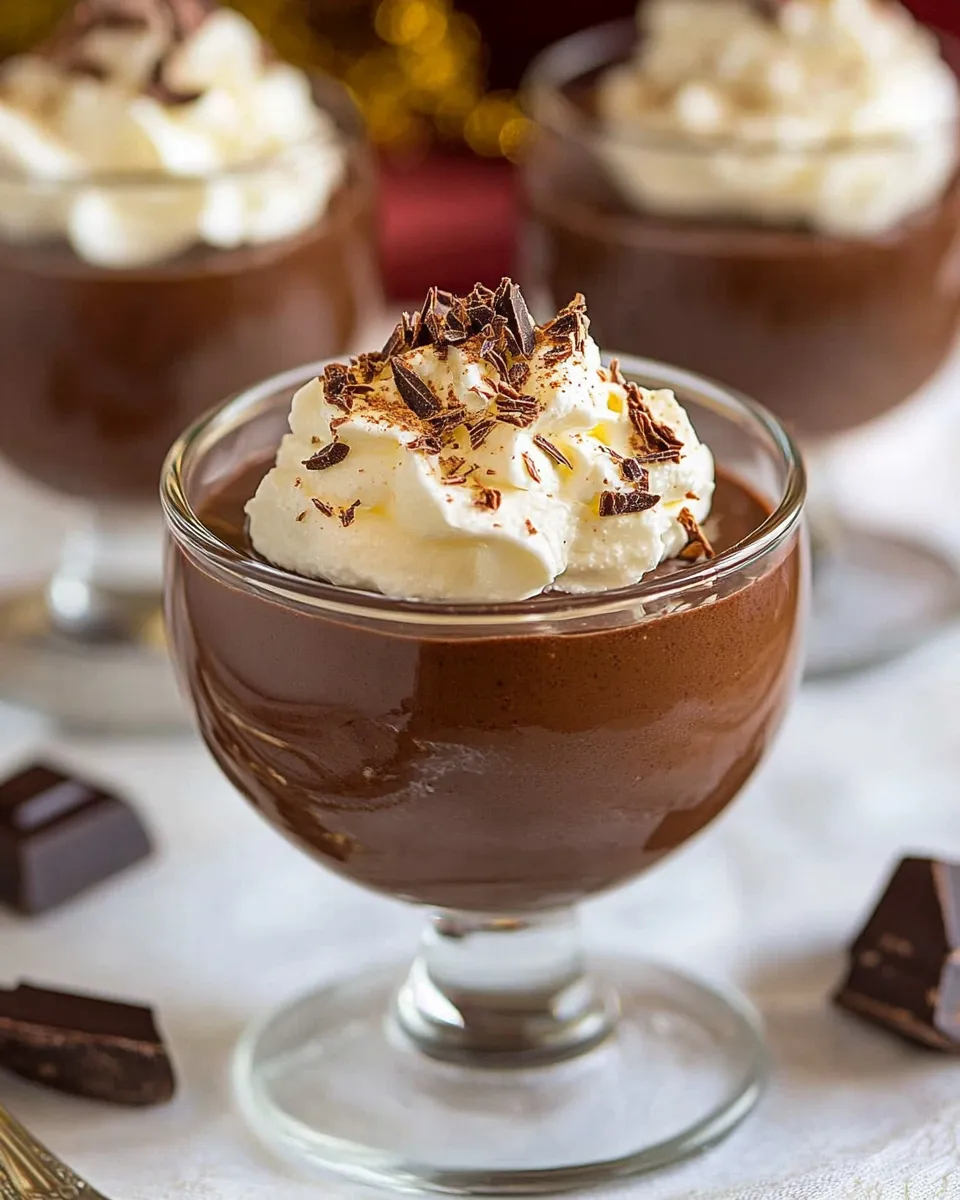
There are nights when you want something chocolatey, comforting, and perfectly portioned for two without fuss. This recipe is exactly that: simple ingredients, straightforward technique, and a silky result that feels like a tiny luxury. It fits between dinner and bedtime—no oven, no long waiting, just a little stovetop attention.
I wrote this version to be practical. The steps are short and reliable, and the whole pudding comes together in a single saucepan. If you follow the whisking cues and that final strain, the texture is smooth and glossy every time.
Whether you’re making a quick dessert for a date, rescuing a quiet weeknight, or treating yourself, this pudding hits the sweet spot. Read through the ingredients and steps, then follow the tips for timing and small swaps to tailor it to your pantry.
Ingredients
- Fine-mesh strainer — removes any lumps for an ultra-smooth finish.
- 1/4 cup (50 g) granulated sugar — sweetens and helps balance the chocolate’s bitterness.
- 2 tablespoons (15 g) cornstarch — the thickener that gives pudding its creamy body.
- 1/8 teaspoon salt — enhances chocolate flavor; a small amount goes a long way.
- 1 1/2 cups milk (whole preferred, but any percentage is fine) — provides richness and the liquid base; whole milk gives the creamiest result.
- 1/2 cup (3 oz) semisweet chocolate (chopped) (good-quality chocolate chips are fine) — the chocolate flavor core; chop for faster melting.
- 1/2 teaspoon vanilla extract — rounds out flavor and lifts the chocolate.
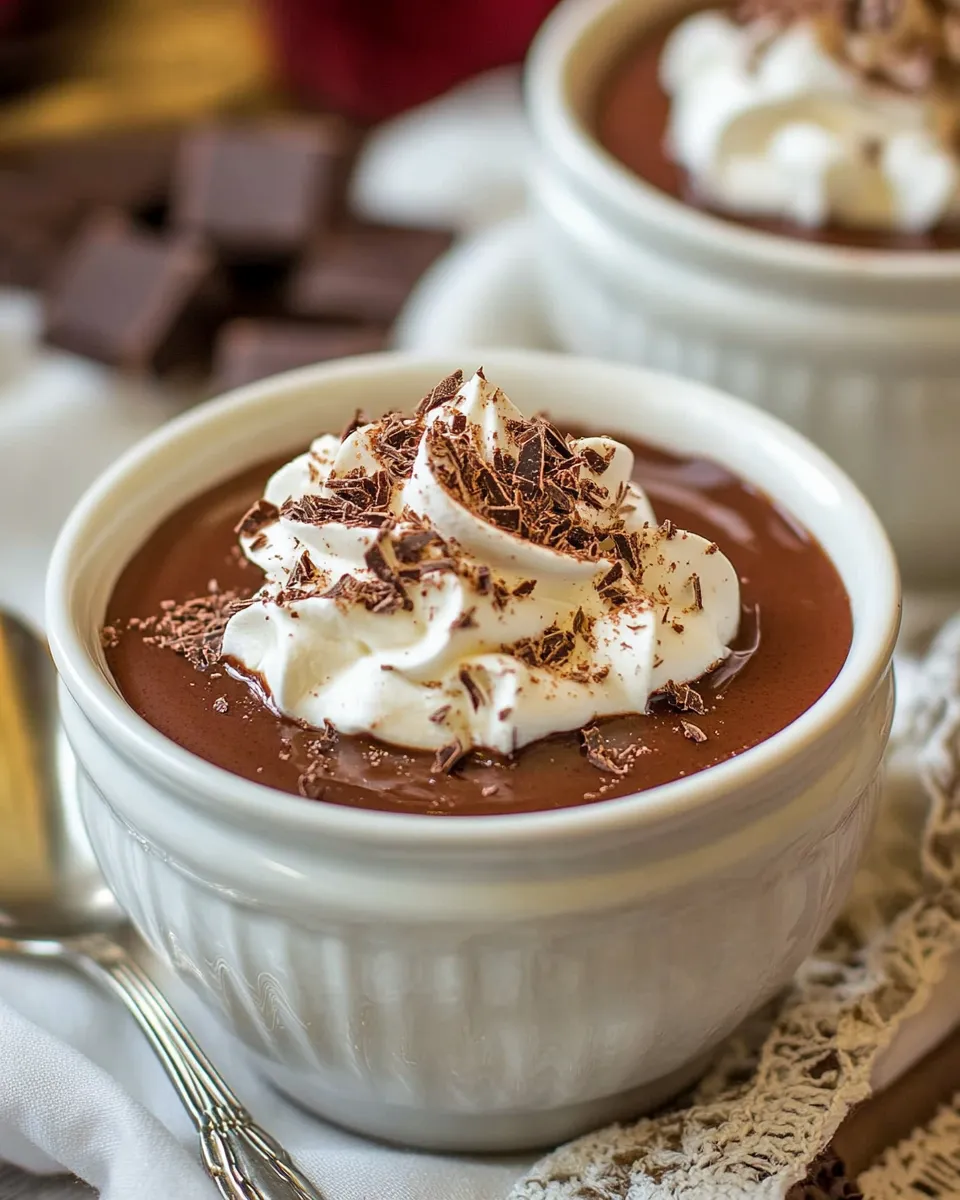
- Whipped Cream — optional garnish that adds lightness on top.
- Chocolate shavings — optional garnish for texture and pretty presentation.
What You’ll Gather
Gather a small saucepan (about 2‑quart or similar), a whisk, measuring tools, a spatula, and either serving cups or a bowl. The fine-mesh strainer is critical for texture. You’ll also want plastic wrap if you plan to press it directly onto the pudding to prevent a skin while it chills.
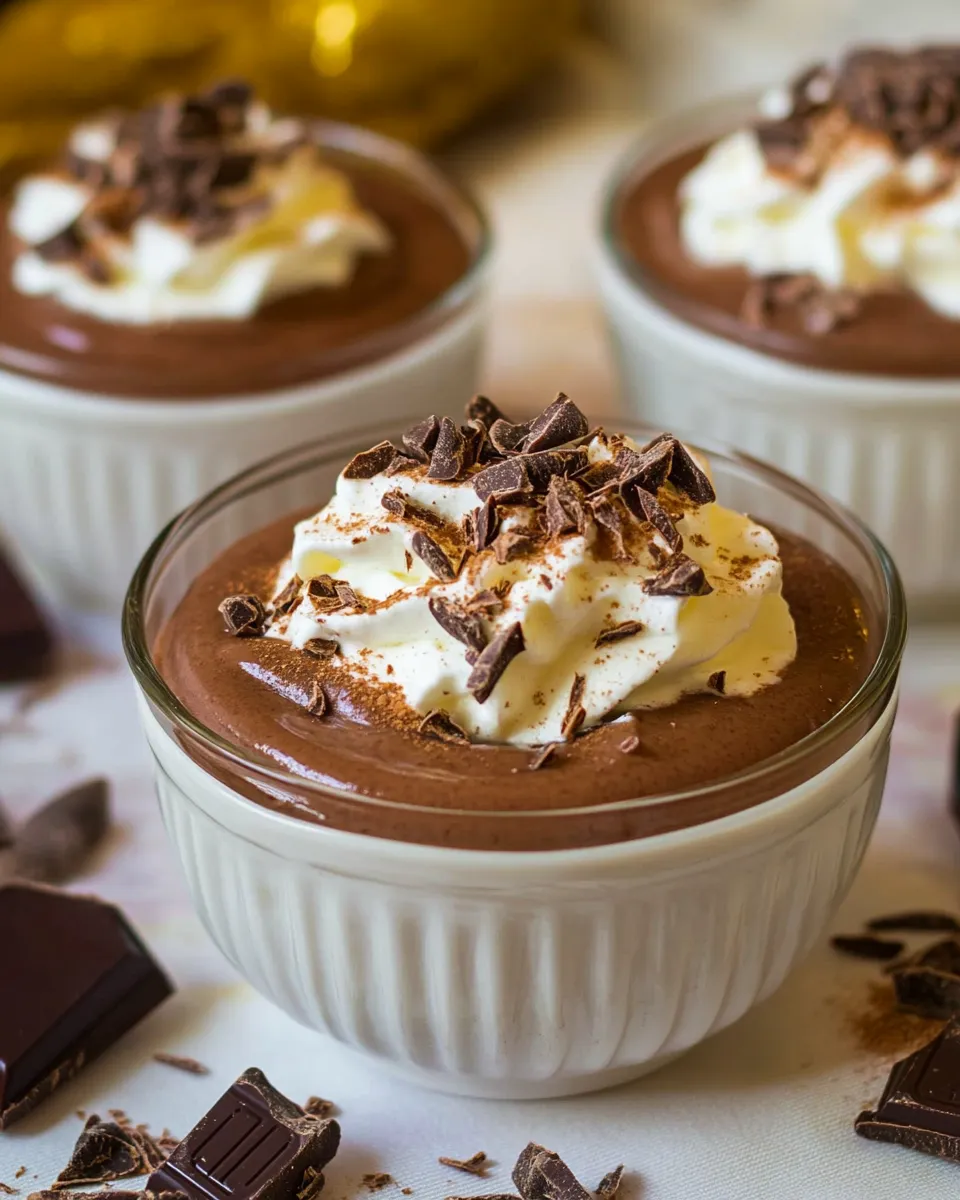
This recipe is written for two servings. The quantities are modest, so cleanup is quick: the same saucepan and whisk will do the whole job. Keep your chocolate chopped small so it melts quickly when you add it off the heat.
Chocolate Pudding for Two: From Prep to Plate
- Place a fine-mesh strainer over a bowl or set it aside over your serving cups. In a 2‑quart (or similar) saucepan, whisk together 1/4 cup (50 g) granulated sugar, 2 tablespoons (15 g) cornstarch, and 1/8 teaspoon salt until evenly combined.
- Slowly pour in 1 1/2 cups milk while whisking continuously to dissolve the dry ingredients and prevent lumps.
- Set the saucepan over medium‑low heat. Cook, whisking frequently and scraping the bottom and sides, until the mixture thickens and coats the back of a spoon, about 8 to 12 minutes. If the mixture starts to simmer before it has thickened, lower the heat. Once it begins to thicken, whisk more continuously until it reaches the proper consistency.
- Remove the pan from the heat. Add 1/2 cup (3 oz) semisweet chocolate (chopped) and whisk until the chocolate is completely melted and the pudding is smooth, about 1 to 2 minutes.
- Whisk in 1/2 teaspoon vanilla extract until combined.
- Pour the pudding through the fine‑mesh strainer into a clean bowl or directly into individual serving cups to remove any remaining lumps. Use a spatula or spoon to push the pudding through if needed.
- Let the pudding cool at room temperature for at least 15 minutes. To prevent a skin from forming, press plastic wrap directly onto the surface of the pudding, then refrigerate.
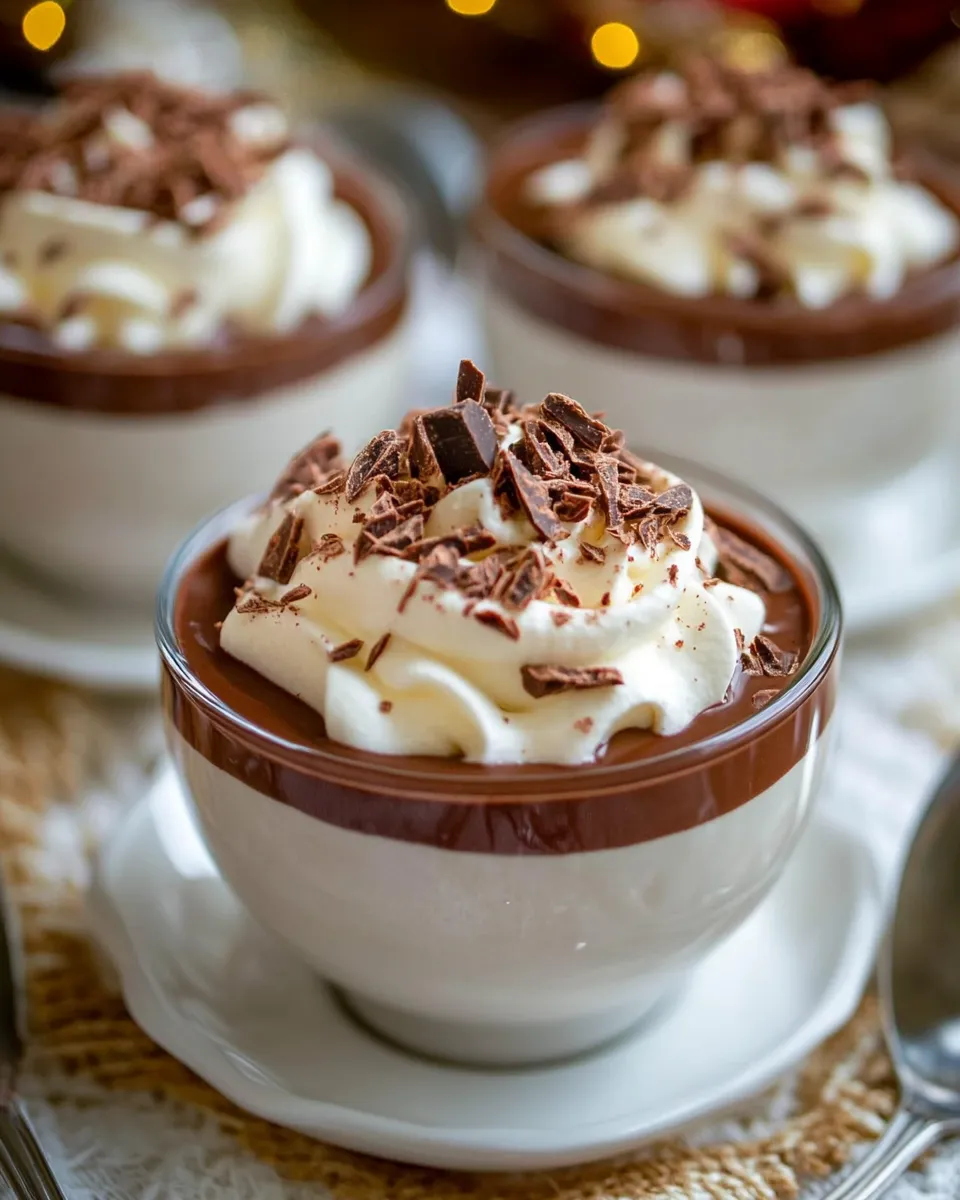
- Refrigerate until set, 2 to 3 hours. Before serving, top with whipped cream and chocolate shavings if desired.
Why It’s My Go-To
This pudding is reliable. It uses pantry staples and one simple thickener—cornstarch—so the technique is repeatable. The texture is the real reason I keep making it: when you whisk carefully and strain at the end, you get that silky, spoon-coating body that feels indulgent but not heavy.
It’s also fast. From first whisk to spoon-ready staging, the active time is short. Most of the waiting happens while the mixture thickens and chills—time you can spend setting the table or cleaning up. For two, this recipe is waste-free and satisfying.
Swap Guide
- Milk: swap whole milk for a lower-percentage dairy milk if you want a lighter pudding; the technique stays the same.
- Chocolate: use bittersweet for a deeper flavor or milk chocolate for sweeter, creamier notes—chop it so it melts quickly.
- Sweetener: you can try less sugar if you prefer a less-sweet pudding; reduce gradually to taste but go easy—sugar affects texture and balance.
- Flavor boosts: a pinch of espresso powder or a dash of cinnamon stirred in with the chocolate can intensify the chocolate without changing steps.
Kitchen Gear Checklist
- 2‑quart (or similar) saucepan — roomy enough to whisk and reduce without boiling over.
- Whisk — for smooth, lump-free mixing.
- Measuring cups and spoons — accurate measures matter for consistency.
- Fine-mesh strainer — essential for that velvet finish.
- Spatula or spoon — to push pudding through the strainer and scrape the pan clean.
- Serving cups or a small bowl — for chilling and presentation.
- Plastic wrap — press directly on the surface to prevent a skin while chilling.
Avoid These Mistakes
- Heating too fast: if the mixture simmers before it thickens, you risk curdling or uneven thickening. Keep heat medium‑low and be patient.
- Not whisking enough: cornstarch needs motion to activate and distribute. Whisk frequently and scrape the sides and bottom.
- Skipping the strainer: even tiny lumps or a grainy finish will show in a smooth pudding. Straining makes a noticeable difference.
- Adding chocolate on the heat: the recipe removes the pan from heat before adding chocolate. Doing this on high heat can scorch the chocolate or separate fats.
- Letting a skin form: cover the surface with plastic wrap directly on the pudding while it cools to prevent that thin film from forming.
Dietary Swaps & Alternatives
If you need dairy-free options, plant milks like almond, oat, or soy work; they can change the mouthfeel, so pick a richer alternative (oat or full-fat canned coconut if you want extra creaminess). Use dairy-free semi-sweet chocolate or chips that are labeled vegan. The cornstarch thickener stays the same, but if you prefer another thickener, such as arrowroot, test the texture since equivalents aren’t always 1:1.
For a lower-sugar version, select a chocolate with higher cacao and less added sugar and reduce the granulated sugar slightly. Keep in mind sugar affects both sweetness and texture, so adjust in small steps.
Recipe Notes & Chef’s Commentary
Chocolate quality matters. A good-quality semisweet chocolate gives a cleaner, truer chocolate flavor than low-quality chips. That said, high-quality chips do the job and are a convenient option. Chop a bar finely so the pieces melt evenly when you fold them into the hot pudding off the heat.
Whisking rhythm is your friend. Start gently to dissolve dry ingredients into milk, then increase the frequency as the mix warms. Once it begins to thicken, constant whisking ensures smoothness and prevents the base from sticking and scorching.
The strainer step is not decorative—it’s functional. Even if your pudding looks smooth, a quick strain catches small coagulated bits of cornstarch or chocolate remnants and makes the final texture noticeably silkier.
Make Ahead Like a Pro
You can make this pudding several hours ahead. After the surface cools for the minimum 15 minutes, press plastic wrap directly onto it and refrigerate until you’re ready to serve. Chilling time in the recipe is 2 to 3 hours to set, so plan accordingly. If you’re serving later in the evening, make it in the afternoon and keep it covered in the fridge until serving—remove the plastic wrap, give a gentle stir if needed, and garnish just before plating.
FAQ
- Q: My pudding is lumpy. What went wrong?
A: Lumps usually come from the cornstarch not being fully dissolved into the milk or from uneven heating. Whisk in the milk slowly and strain the pudding through a fine-mesh strainer to rescue the texture. - Q: It didn’t thicken—now what?
A: Continue to cook it gently over medium‑low while whisking; sometimes it needs a few more minutes. If it still refuses, mix a small slurry of cornstarch and cold milk, whisk it into the warm pudding, and cook another minute or two—only add a little at a time. - Q: Can I reheat the pudding?
A: You can gently warm single servings in short bursts in the microwave, stirring between each. Reheating can change the texture, so do it briefly and carefully. - Q: How do I prevent a skin from forming?
A: Press plastic wrap directly onto the pudding surface while it cools, then refrigerate covered. The wrap prevents air from forming that thin skin. - Q: Can I double the recipe?
A: Yes—use a larger saucepan and keep the same technique. Cook time may increase slightly, and you’ll need to whisk thoroughly to ensure even thickening.
That’s a Wrap
This Chocolate Pudding for Two delivers a smooth, comforting dessert with minimal fuss and equipment. It’s an easy way to finish a weeknight meal or to celebrate a small moment with someone special. Follow the steps, respect the heat, strain at the end, and you’ll have a reliably silky pudding every time.
Make it your own with different chocolate choices or a touch of espresso for depth. But if you want the classic, stick to the method here: whisk, patient heat, melt the chocolate off the heat, strain, chill—and enjoy.

Easy Chocolate Pudding for Two
Ingredients
Ingredients
- Fine-mesh strainer
- 1/4 cup 50 g granulated sugar
- 2 tablespoons 15 g cornstarch
- 1/8 teaspoonsalt
- 1 1/2 cupsmilkwhole preferred but any percentage is fine
- 1/2 cup 3 oz semisweet chocolatechopped (good-quality chocolate chips are fine)
- 1/2 teaspoonvanilla extract
- Whipped Creamoptional
- Chocolate shavingsoptional
Instructions
Instructions
- Place a fine-mesh strainer over a bowl or set it aside over your serving cups. In a 2‑quart (or similar) saucepan, whisk together 1/4 cup (50 g) granulated sugar, 2 tablespoons (15 g) cornstarch, and 1/8 teaspoon salt until evenly combined.
- Slowly pour in 1 1/2 cups milk while whisking continuously to dissolve the dry ingredients and prevent lumps.
- Set the saucepan over medium‑low heat. Cook, whisking frequently and scraping the bottom and sides, until the mixture thickens and coats the back of a spoon, about 8 to 12 minutes. If the mixture starts to simmer before it has thickened, lower the heat. Once it begins to thicken, whisk more continuously until it reaches the proper consistency.
- Remove the pan from the heat. Add 1/2 cup (3 oz) semisweet chocolate (chopped) and whisk until the chocolate is completely melted and the pudding is smooth, about 1 to 2 minutes.
- Whisk in 1/2 teaspoon vanilla extract until combined.
- Pour the pudding through the fine‑mesh strainer into a clean bowl or directly into individual serving cups to remove any remaining lumps. Use a spatula or spoon to push the pudding through if needed.
- Let the pudding cool at room temperature for at least 15 minutes. To prevent a skin from forming, press plastic wrap directly onto the surface of the pudding, then refrigerate.
- Refrigerate until set, 2 to 3 hours. Before serving, top with whipped cream and chocolate shavings if desired.
Equipment
- Fine-mesh strainer
- 2-quart (or similar) saucepan
- Whisk
- Spatula
- Bowl
- Serving cups or bowls
- Plastic Wrap
Notes
Approximate nutritional information is for 3 servings.


