

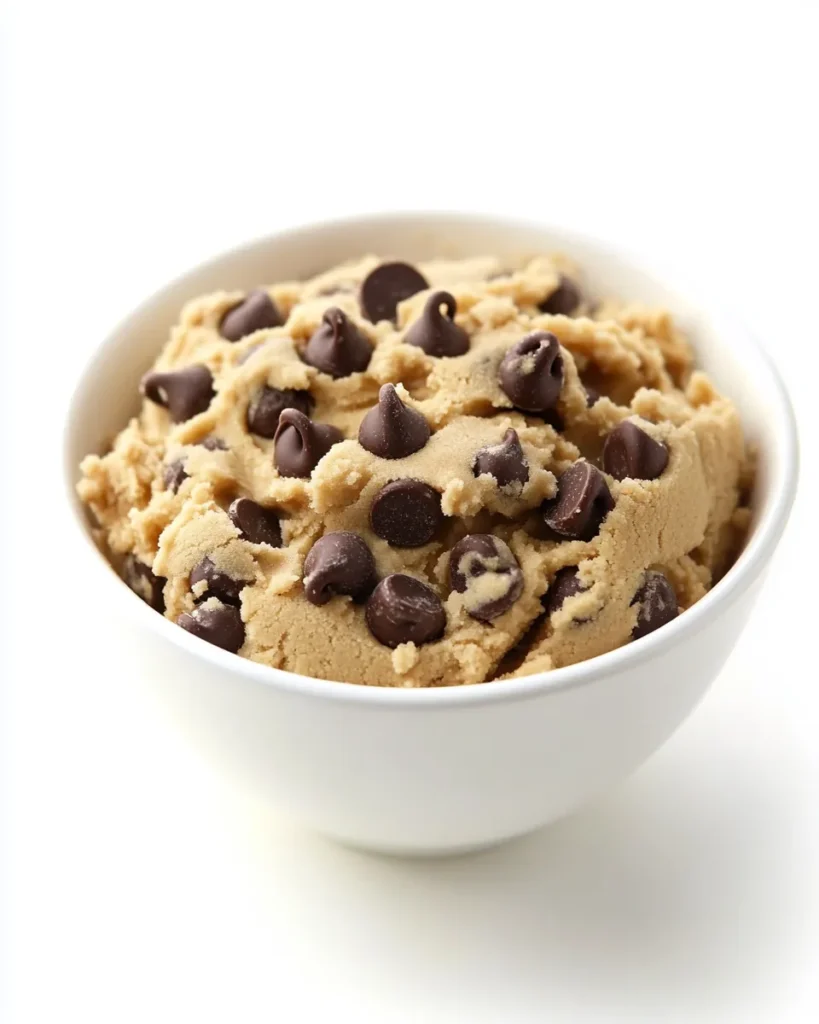
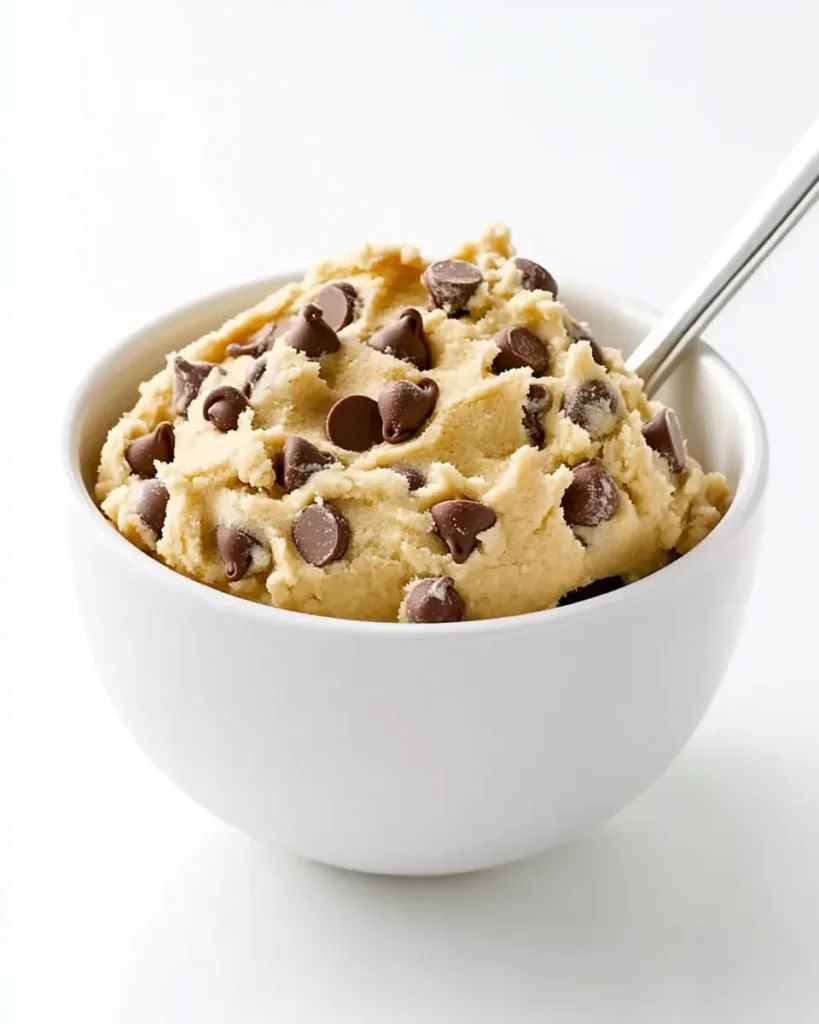
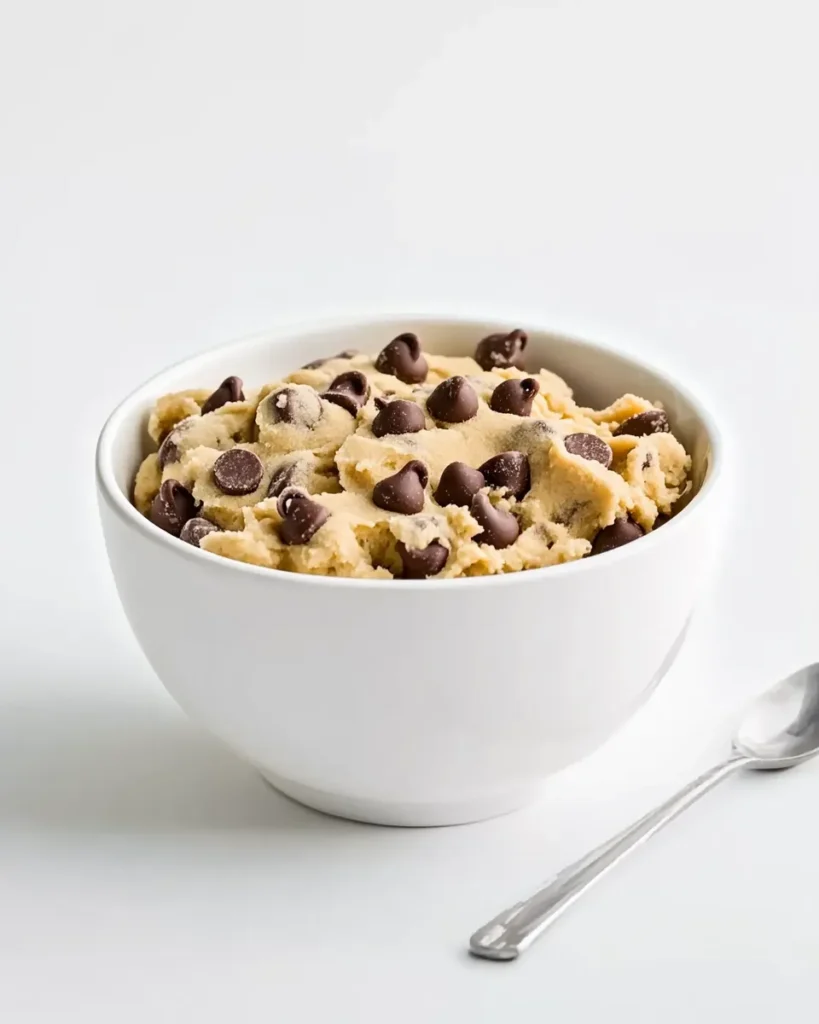
I love recipes that feel both indulgent and sensible. This edible chocolate chip cookie dough hits that sweet spot: satisfies the craving for raw cookie dough without the risks, and it’s fast enough to make on a weeknight when you need a treat. It’s the version I reach for when friends pop by, or when I want a quiet spoonful after dinner.
The process centers on one simple safety step — heat-treating the flour — and then the familiar, joyful work of creaming butter and sugar, folding in flour, and stirring in mini chocolate chips. Nothing about it is fussy. Small details matter though: how cool the flour is, not overworking the dough, and giving it a short chill so the texture firms up just right.
Below I walk you through the exact ingredient list and a step-by-step method you can follow without improvising on amounts. I also include practical equipment notes, common slip-ups, and sensible make-ahead and storage tips. This is a dependable recipe that rewards careful but straightforward technique.
Ingredient List
- 1¾ cups all-purpose flour — heat-treating makes it safe to eat raw; provides the dough’s structure and body.
- 1 cup salted sweet cream butter (softened) — the main fat for richness and mouthfeel; softened to room temperature for proper creaming.
- ¾ cup light brown sugar (packed) — adds moisture, a caramel note, and chewiness to the dough.
- ½ cup granulated sugar — helps with structure and gives a bit of snap against the soft brown sugar.
- 1½ teaspoons vanilla extract — lifts and rounds the flavors; use good-quality vanilla for best results.
- 2 tablespoons heavy cream — adjusts dough consistency so it’s scoopable but not wet.
- ¼ teaspoon salt — balances sweetness and heightens chocolate flavor; include it even if your butter is salted.
- 1½ cups mini semi-sweet chocolate chips — the chocolate pockets that make each bite irresistible; mini chips distribute more evenly through the dough.
How to Prepare (Edible Chocolate Chip Cookie Dough)
- Preheat the oven to 300°F. Line a baking sheet with parchment paper and evenly spread the 1¾ cups all-purpose flour in a thin, even layer on the parchment.
- Bake the flour for 5 to 7 minutes, stirring once halfway through to ensure even heat. Watch closely so the flour does not burn.
- Remove the flour from the oven and let it cool completely on the baking sheet before using.
- In a stand mixer fitted with the paddle attachment or in a large bowl with a handheld mixer, combine the 1 cup softened salted sweet cream butter, ¾ cup packed light brown sugar, ½ cup granulated sugar, and 1½ teaspoons vanilla extract. Beat on medium-high until the mixture is light and fluffy, scraping down the bowl as needed.
- Reduce the mixer speed to low and add 2 tablespoons heavy cream. Mix on low until the cream is fully incorporated.
- With the mixer on low, add the cooled, heat-treated flour and ¼ teaspoon salt in portions: add three ½-cup portions and then the remaining ¼ cup, mixing after each addition until just combined. Scrape the bowl and mix briefly if needed so no dry streaks remain, but avoid overmixing.
- Transfer the dough to a bowl (if not already) and fold in the 1½ cups mini semi-sweet chocolate chips with a large spoon until evenly distributed.
- Cover the dough and chill in the refrigerator for 30 minutes before serving.
Why This Recipe Is Reliable
This recipe is built around a safety-first approach and straightforward technique. Heat-treating the flour at 300°F for a short period eliminates surface bacteria without altering the flour’s behavior in the dough. That single step converts traditional raw-cookie-dough risk into something you can serve with confidence.
The creaming stage — butter, brown sugar, granulated sugar, and vanilla — is where the texture is determined. Beating until light and fluffy introduces small pockets of air for a soft, tender bite. Adding the heavy cream on low keeps the dough moist but stable. Finally, adding the flour in measured portions prevents clumping and reduces the chance of a gummy texture. The 30-minute chill firms the dough so it scoops neatly and the chips settle throughout.
Ingredient Flex Options
Small swaps can tailor this dough to what’s in your pantry while keeping texture and safety intact:
- Butters and salts: If your butter is unsalted, add an extra pinch of salt (a total of about ⅜–½ teaspoon) to reach the same balance. Salted butter works as written.
- Sugars: Dark brown sugar will add a deeper molasses note; you can substitute up to half with dark brown without changing quantities.
- Chocolate: Regular-size chips work, but mini chips distribute more evenly so every spoonful has chocolate. Chopped chocolate can be used for larger pockets of melted chocolate.
- Flour: This method relies on heat-treating the flour you use. If you need gluten-free, a 1:1 gluten-free all-purpose blend can work, but heat-treat and test a small batch first — blends behave differently.
Before You Start: Equipment
- Oven and baking sheet — for heat-treating the flour; a rimmed sheet is best for even heat.
- Parchment paper — keeps flour from sticking and makes stirring simple.
- Stand mixer with paddle attachment or handheld mixer — for efficient creaming; the paddle keeps texture right.
- Mixing bowls — one for creaming, one for finishing if you don’t use the mixer bowl as your serving bowl.
- Measuring cups and spoons — accuracy matters for texture.
- Spatula and large spoon — for scraping and folding in chips.
- Refrigerator space — you’ll need at least 30 minutes to chill the dough.
Slip-Ups to Skip

- Skipping heat-treatment: Don’t. Unbaked flour can harbor bacteria; the oven step is essential for safety.
- Heating flour too long or too hot: Keep to 300°F and 5–7 minutes. Burned flour tastes toasted and bitter.
- Using warm flour: Make sure the flour is completely cool before adding it to butter, or the butter will melt and the dough will be greasy.
- Overmixing after adding flour: Mix just until combined. Overworking develops gluten and makes the dough tough.
- Adding too much liquid: Stick to 2 tablespoons heavy cream. Extra liquid makes the dough spready and less pleasant to eat by the spoon.
Tailor It to Your Diet
Edible cookie dough is flexible, and you can adapt it for common diets with a few straightforward swaps:
- Dairy-free / vegan: Use a dairy-free stick-style spread or vegan butter that creams well, and a plant-based heavy cream substitute (or full-fat canned coconut cream) in the same 2-tablespoon amount. Confirm the chocolate chips are dairy-free.
- Lower sugar: Reducing sugars will change texture and mouthfeel. If you must reduce, remove no more than 2–3 tablespoons total and note that the dough will be drier and less tender.
- Gluten-free: Use a reliable 1:1 gluten-free flour blend and still heat-treat it. Expect subtle differences in texture; some blends produce a slightly grittier or crumblier result.
Method to the Madness
1. Heat-treat the flour
Spread the flour thinly on parchment and bake at 300°F for 5–7 minutes, stirring once halfway. The goal is to warm the flour enough to reduce surface microbes, not to brown it. Once baked, transfer the sheet to a cooling rack and let the flour reach room temperature. Use only when fully cooled; warm flour will melt the butter and ruin texture.
2. Cream butter, sugars, and vanilla
Place softened butter, brown sugar, granulated sugar, and vanilla in the mixer. Beat on medium-high until light and fluffy — this usually takes 2–4 minutes depending on your mixer. Scrape down the bowl once or twice so everything incorporates evenly. The mixture should look paler and feel aerated.
3. Add the cream and flour, then chips
With the mixer slowed, add the heavy cream so it blends in without splashing. Then add the cooled flour and salt in the specified portions: three ½-cup additions, then the remaining ¼ cup. Mix just until the flour is incorporated each time. Fold in the mini chips by hand so they don’t get pulverized by the mixer.
4. Chill and serve
Cover and chill the dough for 30 minutes. This brief rest firms up the butter and gives you a clean scoopable texture. Serve with spoons, or portion into balls for sharing. If you want dipping options, pair with milk, coffee, or a scoop of ice cream.
Make Ahead Like a Pro
You can make this dough ahead and keep it tasting fresh. Store it in an airtight container in the refrigerator for up to 5 days. For longer storage, portion into balls or a shallow container and freeze for up to 3 months; thaw overnight in the fridge before serving. If frozen in balls, a quick 10–15 minute thaw at room temperature brings them back to scoopable.
Frequently Asked Questions
Is heat-treating the flour really necessary?
Yes. Raw flour can carry bacteria. The 300°F for 5–7 minutes treatment significantly reduces that risk while preserving the flour’s function in the dough.
Can I skip chilling?
You can eat the dough immediately after mixing, but chilling for 30 minutes improves texture and makes scooping cleaner. If you’re serving guests, the chill helps the dough hold its shape.
How should I serve this?
Spoon it into small bowls, offer graham crackers or sliced fruit for dipping, or roll into balls and serve on a platter. It’s also excellent folded into cold vanilla ice cream for a quick mix-in.
Is this safe for kids?
When the flour is heat-treated as directed and you follow clean-handling practices, this version is suitable for children. Avoid if anyone has a dairy allergy unless you’ve made appropriate dairy-free substitutions.
The Takeaway
This Edible Chocolate Chip Cookie Dough is simple, dependable, and designed to be enjoyed safely. The key steps are heat-treating the flour, creaming correctly, adding flour in portions, and a short chill. Follow the method exactly for best texture and flavor. Keep it refrigerated and portion as needed — it’s the kind of recipe you can confidently pull out when you want comfort without fuss.
Edible Chocolate Chip Cookie Dough
Ingredients
Ingredients
- 1 3/4 cupsall-purpose flour
- 1 cupsalted sweet cream butter softened
- 3/4 cuplight brown sugar packed
- 1/2 cupgranulated sugar
- 1 1/2 teaspoonsvanilla extract
- 2 tablespoonsheavy cream
- 1/4 teaspoonsalt
- 1 1/2 cupsmini semi-sweet chocolate chips
Instructions
Instructions
- Preheat the oven to 300°F. Line a baking sheet with parchment paper and evenly spread the 1¾ cups all-purpose flour in a thin, even layer on the parchment.
- Bake the flour for 5 to 7 minutes, stirring once halfway through to ensure even heat. Watch closely so the flour does not burn.
- Remove the flour from the oven and let it cool completely on the baking sheet before using.
- In a stand mixer fitted with the paddle attachment or in a large bowl with a handheld mixer, combine the 1 cup softened salted sweet cream butter, ¾ cup packed light brown sugar, ½ cup granulated sugar, and 1½ teaspoons vanilla extract. Beat on medium-high until the mixture is light and fluffy, scraping down the bowl as needed.
- Reduce the mixer speed to low and add 2 tablespoons heavy cream. Mix on low until the cream is fully incorporated.
- With the mixer on low, add the cooled, heat-treated flour and ¼ teaspoon salt in portions: add three ½-cup portions and then the remaining ¼ cup, mixing after each addition until just combined. Scrape the bowl and mix briefly if needed so no dry streaks remain, but avoid overmixing.
- Transfer the dough to a bowl (if not already) and fold in the 1½ cups mini semi-sweet chocolate chips with a large spoon until evenly distributed.
- Cover the dough and chill in the refrigerator for 30 minutes before serving.
Equipment
- Oven
- Baking Sheet
- Parchment Paper
- Stand mixer
- paddle attachment
- Handheld mixer
- Large Bowl
- Mixing spoon
- Refrigerator
Notes
If you wanted to heat treat additional flour for another recipe, you can do it all at once and store the extra in an airtight container until you are ready to use it.
Make sure your butter is at room temperature and not cold or melted to ensure it blends well and gives the dough the right consistency.


