

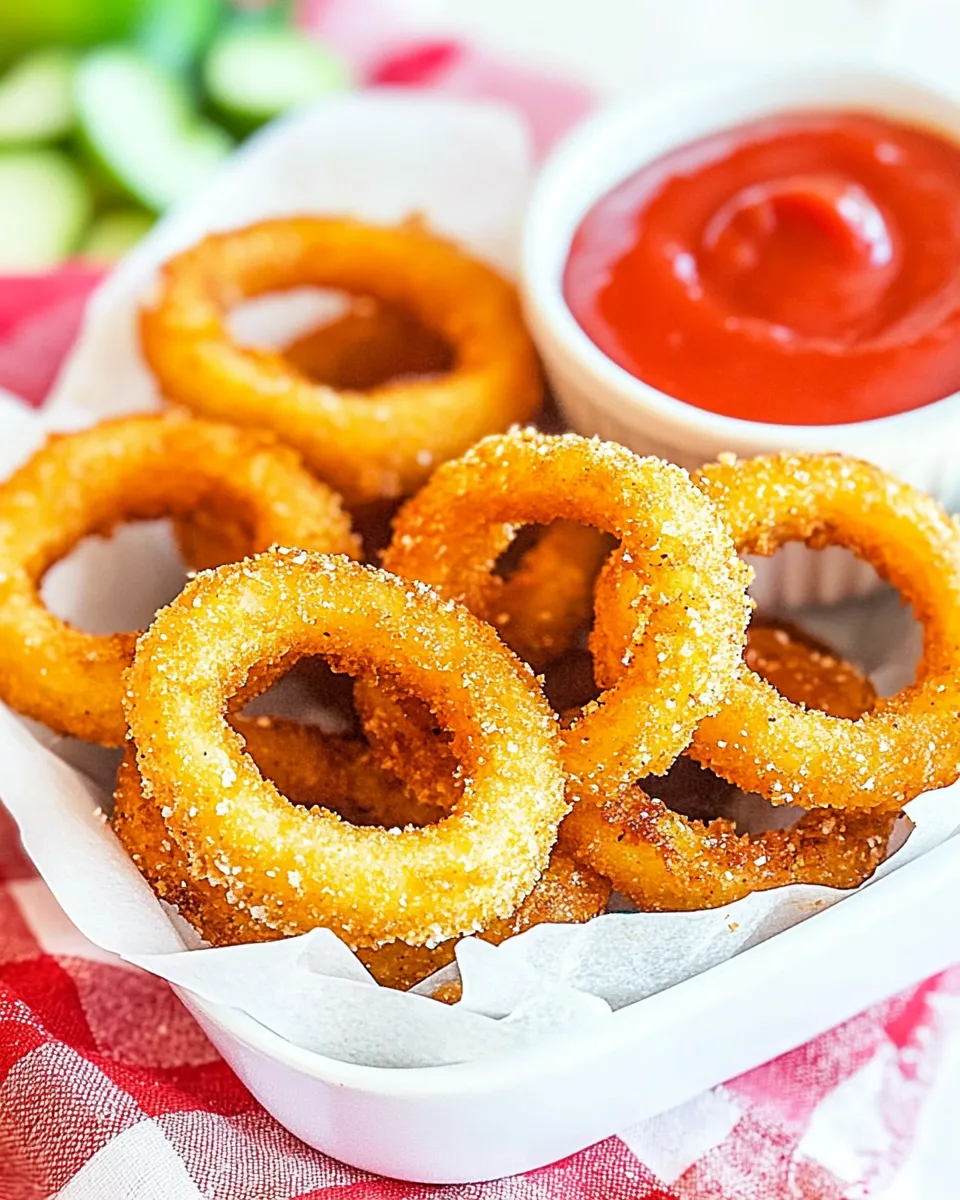
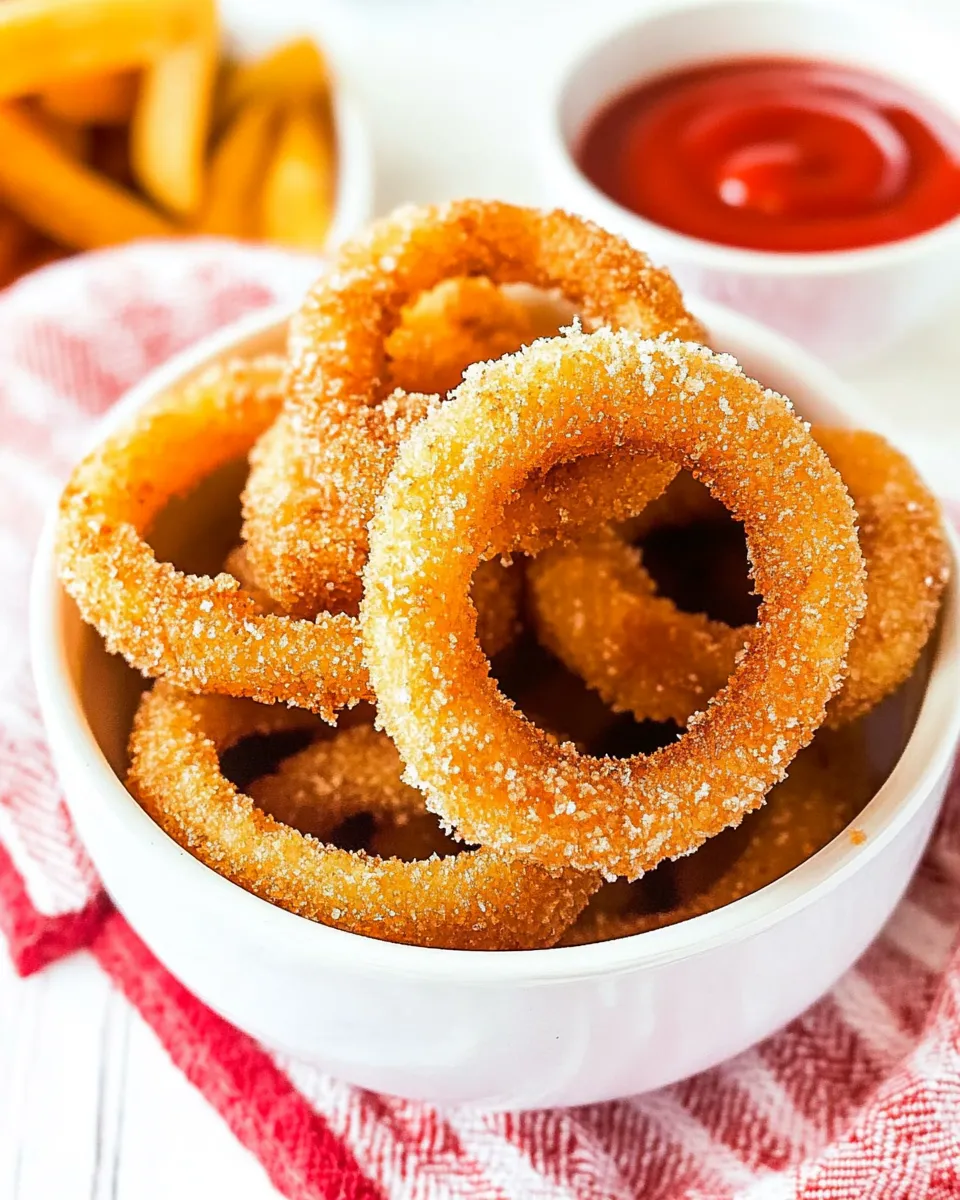
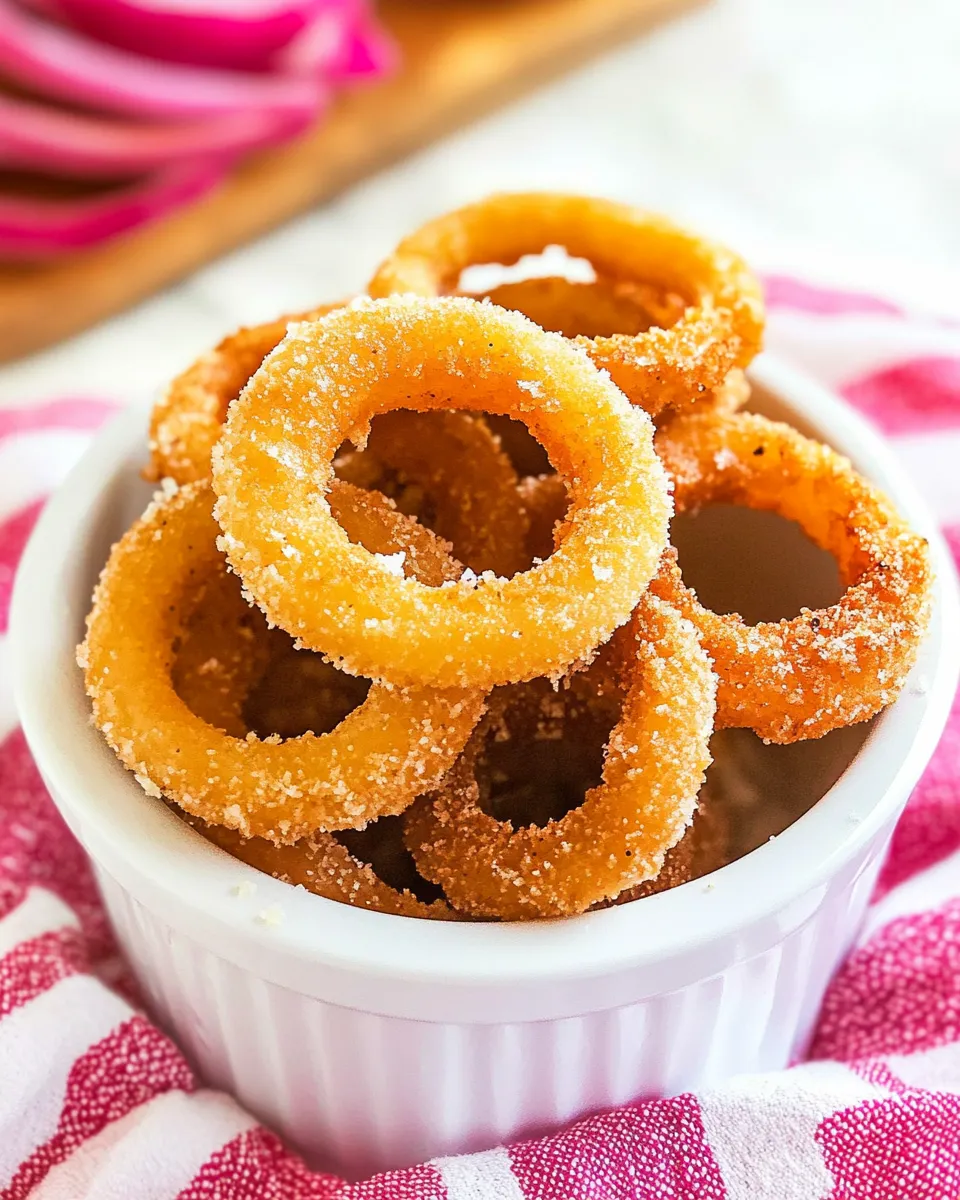
There are nights when you want something crunchy, salty, and no-fuss. Frozen onion rings in the air fryer deliver exactly that. They crisp up fast, they don’t require a deep fryer, and they taste like you went to a little extra trouble—even when you didn’t.
I cook these for myself, for friends, and for busy weeknight guests. The method is predictable and forgiving: short initial cook at a moderate temperature, a quick flip, then a blast at high heat until they’re golden. The result is a reliably crunchy exterior and a hot, sweet onion inside.
This post breaks the whole thing down so you can get dependable results every time. I’ll cover the exact steps (no guessing), why those steps work, common missteps and fixes, a couple of substitutions, and storage notes so you can plan ahead.
Ingredient Breakdown
Ingredients
- 10 frozen onion rings — use a brand of your choice; these are the only ingredient required and should stay frozen until you load the basket.
Frozen Onion Rings In The Air Fryer Made Stepwise
- Preheat the air fryer to 350°F for 3 minutes.
- Place the 10 frozen onion rings in the air fryer basket. Arrange them in a single layer if possible; you may stack them but do not fill the basket higher than halfway.
- Cook at 350°F for 5 minutes.
- Carefully turn each onion ring with tongs or a spatula so the other side is facing out.
- Increase the air fryer temperature to 400°F and cook an additional 6–8 minutes, checking at 6 minutes and removing when the rings are golden and crisp.
- Remove the onion rings from the basket and let them rest about 1 minute before serving.
Why This Recipe Works
The two-stage cooking is the key to a great frozen-onion-ring result. The initial 350°F phase brings the frozen interior up in temperature without burning the breading. It thaws and warms the onion, reducing the risk of an undercooked center.
After the flip, the 400°F phase is short and intense. That high heat drives rapid browning of the coating—Maillard reaction—so you get that crisp, golden crust. Checking at 6 minutes prevents overshooting; different brands and basket types brown at slightly different rates.
Keeping the basket no more than half full maintains steady circulating air. Air fryers crisp by moving hot air around the food; overcrowding traps steam and produces limp breading. The one-minute rest lets steam escape and the coating set so the rings stay crisp a bit longer after plating.
Quick Replacement Ideas
- Frozen curly fries or straight fries — cook with the same two-stage approach but watch times (they may need a slightly longer finish).
- Frozen mozzarella sticks — use the flip-and-finish method; check earlier since cheese can burst out if overcooked.
- Frozen veggie nuggets or breaded mushrooms — these will crisp up similarly; keep an eye at the high-heat phase and remove when golden.
Equipment Breakdown
Air fryer: Any basket-style or drawer-style air fryer will work. Things that change results: basket size, how tightly the basket walls enclose the food, and how powerful the unit is. Higher-watt units often brown faster.
Tongs or a thin spatula: You’ll need something to turn the rings safely at the midway point. A pair of tongs with a gentle grip prevents breaking the coating.
Thermometer (optional): Not required for this recipe, but useful if you want to confirm internal temperatures for larger frozen items. For onion rings, appearance and time guide doneness.
Missteps & Fixes
Overcrowded basket — rings come out soggy
If you packed the basket and the coating is soft: remove some rings and give the rest a few more minutes at 400°F. For the soggy ones, put them back in later in a single layer and re-crisp at 400°F until golden.
Too dark, burnt spots
If parts char quickly during the 400°F phase, reduce the final time and check at the earlier end of the 6–8 minute window. Rotating positions in the basket can help—some air fryers have hot spots. A shorter, repeated finish (check-remove-check) avoids one-step over-browning.
Undercooked center
If the breading looks done but the onion is still cool: the initial 350°F stage is meant to gently warm the interior. Next time, confirm you preheated for the full 3 minutes and don’t overload the basket. You can add an extra minute or two at 350°F before you flip, but do so cautiously to avoid over-browning later.
Holiday-Friendly Variations
Onion rings are a great side or snack at gatherings because they cook in batches and hold up on a warm platter. For holidays, plan on staggering batches so guests get hot rings straight from the fryer. Use warming trays set to low heat or a short resting rack to keep them crisp for a brief service window.
If you’re serving with a platter of appetizers, make small rounds of dipping sauces in bowls (barbecue, ketchup, spicy mayo). Keep portions simple so you don’t slow down the cooking schedule. Because each batch takes about 11–13 minutes total including the flip (plus load/unload time), you can estimate how many air fryer batches you’ll need and time them across the event.
Little Things that Matter
Let the air fryer preheat. That 3-minute step at 350°F is not optional if you want consistent results. It ensures the airflow starts at the right temperature and reduces the risk of long cold spots in the middle of the batch.
Use tongs that give you control but won’t crush the rings. A gentle, confident flip preserves the shape and coating. Turn each ring so the side that was down gets equal exposure to air and heat.
Check early in the finish phase. Brands vary in breading thickness and composition. When the rings look golden and you hear a light crisp when you tap one with a utensil, they’re ready. Remember: once they pass that point, color can change quickly.
Meal Prep & Storage Notes
You can store leftover cooked onion rings in the fridge for up to 2 days. Reheat in the air fryer at 350–375°F for 3–5 minutes until warmed through and crisp. Don’t microwave leftovers; they’ll get soggy.
If you’re prepping for a party, keep the frozen onion rings in their packaging or on a tray in the freezer until you’re ready to load a batch. Cook in consecutive rounds and serve each batch hot. If you need to hold cooked rings for a short time, place them on an oven-safe wire rack in a low oven (around 200°F) for 10–15 minutes—this helps avoid steaming the bottoms and keeps them crisper.
Quick Questions
- Can I cook more than 10 at once? You can, but keep the basket no more than half full. Stacking more than that reduces crisping and increases cooking time.
- Do I need to thaw them first? No. These are designed to cook from frozen and the recipe steps assume they stay frozen until they hit the basket.
- What if my air fryer doesn’t have a precise temperature dial? Use the closest settings available. If the unit runs hot, shorten the final 400°F phase and check earlier.
- Can I use convection oven instead? Yes, but you’ll need to adjust times: a 400°F convection bake for a few minutes less, and watch for browning. Air fryers circulate air more efficiently, so times will not be identical.
Final Bite
Frozen onion rings in the air fryer are the easiest path to quick crunch. Follow the two-stage method: a gentle warm-up, a careful flip, then a high-heat finish. Keep the basket from being overcrowded, check early, and you’ll get crisp, golden rings every time.
They’re perfect for a simple snack, a game-night platter, or a side that doesn’t demand extra prep. Load the basket, follow the six clear steps, and enjoy the satisfying crunch—and the tiny victory of a fast, consistent result.
Frozen Onion Rings In The Air Fryer
Ingredients
Ingredients
- 10 frozen onion ringsuse a brand of your choice
Instructions
Instructions
- Preheat the air fryer to 350°F for 3 minutes.
- Place the 10 frozen onion rings in the air fryer basket. Arrange them in a single layer if possible; you may stack them but do not fill the basket higher than halfway.
- Cook at 350°F for 5 minutes.
- Carefully turn each onion ring with tongs or a spatula so the other side is facing out.
- Increase the air fryer temperature to 400°F and cook an additional 6–8 minutes, checking at 6 minutes and removing when the rings are golden and crisp.
- Remove the onion rings from the basket and let them rest about 1 minute before serving.
Equipment
- ▢Air Fryer
Notes
Nutrition information based on Alexia Frozen Onion Rings.
Cook time may very slightly based on the type of and how many onion rings you use.


