
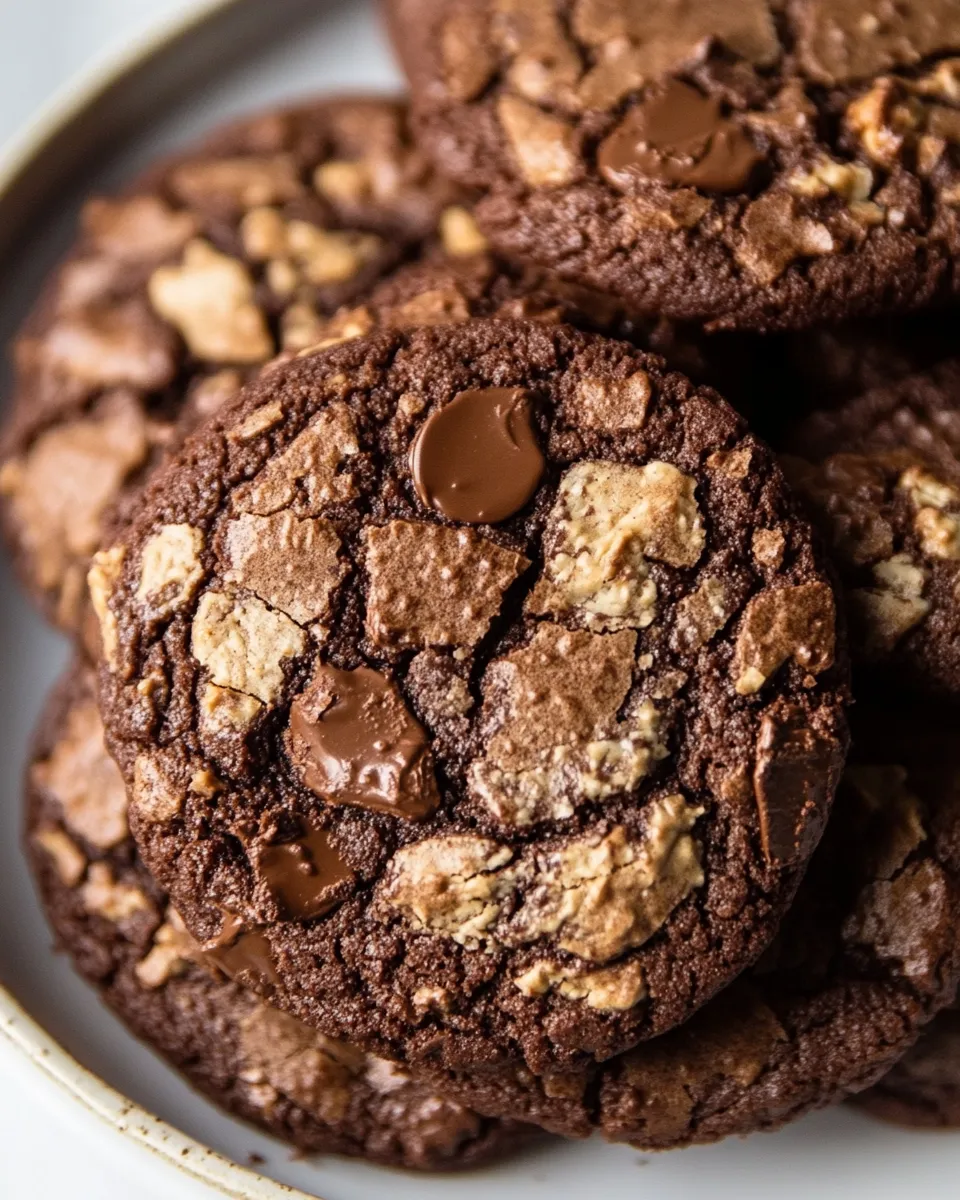
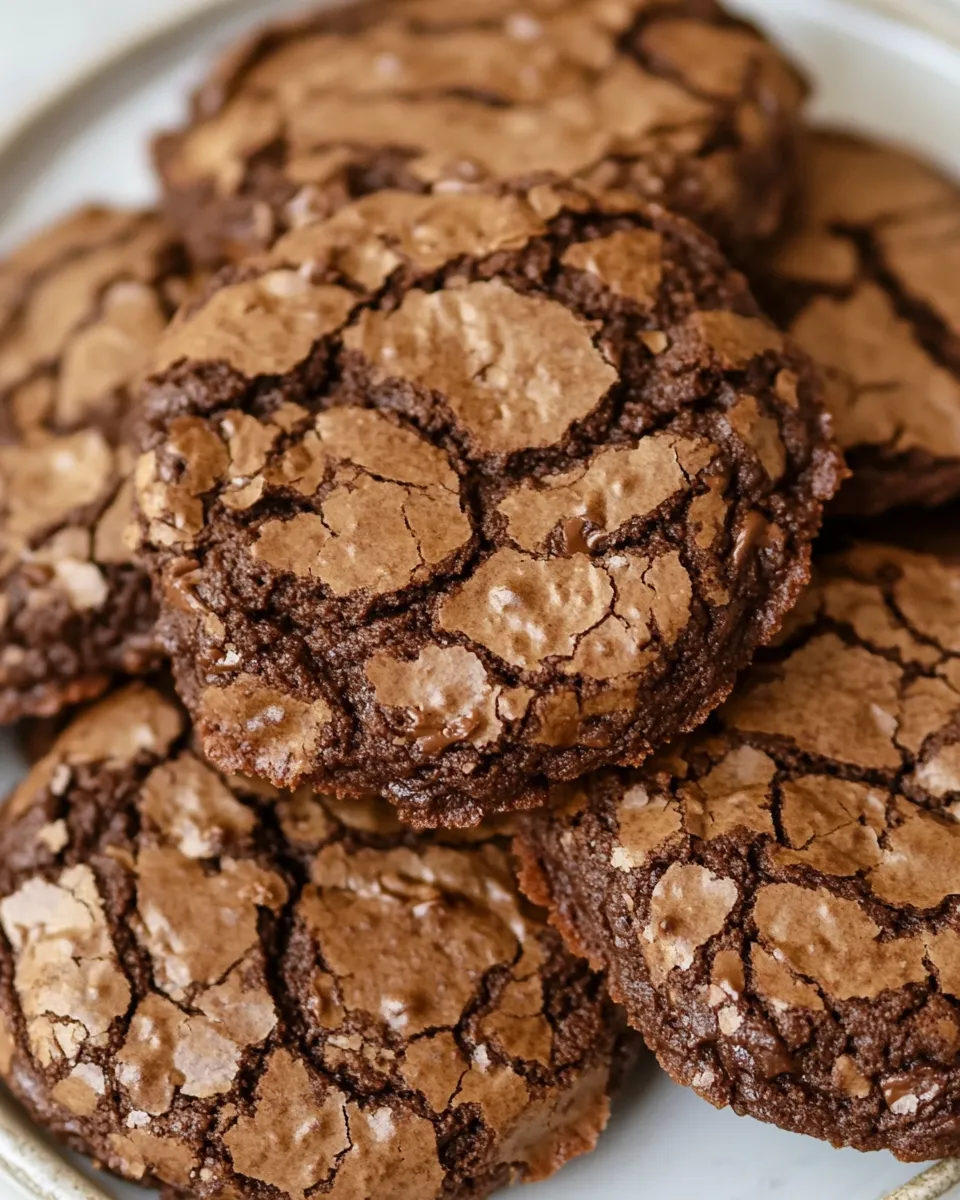
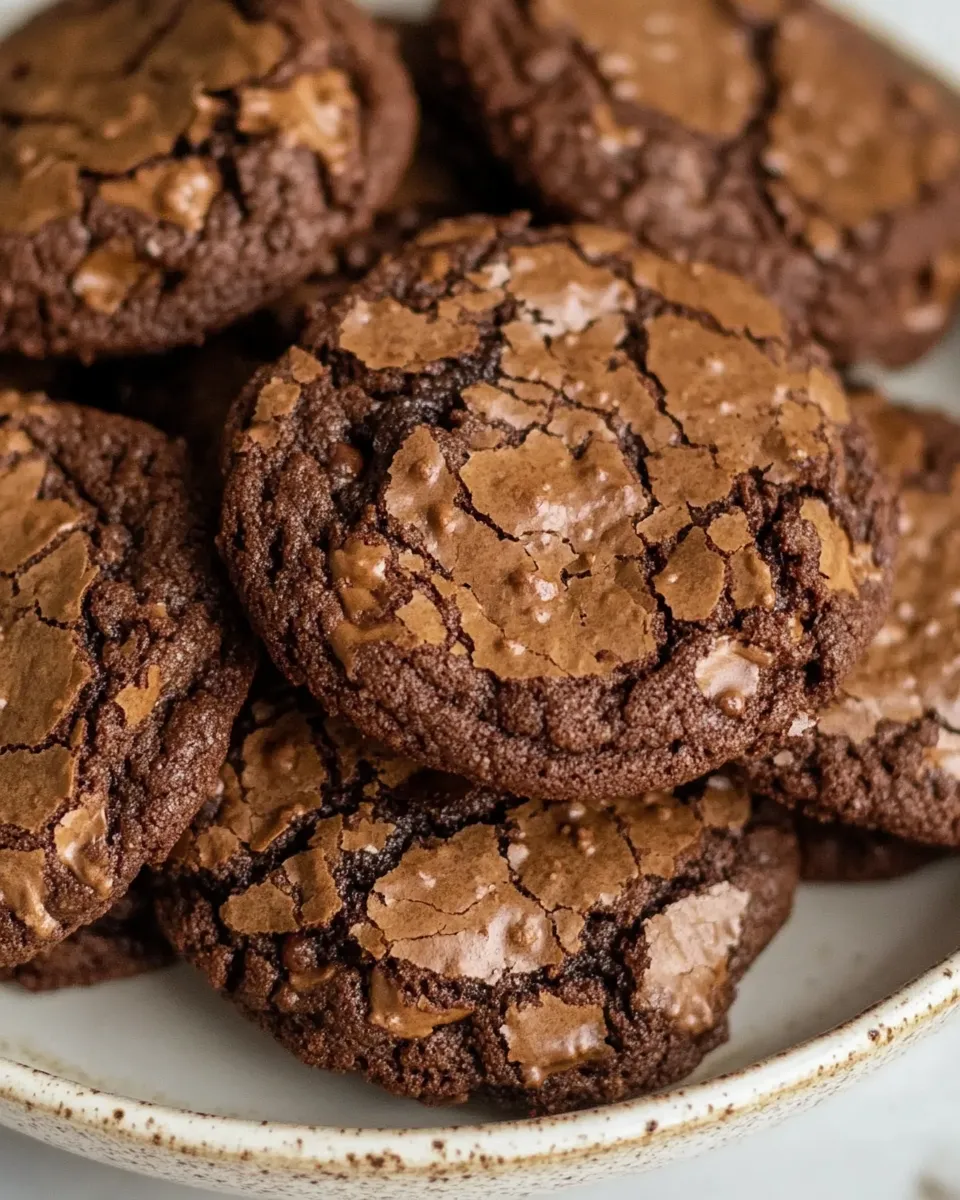
I bring you a cookie that behaves like a brownie: fudgy centers, shiny crackled tops, and a deep chocolate bite. These Gluten-Free Fudge Brownie Cookies are straightforward to make and forgiving in the best way. They don’t require chilling, and they come together with pantry-friendly ingredients and a little patience at the whisk.
I like these for weeknight baking because the steps are short and focused. You whisk the eggs long enough to get that light, ribbon-like texture, melt a bit of chocolate with butter, fold in the dry ingredients, scooped onto parchment, and bake. Nine minutes in the oven gives you fudgy centers that hold together; a minute or two more moves them toward cakier but still very satisfying.
Below I give you the exact ingredient list and the step-by-step method I use every time, plus shopping notes, troubleshooting, and storage guidance so you can make and share these with confidence.
What to Buy
Stick to the essentials for a reliable result: a good gluten-free all-purpose flour blend (or regular all-purpose if you’re not avoiding gluten), unsweetened cocoa powder, quality chocolate chips, and fresh eggs. You’ll also want unclarified unsalted butter and plain granulated sugar. For the chocolate, semi-sweet chips or chunks both work; chunks give more molten pockets.
Buy the freshest eggs you can find and a cocoa powder labeled for baking. If you buy a gluten-free flour blend, choose one that lists xanthan gum or another binder if you want the best texture without adding extras. Finally, get parchment paper and a small cookie scoop if you don’t already have them—these make the bake cleaner and more even.
Mastering Gluten-Free Fudge Brownie Cookies: How-To
- Preheat oven to 350°F (177°C). Position an oven rack in the center of the oven. Line two large baking sheets with parchment paper.
- In a medium bowl, whisk together 1 cup (120 g) gluten-free or regular all-purpose flour, 3 Tbsp (66 g) cocoa powder, 1/8 tsp baking soda, and 1/2 tsp sea salt until evenly combined. Set aside.
- In the bowl of a stand mixer fitted with the whisk attachment (or in a large bowl with a handheld electric mixer), combine 2 large eggs, 3/4 cup (150 g) granulated sugar, and 1 tsp vanilla extract.
- Whisk the egg mixture on high speed for 5 minutes, until thick, pale, and slightly ribbon-like. This aeration helps create the crackly top and light texture.
- While the eggs are whisking, place 5 Tbsp (71 g) unsalted butter and 1/2 cup (85 g) semi-sweet chocolate chips in a microwave-safe bowl. Microwave in 20-second increments, stirring between each, until melted and smooth (about 60–80 seconds total). Alternatively, melt over a double boiler. Let the chocolate-butter mixture cool briefly so it’s warm but not hot.
- With the mixer on low speed, add the melted chocolate-butter mixture to the whipped egg mixture and mix just until combined. If using a handheld mixer, mix briefly on low to incorporate.
- Add the dry flour-cocoa mixture to the wet ingredients and fold in by hand with a rubber spatula until just combined and there are no visible streaks of flour. The dough will be wet and resemble brownie batter.
- Use a small cookie scoop or a spoon to drop mounds of dough onto the prepared baking sheets, leaving at least a couple of inches between each mound to allow for spreading. Note: no chill time is required and chilling is not recommended.
- Bake on the center rack(s) of the preheated oven for 9–10 minutes. (About 9 minutes yields fudgier centers.)
- Remove the baking sheets from the oven and let the cookies cool on the sheets for 10 minutes.
- Transfer cookies to a wire rack to finish cooling.
- Store cooled cookies in an airtight container or a zip-top bag: up to 3 days at room temperature, up to 5 days in the refrigerator, or up to 3 months in the freezer.
Ingredients
- 1 cup (120 g) gluten-free all-purpose flour or regular all-purpose flour — provides structure; use the specified cup weight if you weigh ingredients for consistency.
- 3 Tbsp (66 g) cocoa powder — supplies deep chocolate flavor; sift if lumpy for an even batter.
- ½ tsp sea salt — balances sweetness and enhances chocolate notes.
- ⅛ tsp baking soda — a small lift for texture without making the cookie cakey.
- 2 large eggs — essential for the airy, ribbon-like batter and the crackly top.
- ¾ cup (150 g) granulated sugar — sweetens and helps create the glossy crust when whipped into the eggs.
- 1 tsp pure vanilla extract — rounds and brightens the chocolate.
- 5 Tbsp (71 g) unsalted butter — melted with chocolate to give richness and a fudgy mouthfeel.
- ½ cup (85 g) semi-sweet chocolate chips or chocolate chunks — melted into the batter for body; chunks yield varied pockets of soft chocolate.
What Makes This Recipe Special
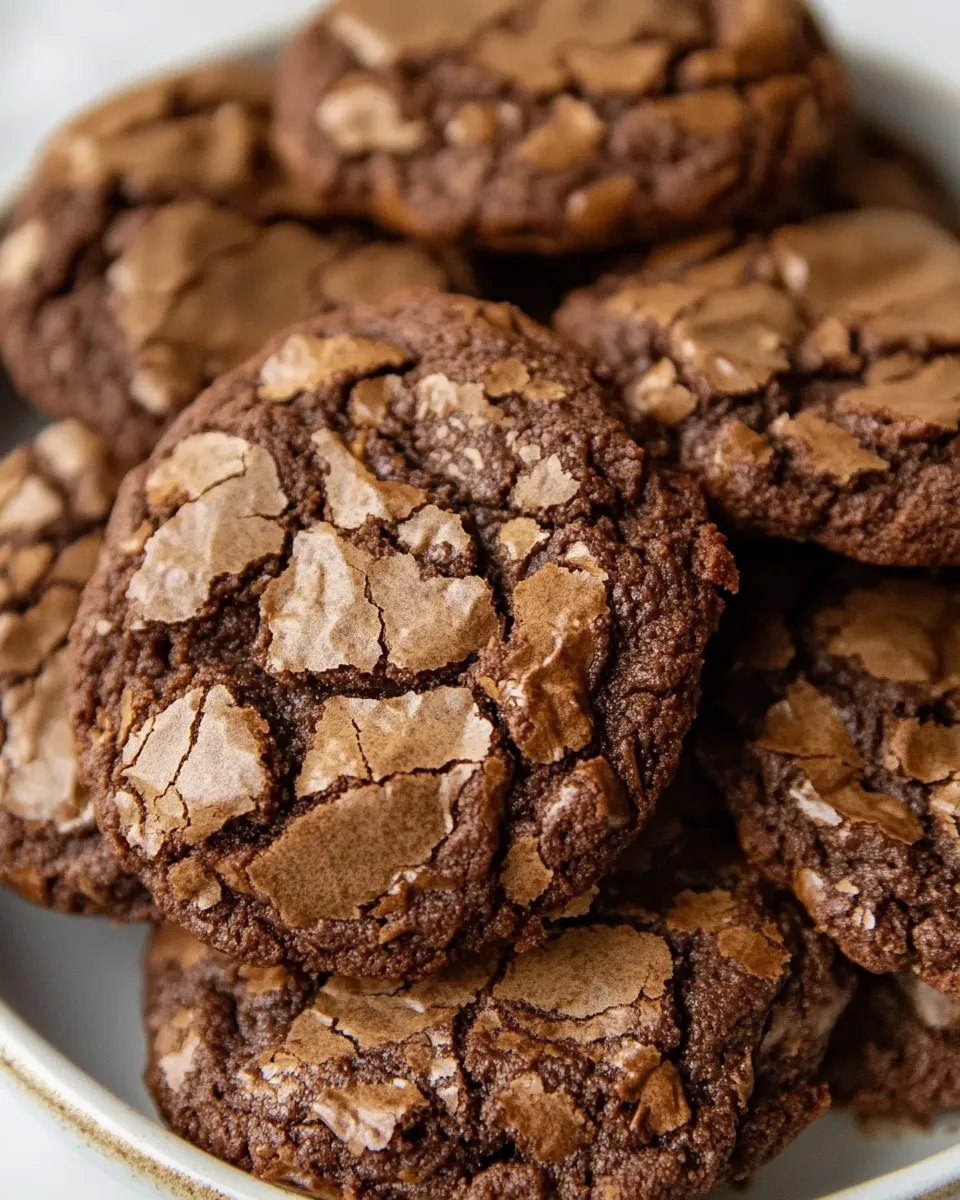
There are three simple reasons these cookies deliver every time: the egg whisking step, the melted chocolate-butter combination, and the lack of chill time. Whisking the eggs and sugar for the full five minutes traps air and creates the shiny crackled top that makes these cookies look like a mini brownie. The melted chocolate and butter fold in smoothly to make the dough lush and fudgy rather than dry or crumbly.
Also, the method is intentionally brief. You don’t beat butter and sugar by hand or cream for long; you whisk eggs and fold in the remaining components. That keeps the crumb tight and moist. The recipe is flexible enough to work with a gluten-free all-purpose flour without sacrificing the dense, brownie-like texture.
Allergy-Friendly Substitutes
If you have dietary restrictions, here are sensible swaps that keep the idea of the cookie intact. I won’t give new quantities here—follow the main recipe amounts and test carefully if you change components.
- Eggs: use a commercial egg replacer designed for baking or another binder suited to your diet. Be aware that eggs contribute to the texture and crackle, so results may vary.
- Butter: swap for a dairy-free baking stick or margarine formulated for baking. Choose a product with a similar fat content to butter for best texture.
- Chocolate: use dairy-free or vegan chocolate chips if avoiding milk; choose semi-sweet or dark to maintain balance with cocoa.
- Flour: the recipe works with a gluten-free all-purpose blend. If your blend lacks a binder (like xanthan gum), choose one that includes it for stability.
Tools of the Trade
These are the items I use every time. None of them are exotic, but a few make the process smoother.
- Stand mixer with whisk attachment or a handheld electric mixer — for whisking the eggs and sugar to the right volume.
- Medium mixing bowl and rubber spatula — for the dry ingredients and folding.
- Small cookie scoop or spoon — for uniform mounds and even baking.
- Baking sheets and parchment paper — prevents sticking and spreads heat evenly.
- Microwave-safe bowl or double boiler — for gently melting butter with chocolate.
- Wire cooling rack — for finishing the cooling stage without soggy bottoms.
Slip-Ups to Skip
These are the mistakes I see most often, and how to avoid them:
- Under-whisking the eggs — the top won’t crackle and cookies will be denser. Set a timer for the full five minutes on high speed.
- Adding piping-hot chocolate to the whipped eggs — the heat can deflate the aerated eggs. Let the chocolate-butter mix cool until warm, not hot.
- Over-baking — nine minutes gives you fudgy centers. If your oven runs hot, check at 8½ minutes.
- Chilling the dough — the recipe calls out that no chill time is required and chilling is not recommended; chilling can change the spreading behavior and final texture.
- Overcrowding the pan — give each mound a couple of inches to spread; otherwise cookies will bake into each other and won’t develop edges.
In-Season Swaps
These cookies are a great base for seasonal tweaks. I recommend making the plain dough first so you get a feel for the texture, then try additions in small batches.
- Winter: fold in a few warmed spices alongside the dry ingredients—think a whisper of cinnamon or a bit of orange zest to lift the chocolate.
- Spring: a scattering of chopped strawberries or raspberry jam swirls (added sparingly) complements chocolate without overpowering it.
- Summer: fold in chopped fresh cherries or serve cookies with a scoop of vanilla ice cream for a warm-and-cool contrast.
- Fall: chopped toasted nuts or a pinch of espresso powder deepens the chocolate flavor beautifully.
Pro Perspective
From a baker’s standpoint, this recipe is about balance. The aeration from whisking and the fat from melted butter and chocolate work together: too much aeration and the cookies become cakey; too much mixing after adding flour and you’ll develop more structure than desired. Fold gently and stop when streaks disappear.
Oven temperature is another variable. I recommend verifying your oven temperature with an oven thermometer. A calibrated oven will give you consistent 9–10 minute bakes. If you want a uniform top and minimal spread, use a small cookie scoop and space the mounds carefully.
Make Ahead Like a Pro
These cookies are straightforward to make ahead because the recipe explicitly favors no chill. Here are practical options:
- Bake and store: Once completely cooled, store cookies in an airtight container at room temperature for up to 3 days.
- Refrigerate: For a slightly firmer texture and extended life, store in the refrigerator up to 5 days.
- Freeze: Lay cooled cookies in a single layer on a tray to flash-freeze, then transfer to a zip-top bag or airtight container. Freeze up to 3 months. Thaw at room temperature before serving.
Helpful Q&A
Q: Can I use regular all-purpose flour instead of gluten-free?
A: Yes. The recipe lists either gluten-free or regular all-purpose flour. Results will be similar in texture though the flavor and mouthfeel depend on your flour choice.
Q: Why whisk the eggs for five minutes?
A: Whisking incorporates air and thickens the eggs and sugar into a ribbon-like mixture. That aeration creates the shiny crackled top and a lighter interior.
Q: My cookies came out cakey. What went wrong?
A: Likely over-whisking after adding flour or overbaking. Fold the flour mixture just until combined and monitor bake time closely; 9 minutes gives fudgier centers.
Q: Can I add mix-ins like nuts or chips?
A: Yes—add-ins work well but keep additions modest. Too many mix-ins alter spread and texture. If you add large items, reduce the number of pieces per cookie so they still bake evenly.
Q: How should I reheat a frozen cookie?
A: Thaw at room temperature. For a just-baked feel, warm gently in a 300°F (150°C) oven for a few minutes or microwave briefly, watching so it doesn’t overheat.
In Closing
These Gluten-Free Fudge Brownie Cookies are one of those recipes that reliably please a crowd and fit easily into a weeknight baking plan. They reward a careful whisk, a gentle fold, and precise bake time. Make them as written first, then experiment—seasonal add-ins and chocolate variations are welcome, but the core technique is what delivers that brownie-worthy chew and crackle.
Bake once, take notes, and enjoy. Share them warm if you can.

Gluten-Free Fudge Brownie Cookies
Ingredients
Ingredients
- 1 cup 120 ggluten-free all-purpose flouror regular all-purpose flour
- 3 Tbsp 66 gcocoa powder
- 1/2 tspsea salt**
- 1/8 tspbaking soda
- 2 largeeggs
- 3/4 cup 150 ggranulated sugar
- 1 tsppure vanilla extract
- 5 Tbsp 71 gunsalted butter
- 1/2 cup 85 gsemi-sweet chocolate chips or chocolate chunks*
Instructions
Instructions
- Preheat oven to 350°F (177°C). Position an oven rack in the center of the oven. Line two large baking sheets with parchment paper.
- In a medium bowl, whisk together 1 cup (120 g) gluten-free or regular all-purpose flour, 3 Tbsp (66 g) cocoa powder, 1/8 tsp baking soda, and 1/2 tsp sea salt until evenly combined. Set aside.
- In the bowl of a stand mixer fitted with the whisk attachment (or in a large bowl with a handheld electric mixer), combine 2 large eggs, 3/4 cup (150 g) granulated sugar, and 1 tsp vanilla extract.
- Whisk the egg mixture on high speed for 5 minutes, until thick, pale, and slightly ribbon-like. This aeration helps create the crackly top and light texture.
- While the eggs are whisking, place 5 Tbsp (71 g) unsalted butter and 1/2 cup (85 g) semi-sweet chocolate chips in a microwave-safe bowl. Microwave in 20-second increments, stirring between each, until melted and smooth (about 60–80 seconds total). Alternatively, melt over a double boiler. Let the chocolate-butter mixture cool briefly so it’s warm but not hot.
- With the mixer on low speed, add the melted chocolate-butter mixture to the whipped egg mixture and mix just until combined. If using a handheld mixer, mix briefly on low to incorporate.
- Add the dry flour-cocoa mixture to the wet ingredients and fold in by hand with a rubber spatula until just combined and there are no visible streaks of flour. The dough will be wet and resemble brownie batter.
- Use a small cookie scoop or a spoon to drop mounds of dough onto the prepared baking sheets, leaving at least a couple of inches between each mound to allow for spreading. Note: no chill time is required and chilling is not recommended.
- Bake on the center rack(s) of the preheated oven for 9–10 minutes. (About 9 minutes yields fudgier centers.)
- Remove the baking sheets from the oven and let the cookies cool on the sheets for 10 minutes.
- Transfer cookies to a wire rack to finish cooling.
- Store cooled cookies in an airtight container or a zip-top bag: up to 3 days at room temperature, up to 5 days in the refrigerator, or up to 3 months in the freezer.
Equipment
- stand mixerwith whisk attachment
- Large Baking Sheet
- Parchment Paper
- Small Cookie Scoopor regular spoon
Notes
*You can use chopped chocolate bars or any kind of semi-sweet chocolate you like.
**If using regular table salt, use ¼ tsp instead of ½ tsp sea salt.


