
I make grilled cheese like it’s a small, reliable act of comfort—easy to do, satisfying every single time. This version leans on thick Texas toast, a three-cheese trio, and a little trick with mayo that gives the interior a gentle tang while helping the exterior get perfectly bronzed. I keep it straightforward and repeatable: a few minutes of prep, a short cook time, and a reliably gooey center.
There’s no need for fuss. A bit of softened butter, a dusting of garlic powder, and careful layering are the small, practical moves that turn ordinary bread and cheese into something worth stopping for. Whether you have five minutes and an air fryer or a skillet and more patience, this method gives you control over texture and flavor.
Below you’ll find the ingredient checklist, step-by-step directions exactly as written for the method I use, and then notes, troubleshooting, and variations to help you adapt the sandwich to your life. Read through once, then dive in—this is a recipe you can make tonight, even on a busy weeknight.
Ingredient Checklist
- 2 slices Texas Toast Bread — or other thick-sliced bread; see note 1 for options.
- 1 tablespoon unsalted butter — room-temperature; makes the exterior crisp without oversalting (see note 2).
- 2 teaspoons mayo — spreads easily and helps the interior brown and stay moist.
- 1 slice sharp Cheddar cheese — provides sharp flavor and melt.
- 1 slice gouda cheese — adds creaminess and a mild, smoky note.
- 1 slice Muenster cheese — brings a smooth melt and mild tang.
- 1/8 teaspoon garlic powder — a little aromatic lift on the buttered side of the bread.
- 1/8 teaspoon salt — lightly seasons the mayo layers for balance.
Grilled Cheese Sandwich: How It’s Done
- Set the 1 tablespoon unsalted butter out to soften at room temperature for at least 1 hour (or see note 2 for a quick method).
- Place the 2 slices of Texas Toast on a work surface. Brush one side of each slice with 1/2 tablespoon of the softened butter. Evenly sprinkle the 1/8 teaspoon garlic powder over the buttered sides.
- Flip both slices so the buttered sides are down. Spread the 2 teaspoons mayonnaise, using 1 teaspoon on each unbuttered side. Evenly sprinkle the 1/8 teaspoon salt over the mayo-spread sides.
- On one slice (mayo side up), layer the 1 slice sharp Cheddar, 1 slice gouda, and 1 slice Muenster. Top with the other slice so the buttered sides are on the outside. If desired, secure the sandwich with toothpicks.
- Place the sandwich in the air fryer basket with space around it (best to cook one at a time). Air fry at 360°F for 4–6 minutes, flip the sandwich, then air fry another 3–4 minutes, or until the bread is golden brown and the cheese is melted. Adjust times for your air fryer model.
- (For skillet instructions, see note 3.) Remove the sandwich from the air fryer, cut in half, and serve immediately.
Why This Recipe Works
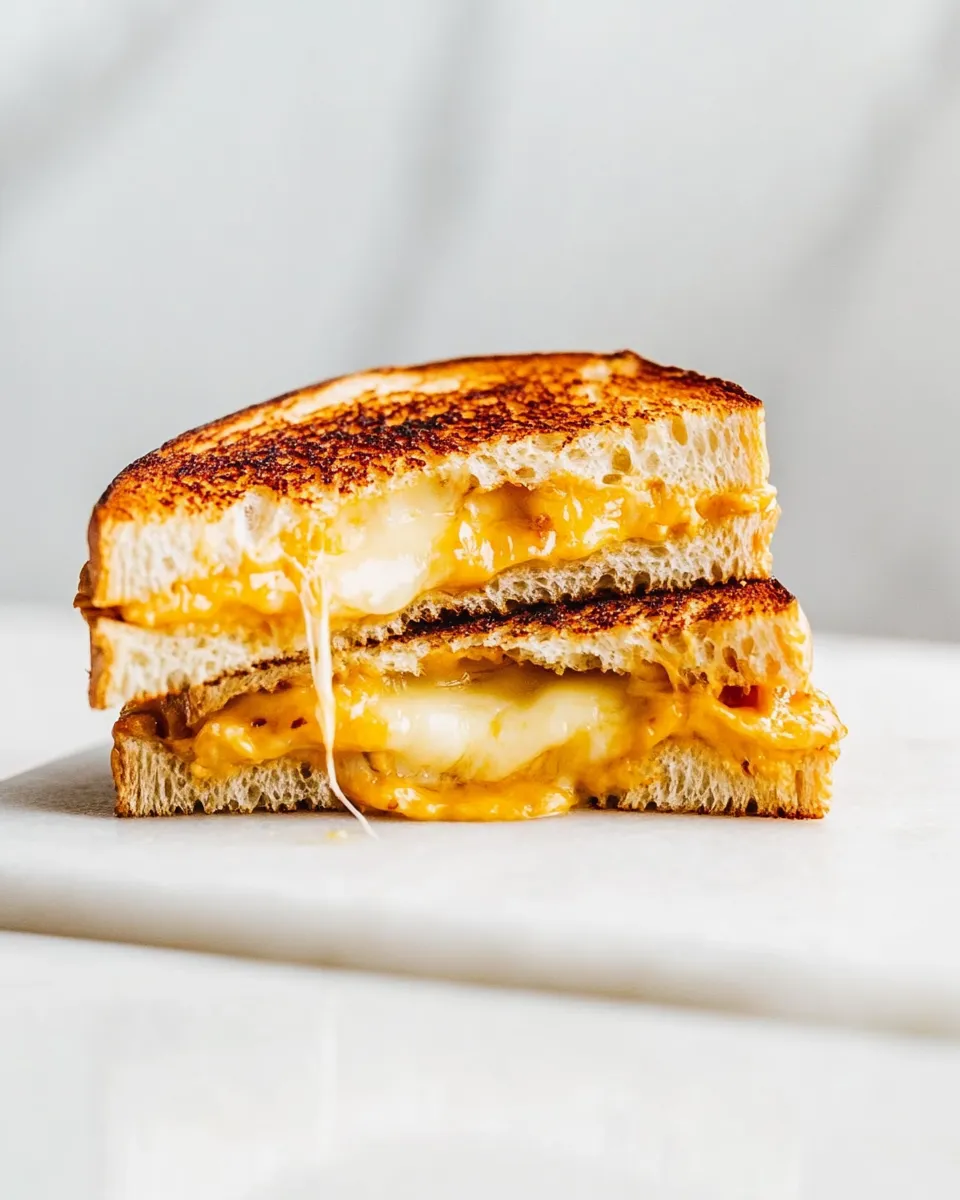
This sandwich is reliable because each element plays a clear role. Thick-sliced Texas toast stands up to high heat and long contact with a hot surface without collapsing; it crisps on the outside while keeping structure for a gooey interior. Three different cheeses — sharp Cheddar for flavor, gouda for creaminess, and Muenster for meltability — balance one another so you get both intense taste and a stringy, luscious texture.
Two small, practical fat tricks matter here. Softened unsalted butter on the outside browns the bread without making the sandwich overly salty; garlic powder on the butter adds a subtle savory lift. A thin smear of mayonnaise on the interior sides does two things: it seasons the inside (with the added salt) and introduces a little emulsion that helps the cheese melt evenly and keeps the crumb from getting soggy.
The air fryer approach is about controlled, even heat. It crisps both faces and melts the cheese quickly without the risk of burning the bread before the center has softened. Flip once to ensure both sides brown evenly; the listed times are a reliable starting point, but air-fryer models vary, so watch your first one closely.
Allergy-Friendly Substitutes
If you need to adapt this for common allergies, stick to substitutions that preserve the method rather than the exact ingredients. For dairy sensitivity, swap the butter and cheeses for plant-based counterparts designed for melting; choose a spreadable plant-based butter and melt-friendly vegan cheeses. For egg or soy allergies related to some mayonnaise brands, use a mayonnaise alternative made from oil and water or a simple avocado spread; just keep the spread thin so it browns and seasons like the original.
For gluten concerns, use a thick-sliced gluten-free bread that has a sturdy crumb. The important part is the bread’s thickness and structure — it should be able to hold the cheese without compressing. If you avoid garlic, omit the garlic powder and consider a small pinch of smoked paprika on the buttered sides for a different aromatic lift.
Gear Checklist

- Air fryer — recommended for the timing and crispness; adjust times per your model.
- Basting brush — for patch-free spreading of softened butter.
- Small knife or offset spatula — for spreading mayonnaise evenly.
- Work surface / cutting board — for assembly and slicing.
- Toothpicks — optional, to secure the sandwich during cooking.
- Sharp knife — for a clean cut that doesn’t drag melted cheese.
Errors to Dodge
Use room-temperature butter. Cold butter will tear the bread and won’t spread evenly; melted butter will soak through and lead to greasy bread. Soften the tablespoon of butter for at least an hour, or use a quick softening technique if you’re short on time (see note 2).
Don’t skip the mayo step. Two teaspoons total is just enough to flavor and protect the crumb; omitting it changes both texture and browning. Also avoid stacking the cheese too high. The sandwich is built for three single slices — piling on extra slices will increase the melting time and may burn the exterior before the center is molten.
Avoid overcrowding the air fryer basket. This method works best for one sandwich at a time so air circulates and both sides crisp evenly. If you must cook multiple sandwiches, do them in batches.
Warm & Cool Weather Spins
In warmer months, serve the sandwich with something light and acidic on the side to cut the richness: a simple mixed-green salad with lemon vinaigrette or a chilled tomato-cucumber salad. The brightness balances the melted cheese and the buttery crust.
In colder weather, turn this into a heartier bowl-meal companion. Pair the sandwich with a steaming bowl of tomato soup or a chunky roasted vegetable bisque. The sandwich’s crisp crust stands up nicely to dunking, and the trio of cheeses deepens the cozy factor.
Little Things that Matter
Even butter distribution is worth a moment of attention. Brush both slices the same way so one side doesn’t brown faster and force you to overcook. Lightly dust the garlic powder rather than dumping it; 1/8 teaspoon is a whisper of flavor, not a headline.
When layering cheeses, place the slice that melts fastest closest to the bread crumb, and the sharper slice nearer the top so flavor releases as the sandwich heats. If you’re using toothpicks, remove them before serving for safety (unless you leave them in briefly to help with cutting).
Let the sandwich sit for 30–60 seconds after cooking. The cheese is molten and can flow; a brief rest improves sliceability and prevents immediate oozing when you cut through.
Save for Later: Storage Tips
Leftover sandwich? Store it in an airtight container in the refrigerator for up to 24 hours. Reheating in an oven at 350°F or in the air fryer for a few minutes restores crispness much better than a microwave, which tends to make the bread chewy and soggy. If you need to freeze, wrap the cooled sandwich tightly in plastic wrap and then foil; freeze up to 1 month. Reheat from frozen in a preheated oven or air fryer and allow a few extra minutes for the center to warm through.
Quick Q&A
Q: Can I use regular sliced bread instead of Texas toast? A: Yes, but choose a thicker, heartier slice. Standard thin sandwich bread will compress and can become soggy faster; adjust cook time to avoid burning.
Q: What if my cheese isn’t fully melted after the recommended time? A: Give it another minute or two in the air fryer, and make sure the sandwich has space for air circulation. If browning is happening too fast, reduce the temperature slightly.
Q: Is the mayo step essential? A: It’s not mandatory, but it helps with browning and interior texture. If you don’t want to use mayo, a thin smear of softened butter on the interior side (in addition to the outside) will help, though the flavor profile will shift.
Make It Tonight
Decide on your bread and pull the butter out to warm while you gather the rest. Assemble the sandwich following the steps above and set a timer for the air fryer. In under 15 minutes you’ll have a crisp, melty classic that’s easy to love. It’s a small, practical pleasure: unpretentious, quick, and consistently rewarding.
Enjoy it plain, pair it with soup, or pack it for a warm lunch the next day. With these small techniques—softened butter, a light mayo layer, and a three-cheese stack—you’ll hit that perfect balance of crunch outside and gooey inside every time.

Grilled Cheese Sandwich Recipe
Ingredients
Ingredients
- 2 slicesTexas Toast Breador other thick-sliced bread see note 1
- 1 tablespoonunsalted butterroom-temperature see note 2
- 2 teaspoonsmayo
- 1 slicesharp Cheddar cheese
- 1 slicegouda cheese
- 1 sliceMuenster cheese
- 1/8 teaspoongarlic powder
- 1/8 teaspoonsalt
Instructions
Instructions
- Set the 1 tablespoon unsalted butter out to soften at room temperature for at least 1 hour (or see note 2 for a quick method).
- Place the 2 slices of Texas Toast on a work surface. Brush one side of each slice with 1/2 tablespoon of the softened butter. Evenly sprinkle the 1/8 teaspoon garlic powder over the buttered sides.
- Flip both slices so the buttered sides are down. Spread the 2 teaspoons mayonnaise, using 1 teaspoon on each unbuttered side. Evenly sprinkle the 1/8 teaspoon salt over the mayo-spread sides.
- On one slice (mayo side up), layer the 1 slice sharp Cheddar, 1 slice gouda, and 1 slice Muenster. Top with the other slice so the buttered sides are on the outside. If desired, secure the sandwich with toothpicks.
- Place the sandwich in the air fryer basket with space around it (best to cook one at a time). Air fry at 360°F for 4–6 minutes, flip the sandwich, then air fry another 3–4 minutes, or until the bread is golden brown and the cheese is melted. Adjust times for your air fryer model.
- (For skillet instructions, see note 3.) Remove the sandwich from the air fryer, cut in half, and serve immediately.
Equipment
- Air fryeror skillet
Notes
Note 1:
Use thick-sliced bread like Texas Toast for the best grilled cheese. Bread should be about 1-inch thick. Adjust cooking times if using different bread thickness. If using different bread, secure the sandwich with 2 toothpicks in the corners to prevent shifting during cooking.
Note 2:
Soften butter quickly: Place butter on a plate. Heat 1 cup of water in a microwave for 2 minutes, then pour out and dry the cup. Invert the hot cup over the butter for 5–10 minutes.
Note 3:
Cooking In Skillet: Spread butter on all 4 sides of the bread. Sprinkle garlic powder on the outside and salt on the inside. Heat a skillet over medium-low (or set a griddle to 275°F). Place bread butter-side down and cook 1 minute. Flip, then add 3 cheese slices to one toasted side. Top with the other slice, toasted side down on the cheese. Cook 2–4 minutes, flip, cover lightly, and cook 2–4 minutes more until golden and crisp with melted cheese. Lower heat if bread browns too quickly.
Storage
: Grilled cheese is best enjoyed fresh for the crispiest bread and gooey cheese. If you have leftovers, store them in an airtight container in the fridge for up to 3 days and reheat in a skillet for the best texture.


