
I make a lot of pies, and the crust is rarely the part people thank you for—until they taste it. This recipe is deliberately simple: four ingredients, clear technique, and forgiving timing. It produces a flaky, buttery shell that holds fruit, custard, or savory filling without collapsing into a dull, soggy base.
There’s nothing mystical here. Keep everything cold, cut the butter into pea-sized pieces, add only enough ice water to bind, and don’t overwork the dough. Those small decisions control texture more than any fancy ingredient or gadget. If you follow the steps, you’ll have a crust that browns evenly, flakes cleanly, and lets whatever filling you’re proud of shine.
Below I walk you through what goes in the bowl, exactly how to handle the dough, the why behind each step, and practical troubleshooting. Use this as a working guide on the counter—refer back to the numbered steps when you roll, chill, or blind-bake. Let’s get that pan ready.
What’s in the Bowl
Ingredients
- 1-¼ cups all-purpose flour — provides structure and the base for flakiness; measure by spooning into the cup and leveling for accuracy.
- ½ teaspoon kosher salt — seasons the crust and balances the butter’s richness.
- ½ cup cold butter, cubed — fat that creates flaky layers; keep it cold and cubed so it can be cut into pea-sized pieces.
- ¼ cup ice water — binds the dough; add gradually and stop as soon as the dough holds together.
Cook Homemade Buttery Pie Crust Like This
- Combine 1-¼ cups all-purpose flour and ½ teaspoon kosher salt in the bowl of a food processor or a large mixing bowl.
- Add ½ cup cold butter, cubed. If using a food processor, pulse 5–10 times until the butter pieces are about the size of peas. If working by hand, use a pastry blender, two knives, or your fingertips to cut the butter into the flour until pea-sized pieces remain.
- With the processor running on low or while stirring by hand, slowly drizzle in up to ¼ cup ice water (do not add ice cubes). Add the water gradually and stop as soon as the mixture holds together when pressed—it should resemble wet sand and may not form a smooth ball.
- Turn the mixture out onto a clean surface. Gather it gently and shape it into a flat disc without overworking the dough.
- Wrap the disc tightly in plastic wrap and refrigerate for at least 30 minutes.
- After chilling, lightly flour a work surface and roll the dough to about 1/8 inch thick, turning and lifting the dough occasionally to prevent sticking.
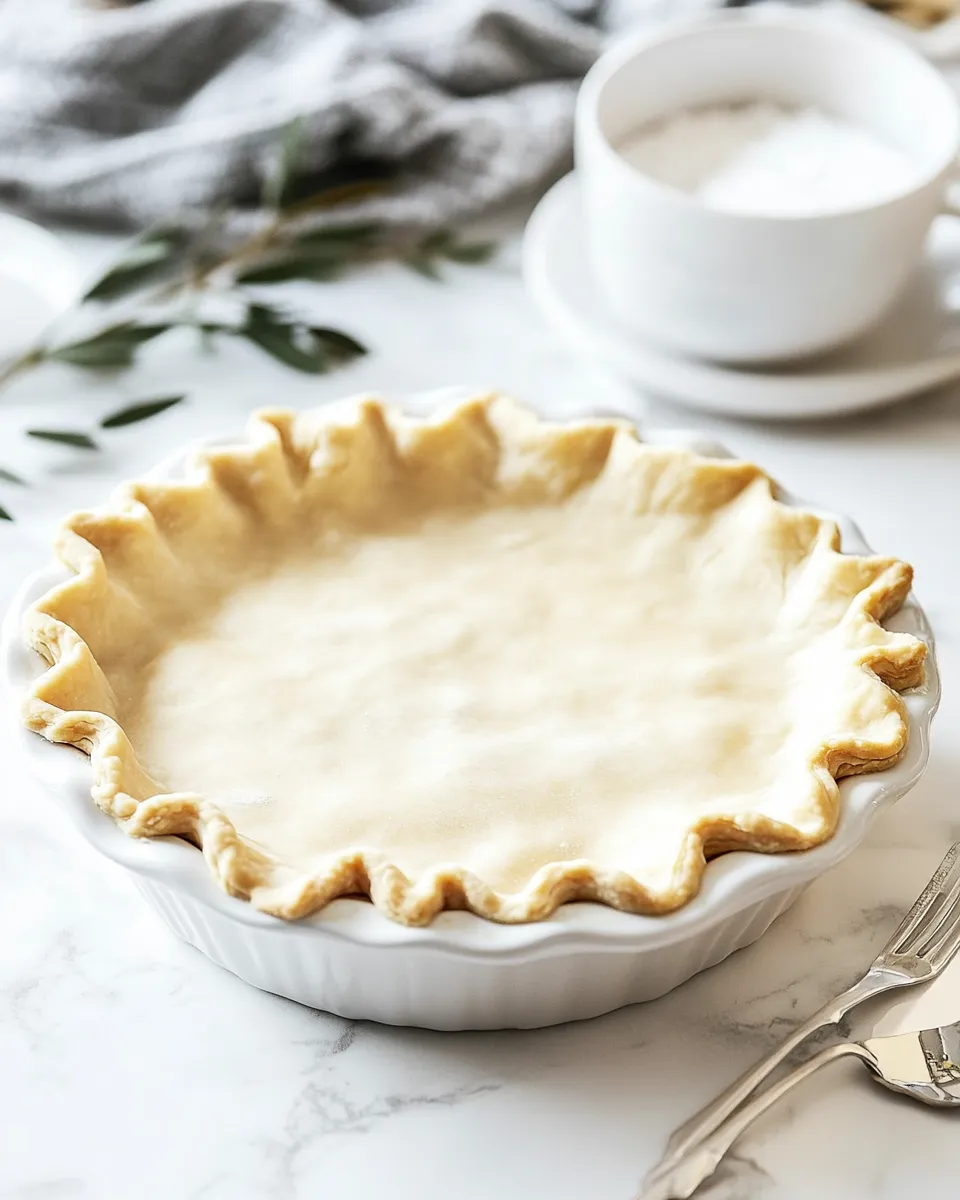
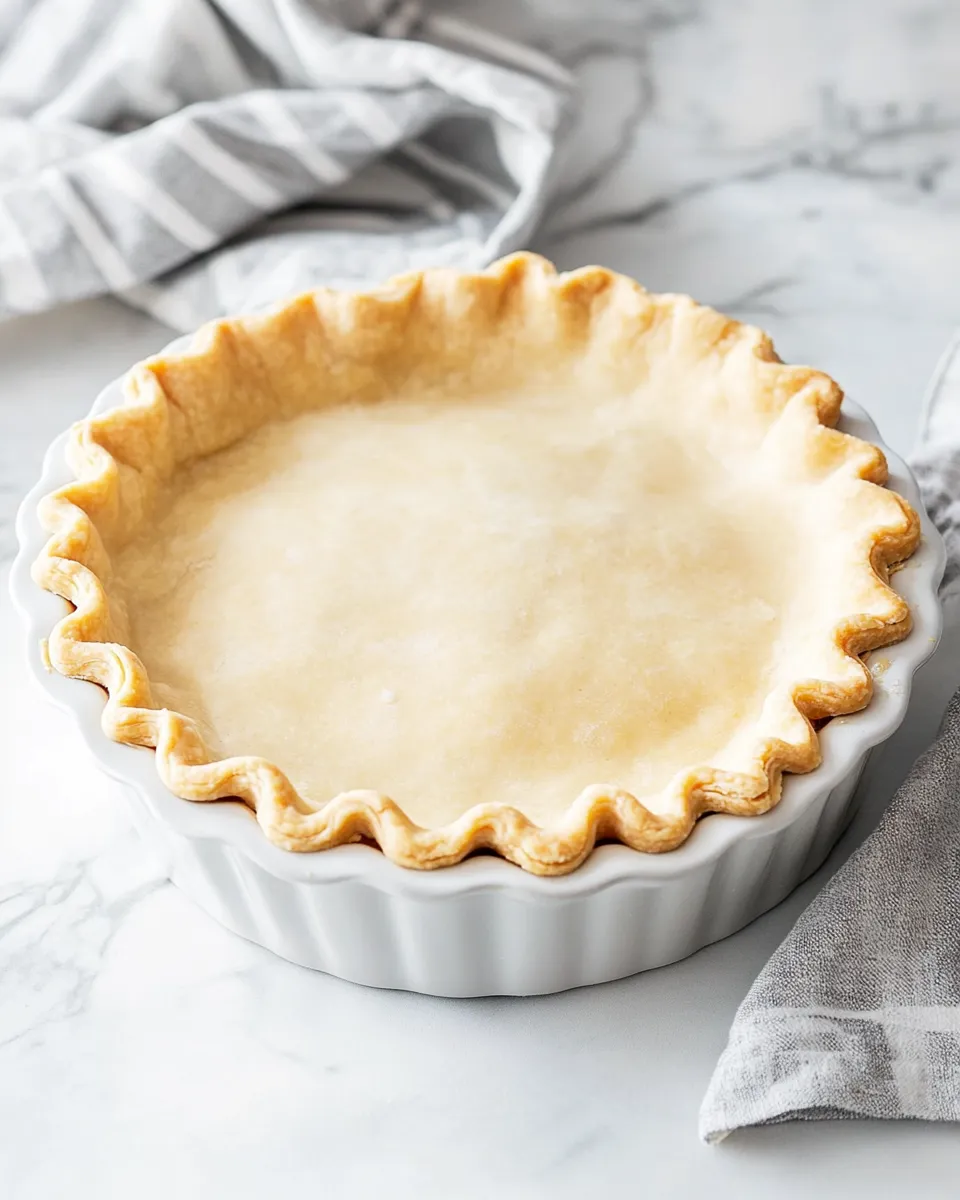
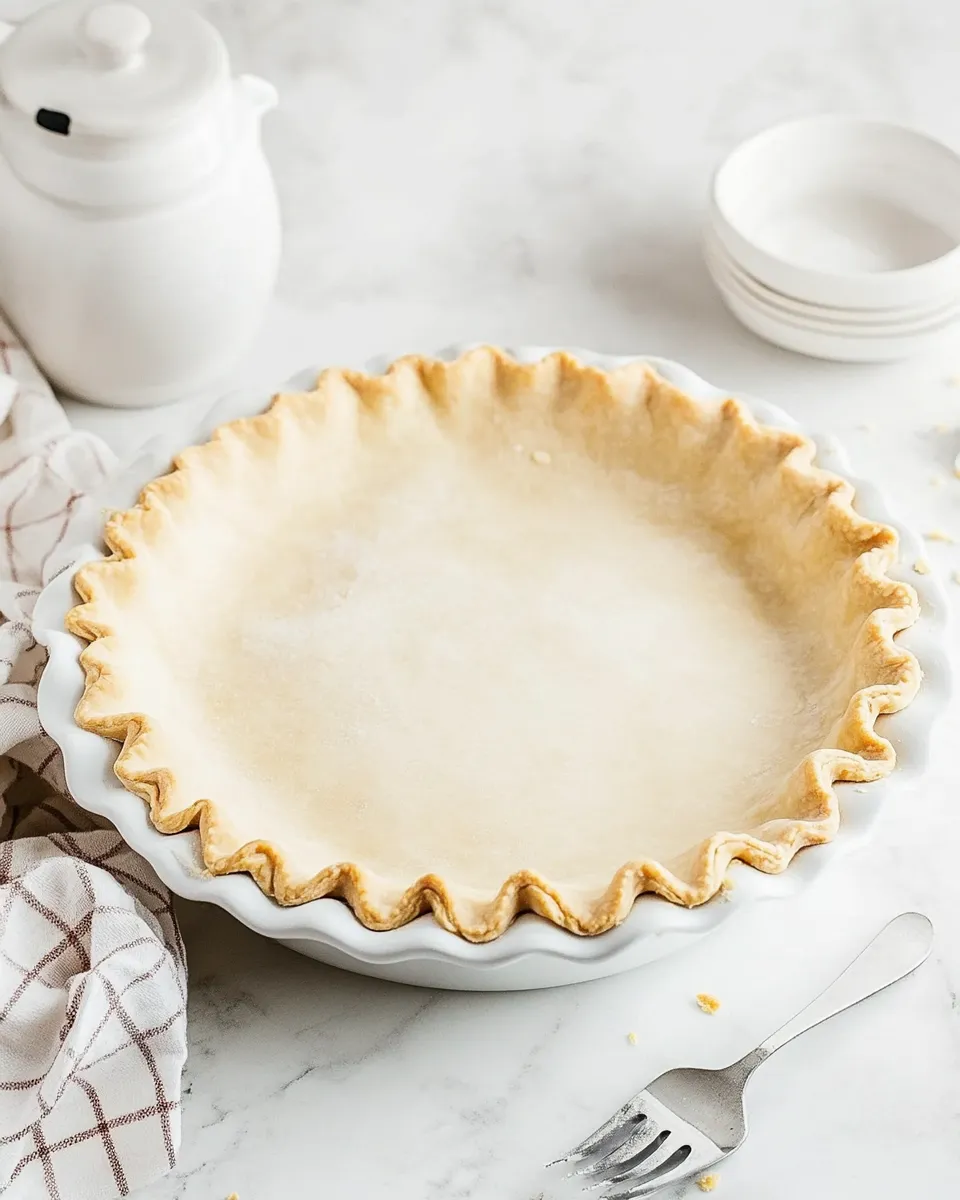
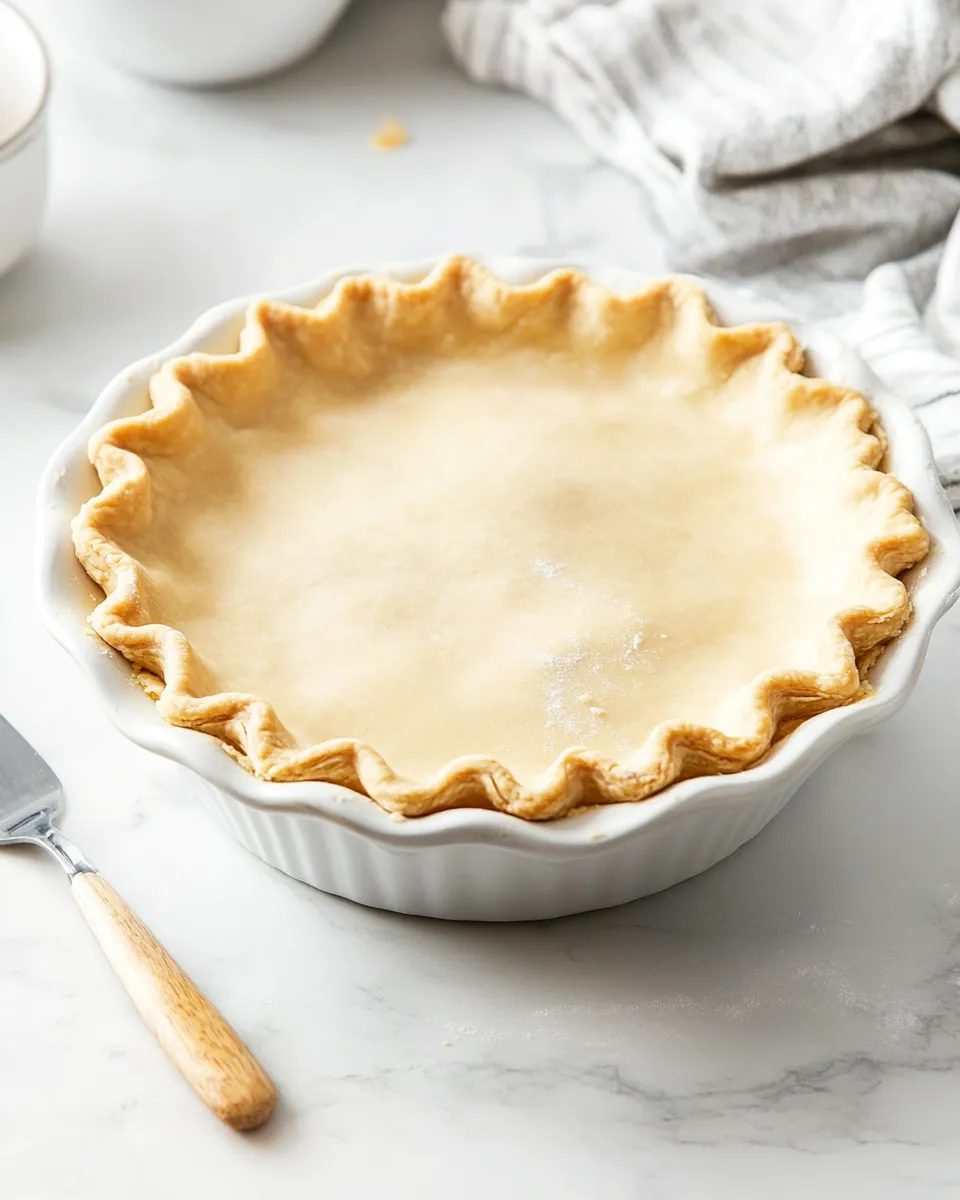
- Carefully transfer the rolled dough to an 8-inch pie pan, trim the excess, and crimp or seal the edges as desired. Prick the bottom of the crust a few times with a fork to dock it.
- For pies that will be filled and baked with the filling: add the filling and bake according to that recipe’s instructions.
- For blind baking (to pre-bake the crust before filling): line the crust with parchment paper and fill the paper with pie weights. Bake at 400°F for 30 minutes. Carefully remove the parchment and weights (they will be hot), then bake an additional 10–15 minutes, or until the crust is browned and crisp. Let the crust cool completely before adding the filling.
Why Homemade Buttery Pie Crust is Worth Your Time
Store-bought crusts are convenient, but they rarely deliver the same texture or flavor as a homemade one. This recipe uses cold butter cut into flour so the butter stays in distinct pieces. During baking, those butter pockets steam and create flaky layers. The result is a tender, complex crust that complements rather than competes with the filling.
It’s also forgiving. The method doesn’t require heroic skills—no laminating or perfect wrists—just attention to temperature and restraint when adding water. The hands-on process is quick; the longest part is resting the dough in the fridge, which actually improves the final texture. Once you master the feel—wet sand that holds when pressed—you’ll know it every time.
Ingredient Flex Options
- Salt: If you only have table salt, use a little less by volume because it’s finer than kosher salt. Taste and adjust fillings accordingly.
- Butter: Salted butter can be used; reduce additional salt if your butter is noticeably salty. Keep it very cold regardless of type.
- Flour: For a slightly heartier crust, you can experiment with part whole-wheat flour, but expect a denser texture. Start with no more than one-quarter swap by volume and keep other steps identical.
- Water: The recipe calls for up to ¼ cup ice water. Add it slowly—less is better than more. If you overshoot, chill and handle gently; the dough can still work if you keep it cold.
Must-Have Equipment
- Food processor (optional) — speeds up cutting butter into flour and produces consistent pea-sized pieces; handy but not essential.
- Pastry blender or two knives — necessary if you work by hand to cut cold butter into flour.
- Rolling pin — roll the dough evenly to about 1/8 inch thick.
- 8-inch pie pan — the recipe is shaped for this size; adjust rolling for larger pans carefully.
- Parchment paper and pie weights (or dried beans) — required for blind baking to keep the crust from bubbling and shrinking.
- Plastic wrap — to tightly wrap the disc for chilling.
Avoid These Traps
Cold is the crust’s friend. If your butter warms up while you work, the dough will become greasy and tough. Return it to the fridge for 10–15 minutes if it softens. Equally, don’t add all the water at once; it’s easy to overhydrate. The dough should hold together when pressed but not form a slick, wet ball.
Overworking is another common mistake. Rolling and folding repeatedly warms the butter and develops gluten, which makes a tough crust. Roll gently, lift and turn the dough often, and stop as soon as it reaches the target thickness. If the dough tears, patch with small bits instead of re-rolling excessively.
Nutrition-Minded Tweaks
Pie crust is a rich part of a dessert, so small adjustments can make a difference while keeping flavor intact. Use slightly less butter if you want fewer calories, but understand that this reduces flakiness. Substituting part of the butter with a neutral oil will change flavor and texture, so test a small batch first.
If you want more fiber, replace up to 25% of the all-purpose flour with whole-wheat flour and accept a firmer crumb. You can also blind-bake and use a thin layer of fruit or a custard-based filling to lower per-serving calories compared with heavy cream fillings.
Chef’s Notes
Pea-sized butter bits are the goal. They create pockets that steam and flake during baking. If you pulse too long in the food processor, you end up with a mealy texture similar to cookie dough instead of flaky layers. Likewise, if your kitchen is warm, pop the butter back into the fridge between steps.
When transferring the rolled dough to the pan, use the rolling pin as a sling: roll the dough loosely around the pin, move it over the pan, and unroll. This reduces tearing and stretching. Trim excess with a small knife and press the edge gently against the rim to seal.
Docking—pricking the bottom with a fork—helps steam escape and prevents large bubbles. For very delicate fillings, consider lining with parchment and weights for a short blind-bake before adding the filling to stop sogginess.
Refrigerate, Freeze, Reheat
Refrigerate: Wrapped tightly, the dough disc will keep in the fridge for at least 2 days. Keep it cold until you’re ready to roll.
Freeze: For longer storage, wrap the disc in two layers of plastic and freeze for up to 3 months. Thaw in the refrigerator overnight before rolling. You can also freeze a fully baked crust; wrap well and store for up to 2 months. Recrisp in a 350°F oven for 8–10 minutes before filling.
Reheat: If you’ve blind-baked and stored the crust, warm it in a 325–350°F oven for 5–10 minutes to refresh crispness before adding a warm filling.
Common Questions
Can I use salted butter? Yes. Reduce or eliminate the added kosher salt depending on how salty your butter tastes. I prefer cold salted butter when I want a slightly rounder, more savory edge.
What if the dough cracks when I roll it? Press the cracks together with your fingers or patch with small scraps of dough. A quick press hydrates and melds the edge. If cracking is severe, let the dough rest chilled for an extra 10–20 minutes to relax the gluten.
Do I need to dock the crust if I’m blind baking? Yes—dock lightly before adding parchment and weights. Docking and weights together prevent both large bubbles and uneven rising.
My crust shrinks during blind baking. How do I stop that? Chill the crust after fitting it into the pan for 15–30 minutes before baking; cold dough clings to the pan better. Also avoid stretching the dough when you fit it—stretched gluten will contract in the oven.
The Last Word
This Homemade Buttery Pie Crust is straightforward to make, and it rewards a little attention with crispness, rich flavor, and dependable performance. Keep your tools simple, keep everything cold, and stop when the dough just holds together. With that approach you’ll have a crust that lifts any filling—sweet or savory—into something memorable.
Make a double batch and freeze one disc for quick pies on busy nights. Once you’ve made this a couple of times, you’ll be doing it from muscle memory. That’s when you know it’s truly yours.

Homemade Buttery Pie Crust
Ingredients
Ingredients
- 1-1/4 cupsall-purpose flour
- 1/2 teaspoonkosher salt
- 1/2 cupcold butter cubed
- 1/4 cupice water
Instructions
Instructions
- Combine 1-¼ cups all-purpose flour and ½ teaspoon kosher salt in the bowl of a food processor or a large mixing bowl.
- Add ½ cup cold butter, cubed. If using a food processor, pulse 5–10 times until the butter pieces are about the size of peas. If working by hand, use a pastry blender, two knives, or your fingertips to cut the butter into the flour until pea-sized pieces remain.
- With the processor running on low or while stirring by hand, slowly drizzle in up to ¼ cup ice water (do not add ice cubes). Add the water gradually and stop as soon as the mixture holds together when pressed—it should resemble wet sand and may not form a smooth ball.
- Turn the mixture out onto a clean surface. Gather it gently and shape it into a flat disc without overworking the dough.
- Wrap the disc tightly in plastic wrap and refrigerate for at least 30 minutes.
- After chilling, lightly flour a work surface and roll the dough to about 1/8 inch thick, turning and lifting the dough occasionally to prevent sticking.
- Carefully transfer the rolled dough to an 8-inch pie pan, trim the excess, and crimp or seal the edges as desired. Prick the bottom of the crust a few times with a fork to dock it.
- For pies that will be filled and baked with the filling: add the filling and bake according to that recipe’s instructions.
- For blind baking (to pre-bake the crust before filling): line the crust with parchment paper and fill the paper with pie weights. Bake at 400°F for 30 minutes. Carefully remove the parchment and weights (they will be hot), then bake an additional 10–15 minutes, or until the crust is browned and crisp. Let the crust cool completely before adding the filling.
Equipment
- Food Processor
- Glass Pie Plate
- Morton Kosher Salt
- All Purpose Flour
- French Rolling Pin


