
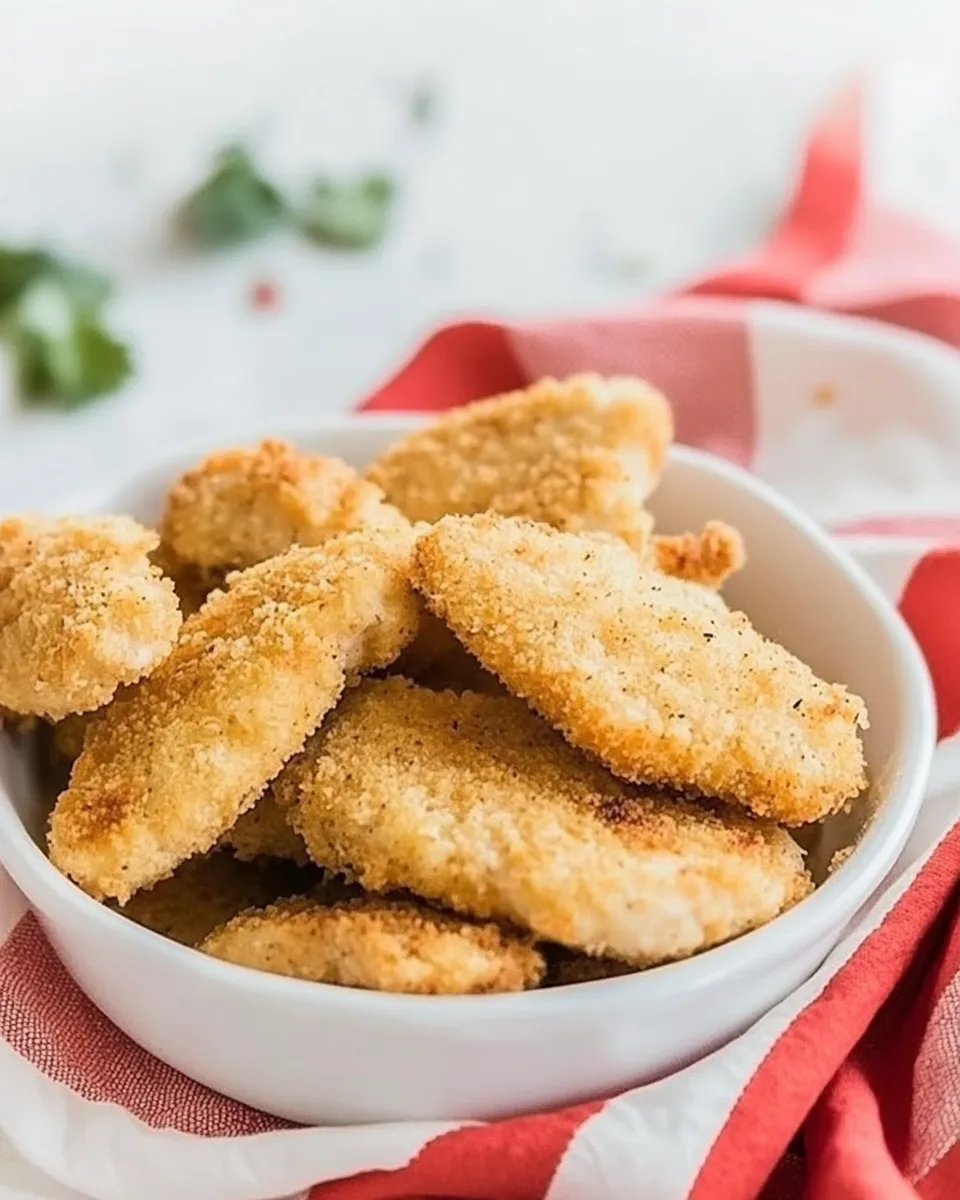
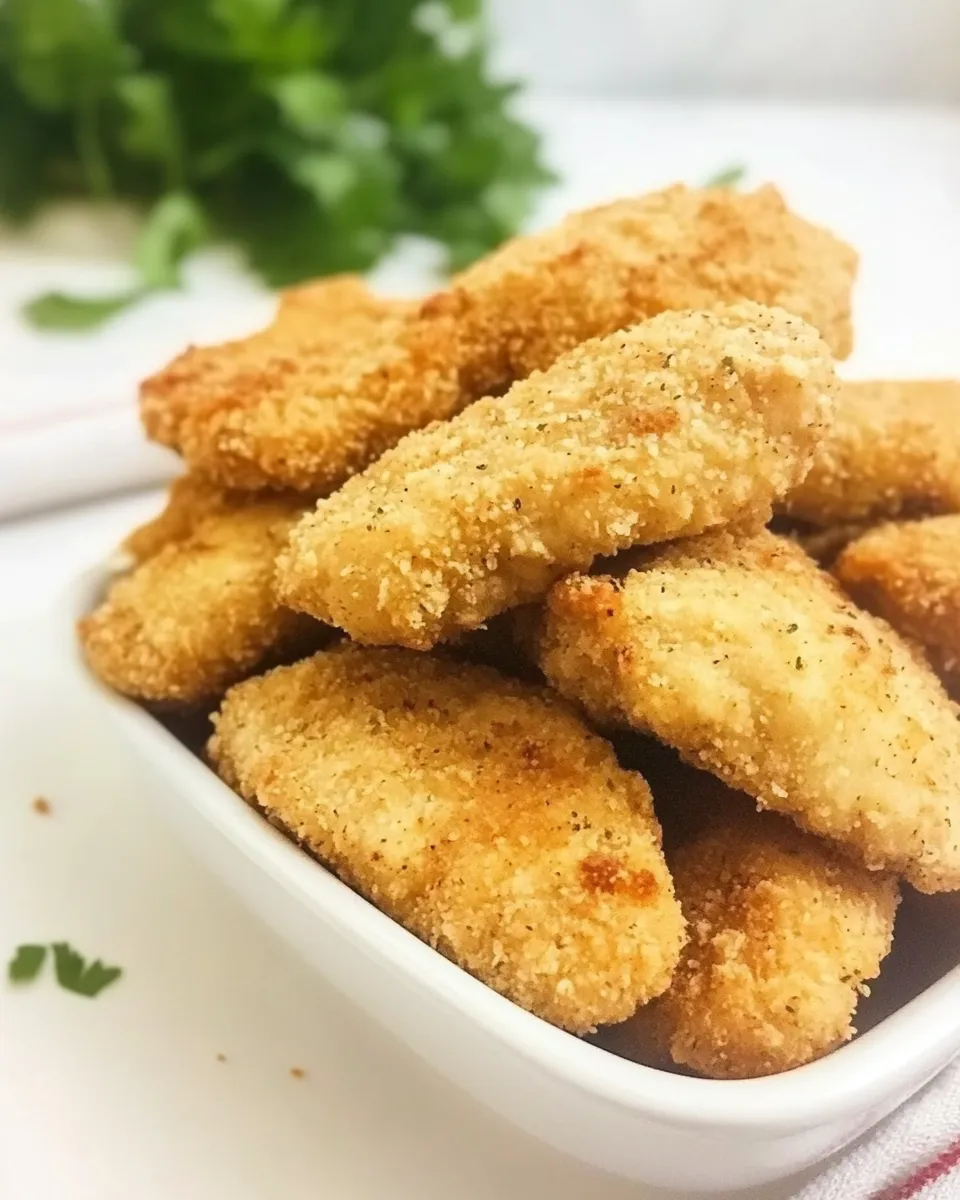
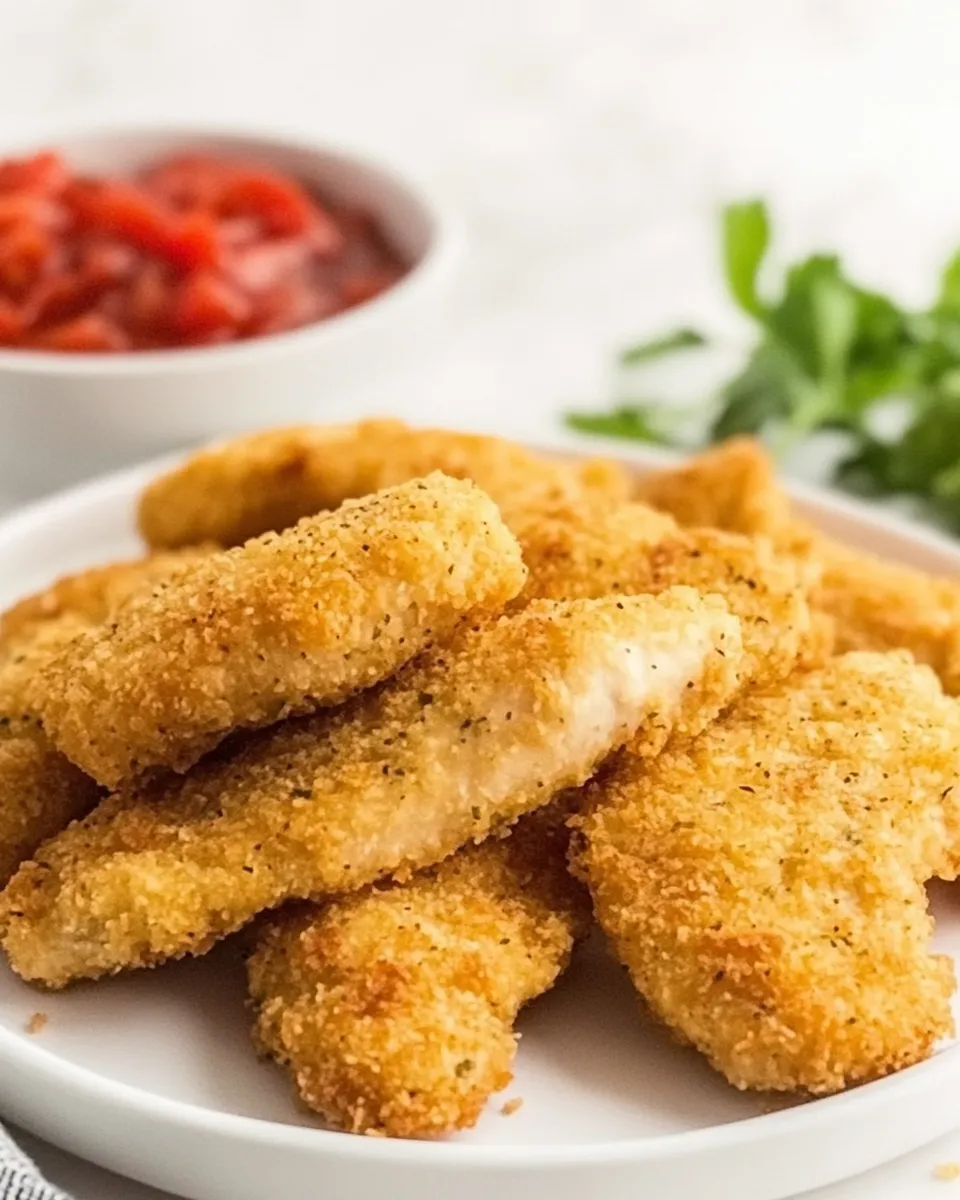
I love recipes that feel a little special but are genuinely doable on a weeknight. These homemade chicken tenders deliver crisp, golden breading and juicy chicken without frying — which means less mess and a safer kitchen. The method is straightforward: a simple three-dish breading station, a light coating of oil spray, and a hot oven do all the heavy lifting.
Whether you’re feeding hungry kids, prepping a game-day snack, or plating a casual weeknight dinner, these tenders come together with predictable results. I’ll walk you through what to buy, what equipment to use, and the small technique tweaks that make the difference between soggy and perfectly crisp.
No nonsense, no mystery ingredients. Just reliable steps, clear measurements, and practical tips so you can get the same great results every time.
What You’ll Need
Before you start, pull everything onto the counter. This is a quick breading job, so having your mise en place ready keeps things moving and keeps the coating from getting gummy. A rimmed baking sheet with an oven-safe rack is the only specialized item you really need; otherwise it’s standard pantry stuff.
Ingredients
- 1 pound chicken tenderloins, or boneless, skinless chicken breasts cut into 1-inch thick strips — choose tenderloins for speed; breast strips are fine if trimmed to even thickness.
- 1 cup all-purpose flour — helps the egg adhere and provides a light base coating.
- 1 teaspoon seasoned salt, for seasoning flour — seasons the base layer so the interior coating isn’t bland.
- 3 large eggs — binds the crumbs to the chicken and helps build a crisp crust.
- ¼ cup water — thins the eggs into a wet wash for even coating.
- ½ teaspoon seasoned salt, for seasoning eggs — seasons the egg wash so the coating is flavorful through and through.
- 2 cups plain panko bread crumbs — panko gives a lighter, crunchier texture than standard crumbs.
- 1 teaspoon seasoned salt, for seasoning breading — seasons the outer crust; mix well so it’s distributed.
- cooking spray, I recommend olive oil or avocado oil cooking spray — a light spray helps the panko crisp in the oven without deep frying.
From Start to Finish: Homemade Chicken Tenders
- Preheat the oven to 425°F (215°C). Place an oven-safe baking rack on a rimmed baking sheet and lightly spray the rack with cooking spray.
- Trim the chicken: remove any visible fat and white tendons from 1 pound chicken tenderloins. If using boneless, skinless chicken breasts, trim fat and cut the breasts into 1-inch thick strips.
- Set up three shallow dishes for the breading station:
- Dish 1: 1 cup all-purpose flour mixed with 1 teaspoon seasoned salt.
- Dish 2: 3 large eggs whisked with 1/4 cup water and 1/2 teaspoon seasoned salt.
- Dish 3: 2 cups plain panko bread crumbs mixed with 1 teaspoon seasoned salt.
- Working one piece at a time, dredge a chicken strip in the flour mixture, tossing to coat and shaking off excess flour.
- Dip the floured strip into the egg wash, allowing excess egg to drip off.
- Press the egg-coated strip into the panko mixture, turning and using your hands to press crumbs onto all sides so the coating adheres. Place the breaded strip on the prepared baking rack. Do not overlap pieces; arrange them so air can circulate.
- When all strips are breaded and on the rack, lightly spray the top of each breaded chicken tender with cooking spray.
- Bake in the preheated oven for 10–13 minutes, or until the chicken reaches an internal temperature of 165°F (74°C). If using the baking rack, there is no need to flip the tenders during baking.
- Remove the baking sheet from the oven and confirm doneness (internal temperature 165°F/74°C) before serving.
The Upside of Homemade Chicken Tenders
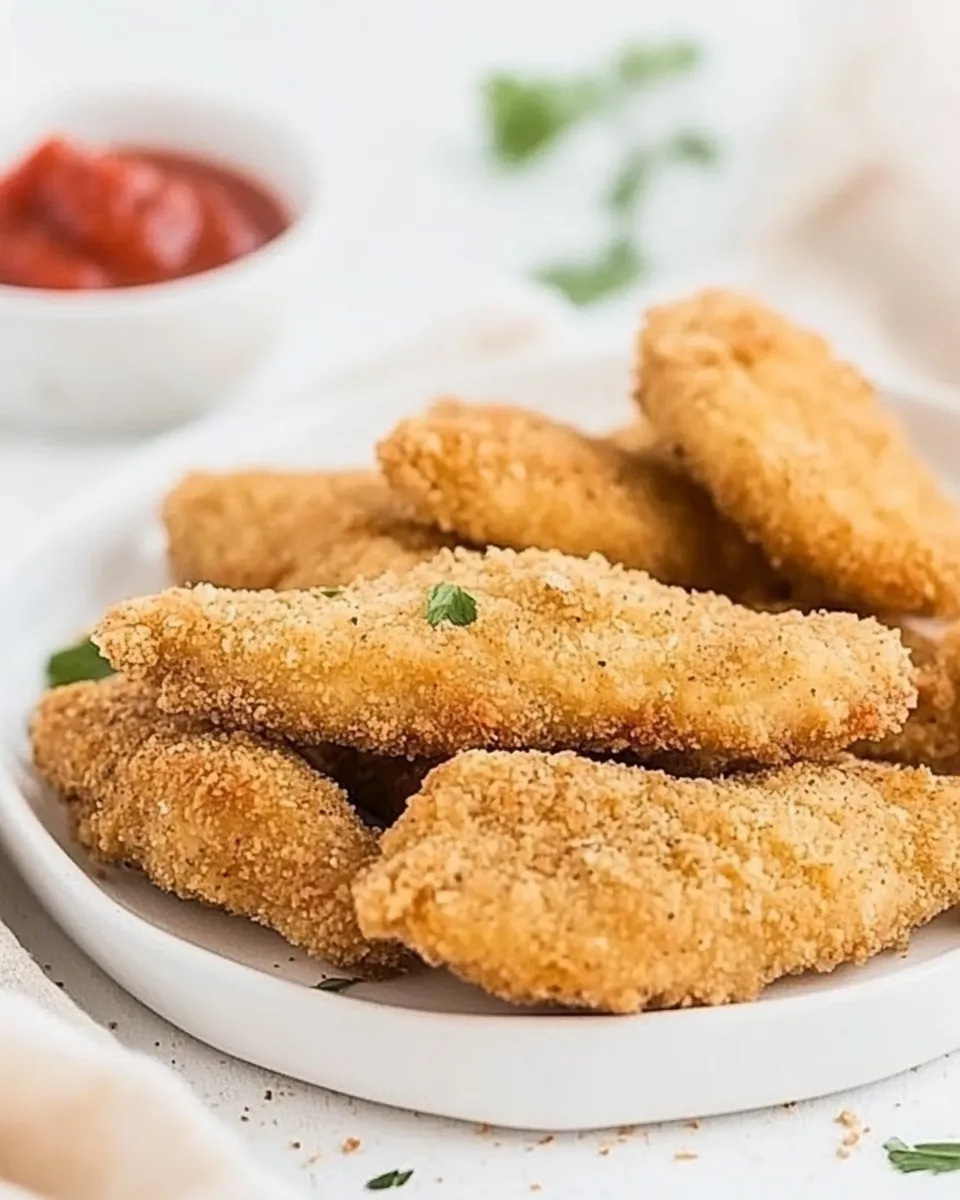
These tenders are dependable. Baking at a high temperature with a rack gets air circulating all around, so you get crisp outsides and juicy insides without frying. That reduces cooking oil usage and cleanup time while still delivering a snack or meal that feels indulgent.
The recipe is flexible: the three-step breading station is familiar and fast, and the seasoning layers ensure the flavor reaches every bite. It’s a kid-friendly, crowd-pleasing dish that’s easy to scale up for parties or down for solo meals.
Substitutions by Category
If you need to swap ingredients, do it thoughtfully so texture and flavor hold up.
- Protein: Use chicken thighs cut into strips for richer flavor, but expect slightly different cook time. If substituting thighs, check for doneness with a thermometer.
- Coating: Swap panko for regular breadcrumbs if that’s what you have; the crust will be denser and a bit finer in texture.
- Binders: If you can’t use eggs, use an egg substitute or a mixture of 1/4 cup milk with 1 tablespoon cornstarch to mimic adhesion, but the result won’t be identical.
- Seasoning: If you don’t have seasoned salt, use 1 teaspoon salt mixed with 1/4 teaspoon onion powder and 1/4 teaspoon garlic powder across the three stations.
- Oil spray: If you don’t have olive or avocado spray, a light brush of neutral oil on the tops of the tenders works.
Equipment Breakdown
Simple tools make this recipe easier and more consistent.
- Rimmed baking sheet with oven-safe rack: Elevates the tenders so hot air circulates and the bottoms crisp instead of steaming.
- Three shallow dishes or pie plates: Keeps the breading station organized and speeds up the process.
- Instant-read thermometer: Ensures safe, perfectly cooked chicken without overbaking.
- Cooking spray: A quick way to add a light fat layer to promote browning in the oven.
- Whisk and tongs or clean hands: A whisk for the egg wash and hands or tongs for pressing crumbs on evenly.
Avoid These Mistakes
Small errors can turn a crisp tender into a soggy one. Watch for these common pitfalls.
- Skipping the rack: Laying tenders directly on the sheet traps steam and softens the bottom crust. Always use a rack if you want crispness.
- Overcrowding: Crowding pieces reduces air circulation. Arrange tenders so each has room around it.
- Heavy-handed flouring: Leave a light dusting when dredging. Excess flour can make the egg wash gummy and prevent proper adhesion.
- Not seasoning each layer: Seasoning only the final crumbs leaves the interior bland. The recipe calls for salt in all three stations for a balanced result.
- Assuming time equals doneness: Oven temps vary. Use an instant-read thermometer to confirm 165°F (74°C) in the thickest part.
In-Season Swaps
While tenders aren’t vegetable-forward, pairing them with seasonal sides keeps the plate fresh.
- Spring: Serve with a simple pea salad or shaved asparagus and lemon vinaigrette.
- Summer: Try a corn and tomato salad or quick pickled cucumbers for brightness.
- Fall: Roasted root vegetables and a tangy mustard dip play nicely with the crunchy coating.
- Winter: Pair with warm, caramelized shallots or a creamy slaw to balance the crisp tenders.
Notes from the Test Kitchen
I test this method with both tenderloins and breast strips. Tenderloins cook slightly faster and are more forgiving. Breast strips require even sizing to avoid dry edges. In the oven at 425°F, 10–13 minutes was consistent for tenderloins; if your pieces are on the thicker side, err toward the upper end and check temperature.
Panko is important. It provides the characteristic crunch you expect from tenders without oil immersion. If the tops aren’t browning as much as you like, a 30–60 second broil at the end works, but watch closely — panko can burn quickly under high heat.
Leftovers & Meal Prep
Leftover tenders keep well for 3 to 4 days in the fridge in an airtight container. To reheat and preserve crispness, use a 375°F oven or a toaster oven and warm on a rack for 8–10 minutes, flipping halfway through. Microwaving speeds reheating but compromises texture.
These are meal-prep friendly. Make a double batch, store in portioned containers with a fresh salad and a small container of dipping sauce, and you’ve got grab-and-go lunches. Freeze cooled tenders on a tray until solid, then transfer to a freezer bag for up to 2 months. Reheat from frozen at 375°F for 15–20 minutes, checking temperature.
Homemade Chicken Tenders Q&A
Q: Can I make these gluten-free?
A: Yes. Use a gluten-free all-purpose flour in the first dish and gluten-free panko or crushed gluten-free cereal for the third dish. The method remains the same.
Q: Do I have to use seasoned salt?
A: Seasoned salt simplifies seasoning across the layers. If unavailable, use regular salt and add a tiny pinch of garlic and onion powder where indicated.
Q: Can I air-fry instead of oven-baking?
A: You can. Air-fry at 400°F for roughly 8–10 minutes, turning once, depending on size and your air fryer’s model. Expect slightly different browning and keep an eye on them to avoid overcooking.
Q: How do I know when they’re done?
A: The safest, most reliable check is an instant-read thermometer reaching 165°F (74°C) in the thickest part of a tender.
Wrap-Up
These Homemade Chicken Tenders are a practical, dependable recipe you can rely on for weeknights, parties, or meal prep. The three-station breading and the hot oven with a rack create the best possible texture without deep frying. Follow the seasoning structure and check internal temperature, and you’ll get crisp, flavorful tenders every time.
Keep the ingredients simple, keep your pieces even, and don’t skip the rack. Try a double batch for easy lunches, and experiment with dipping sauces to switch up the flavors. Happy cooking — and enjoy that crunch.

Homemade Chicken Tenders
Ingredients
Ingredients
- 1 poundchicken tenderloins or boneless, skinless chicken breasts cut into 1-inch thick strips
- 1 cupall-purpose flour
- 1 teaspoonseasoned salt for seasoning flour
- 3 largeeggs
- 1/4 cupwater
- 1/2 teaspoonseasoned salt for seasoning eggs
- 2 cupsplain panko bread crumbs
- 1 teaspoonseasoned salt for seasoning breading
- cooking spray I recommend olive oil or avocado oil cooking spray
Instructions
Instructions
- Preheat the oven to 425°F (215°C). Place an oven-safe baking rack on a rimmed baking sheet and lightly spray the rack with cooking spray.
- Trim the chicken: remove any visible fat and white tendons from 1 pound chicken tenderloins. If using boneless, skinless chicken breasts, trim fat and cut the breasts into 1-inch thick strips.
- Set up three shallow dishes for the breading station: - Dish 1: 1 cup all-purpose flour mixed with 1 teaspoon seasoned salt. - Dish 2: 3 large eggs whisked with 1/4 cup water and 1/2 teaspoon seasoned salt. - Dish 3: 2 cups plain panko bread crumbs mixed with 1 teaspoon seasoned salt.
- Working one piece at a time, dredge a chicken strip in the flour mixture, tossing to coat and shaking off excess flour.
- Dip the floured strip into the egg wash, allowing excess egg to drip off.
- Press the egg-coated strip into the panko mixture, turning and using your hands to press crumbs onto all sides so the coating adheres. Place the breaded strip on the prepared baking rack. Do not overlap pieces; arrange them so air can circulate.
- When all strips are breaded and on the rack, lightly spray the top of each breaded chicken tender with cooking spray.
- Bake in the preheated oven for 10–13 minutes, or until the chicken reaches an internal temperature of 165°F (74°C). If using the baking rack, there is no need to flip the tenders during baking.
- Remove the baking sheet from the oven and confirm doneness (internal temperature 165°F/74°C) before serving.
Equipment
- Baking Sheet with Rackone of my most used kitchen tools!
Notes
Bread Crumbs:
I don't recommend regular breadcrumbs in place of the panko, as they will not yield a crispy baked chicken strip.
Egg-Free Option:
If you happen to have an egg allergy, dip your chicken strips into flour first, then something moist, like mustard, and finally panko.
Leftovers
: Leftover Chicken Strips will keep for 3 days in the refrigerator. They are best warmed up in a 400°F/205°C oven for 5 minutes.
Freezing Homemade Chicken Strips
: Place baked, cooled chicken strips on an oven sheet lined with wax or parchment paper and place them into the freezer until frozen solid. Once frozen solid, transfer them to a freezer-safe bag or container and store in the freezer for up to 3 months. Bake from frozen on a baking sheet at 400°F/205°C for 18-22 minutes.


