
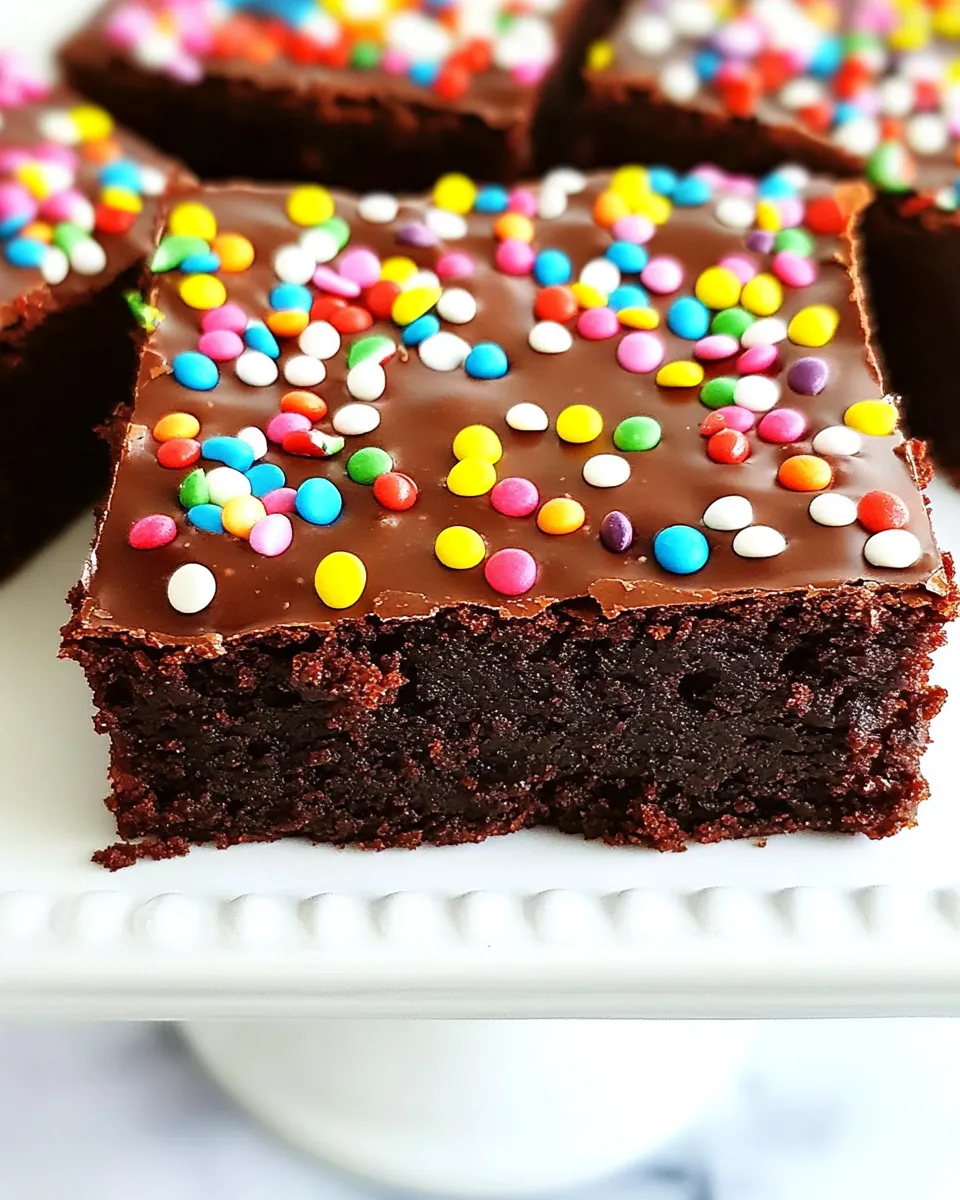
These brownies are the kind you remember from lunchboxes and after-school snacks: dense, chocolate-forward squares topped with a glossy candy layer and cheerful rainbow chips. I bake them when I want a reliable crowd-pleaser that stores well and travels without drama. No complicated steps. No obscure ingredients. Just proper chocolate, a quick stovetop topping, and patience while they cool.
I’ll walk you through the exact sequence I use, explain why a few unusual bits (like the cornstarch) matter, and share practical fixes if something goes sideways. If you want a treat that’s fudgy, holds up to slicing, and has that nostalgic candy-top finish, this recipe will get you there every time.
Read straight through for the recipe, or jump to the sections you need—gear, swaps, traps to avoid, and how to make them lighter if you prefer. These brownies are approachable, forgiving, and worth the few extra minutes they take to finish in the refrigerator so the topping sets firm.
The Essentials
Short facts to know before you begin so you can set expectations and prep efficiently.
- Yield — 24 bars (the source cuts into 24 squares).
- Pan — 9×13-inch baking pan lined with parchment for easy removal.
- Bake temperature — 350°F (175°C).
- Timing — about 25 minutes in the oven plus chilling time for the topping (1 hour).
- Difficulty — beginner to intermediate: basic mixing and a little stovetop melting for the topping.
Ingredients
- ¾ cup melted butter — provides fat and richness; start with melted and warm but not boiling.
- 1½ granulated white sugar — primary sweetener and helps with structure and chew.
- ½ brown sugar — adds moisture and a hint of caramel flavor.
- 3 eggs — bind the batter and add lift and shine.
- 1 egg yolk — extra richness for a fudgier crumb.
- 1 tsp vanilla extract — rounds and brightens chocolate flavor.
- ¼ cup vegetable oil — keeps the brownies tender and helps them stay moist after baking.
- 1 cup flour — provides structure; measure properly to avoid a dry batter.
- 2 tbsp cornstarch — lightens and stabilizes the crumb for that dense yet tender texture.
- 1½ cup unsweetened cocoa powder — the backbone of chocolate intensity; use good-quality cocoa.
- 1 tsp salt — essential for balance and to enhance chocolate flavor.
- ¼ tsp baking soda — a touch of lift without turning the brownies cakey.
- 12 oz. semi-sweet chocolate chips — for the glossy topping; melting yields a shiny finish.
- ½ cup milk — thins and softens the topping; whole milk gives better gloss.
- 6 tbsp butter — added to the topping for sheen and a silky mouthfeel.
- 2.2 oz. rainbow chips — colorful candy pieces for the classic Cosmic Brownie look and a bit of crunch.
Cook Homemade Cosmic Brownies Like This
- Preheat the oven to 350°F (175°C). Line a 9×13-inch baking pan with parchment paper and spray the parchment with nonstick cooking spray; set the pan aside.
- In a large mixing bowl, add the melted butter, granulated white sugar, brown sugar, the 3 eggs and the egg yolk, vanilla extract, and vegetable oil. Whisk or beat until the mixture is smooth and evenly combined; set this wet mixture aside.
- In a separate bowl, whisk together the all-purpose flour, cornstarch, unsweetened cocoa powder, salt, and baking soda until evenly distributed.
- Pour the dry ingredients into the wet ingredients and stir until just combined and no large streaks of flour remain. Do not overmix.
- Transfer the batter to the prepared 9×13 pan and spread it into an even layer.
- Bake in the preheated oven for about 25 minutes, or until the edges begin to brown and a toothpick inserted near the center comes out with a few moist crumbs (not wet batter).
- Remove the pan from the oven and allow the brownies to cool completely in the pan on a wire rack.
- While the brownies cool, prepare the topping: place the semi-sweet chocolate chips, milk, and 6 tablespoons butter in a small saucepan over low heat.
- Heat the mixture over low heat, stirring constantly, until the chocolate and butter are fully melted and the topping is smooth and shiny. Keep the heat low so the mixture does not boil.
- Remove the saucepan from the heat and let the topping cool briefly until warm but still pourable (a few minutes).
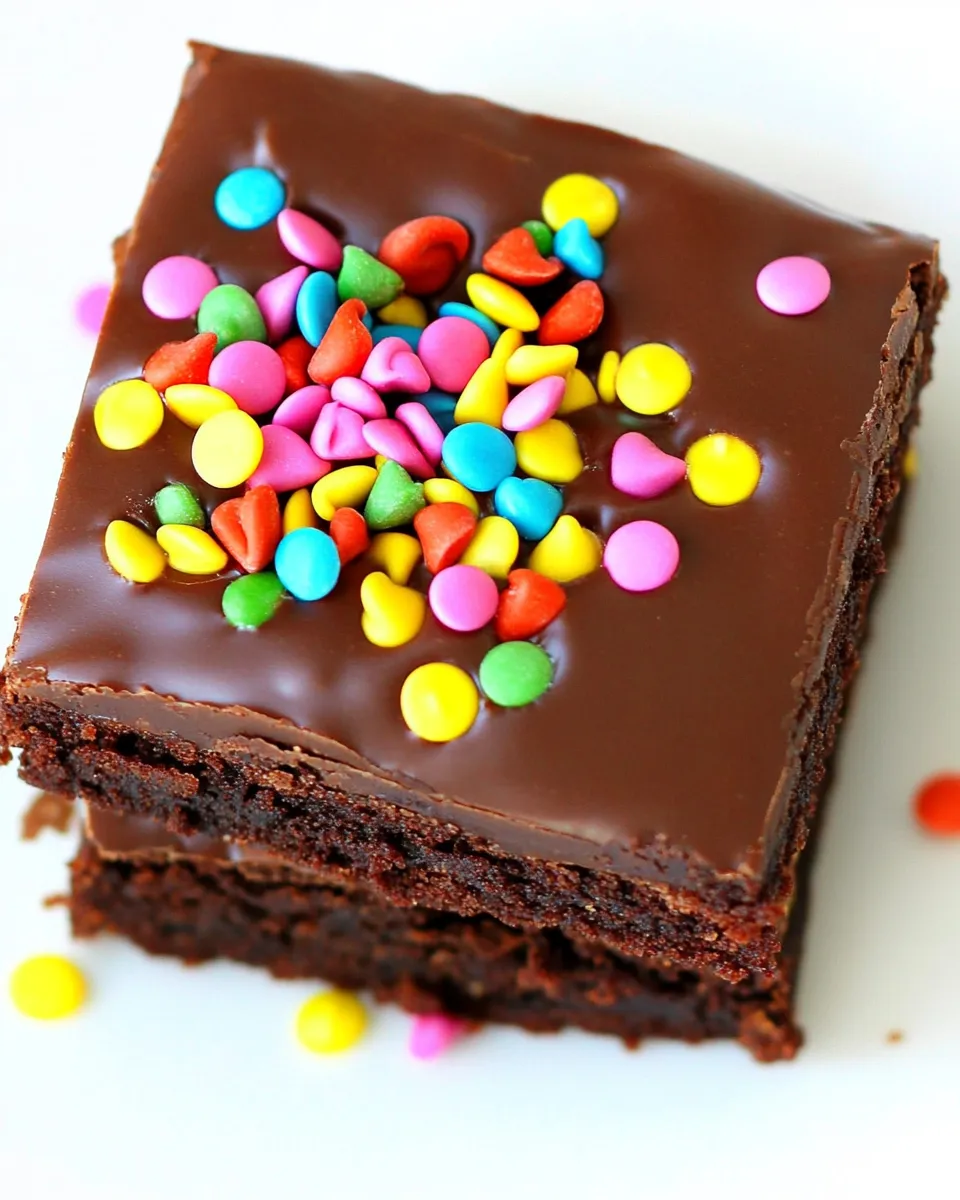
- Pour the warm chocolate topping evenly over the cooled brownies, then immediately sprinkle the rainbow chips on top so they adhere.
- Refrigerate the frosted brownies for 1 hour to set the topping.
- Use the parchment to lift the brownies from the pan, place on a cutting board, and cut into 24 bars. Store leftovers covered in the refrigerator.
Why It Deserves a Spot
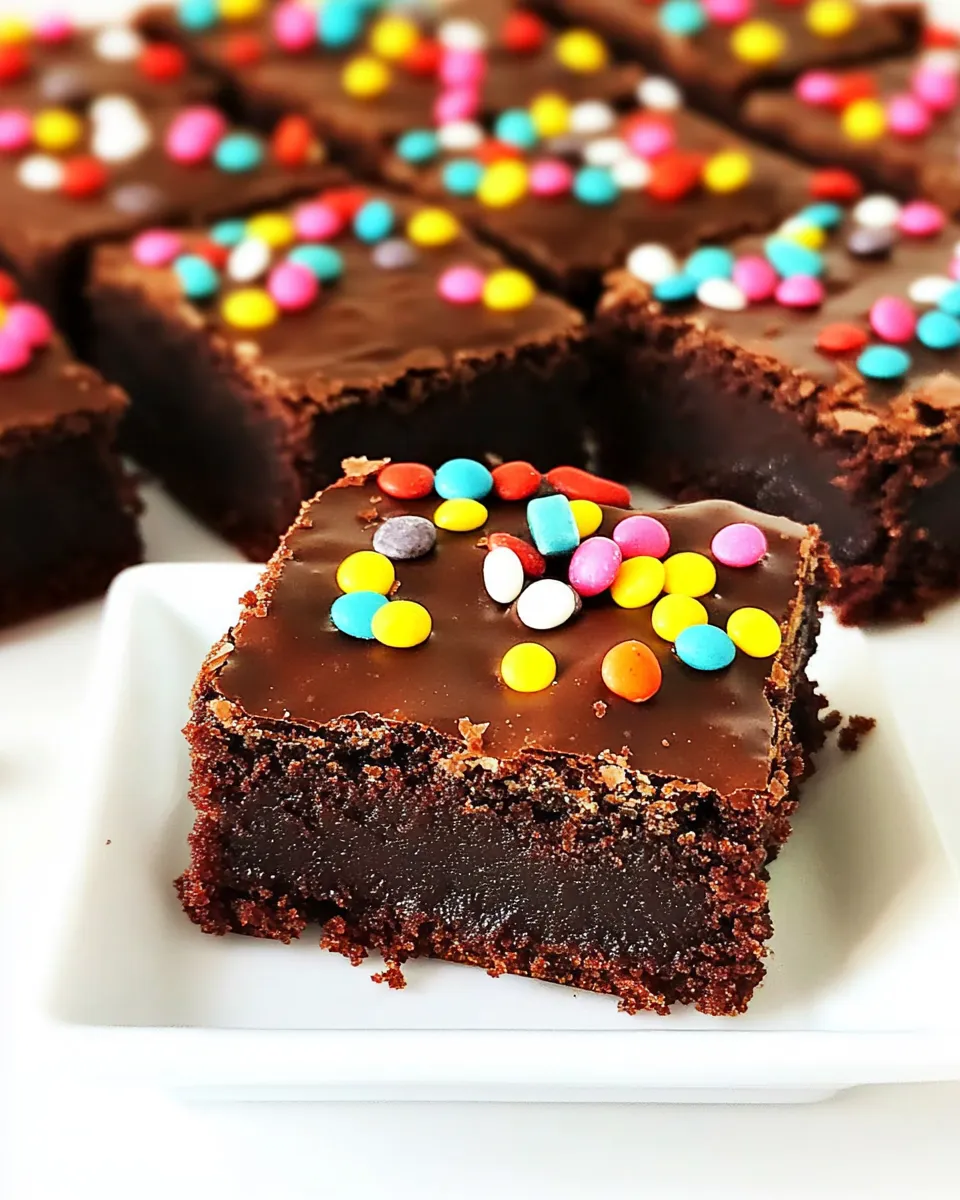
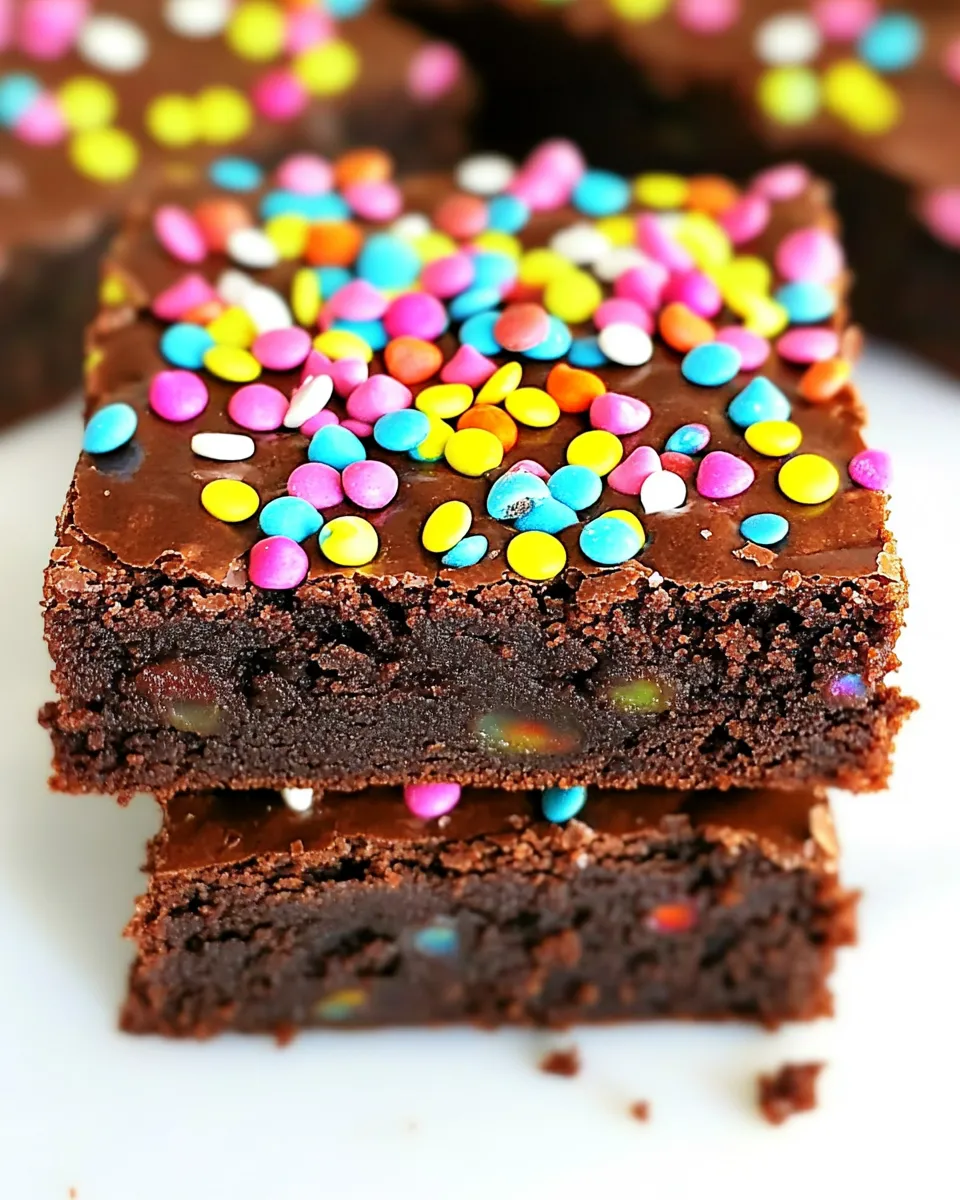
These brownies combine a dense, fudgy base with a set, glossy chocolate topping that holds the rainbow chips in place. They travel well, slice cleanly when fully chilled, and appeal to both kids and grown-ups. The cornstarch and extra yolk give a slightly more stable, brownie-like texture than very cakey versions, while the oil and melted butter keep them moist day-to-day.
In short: comfort, texture, and presentation. They’re a simple step up from plain brownies and perfect for bake sales, potlucks, or an easy weekend dessert.
Ingredient Swaps & Substitutions
- Butter: ¾ cup melted butter — swap half for neutral oil if you need a glossier crumb, but keep at least some butter for flavor.
- Sugars: 1½ granulated and ½ brown sugar — you can use all granulated in a pinch; brown sugar adds chew and depth.
- Cocoa: 1½ cup unsweetened cocoa powder — Dutch-process cocoa will give a darker, smoother flavor; natural cocoa is more acidic and brighter.
- Chocolate topping: 12 oz. semi-sweet chips — swap for dark chocolate chips for a less sweet topping, or milk chocolate if you prefer sweeter.
- Milk in topping: ½ cup milk — you can use cream for extra gloss or a non-dairy milk (like oat or almond) for a dairy-free option, though sheen will vary.
- Rainbow chips: 2.2 oz. — use chopped candy pieces, mini M&Ms, or sprinkles if you want different textures or colors.
Gear Checklist
- 9×13-inch baking pan — lined with parchment for easy lifting and clean edges.
- Mixing bowls — one for wet, one for dry ingredients.
- Whisk or electric mixer — a whisk works fine; a hand mixer speeds the job.
- Small saucepan — for the topping; a heavy-bottomed pan helps control heat.
- Spatula — for spreading batter and topping.
- Wire rack — cool the pan evenly.
- Bench scraper or sharp knife — for cleanly cutting the chilled brownies.
Avoid These Traps
- Overmixing the batter — stirs in too much air and develops gluten; stir only until combined.
- Overbaking — the toothpick should come out with moist crumbs; pull them a little early. They’ll set as they cool.
- Heating the topping too hot — keep heat low and stir constantly; boiling will separate the fat and dull the gloss.
- Not cooling before topping — pouring a hot topping on hot brownies can cause the topping to sink in or become streaky. Let the brownies cool completely.
- Skipping the chill — the chocolate topping needs that 1 hour in the refrigerator to set for clean slicing.
How to Make It Lighter
You can nudge these toward lighter without destroying the texture, but know that fudgy brownies resist dramatic calorie cuts. Small, sensible swaps work best:
- Use half butter, half applesauce (or a fruit purée) for a lower-fat option — expect a slightly different texture and flavor.
- Replace half the sugar with a granular sugar substitute suitable for baking; keep at least half sugar for structure and browning.
- Use low-fat milk in the topping and reduce the topping amount slightly; the glaze will be less rich but still functional.
Behind-the-Scenes Notes
The extra egg yolk and cornstarch are small but purposeful choices. The yolk adds fat, which gives a richer mouthfeel and helps the brownies stay tender. Cornstarch reduces gluten formation and lends a denser, more stable crumb—handy when you need neat squares that don’t crumble like a very soft brownie.
The topping is a classic melt-and-bind approach: chocolate, milk, and butter warmed together until smooth. Keep the heat low and stir constantly. The goal is a shiny, slightly firm top that still gives way when you bite into it.
Make Ahead Like a Pro
Timing for events
Make the brownies, chill them with the topping, and slice the day before your event. Store them in a single layer or with parchment between layers in an airtight container in the refrigerator.
Longer storage
- Refrigerator — Up to 5 days covered.
- Freezer — Wrap tightly (parchment then foil) and freeze up to 2 months. Thaw in the refrigerator overnight, then bring to room temperature before serving for best texture.
Common Questions
- Can I use salted butter? Yes. Reduce or omit added salt if you find it too salty. The recipe calls for 1 tsp salt; taste the batter isn’t possible, so err on the side of leaving the salt in if you used unsalted butter.
- What if the topping looks grainy after melting? That usually means it got too hot or moisture touched the chocolate. Remove from heat, stir, and let it cool a bit; if graininess persists, strain and reheat gently over very low heat or use a small amount of additional warm milk to smooth.
- Can I double the recipe? Yes — use a larger pan or two 9×13 pans. Keep an eye on bake time if you use a deeper single pan; you may need a few extra minutes.
- Why use both melted butter and oil? Melted butter gives flavor; oil keeps the crumb supple and slows staling. Combined, they deliver moist, flavorful brownies that slice cleanly.
- How do I get the edges crisp but the center fudgy? Don’t overmix and watch bake time closely. A 25-minute bake is a guideline; oven variance matters. Pull when the edges show slight browning and the center still has moist crumbs on a toothpick.
- Can I skip refrigeration after frosting? You’ll get a looser topping and messier slices if you skip the chill. Refrigeration firms the topping so you get clean bars.
Bring It Home
These Homemade Cosmic Brownies are straightforward, nostalgic, and designed to behave: they slice well, travel cleanly, and please a crowd. Follow the steps for cooling and topping so you get that classic glossy finish and keep the slices tidy. If you make them once, you’ll know exactly how your oven and pan affect the timing, and the next batch will be even more precise.
Make a pan for a gathering or just because you want a reliable, chocolate-forward pick-me-up. They store well and still taste great a couple of days later—provided you keep them covered in the fridge. Happy baking, and don’t forget to press a few extra rainbow chips into the top for full cosmic effect.

Homemade Cosmic Brownies
Ingredients
Ingredients
- 3/4 cupmelted butter
- 1 1/2 granulated white sugar
- 1/2 brown sugar
- 3 eggs
- 1 egg yolk
- 1 tspvanilla extract
- 1/4 cupvegetable oil
- 1 cupflour
- 2 tbspcornstarch
- 1 1/2 cupunsweetened cocoa powder
- 1 tspsalt
- 1/4 tspbaking soda
- 12 oz.semi-sweet chocolate chips
- 1/2 cupmilk
- 6 tbspbutter
- 2.2 oz.rainbow chips
Instructions
Instructions
- Preheat the oven to 350°F (175°C). Line a 9×13-inch baking pan with parchment paper and spray the parchment with nonstick cooking spray; set the pan aside.
- In a large mixing bowl, add the melted butter, granulated white sugar, brown sugar, the 3 eggs and the egg yolk, vanilla extract, and vegetable oil. Whisk or beat until the mixture is smooth and evenly combined; set this wet mixture aside.
- In a separate bowl, whisk together the all-purpose flour, cornstarch, unsweetened cocoa powder, salt, and baking soda until evenly distributed.
- Pour the dry ingredients into the wet ingredients and stir until just combined and no large streaks of flour remain. Do not overmix.
- Transfer the batter to the prepared 9×13 pan and spread it into an even layer.
- Bake in the preheated oven for about 25 minutes, or until the edges begin to brown and a toothpick inserted near the center comes out with a few moist crumbs (not wet batter).
- Remove the pan from the oven and allow the brownies to cool completely in the pan on a wire rack.
- While the brownies cool, prepare the topping: place the semi-sweet chocolate chips, milk, and 6 tablespoons butter in a small saucepan over low heat.
- Heat the mixture over low heat, stirring constantly, until the chocolate and butter are fully melted and the topping is smooth and shiny. Keep the heat low so the mixture does not boil.
- Remove the saucepan from the heat and let the topping cool briefly until warm but still pourable (a few minutes).
- Pour the warm chocolate topping evenly over the cooled brownies, then immediately sprinkle the rainbow chips on top so they adhere.
- Refrigerate the frosted brownies for 1 hour to set the topping.
- Use the parchment to lift the brownies from the pan, place on a cutting board, and cut into 24 bars. Store leftovers covered in the refrigerator.
Equipment
- Parchment Paper
- 9 x 13 baking dish
Notes
We always suggest pre-measuring and prepping ingredients prior to beginning the recipe. This ensures proper wet and dry ingredient measurements and have the best baking results.


