
I learned how to make marshmallows because I get twitchy when a recipe calls for craft-store confections. The store-bought kind are fine in a pinch, but homemade marshmallows are pillowy, tender, and can be flavored or sized to fit whatever you need. They’re easier than they look and, once you’ve made them, you’ll want to keep the pantry stocked just in case.
This recipe makes a slab of marshmallows that you cut into cubes the next day. There are a few small timing details — blooming the gelatin, bringing the syrup to temperature, and whipping until cool — and once you understand those three moments it all falls into place. I’ll walk you through each of them step by step and point out the traps I’ve fallen into so you don’t have to.
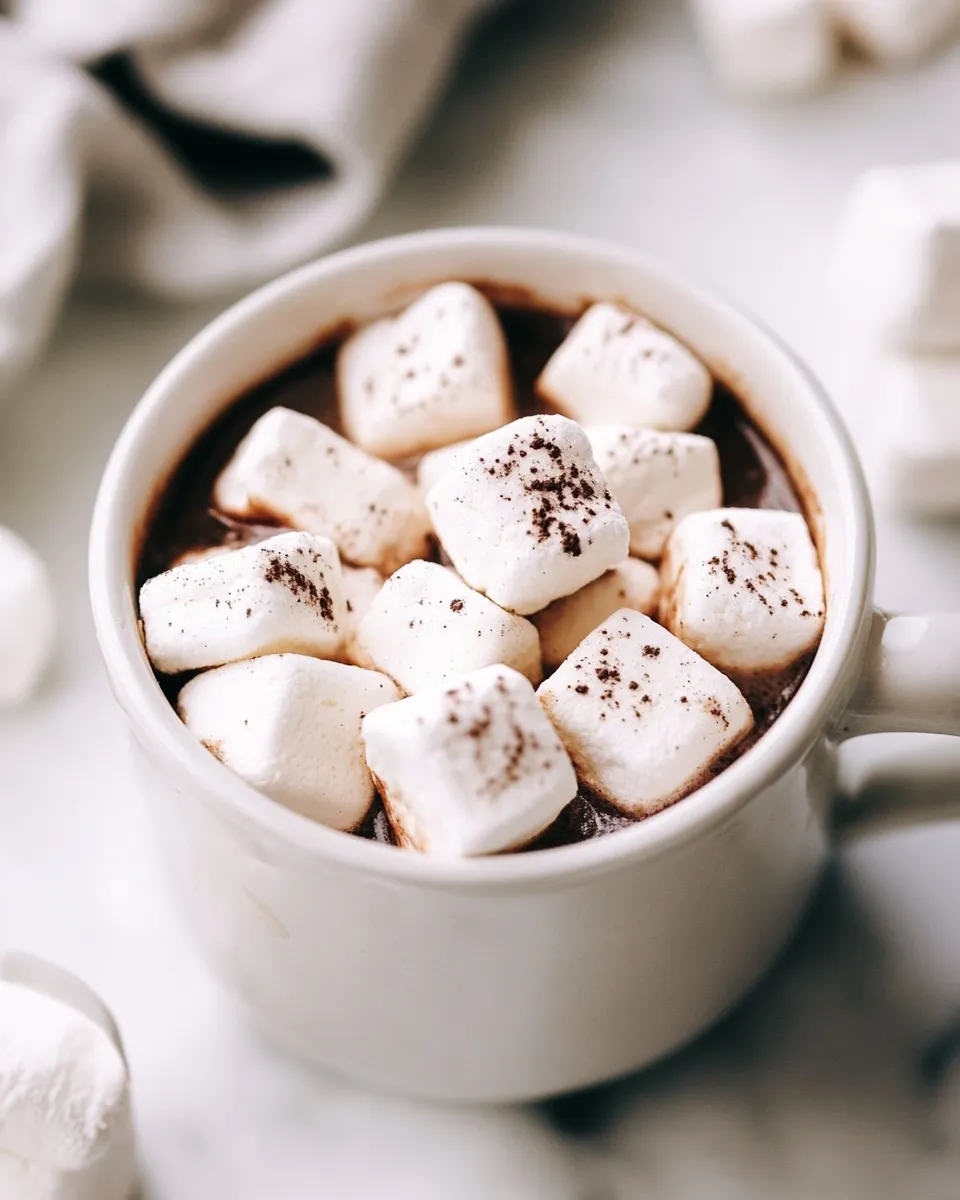
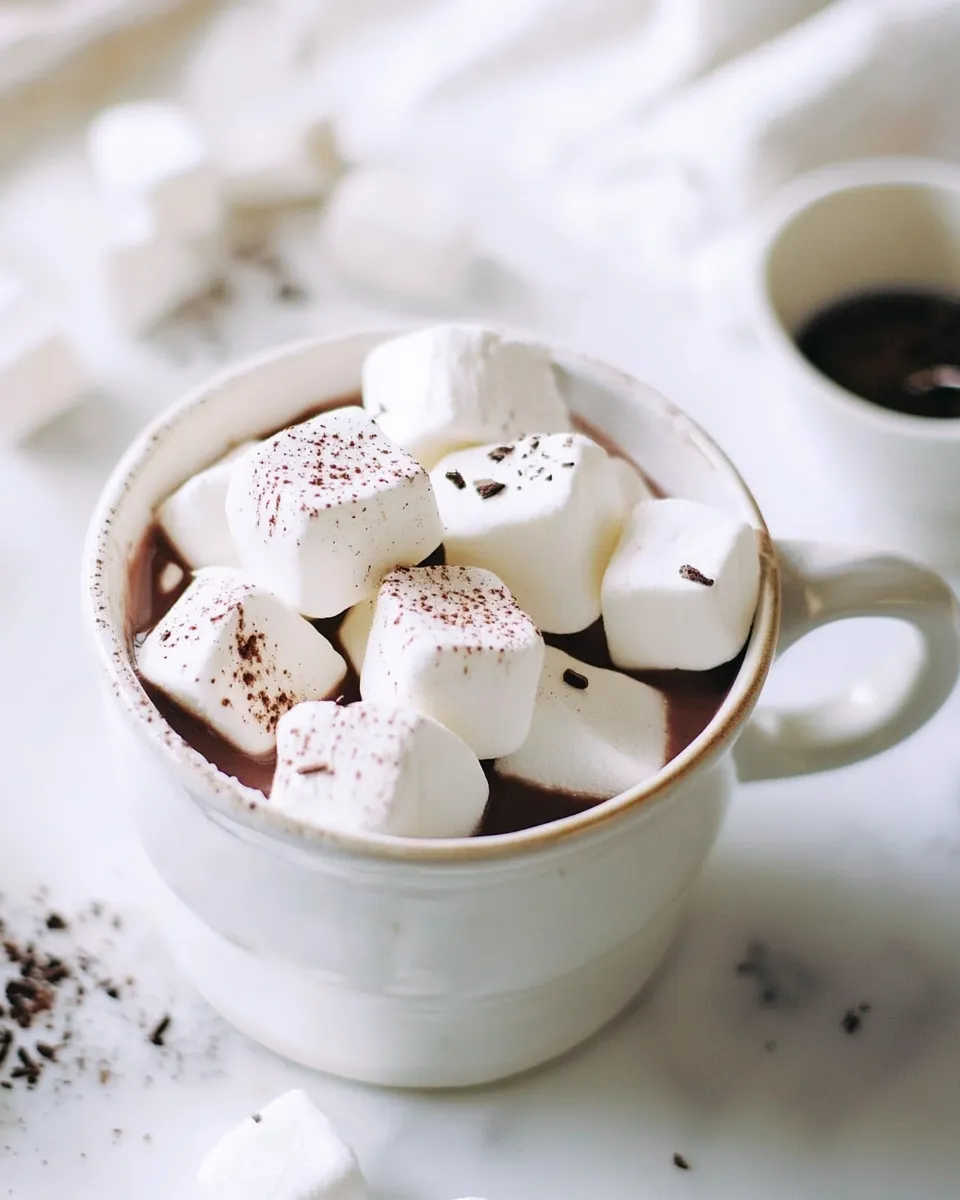
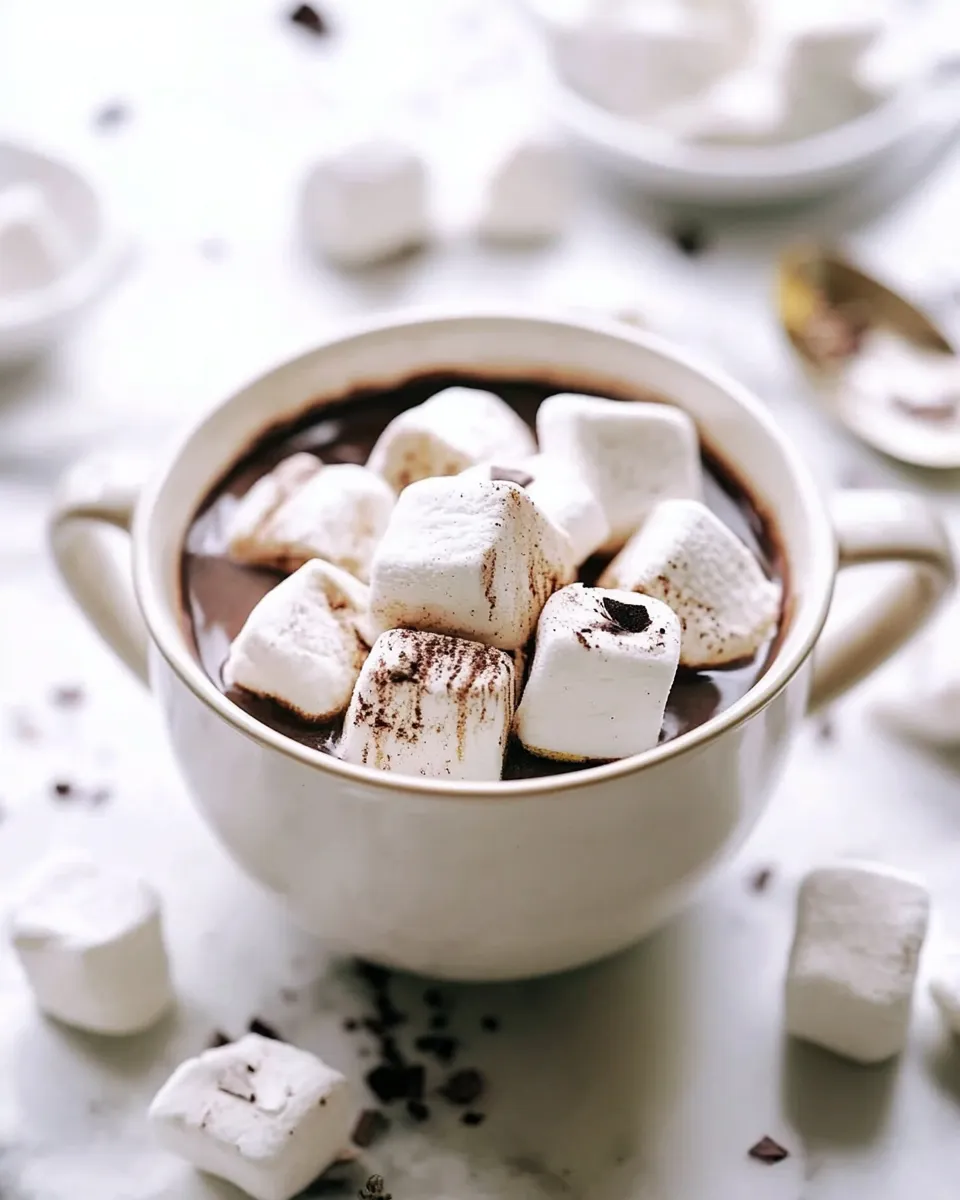
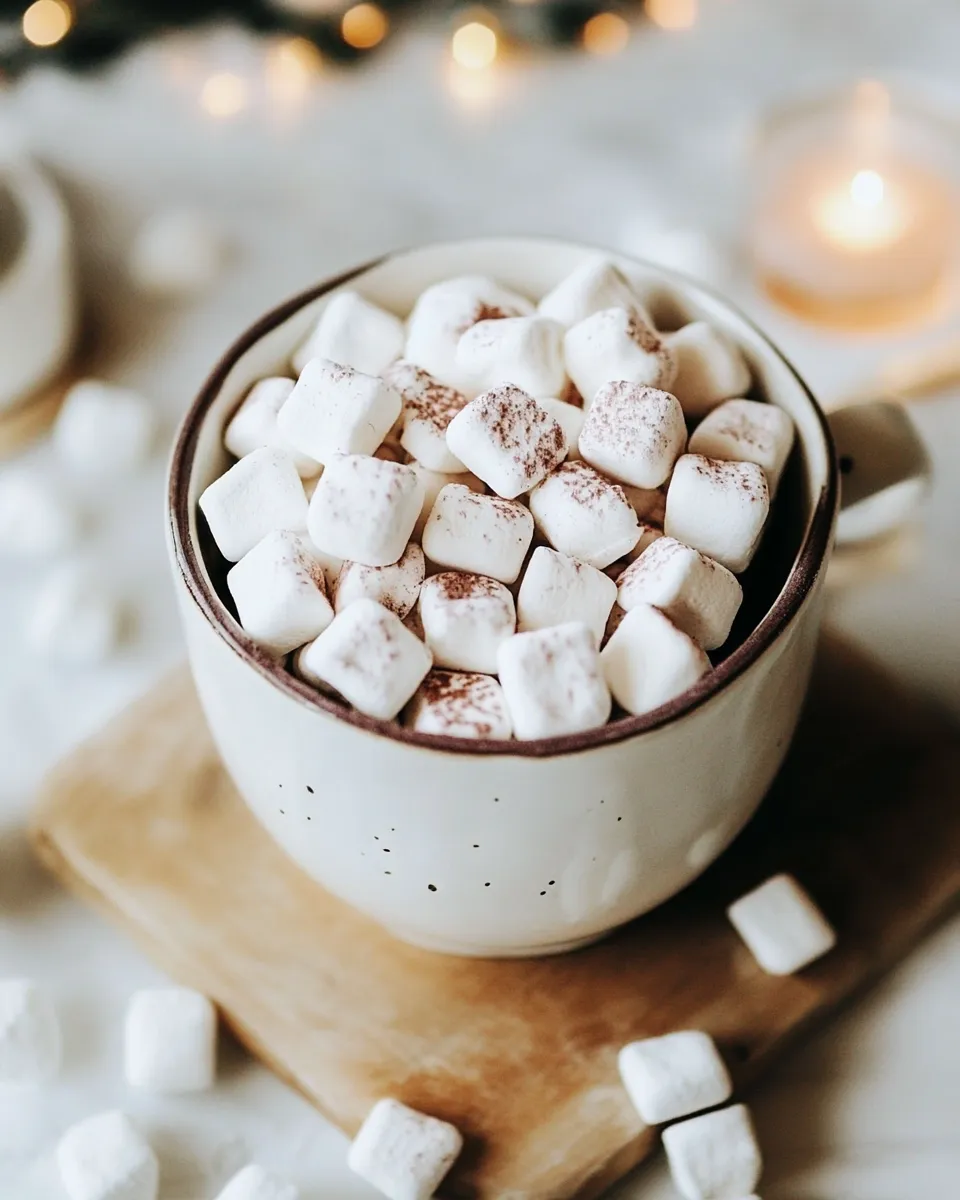
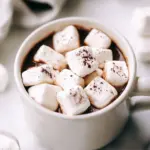
Expect a hands-on hour or so on day one and simple finishing the next morning. The result is a batch of classic, slightly coconut-kissed marshmallows that are soft, lightly chewy, and ready for hot chocolate, s’mores, or sniffing dramatically before you eat one.
What’s in the Bowl
- 3 (1/4-ounce) packets unflavored powdered gelatin — bloom these in cold water to give the marshmallows structure and bounce.
- 1/2 cup cold water — for the gelatin to soften; use cold so the gelatin blooms properly.
- 1-2/3 cups granulated sugar — the main sweetener and structural element; superfine works best, but regular granulated is fine.
- 1 cup light corn syrup — prevents the sugar from crystallizing and keeps the texture smooth.
- 1/2 cup cold water — for the sugar syrup; keep it separate from the gelatin water.
- 1/2 teaspoon salt — balances sweetness and enhances flavor.
- 2 teaspoons vanilla bean paste — primary vanilla flavor; added during whipping.
- an additional 1 teaspoon vanilla bean paste — the recipe calls for this extra teaspoon late in the whip for depth.
- 1 teaspoon coconut extract — a soft coconut note added with the final vanilla; omit if you prefer purely vanilla marshmallows.
- 1/2 cup cornstarch — mixed with powdered sugar to dust the pan and coat the cut marshmallows so they don’t stick.
- 1/2 cup powdered sugar — combined with cornstarch for dusting.
- 1 to 3 teaspoons vegetable oil — to lightly grease the parchment so the marshmallow releases easily.
Homemade Marshmallows Recipe Made Stepwise
- Pour 1/2 cup cold water into the bowl of a stand mixer fitted with the whisk attachment. Sprinkle the 3 (1/4-ounce) packets unflavored powdered gelatin evenly over the water and set aside to bloom (soften and absorb the water), about 5–10 minutes.
- In a small heavy-bottomed pot, combine 1-2/3 cups granulated sugar, 1 cup light corn syrup, 1/2 cup cold water, and 1/2 teaspoon salt. Stir just to moisten the sugar.
- Without stirring, bring the sugar mixture to a boil over high heat. Clip in a candy thermometer, making sure it does not touch the bottom of the pot, and cook the syrup to 240°F (soft-ball stage).
- As soon as the syrup reaches 240°F, remove the pot from the heat. Turn the mixer on high speed and, with the mixer running, slowly and steadily stream the hot syrup into the softened gelatin. Pour down the side of the bowl so the syrup does not splash.
- After all the syrup is added, continue whipping on high until the mixture is very thick, fluffy, and cool to the touch, about 10–15 minutes.
- In the last minute of whipping, add the vanilla and coconut flavorings: add 2 teaspoons vanilla bean paste, then add the additional 1 teaspoon vanilla bean paste and 1 teaspoon coconut extract, and continue whipping to incorporate.
- While the marshmallow is whipping, sift together 1/2 cup cornstarch and 1/2 cup powdered sugar into a small bowl. Set this cornstarch–powdered sugar mixture aside; you will use some to coat the pan and the rest to coat the cut marshmallows.
- Line the bottom of an 8×8-inch baking pan with parchment paper. Rub the parchment lightly with 1 to 3 teaspoons vegetable oil, then sprinkle a few tablespoons of the cornstarch–powdered sugar mixture evenly over the parchment to coat the bottom.
- When the marshmallow mixture is thickened and cooled, scrape it into the prepared pan and smooth the top with a spatula dipped in water (the spatula will help prevent sticking). Dust the top with a few tablespoons of the cornstarch–powdered sugar mixture (do not use all of it). Wrap the pan tightly with plastic wrap and let the marshmallows set at room temperature overnight.
- The next day, run a paring knife around the sides of the pan to loosen, then invert the marshmallow slab onto a cutting board. Peel off and discard the parchment.
- Use a sharp knife dipped in hot water and dried between cuts to slice the slab into about 1-1/2-inch squares (approximately 5 by 5). Dip and dry the knife before each cut for easiest slicing.
- Toss each marshmallow cube in the remaining cornstarch–powdered sugar mixture to coat all sides, shaking off excess before serving or storing.
Why I Love This Recipe
These marshmallows are dependable and forgiving. The method relies on a couple of precise moments — gelatin blooming and syrup temperature — but once you understand them, the rest is straightforward. The combination of vanilla bean paste and a touch of coconut extract gives a gentle, grown-up flavor without turning the candy into something fussy.
I also love that the recipe’s yields and shape are flexible: cut them big for giant hot-chocolate mugs, or trim them small for bite-sized treats. They’re tender inside, with the right amount of chew, and the cornstarch-powdered sugar finish keeps them elegantly non-sticky.
No-Store Runs Needed
- Most of these ingredients are pantry staples: sugar, corn syrup, salt, and powdered sugar. Check the back of your spice rack for vanilla bean paste; if you have only vanilla extract you can still make marshmallows (the flavor profile shifts slightly).
- Cornstarch and powdered sugar are used for dusting; if you already bake, you likely have both. Vegetable oil is only a teaspoon or three to grease the paper.
- The only item you might not have on hand is unflavored powdered gelatin. That’s the one store run that matters: one box lasts forever for occasional batches.
Toolbox for This Recipe
- Stand mixer with whisk attachment — hands-down the easiest way to whip to the required volume and texture.
- Small heavy-bottomed pot — helps distribute heat evenly for the sugar syrup.
- Candy thermometer — essential for getting the syrup to 240°F (soft-ball stage).
- Spatula and small bench scraper or sharp knife — for spreading the mix and slicing the slab.
- 8×8-inch baking pan and parchment paper — the standard slab size the recipe is written for.
- Sifter — to combine and aerate the cornstarch and powdered sugar dusting.
Pitfalls & How to Prevent Them
Gelatin not blooming
If the gelatin sits in warm or hot water it won’t bloom properly. Use cold water and give it 5–10 minutes. You should see the powder absorb water and swell — that’s the sign it’s ready.
Syrup temperature errors
The syrup must reach 240°F. If you undercook it, marshmallows will be too soft and may not set. If you overcook it, they can become tough. Clip the candy thermometer so it reads the syrup and not the pot’s bottom. Bring it to a boil without stirring once the ingredients are combined; stirring can encourage crystals.
Splashes and safety
Hot syrup is extremely hot. Stream it slowly into the mixer with the machine running and pour down the side of the bowl so it doesn’t splash. Keep hands and arms out of the way.
Sticky marshmallows
If finished marshmallows are tacky, chances are not enough cornstarch–powdered sugar was used to dust the slab and the cut pieces. Save some dusting mixture for tossing the cubes after they’re cut.
Customize for Your Needs
- Omit the coconut extract if you prefer classic vanilla-only marshmallows.
- Adjust the vanilla bean paste amount slightly, but note the directions call for adding it in two stages — that layering deepens the flavor.
- Cut the slab into whatever size fits your use: 1-1/2-inch squares are standard, but smaller pieces are great for topping baked goods or adding to cocoa.
Notes from the Test Kitchen
I test this batch after batch to dial in timing. Whipping time can vary with mixer power and kitchen temperature. The key cue is “cool to the touch” and “very thick and fluffy.” If it looks glossy and pours, keep going. If it’s matte, closer to stiff peaks, it’s ready.
For smoothing the top, dip the spatula in water then shake off excess. This keeps the spatula from sticking to the marshmallow as you sweep the surface. For slicing, a hot, dry knife gives the cleanest cuts — heat, dry, cut, repeat.
Storing Tips & Timelines
- Store marshmallows at room temperature in an airtight container layered with parchment to keep them from sticking. They keep best for up to two weeks.
- Do not refrigerate; the humidity in the fridge makes them sticky. If you need to freeze them, wrap individual pieces tightly and store in a sealed container for up to 3 months — thaw at room temperature before serving.
- Always shake off excess cornstarch mixture before serving to avoid a powdery mouthfeel.
Your Questions, Answered
- What if my syrup crystalizes? — Stirring and sugar crystals on the pot rim encourage crystallization. Use a clean pot and avoid stirring once it boils. If crystals form, you’ll need to start over; they give the marshmallows a gritty texture.
- Can I use gelatin sheets instead of powdered? — This recipe lists powdered gelatin. If you prefer sheets, look up an accurate conversion before substituting; bloom sheets according to their instructions.
- What if I don’t have a stand mixer? — A hand mixer will work, but it takes longer and your arm will get tired. The volume and texture still develop the same way.
- Can I make flavored marshmallows? — The recipe already includes vanilla and coconut. For other flavors, be cautious: extracts vary in strength. Start small and taste in the final minute of whipping.
Save & Share
If you try these marshmallows, save this page or pin it to your recipe board. They make a terrific homemade gift — package them in a box with a dusting of the cornstarch–powdered sugar mixture and a ribbon. Tag me if you share a photo; I love seeing how you cut them, flavor them, and use them.
Make one batch this weekend. The payoff is simple: soft, fresh marshmallows that taste like a treat you made at home. Small effort. Big return.
Homemade Marshmallows Recipe
Ingredients
Ingredients
- 3 1/4-ounce packetsunflavored powdered gelatin6 and 3/4 teaspoons
- 1/2 cupcold water
- 1-2/3 cupsgranulated sugarsuperfine if you have it but regular granulated also works
- 1 cuplight corn syrup
- 1/2 cupcold water
- 1/2 teaspoonsalt
- 2 teaspoonsvanilla bean paste
- 1 teaspooncoconut extractor an additional 1 teaspoon vanilla bean paste
- 1/2 cupcornstarch
- 1/2 cuppowdered sugar
- 1 to 3 teaspoonsvegetable oil
Instructions
Instructions
- Pour 1/2 cup cold water into the bowl of a stand mixer fitted with the whisk attachment. Sprinkle the 3 (1/4-ounce) packets unflavored powdered gelatin evenly over the water and set aside to bloom (soften and absorb the water), about 5–10 minutes.
- In a small heavy-bottomed pot, combine 1-2/3 cups granulated sugar, 1 cup light corn syrup, 1/2 cup cold water, and 1/2 teaspoon salt. Stir just to moisten the sugar.
- Without stirring, bring the sugar mixture to a boil over high heat. Clip in a candy thermometer, making sure it does not touch the bottom of the pot, and cook the syrup to 240°F (soft-ball stage).
- As soon as the syrup reaches 240°F, remove the pot from the heat. Turn the mixer on high speed and, with the mixer running, slowly and steadily stream the hot syrup into the softened gelatin. Pour down the side of the bowl so the syrup does not splash.
- After all the syrup is added, continue whipping on high until the mixture is very thick, fluffy, and cool to the touch, about 10–15 minutes.
- In the last minute of whipping, add the vanilla and coconut flavorings: add 2 teaspoons vanilla bean paste, then add the additional 1 teaspoon vanilla bean paste and 1 teaspoon coconut extract, and continue whipping to incorporate.
- While the marshmallow is whipping, sift together 1/2 cup cornstarch and 1/2 cup powdered sugar into a small bowl. Set this cornstarch–powdered sugar mixture aside; you will use some to coat the pan and the rest to coat the cut marshmallows.
- Line the bottom of an 8×8-inch baking pan with parchment paper. Rub the parchment lightly with 1 to 3 teaspoons vegetable oil, then sprinkle a few tablespoons of the cornstarch–powdered sugar mixture evenly over the parchment to coat the bottom.
- When the marshmallow mixture is thickened and cooled, scrape it into the prepared pan and smooth the top with a spatula dipped in water (the spatula will help prevent sticking). Dust the top with a few tablespoons of the cornstarch–powdered sugar mixture (do not use all of it). Wrap the pan tightly with plastic wrap and let the marshmallows set at room temperature overnight.
- The next day, run a paring knife around the sides of the pan to loosen, then invert the marshmallow slab onto a cutting board. Peel off and discard the parchment.
- Use a sharp knife dipped in hot water and dried between cuts to slice the slab into about 1-1/2-inch squares (approximately 5 by 5). Dip and dry the knife before each cut for easiest slicing.
- Toss each marshmallow cube in the remaining cornstarch–powdered sugar mixture to coat all sides, shaking off excess before serving or storing.
Equipment
- stand mixerwith whisk attachment
- Medium Pot
- 8 x 8-inch baking pan
- Parchment Paper
Notes
Storage
: Marshmallows can be stored in an airtight container at room temperature for up to 1 month.


