
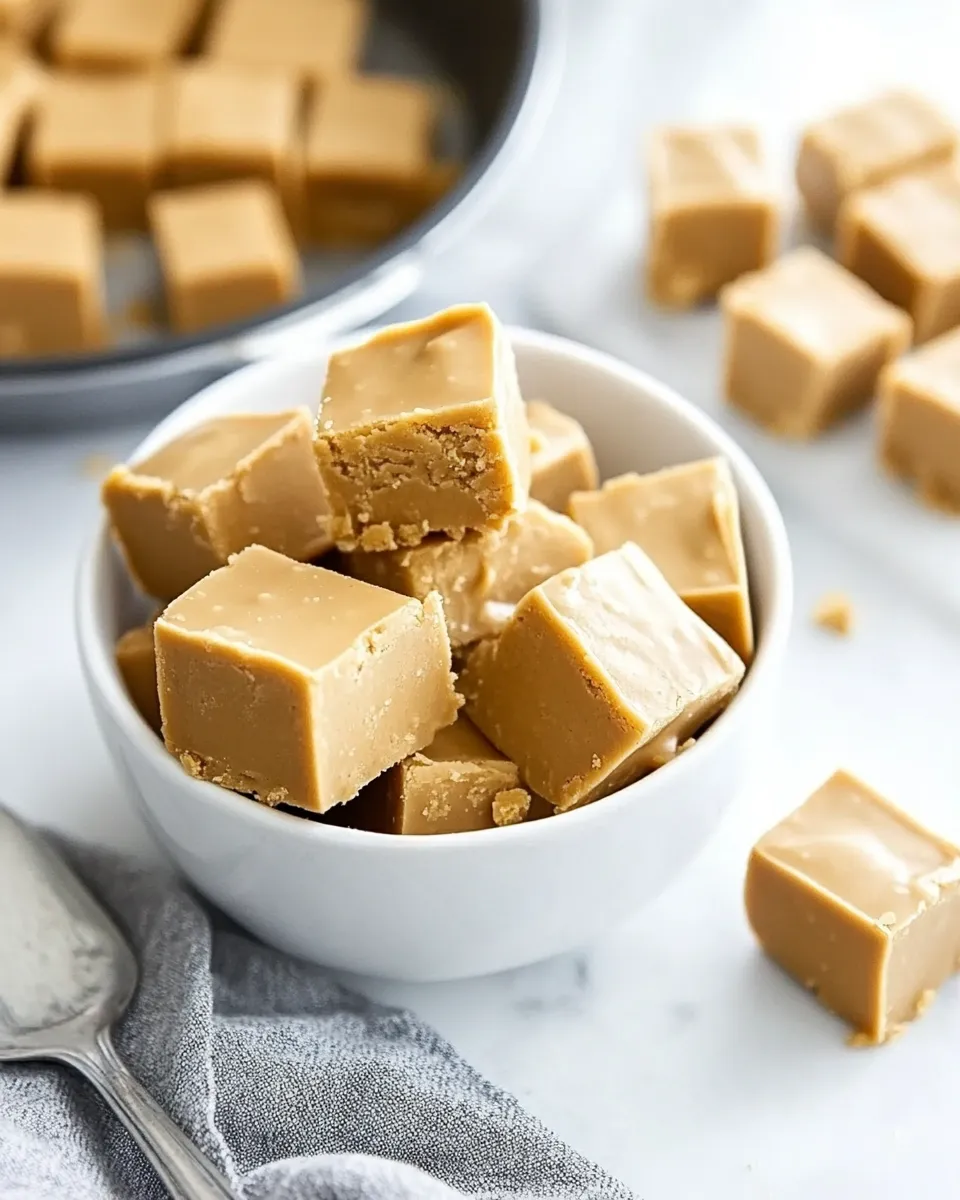
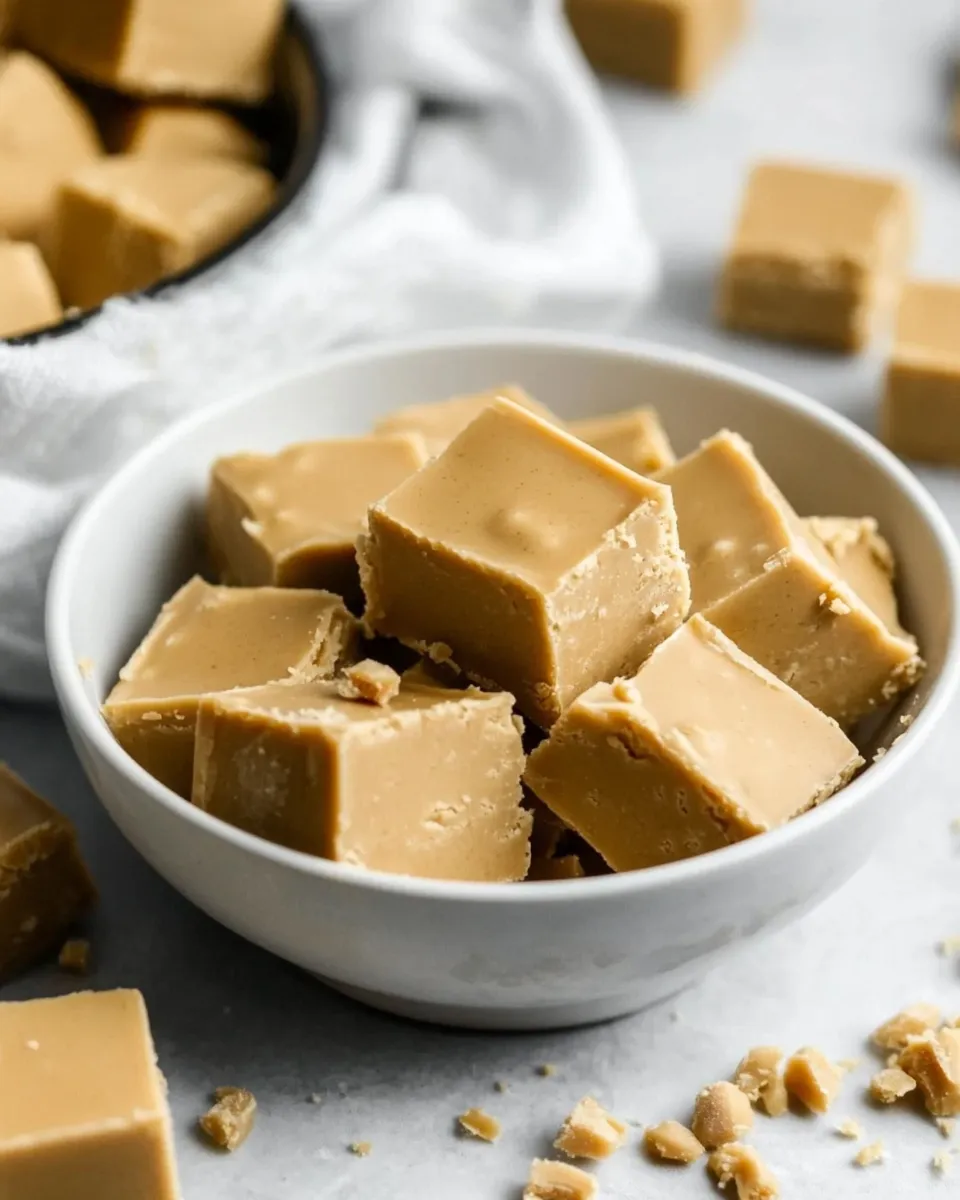
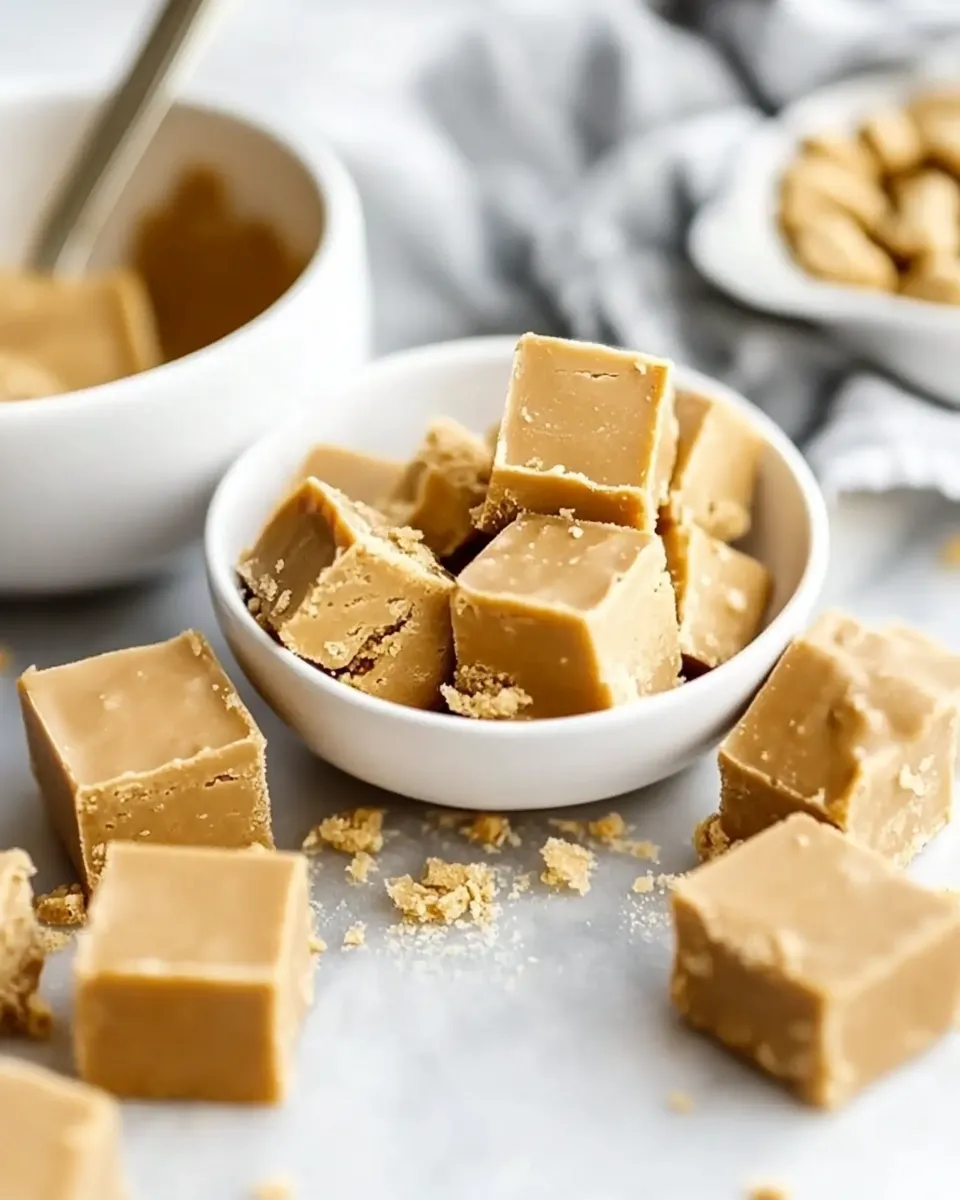
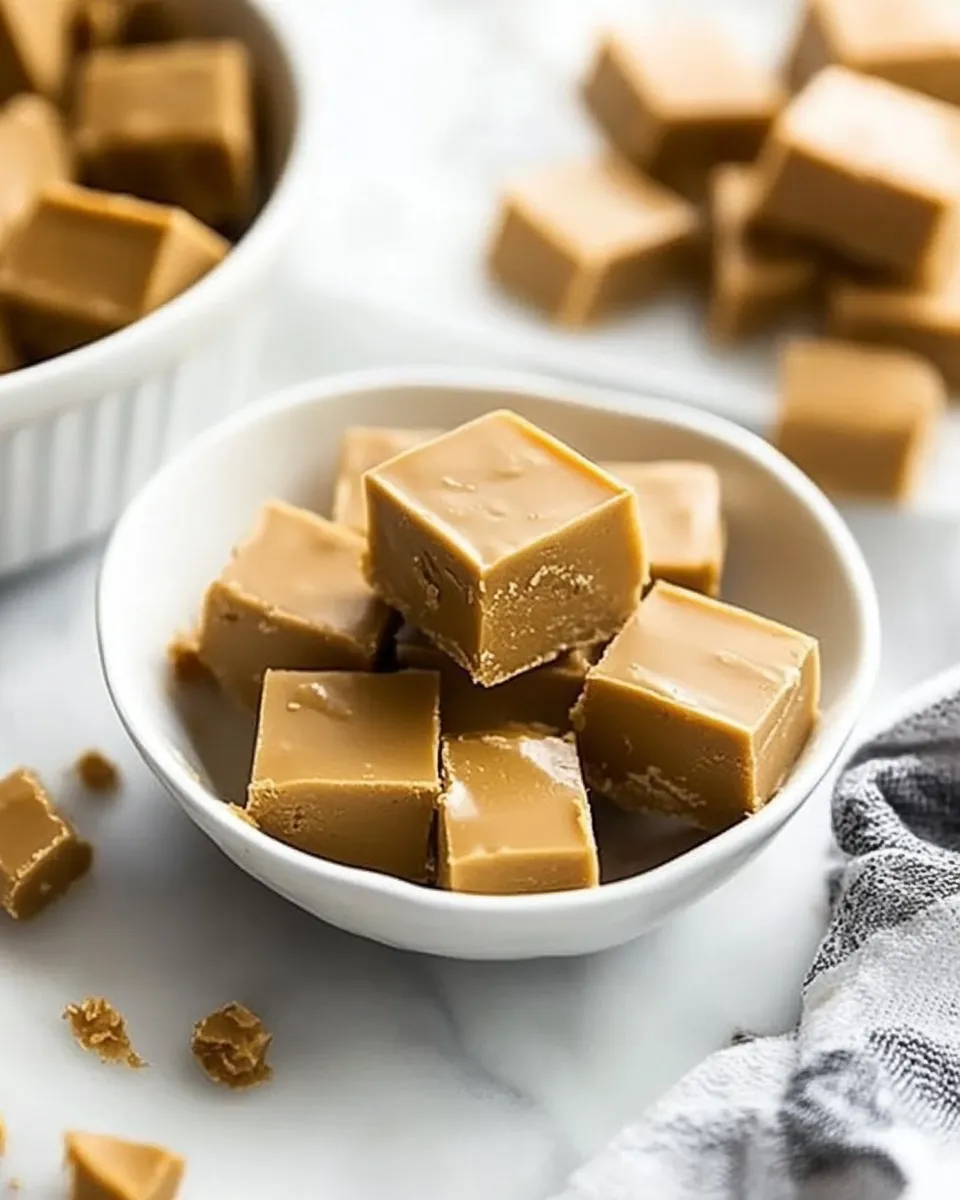
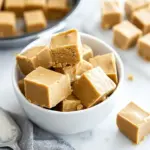
I make fudge the way I make most desserts: practical, a little unapologetic, and with an eye on texture. This peanut butter fudge is dense, creamy and reliably sweet — the kind that snaps cleanly when you cut it and melts on the tongue the moment it hits the roof of your mouth. No tempering chocolate, no candy thermometer. Just a saucepan, a bowl, and patience to sift the sugar.
I’ve been refining this recipe so it behaves the same in every kitchen: stovetop melting, careful incorporation of powdered sugar, and a touch of marshmallow creme for silkiness. The result is sturdy squares that travel well in a tin, slice cleanly for gift boxes, and hold up on a dessert platter without weeping.
Read on for the exact ingredient notes, the step-by-step process straight from the recipe, troubleshooting, sensible swaps, and storage guidance. If you want a dependable, no-fuss peanut butter fudge to make tonight, this is the one I reach for.
Ingredient Checklist
- 1 cup unsalted butter — provides fat and richness; unsalted lets you control the final seasoning.
- 1 cup creamy peanut butter — I use Skippy; do not use a “natural” peanut butter — the texture and oil separation in natural varieties will change the consistency.
- ½ cup Reese’s peanut butter chips — adds extra peanut butter flavor and helps the mixture finish silky when melted.
- 1 tablespoon pure vanilla extract — brightens the peanut notes and rounds the sweetness.
- 3½ cups powdered sugar — measured and then sifted well – for the smoothest texture and appearance, DO sift the sugar!
- ½ teaspoon kosher salt — balances sweetness and enhances peanut flavor; adjust slightly if using salted butter.
- ¼ cup marshmallow creme — I use Kraft — improves texture, adds chewiness and helps prevent graininess.
Cooking Homemade Peanut Butter Fudge: The Process
- Line an 8″x8″ pan with parchment paper or foil, leaving a 1–2 inch overhang on two opposite sides for lifting the fudge out later; set the prepared pan aside.
- Measure 3½ cups powdered sugar into a large bowl, sift it well, and set the sifted powdered sugar aside.
- In a heavy-bottomed saucepan set over medium heat, combine 1 cup unsalted butter, 1 cup creamy peanut butter, and ½ cup Reese’s peanut butter chips.
- Stir constantly with a heatproof spatula or spoon until the butter, peanut butter, and chips are fully melted and the mixture is completely smooth.
- Reduce the heat to low and stir in 1 tablespoon pure vanilla extract.
- Keeping the pan over low heat, add the sifted powdered sugar a cup at a time and stir thoroughly after each addition until fully incorporated and the mixture is smooth. If any lumps form or the mixture looks grainy, vigorously whisk or press the mixture against the bottom of the pan with the spatula to break up lumps.
- Stir in ½ teaspoon kosher salt, then add ¼ cup marshmallow creme and mix until the marshmallow creme is fully incorporated and the mixture is uniform.
- Transfer the fudge mixture to the prepared 8″x8″ pan and use an offset spatula or the back of a spoon to spread it evenly and smooth the top.
- Refrigerate the pan uncovered for 1½ to 2 hours, or until the fudge is firm to the touch.
- When set, lift the fudge from the pan using the parchment/foil overhang and place it on a cutting board. Cut into squares as desired (for very small pieces, you can cut the 8″x8″ pan into 64 pieces with 8 cuts in each direction).
Why This Recipe Is Reliable
This recipe works because it controls the three trouble spots for stovetop fudge: even melting, sugar incorporation, and moisture balance. A heavy-bottomed pan prevents hot spots that burn butter or chips. Sifting the powdered sugar reduces the chance of graininess. The marshmallow creme is a clever addition: it adds viscosity and helps produce a smooth mouthfeel without changing the classic fudge bite.
The ingredient choices are deliberate. A creamy, non-natural peanut butter keeps the fats and emulsifiers consistent, which means the mixture sets predictably. The small addition of kosher salt and pure vanilla ties the sweetness to the peanut profile without overpowering it.
Easy Ingredient Swaps
- Butter — If you only have salted butter, reduce the added kosher salt slightly (start with a pinch) and taste. The end result will be fine, just slightly saltier.
- Peanut butter — If you want a different brand than Skippy, choose a commercial creamy peanut butter labeled as stable (non-separating). Avoid natural, oil-separated jars.
- Reese’s peanut butter chips — You can use regular peanut butter chips or even a handful of semisweet chips if you want a chocolate twist; expect a subtle flavor change.
- Marshmallow creme — If you’re out, you can try 2–3 tablespoons of mini marshmallows melted in, but the texture will be slightly different — the creme gives the smoothest finish.
Tools of the Trade
- 8″x8″ pan — for predictable thickness and set time.
- Parchment paper or foil — for clean removal and easy cutting.
- Heavy-bottomed saucepan — prevents scorching while melting butter and chips.
- Heatproof spatula or wooden spoon — for stirring. A rubber spatula is ideal for scraping.
- Offset spatula or back of a spoon — for smoothing the top in the pan.
- Sieve or sifter — for the powdered sugar; this is essential for a smooth finish.
- Large bowl — to hold the sifted powdered sugar and also useful if you prefer mixing off-heat.
Slip-Ups to Skip
There are a few small mistakes that can throw off a batch. Watch for these:
- Overheating — keep the heat moderate when melting and low when adding the sugar. High heat can make the mixture grainy or oddly separated.
- Skipping the sift — powdered sugar that isn’t sifted introduces lumps that are hard to break down; the recipe explicitly calls for sifting for a reason.
- Using natural peanut butter — the oil separation in natural types will alter consistency and can prevent a clean set.
- Not stirring continuously while melting — chips or butter can scorch on the bottom if not moved frequently.
- Rushing the cool-down — the refrigerate time is necessary for a clean set; cutting too soon ends with sticky, messy pieces.
Customize for Your Needs
Want to dress these squares up? Here are simple, practical tweaks that keep the method intact:
- Topping options — scatter a few extra peanut butter chips or a light dusting of finely chopped peanuts on the top before it sets for texture and presentation.
- Flavor boosts — a tiny pinch of cinnamon or a drop more vanilla can change the profile without altering texture; add these when you add the vanilla.
- Smaller or larger bars — use the same recipe in a 9″x9″ for slightly thinner pieces or a loaf pan for taller, thicker cuts; adjust your expected set time slightly.
- Nut-free alternative — if you swap peanut butter for another nut butter, be mindful that natural-style nut butters behave differently. Stick to commercial creamy varieties for best results.
Method to the Madness
Here’s the simple science. Powdered sugar is mostly sugar and cornstarch; sifting removes air pockets and clumps so it integrates smoothly. The butter and commercial peanut butter form a stable emulsion when melted together; the chips add concentrated peanut flavor and help the final texture when fully melted. Marshmallow creme contains gelatin and sugar that improve the sheen and chew. The low-heat mixing and gradual sugar addition let you incorporate the dry sugar without creating lumps or a gritty feel.
Meal Prep & Storage Notes
Fudge is forgiving to prepare ahead. Once set, cut it and store pieces in layers separated by parchment in an airtight container. For short-term storage, keep the container at room temperature in a cool, dry place and consume within 3–5 days for best texture. For longer storage, refrigerate for up to 2 weeks.
Freezing works well: wrap individual squares or small stacks tightly in plastic wrap and keep in an airtight container or freezer bag for up to 3 months. Thaw in the refrigerator or at room temperature before serving. If the fudge becomes slightly firmer after refrigeration, bring it to room temperature for 20–30 minutes before serving to restore a softer bite.
Common Qs About Homemade Peanut Butter Fudge
Q: Can I omit the marshmallow creme?
A: You can, but expect a slightly dryer texture and possibly a bit more graininess. The marshmallow creme smooths and stabilizes the mixture.
Q: Why did my fudge turn out grainy?
A: Usually it’s from powdered sugar lumps that weren’t fully broken up, or from overheating the mixture. Sift the sugar and keep the heat low as you add it. If lumps appear, press them against the pan bottom with the spatula to break them up, as the recipe suggests.
Q: Can I make this without the Reese’s peanut butter chips?
A: Yes, but the chips add concentrated peanut flavor and help with the finish. If you omit them, the fudge will still work using just the peanut butter and butter, though the flavor will be slightly less intense.
Q: How small should I cut the squares?
A: That’s up to you. The recipe notes you can cut the 8″x8″ pan into 64 pieces with 8 cuts in each direction for very small bites. Standard fudge sizes are usually 1″ to 1½” squares; adjust cutting accordingly.
Make It Tonight
If you want a reliable, crowd-pleasing treat tonight, this recipe fits the bill. Prep time is short — most of your time is melting, stirring, and then waiting for it to set in the fridge. Follow the steps exactly: line the pan, sift the sugar, melt carefully, add sugar gradually, and don’t rush the chill. The payoff is clean-cut, buttery-sweet peanut butter fudge that looks like you spent hours on it but wasn’t fussy to make.
Make a batch, wrap a few squares in parchment and tie with twine for a last-minute gift, or tuck them into a cookie tin for holiday sharing. This is the kind of recipe I keep in my back pocket for potlucks, unexpected guests, and whenever I need something comforting and reliably delicious.
Homemade Peanut Butter Fudge
Ingredients
Ingredients
- 1 cupunsalted butter
- 1 cupcreamy peanut butter – I use Skippydo not use a “natural” peanut butter
- 1/2 cupReese’s peanut butter chips
- 1 tablespoonpure vanilla extract
- 3 1/2 cupspowdered sugarmeasured and then sifted well – for the smoothest texture and appearance DO sift the sugar!
- 1/2 teaspoonkosher salt
- 1/4 cupmarshmallow creme – I use Kraft
Instructions
Instructions
- Line an 8"x8" pan with parchment paper or foil, leaving a 1–2 inch overhang on two opposite sides for lifting the fudge out later; set the prepared pan aside.
- Measure 3½ cups powdered sugar into a large bowl, sift it well, and set the sifted powdered sugar aside.
- In a heavy-bottomed saucepan set over medium heat, combine 1 cup unsalted butter, 1 cup creamy peanut butter, and ½ cup Reese’s peanut butter chips.
- Stir constantly with a heatproof spatula or spoon until the butter, peanut butter, and chips are fully melted and the mixture is completely smooth.
- Reduce the heat to low and stir in 1 tablespoon pure vanilla extract.
- Keeping the pan over low heat, add the sifted powdered sugar a cup at a time and stir thoroughly after each addition until fully incorporated and the mixture is smooth. If any lumps form or the mixture looks grainy, vigorously whisk or press the mixture against the bottom of the pan with the spatula to break up lumps.
- Stir in ½ teaspoon kosher salt, then add ¼ cup marshmallow creme and mix until the marshmallow creme is fully incorporated and the mixture is uniform.
- Transfer the fudge mixture to the prepared 8"x8" pan and use an offset spatula or the back of a spoon to spread it evenly and smooth the top.
- Refrigerate the pan uncovered for 1½ to 2 hours, or until the fudge is firm to the touch.
- When set, lift the fudge from the pan using the parchment/foil overhang and place it on a cutting board. Cut into squares as desired (for very small pieces, you can cut the 8"x8" pan into 64 pieces with 8 cuts in each direction).
Equipment
- 8x8-inch Pan
- Parchment Paper
- Foil
- Large Bowl
- Sifter
- Heavy-bottomed saucepan
- heatproof spatula
- Spoon
- Whisk
- Offset Spatula
- Cutting Board
- Refrigerator
Notes
Store fudge in a covered container in the fridge for up to a week, or in the freezer in a freezer-safe container or baggie for up to 3 months. Separate any layers with parchment paper.


