

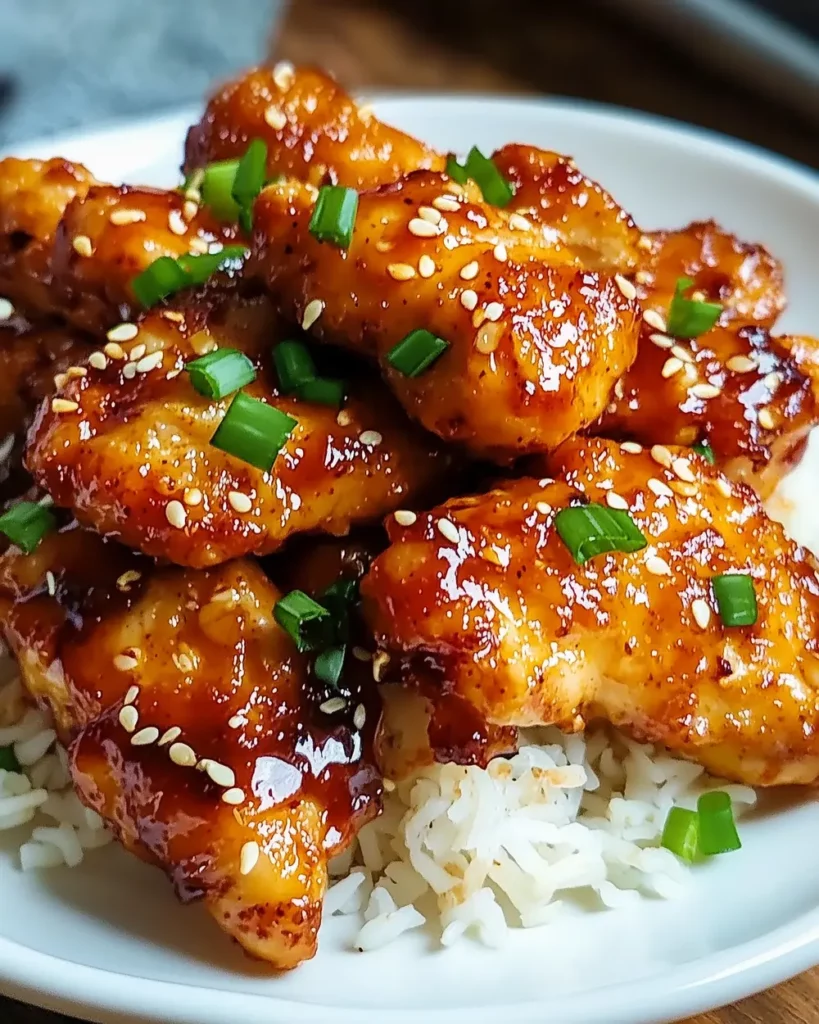
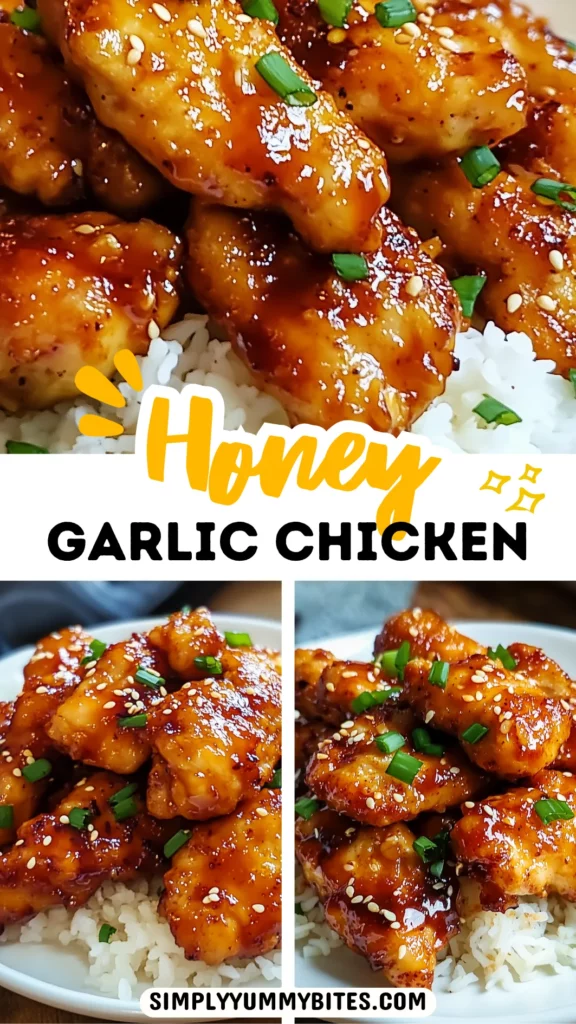
This honey garlic chicken is one of those dependable weeknight wins: quick to make, forgiving, and deeply flavorful. I love it because it hits the sweet-savory balance without fussy steps. The sauce reduces to a glossy coat, and the cornstarch gives the chicken a light, satisfying crust that keeps every bite interesting.
You’ll move from prep to plate in about 30 minutes if you work efficiently. There are only a few components to worry about: the cornstarch for a light crisp, a simple honey-soy-garlic sauce, and a quick pan-sear. The method is straightforward and repeatable, which makes this my go-to when I want comfort without a long cooking session.
Below you’ll find the ingredient breakdown, the exact method, swaps, tools, storage advice, and small failsafe tips I rely on. Follow the steps closely the first time, then adjust heat and honey to match your taste. This dish is flexible and forgiving—perfect for busy evenings.
Ingredient Breakdown
Ingredients
- 2 to 2½ lbs chicken breast — (2 large or 4 medium boneless, skinless chicken breasts, cut into 1-inch pieces)*. The lean white meat cooks quickly and soaks up the sauce; cut uniformly for even cooking.
- ½ cup corn starch — For coating the chicken so it browns lightly and the sauce clings; use as directed for a crisp exterior.
- 1 cup filtered water — The liquid base for the sauce; filtered water gives a cleaner flavor if your tap water is strong.
- ⅓ cup low sodium soy sauce — or gluten-free soy sauce. Provides depth, salt, and umami; low-sodium lets the honey shine without going too salty.
- ⅓ cup honey — or more to taste. The primary sweetener; adjust for a milder or bolder sweetness.
- 1 to 2 Tbsp Sriracha — or added to desired spice level.* Adds heat and a little vinegar tang; start low if you’re spice-averse.
- 3 cloves garlic — (1 Tbsp minced). Fresh garlic is essential here; it gives the sauce its aromatic backbone.
- 2 Tbsp corn starch — For the sauce slurry to thicken the liquid to a glossy sheen.
- 2 Tbsp cold water — To dissolve the cornstarch for the slurry; cold water prevents lumps.
- Sesame seeds and chives — optional garnish. They add a toasty note and fresh color; sprinkle just before serving.
Method: Honey Garlic Chicken
- If not already, cut the chicken breasts into 1-inch pieces and pat dry with paper towels. Place the chicken pieces in a large zip-top bag, add 1/2 cup cornstarch, seal the bag, and toss until all pieces are evenly coated.
- Mince the garlic (3 cloves = about 1 Tbsp minced).
- In a medium saucepan combine 1 cup filtered water, 1/3 cup low-sodium soy sauce (or gluten-free soy sauce), 1/3 cup honey (or more to taste), 1 to 2 Tbsp Sriracha (adjust to your spice preference), and the minced garlic. Set the saucepan over medium heat and bring the mixture to a boil, stirring occasionally.
- In a small bowl, stir together 2 Tbsp cornstarch and 2 Tbsp cold water until fully dissolved to make a slurry.
- When the sauce is boiling, pour the cornstarch slurry into the saucepan while stirring. Continue to cook over medium heat, stirring, until the sauce thickens and coats the back of a spoon. Reduce the heat to low and keep the sauce warm.
- Heat a large nonstick skillet over medium heat. Add the cornstarch-coated chicken in a single layer without crowding the pan (cook in batches if needed). Cook, turning as needed, until the chicken pieces are cooked through and no longer pink in the center (internal temperature 165°F / 74°C) and lightly browned.
- Return any chicken cooked in batches to the skillet (or place all cooked chicken in a large bowl). Turn off the heat, pour the warm honey-garlic sauce over the chicken, and stir or toss until all pieces are evenly coated and heated through.
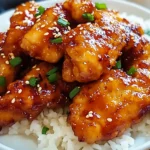
- Serve as desired (for example over white rice) and garnish with sesame seeds and sliced chives, if using.
Why This Recipe Works
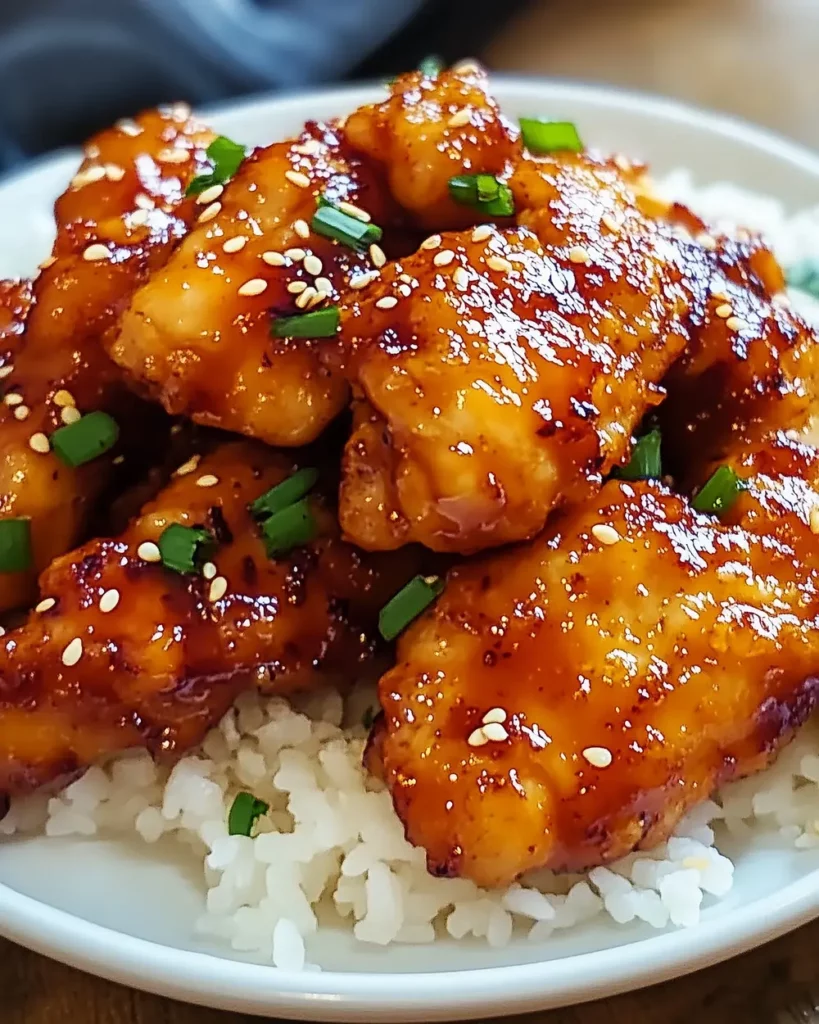
There are a few technical reasons this one comes together reliably. Coating the chicken in cornstarch creates a thin barrier that browns quickly in the skillet and helps the sauce cling without turning the meat soggy. The sauce itself is a simple emulsion of honey and soy—sweet, salty, and aromatic—with garlic giving it a savory lift.
The sequence matters. Making and thickening the sauce before you cook the chicken means the sauce is ready to go the moment the chicken is done. That keeps the chicken from sitting in the pan and softening. Also, adding the slurry to a boiling sauce and stirring immediately prevents lumps and gives you that glossy finish that bites into the cornstarch-crisped chicken beautifully.
Quick Replacement Ideas
- Swap chicken breasts for boneless, skinless chicken thighs if you want more juiciness—no need to change any amounts, just watch the cook time for uniform pieces.
- Use tamari or a certified gluten-free soy sauce to make the sauce gluten-free while keeping the same volumes.
- If you don’t have Sriracha, a pinch of chili flakes or a small squeeze of any hot sauce works—start small and taste.
- Maple syrup can replace honey for a different sweet note; it will change the flavor but still achieve the same glaze.
- Arrowroot powder can be used instead of cornstarch for a clearer sauce; substitute 1:1 in the slurry, but keep the coating method the same.
Cook’s Kit
- Large nonstick skillet — For even browning without sticking.
- Medium saucepan — To make and thicken the sauce.
- Large zip-top bag — For dusting the chicken in cornstarch quickly and cleanly.
- Measuring cups and spoons — Precise amounts matter for balance here.
- Small bowl — To whisk the cornstarch slurry.
- Paper towels — For drying the chicken so the coating adheres.
- Instant-read thermometer — To confirm chicken reaches 165°F / 74°C safely.
- Tongs or a slotted spoon — To transfer chicken without losing the crust.
Don’t Do This
- Don’t skip patting the chicken dry. Wet chicken won’t crisp and the coating will clump.
- Don’t overcrowd the pan. Crowd the skillet and the pieces steam instead of brown; cook in batches if needed.
- Don’t add the slurry to a cold sauce. Pour it into a boiling sauce and stir immediately to avoid lumps.
- Don’t overcook the sauce after adding the slurry—boiling aggressively can thin it again or burn the sugars in the honey.
- Don’t walk away while the garlic cooks in the sauce; garlic burns fast and turns bitter.
Variations by Season
Spring: Toss in lightly steamed sugar snap peas or edamame at the end for a bright crunch. Finish with extra sliced chives for freshness.
Summer: Serve this with a chilled cucumber salad on the side and fold in thinly sliced bell peppers for color and a raw crunch that balances the warm glaze.
Fall: Add sliced roasted sweet potatoes or serve over warm farro for a heartier plate. A scatter of toasted sesame seeds plays nicely with roasted flavors.
Winter: Let the sauce sit slightly thicker and spoon it over creamy mashed potatoes or buttered noodles for a comforting bowl that warms you from the inside out.
Insider Tips
- If you’re short on time, cut the chicken into slightly larger pieces and cook a touch longer; the method scales, but uniform size is key for even cooking.
- Keep the sauce warm on the lowest heat while cooking the chicken. Warm sauce clings better when you toss it with the hot chicken.
- If the sauce sets too thick in the fridge, loosen it with a splash of water or warm it gently on the stove while stirring.
- Toast the sesame seeds in a dry pan for 2 minutes before garnishing for a nuttier finish.
- Taste and adjust the honey or Sriracha at the end. Heat and sweetness are personal; small tweaks make it yours.
Best Ways to Store
Refrigerate leftovers in an airtight container for 3 to 4 days. The sauce will thicken as it cools; reheat gently over low heat with a tablespoon or two of water to loosen it and keep the chicken from drying out.
To freeze, let cooled chicken and sauce sit in a freezer-safe container for up to 2 months. Thaw in the refrigerator overnight and reheat slowly on the stove. Avoid microwaving straight from frozen—quick high heat can make the chicken rubbery and the sauce separate.
Honey Garlic Chicken Q&A
Q: Can I make this in advance?
A: Yes. Cook the chicken and make the sauce separately. Store them chilled and combine just before serving, or reheat gently and toss together when you’re ready.
Q: Is this safe for meal prep?
A: Absolutely. Portion the chicken over rice or grains in airtight containers for up to 4 days in the fridge. Add fresh garnishes like chives and sesame seeds just before eating.
Q: How do I reduce the heat?
A: Use less Sriracha—start with 1 tsp, taste after the sauce cooks, and increase if you want more. The sauce still has plenty of flavor without much heat.
Q: Can I use bone-in chicken?
A: You can, but bone-in pieces require longer cooking times and won’t brown as evenly with this quick method. I recommend boneless pieces for speed and consistency.
Q: My sauce lumps—what went wrong?
A: Most likely the slurry was added to a sauce that wasn’t hot enough or the cornstarch wasn’t fully dissolved. Make the slurry with cold water and add it to a boiling sauce, stirring constantly.
Final Bite
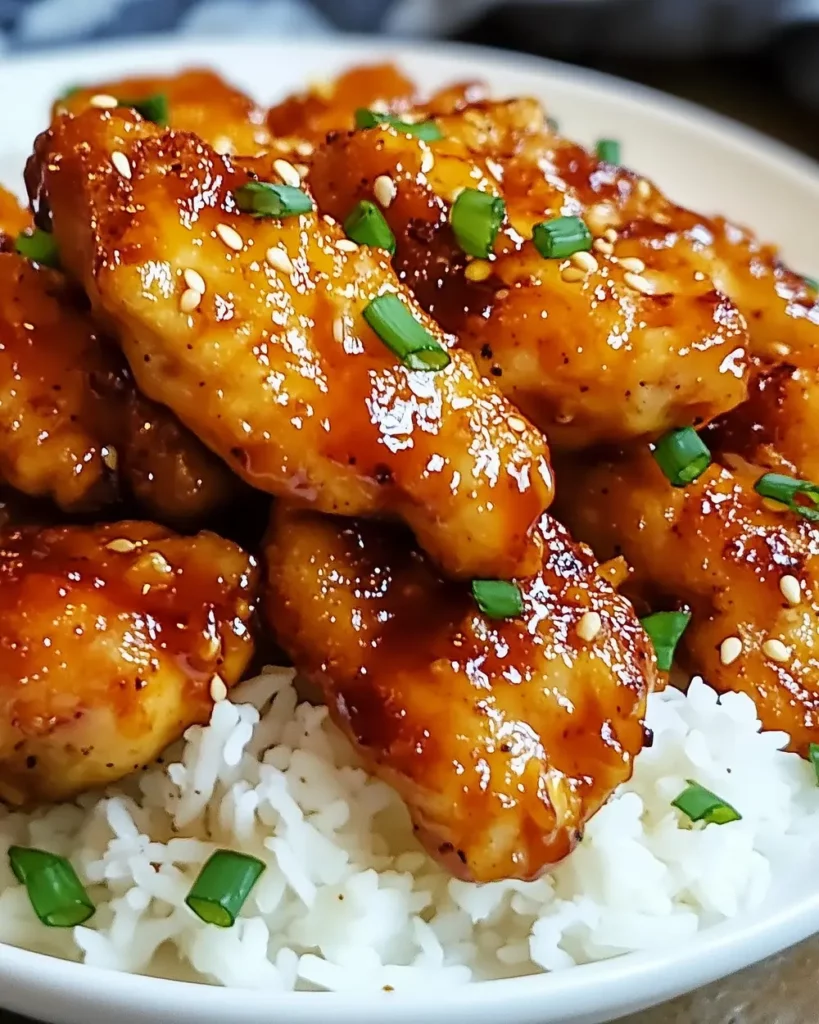
This Honey Garlic Chicken hits the sweet-salty notes with minimal fuss and maximum comfort. Follow the steps once, tweak heat and honey to suit you, and you’ll have a dependable, weeknight-friendly dish that gets better each time you make it. Let me know how you finish yours—extra sesame, maybe a squeeze of lime? I love hearing small tweaks that become family favorites.
Honey Garlic Chicken Recipe
Ingredients
Ingredients
- 2 to 2 1/2 lbschicken breast (2 large or 4 medium boneless, skinless chicken breasts, cut into 1-inch pieces)*
- 1/2 cupcorn starch
- 1 cupfiltered water
- 1/3 cuplow sodium soy sauce *or gluten-free soy sauce
- 1/3 cuphoney or more to taste
- 1 to 2 TbspSriracha sauce or added to desired spice level*
- 3 clovesgarlic (1 Tbsp minced)
- 2 Tbspcorn starch
- 2 Tbspcold water
- Sesame seeds and chives optional garnish
Instructions
Instructions
- If not already, cut the chicken breasts into 1-inch pieces and pat dry with paper towels. Place the chicken pieces in a large zip-top bag, add 1/2 cup cornstarch, seal the bag, and toss until all pieces are evenly coated.
- Mince the garlic (3 cloves = about 1 Tbsp minced).
- In a medium saucepan combine 1 cup filtered water, 1/3 cup low-sodium soy sauce (or gluten-free soy sauce), 1/3 cup honey (or more to taste), 1 to 2 Tbsp Sriracha (adjust to your spice preference), and the minced garlic. Set the saucepan over medium heat and bring the mixture to a boil, stirring occasionally.
- In a small bowl, stir together 2 Tbsp cornstarch and 2 Tbsp cold water until fully dissolved to make a slurry.
- When the sauce is boiling, pour the cornstarch slurry into the saucepan while stirring. Continue to cook over medium heat, stirring, until the sauce thickens and coats the back of a spoon. Reduce the heat to low and keep the sauce warm.
- Heat a large nonstick skillet over medium heat. Add the cornstarch-coated chicken in a single layer without crowding the pan (cook in batches if needed). Cook, turning as needed, until the chicken pieces are cooked through and no longer pink in the center (internal temperature 165°F / 74°C) and lightly browned.
- Return any chicken cooked in batches to the skillet (or place all cooked chicken in a large bowl). Turn off the heat, pour the warm honey-garlic sauce over the chicken, and stir or toss until all pieces are evenly coated and heated through.
- Serve as desired (for example over white rice) and garnish with sesame seeds and sliced chives, if using.
Equipment
- Large Zip-Top Bag
- Paper Towels
- Medium Saucepan
- Small Bowl
- large nonstick skillet
- Large Bowl
- Spoon
Notes
*For a Spicy Stir Fry –
With 1 Tbsp of
Sriracha
sauce, the spiciness is almost undetectable and won’t be spicy. For a spicier sauce, add more sriracha and even a pinch of red pepper flakes while cooking the sauce if desired.
*
Protein Variations:
It’s easy to use the sauce for a variety of stir fry recipes and on different proteins such as: chicken tenders, chicken thighs or wings, Shrimp or Fish, or Tofu “steaks” for a vegetarian option.


