
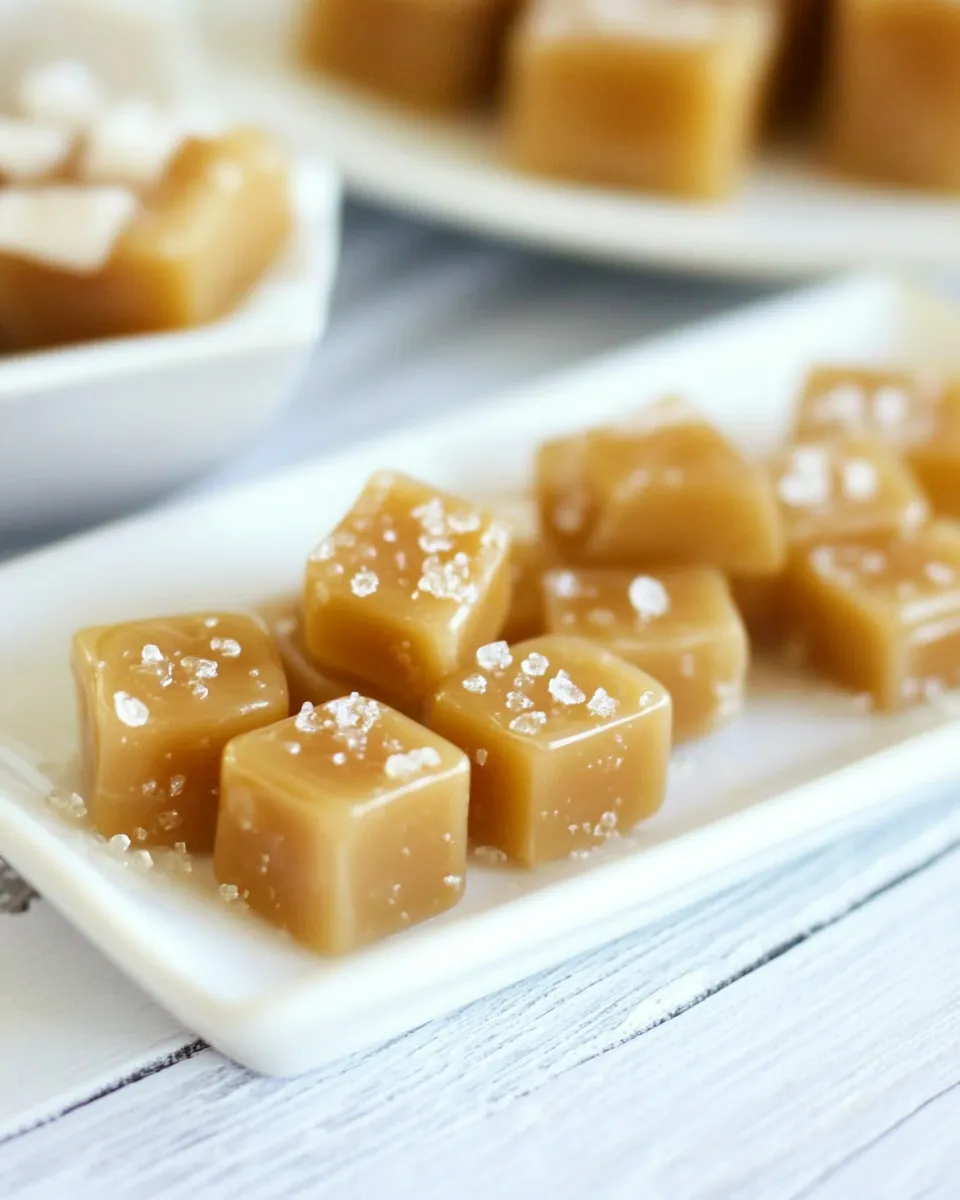
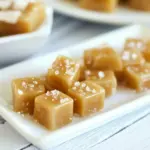
These caramels are deceptively simple. Browned butter, honey, heavy cream, and a touch of salt turn into glossy, chewy squares with a honeyed depth that packed sugar alone can’t match. The method is slow and intentional, not fussy—you’re watching temperature, not stirring franticly.
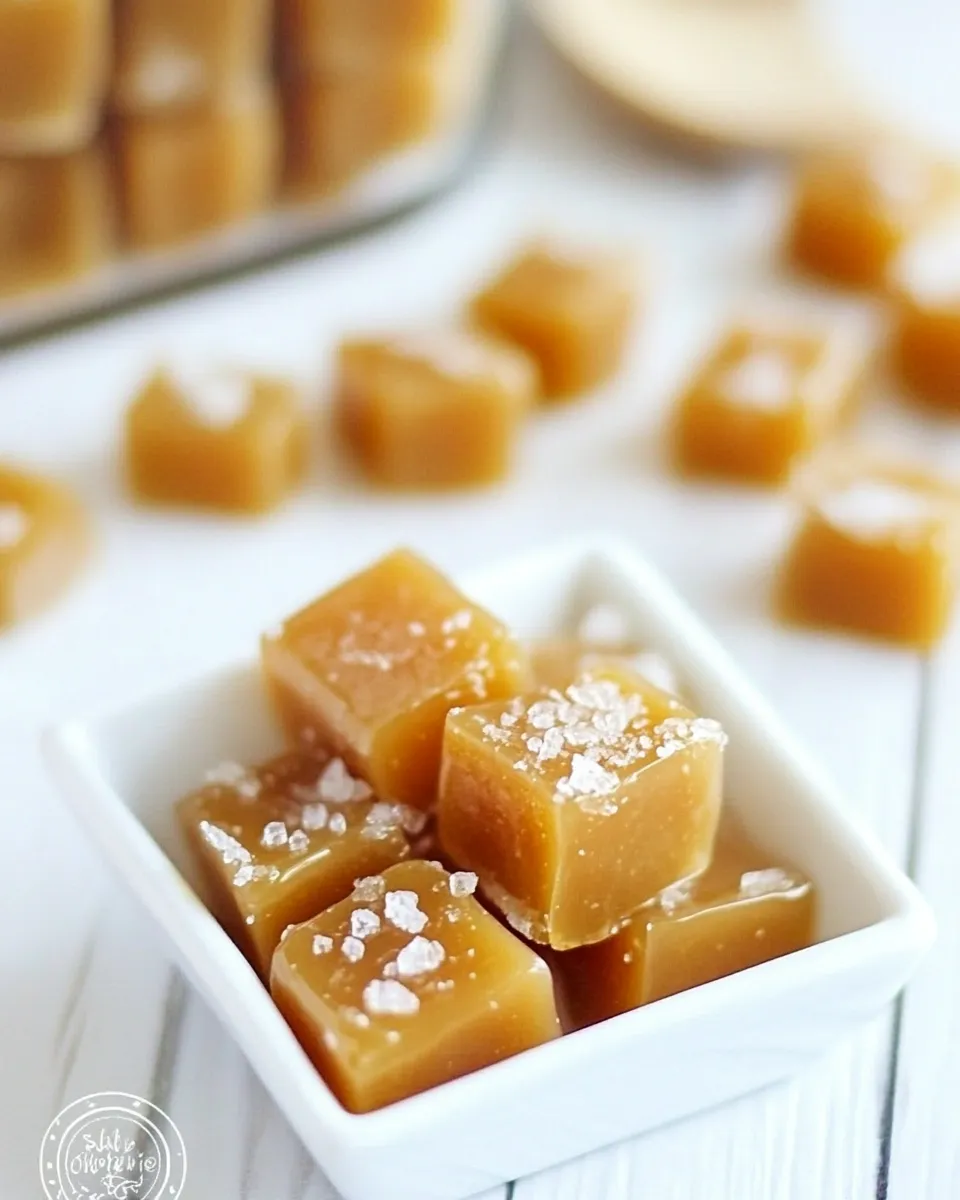
I test this recipe when I want something gift-ready without a lot of drama. The pieces slice clean when chilled, wrap beautifully, and keep in the fridge for a week or two. If you love the idea of salted caramel but want something with floral warmth instead of pure molasses, this is the one to make.
Read through the ingredients and the method before you begin. A candy thermometer and patience are the only real requirements. Follow the temperature guidance rather than a strict clock: that’s the difference between chewy perfection and a sticky mess.
Ingredient Rundown
Ingredients
- 1/2 cup butter — Provides fat, flavor and a silky mouthfeel; use unsalted or adjust salt later.
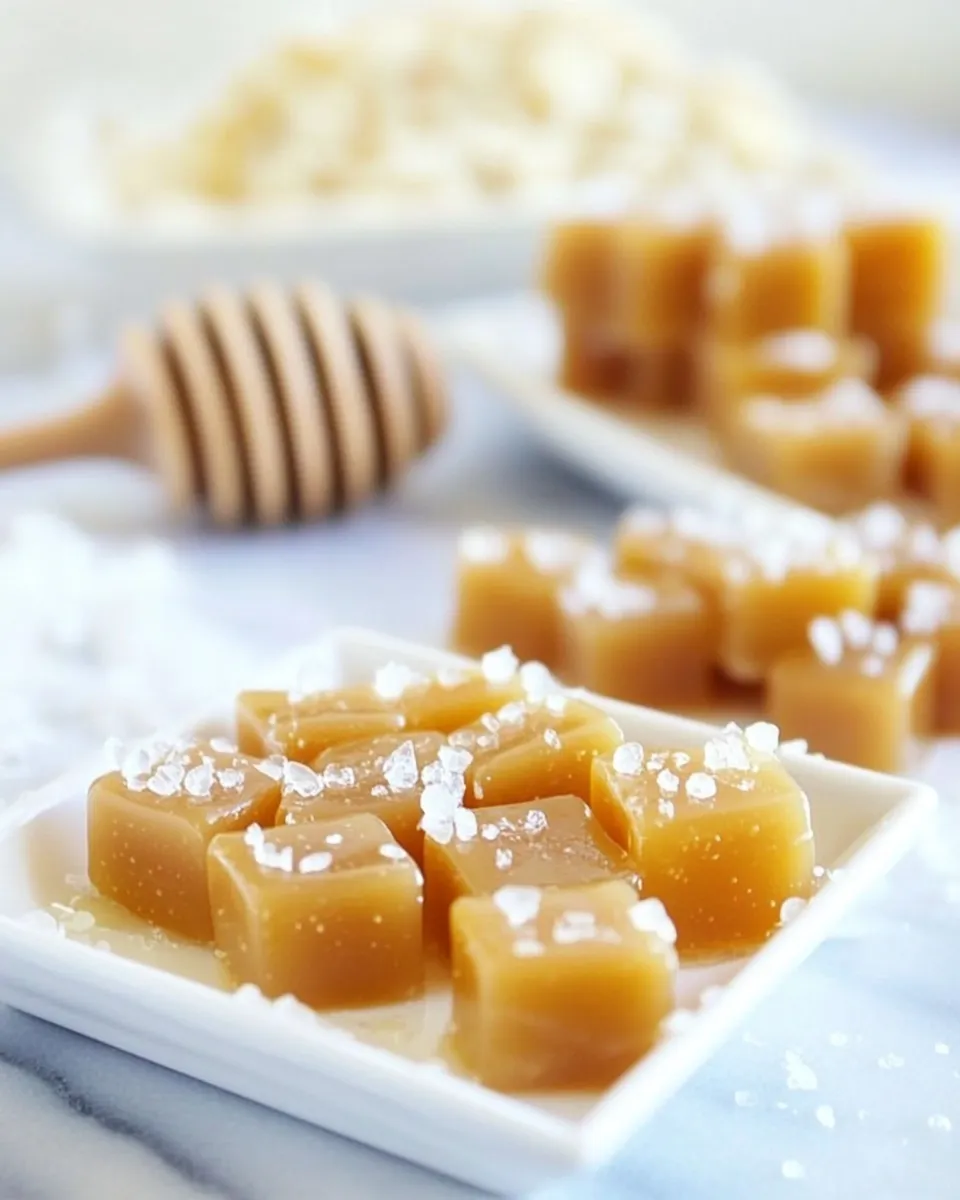
- 1 cup honey — Primary sweetener and key flavor note; gives floral complexity compared with plain sugar.
- 1 cup heavy cream — Adds creaminess and sets the caramel’s chew when chilled; use full-fat for best texture.
- 1/2 cup brown sugar — Adds depth and color; helps the caramel reach proper structure and balances honey’s brightness.
- 1/2 tsp vanilla extract — Finishing flavor; stir in off the heat to preserve aroma.
- 1/2 tsp salt — Brings out sweetness and rounds flavors; finish with flaky salt if you like a visible contrast.
Method: Honey Salted Caramels
- Measure all ingredients: 1/2 cup butter, 1 cup honey, 1 cup heavy cream, 1/2 cup brown sugar, 1/2 tsp vanilla extract, 1/2 tsp salt. Line an 8×8 or 9×9 pan with parchment paper so it comes up about 1 inch on all sides; lightly grease the parchment and set the pan aside.
- Use a 3‑quart saucepan. Add the butter to the cold pan and melt it over medium‑high heat.
- Once the butter is melted, add the honey, heavy cream, brown sugar, and 1/2 tsp salt. Stir gently with a whisk or heatproof spatula until combined.
- Attach a candy thermometer to the side of the saucepan so the bulb is submerged in the mixture but not touching the bottom.
- Increase heat as needed and bring the mixture to a boil, stirring occasionally to dissolve sugar and prevent sticking.
- When it reaches a boil, reduce the heat to maintain a gentle simmer (just below medium). Continue to simmer, stirring occasionally and scraping the bottom and sides with a heatproof spatula as needed, until the thermometer reads 250°F. This will take about 30–40 minutes, but rely on the temperature rather than time.
- When the mixture reaches 250°F, remove the pan from the heat immediately.
- Stir in the 1/2 tsp vanilla extract until evenly incorporated. Be careful—mixture will be very hot.
- Carefully pour the hot caramel into the prepared parchment‑lined pan. Use a spatula to smooth the top if desired.
- Let the caramel cool to room temperature on the counter (do not cover).
- Once cooled to room temperature, refrigerate the pan for at least 3 hours, until the caramel is firm.
- Lift the parchment out of the pan, cut the caramel into small pieces, wrap pieces in wax paper if desired, and store in the refrigerator.
What Makes This Recipe Special
This isn’t a sugar-only caramel. Honey changes the chemistry and the flavor. It gives the caramel a softer, more yielding chew and layers of complexity—floral or tangy notes depending on the honey you choose. Brown sugar adds molasses undertones that round out honey’s brightness, and butter bridges everything into a glossy finish.
The temperature target is 250°F, which is the firm-ball stage in candy making terms. That’s intentional: it produces chew without turning brittle. The method asks for a gentle simmer and occasional scraping so the sugars caramelize evenly and you don’t scorch the bottom. In practice, it’s long but low-effort.
Texture-Safe Substitutions
If you need to tweak texture without risking a flop, these changes are safe and predictable.
For firmer caramels
- Cook to a slightly higher temperature (up to about 255°F) to make the caramel set firmer and cut cleaner.
- Reduce cream slightly relative to honey if you want a denser chew; do this sparingly—small changes have big effects.
For softer caramels
- Pull the caramel off the heat a few degrees earlier (around 245–248°F) for a slightly softer, more tender bite.
- Shorten the final refrigeration time before cutting, but keep it cool enough that pieces hold their shape when wrapped.
Equipment at a Glance
- 3‑quart saucepan — roomy enough for bubbling without boiling over.
- Candy thermometer — essential; temperature determines success.
- 8×8 or 9×9 pan lined with parchment — makes removal and cutting easy.
- Heatproof spatula or whisk — for stirring and scraping sides.
- Sharp knife for cutting chilled caramel into squares.
Frequent Missteps to Avoid
- Not using a candy thermometer — guessing by time or look leads to inconsistent results. Rely on temperature.
- Letting the thermometer touch the pan bottom — it will read too hot and mislead you. Ensure the bulb is submerged but not touching metal.
- Cooking at too high heat — the mixture can scorch or jump temperatures quickly. Aim for a gentle simmer once boiling.
- Stirring constantly when it’s boiling vigorously — that traps bubbles and can make the caramel grainy. Occasional stirring and scraping is enough.
- Cutting too soon — the caramel needs to cool and set; cutting while warm yields misshapen pieces.
Substitutions by Diet
Your needs may require swaps. Below are practical options that preserve texture and flavor as much as possible.
Dairy-free / Vegan
- Use a vegan butter alternative in place of butter and full‑fat coconut cream instead of heavy cream. Keep the same volumes and watch texture—coconut will add a subtle flavor.
- Replace honey with a plant-based liquid sweetener like agave or maple syrup in a 1:1 ratio if you want to keep sweetness and liquidity similar.
Lower-sugar considerations
- Reducing sugar in caramels changes the way they set. If you must cut back, do so in small increments and expect a softer result. Rely on temperature rather than timing to gauge doneness.
Allergen notes
If you have nut allergies, this recipe is nut-free as written. Always check labels on butter substitutes and other packaged ingredients.
Behind the Recipe
I developed this version by leaning into honey as the primary sweetener and balancing it with brown sugar for structure. Honey caramelizes differently than granulated sugar, so the texture can trend softer if you simply swap one for one without adjusting technique. The solution was a longer, gentler simmer to let moisture evaporate without overheating the sugars.
Vanilla is added off the heat to preserve its aromatic qualities. The salt is both functional and stylistic: it cuts sweetness and highlights the honey. If you use flaky finishing salt, sprinkle it on just before the caramel fully cools so flakes sit on the surface.
Store, Freeze & Reheat
Store the caramels in the refrigerator wrapped individually in wax paper or parchment, or layered in an airtight container separated by parchment. They keep well for up to two weeks in the fridge.
For longer storage, freeze in a single layer on a tray until firm, then transfer to a freezer-safe container with parchment between layers. They’ll keep for up to three months. Thaw in the refrigerator before unwrapping to avoid condensation making them sticky.
Reheating isn’t necessary for eating; if you want softer, warmed pieces, heat gently in a low oven (250°F) for a few minutes or microwave one piece for 5–8 seconds—watch closely to avoid overheating.
Ask the Chef
Q: My caramel crystallized or turned grainy. Now what?
A: Graininess usually means sugar recrystallized. For this recipe, that often happens if undissolved sugar remains on the sides or the mixture was stirred too vigorously at the wrong time. Solution: next time, make sure brown sugar is fully dissolved before boiling and scrape the sides down as it simmers. If it happens mid-cook, sometimes adding a small splash of water and gently re-melting can help, but be cautious—this can change texture.
Q: Can I use different honeys?
A: Yes. Mild clover honey yields a subtler flavor. Wildflower or buckwheat honeys are stronger and will dominate the caramel. Choose based on how pronounced you want the honey character to be.
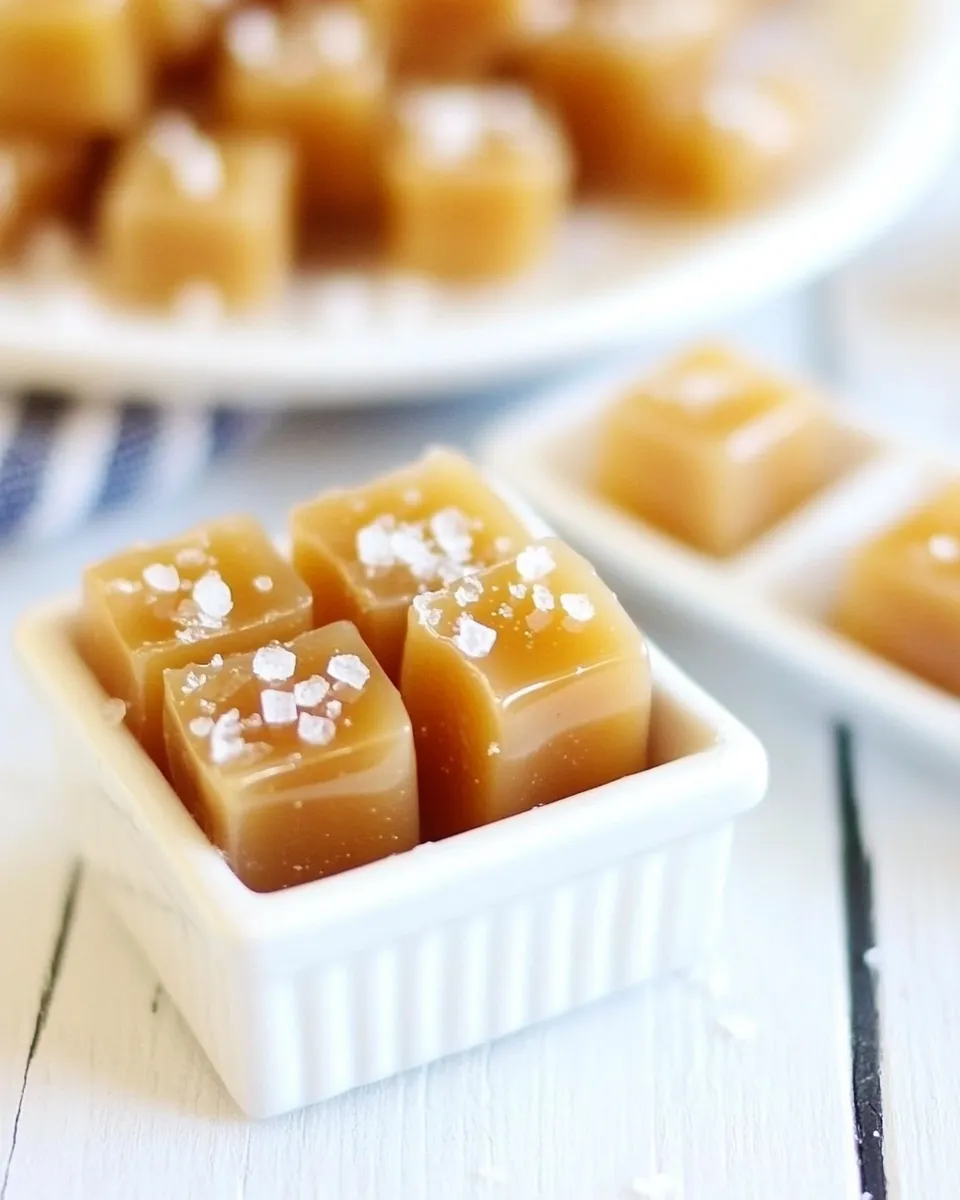
Q: How do I get perfectly even squares?
A: Chill the caramel until fully set, then use a sharp knife warmed under hot water and dried between cuts for clean edges. A bench scraper also works if you prefer straight lines.
Time to Try It
Ready the pan, line the parchment, and set the candy thermometer in place. This is a hands-on-but-not-frenetic project—measure first, then be patient at the simmer. The reward is tidy, honeyed caramels that slice cleanly and store beautifully. Make a batch for gift boxes or keep them on hand for an elevated sweet bite with coffee. If you like, leave a note about which honey you used—it’s fun to compare batches.
Honey Salted Caramels
Ingredients
Ingredients
- 1/2 cupbutter
- 1 cuphoney
- 1 cupheavy cream
- 1/2 cupbrown sugar
- 1/2 tspvanilla extract
- 1/2 tspsalt
Instructions
Instructions
- Measure all ingredients: 1/2 cup butter, 1 cup honey, 1 cup heavy cream, 1/2 cup brown sugar, 1/2 tsp vanilla extract, 1/2 tsp salt. Line an 8x8 or 9x9 pan with parchment paper so it comes up about 1 inch on all sides; lightly grease the parchment and set the pan aside.
- Use a 3‑quart saucepan. Add the butter to the cold pan and melt it over medium‑high heat.
- Once the butter is melted, add the honey, heavy cream, brown sugar, and 1/2 tsp salt. Stir gently with a whisk or heatproof spatula until combined.
- Attach a candy thermometer to the side of the saucepan so the bulb is submerged in the mixture but not touching the bottom.
- Increase heat as needed and bring the mixture to a boil, stirring occasionally to dissolve sugar and prevent sticking.
- When it reaches a boil, reduce the heat to maintain a gentle simmer (just below medium). Continue to simmer, stirring occasionally and scraping the bottom and sides with a heatproof spatula as needed, until the thermometer reads 250°F. This will take about 30–40 minutes, but rely on the temperature rather than time.
- When the mixture reaches 250°F, remove the pan from the heat immediately.
- Stir in the 1/2 tsp vanilla extract until evenly incorporated. Be careful—mixture will be very hot.
- Carefully pour the hot caramel into the prepared parchment‑lined pan. Use a spatula to smooth the top if desired.
- Let the caramel cool to room temperature on the counter (do not cover).
- Once cooled to room temperature, refrigerate the pan for at least 3 hours, until the caramel is firm.
- Lift the parchment out of the pan, cut the caramel into small pieces, wrap pieces in wax paper if desired, and store in the refrigerator.
Equipment
- 3-quart saucepan
- Candy thermometer
- 8x8 or 9x9 pan
- Parchment Paper
- whisk or heatproof spatula
- Spatula
Notes
Use PAM Cooking Spray to coat your measuring cup before adding the honey to ensure you get every last drop!


