
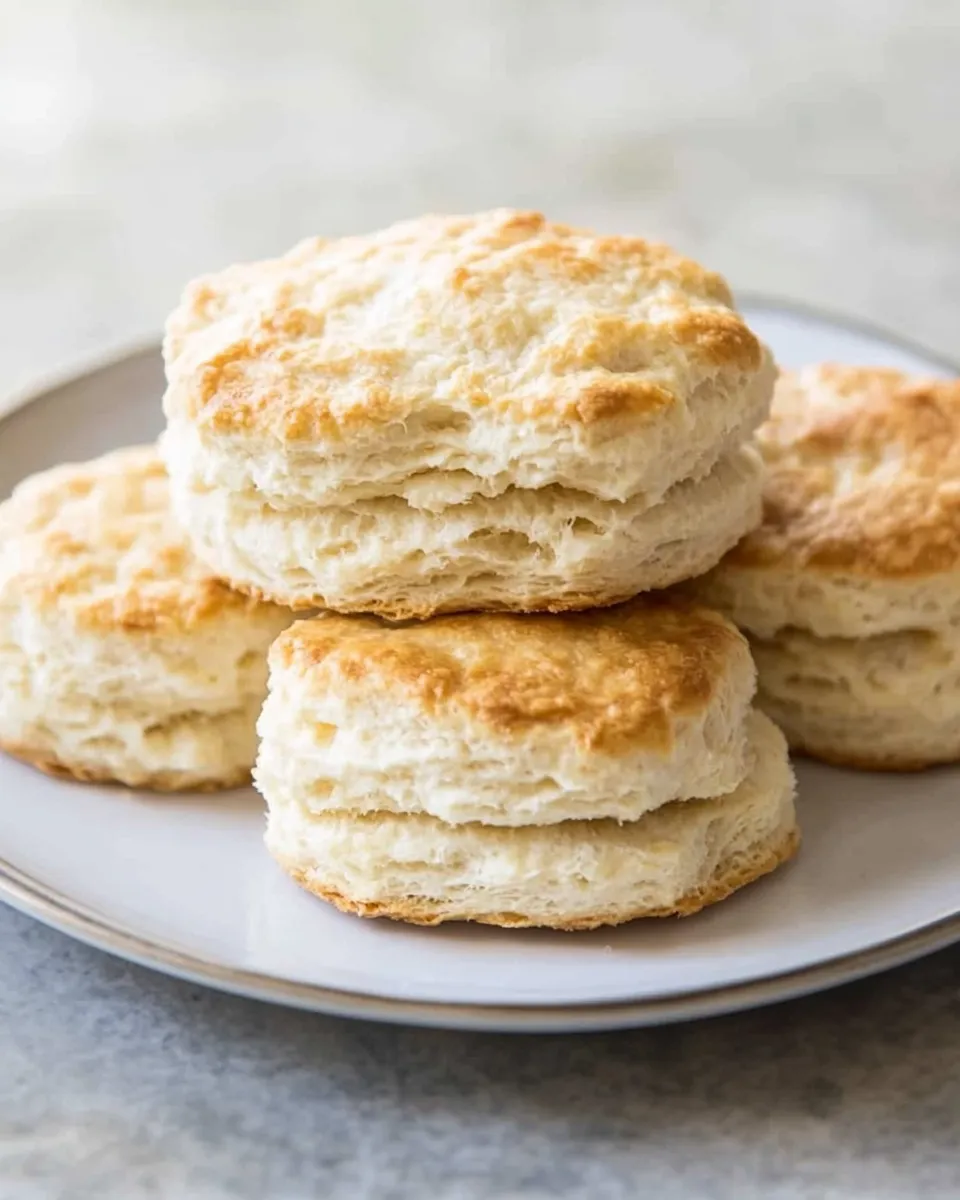
Biscuits are one of those kitchen wins that make weekday breakfasts feel indulgent and holiday tables feel complete. They’re simple, reliable, and quietly forgiving when you follow a few solid rules. I keep this recipe in constant rotation because it uses just a handful of pantry staples and comes together quickly — with a flaky, tender result every time.
I’ll walk you through the precise steps that guarantee lift and browning, share the small techniques that save time, and flag the traps that make a biscuit dense instead of light. Whether you’re a novice baker or someone who craves warm, buttery rounds on demand, you’ll find this method practical and repeatable.
Get your oven prepped and your cream chilled. This guide focuses on technique and straightforward tips so you leave the fuss aside and enjoy biscuits that deserve a spot on your plate — plain, with jam, or alongside your favorite savory dish.
Ingredients at a Glance
- 3 cups all-purpose flour (15 ounces) — the framework for structure; measure by spooning into the cup and leveling for accuracy.
- 1 tablespoon granulated sugar — feeds the browning reaction and adds a faint sweetness.
- 1 tablespoon baking powder — the leavening agent that gives the rise; make sure it’s fresh for best lift.
- 3/4 teaspoon Salt — balances flavor; use fine salt so it distributes evenly.
- 2 1/4 cups heavy cream plus more as needed — provides fat and moisture for a tender, rich crumb; add small amounts only if dough is too dry.
Biscuits Cooking Guide
- Adjust oven rack to the upper-middle position and heat oven to 450 degrees F. Line a rimmed baking sheet with parchment paper.
- In a large bowl, whisk together 3 cups all-purpose flour, 1 tablespoon granulated sugar, 1 tablespoon baking powder, and 3/4 teaspoon salt.
- Pour 2 1/4 cups heavy cream into the dry ingredients and stir with a spoon or rubber spatula until the mixture just comes together, about 30 seconds. The dough should be moist but not overly wet.
- Lightly flour a work surface. Turn the dough out onto the floured surface and gently gather it into a ball.
- Knead the dough briefly (about 30 seconds) by folding it over onto itself 4–6 times until it becomes smoother and holds together. If the dough is too crumbly, add 1 teaspoon additional heavy cream at a time and knead again until smooth.
- Pat or roll the dough into a 3/4-inch-thick round. Do not overwork the dough.
- Dip a 2 1/2-inch round biscuit cutter in flour, then press straight down into the dough to cut biscuits. Do not twist the cutter. Recombine scraps, gently reshape, and cut more biscuits as needed to yield 12 total.
- Place the biscuit rounds on the prepared baking sheet (they can be placed close together or slightly apart). If desired, wrap the baking sheet tightly with plastic wrap and refrigerate for up to 2 hours before baking.
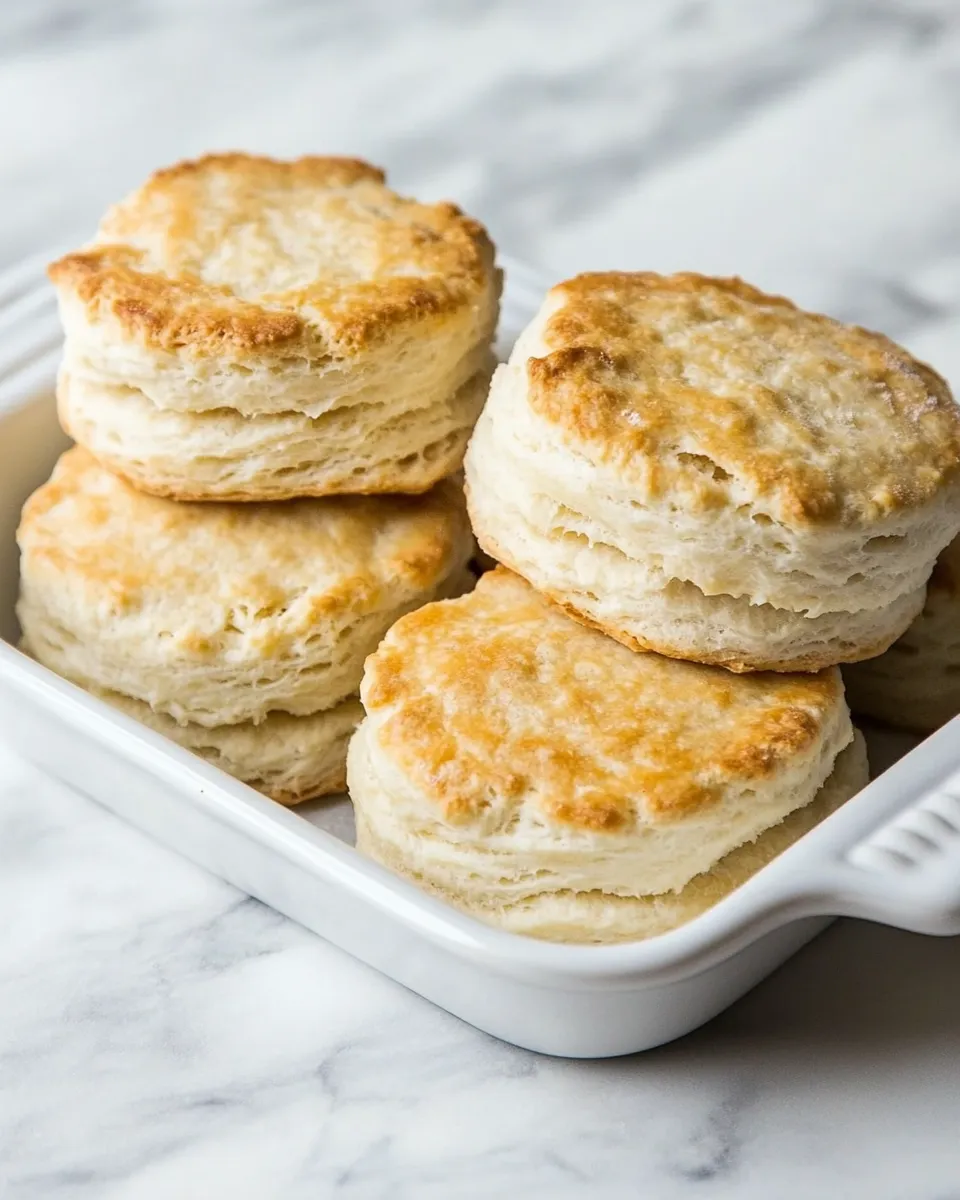
- Bake the biscuits in the preheated oven until golden brown, about 15 minutes, rotating the baking sheet halfway through baking.
- Transfer the biscuits to a wire rack and let cool for 5 minutes before serving.
Why You’ll Keep Making It
This biscuit method is a keeper because it balances ease with a reliable, flaky result. The recipe asks for one bowl of dry ingredients and a single liquid — heavy cream — which simplifies both mixing and cleanup. You don’t need to worry about cutting in cold butter or managing separate fat and liquid phases; the heavy cream does the work, creating steam and fat for rise and tenderness.
Time is also on your side. From bowl to oven the active part is short, and the kneading is intentionally minimal. That short handling time preserves those delicate air pockets and keeps the texture light. And because the quantities are flexible in practice, you can scale the process mentally — doubling for a crowd or halving for brunch with two.
Finally, the flavor is straightforward and comforting. A hint of sweetness in the dough plays nicely with both savory and sweet toppings. Few recipes reward consistency as quickly as these biscuits do, which encourages repeat baking until you own the method.
Vegan & Vegetarian Swaps

These biscuits are vegetarian as written. For vegan adaptations, the main change is the heavy cream. Use a thick, full-fat plant-based cream substitute — look for formulations labeled as “heavy” or “whipping” cream alternatives, or use chilled full-fat coconut cream if you enjoy a subtle coconut note. Because plant creams vary in thickness, add the substitute a little at a time until the dough reaches the same moist-but-not-wet consistency described in the instructions.
If you’re avoiding dairy but still want a neutral flavor, use an unsweetened, thick oat or soy cream that holds structure when chilled. The key with any swap is texture: aim for a creamy, slightly viscous liquid so the dough binds and the biscuits rise rather than crumble.
Must-Have Equipment
- Rimmed baking sheet — holds the biscuits and makes rotation easy.
- Parchment paper — prevents sticking and promotes even browning.
- Large mixing bowl — room to whisk dry ingredients and pour in cream.
- 2 1/2-inch round biscuit cutter (or equivalent) — for consistent biscuit size and bake time.
- Pastry brush or small spatula (optional) — useful if you choose to brush tops before or after baking.
- Wire rack — for cooling and keeping bottoms from steaming.
Avoid These Traps
- Overworking the dough — repeated folding and rolling tightens gluten and yields dense biscuits. Knead only 4–6 folds as directed.
- Twisting the cutter — twisting seals the edges and prevents proper rise. Press straight down and lift straight up.
- Skipping oven preheat or wrong rack position — the upper-middle rack at 450°F gives the right blast of heat for lift and browning.
- Adding too much extra liquid at once — if the dough is crumbly, add 1 teaspoon of cream at a time and test; small increments prevent a gummy texture.
- Cutting biscuits unevenly — inconsistent thickness means uneven baking. Aim for an even 3/4-inch thickness across the round.
Holiday-Friendly Variations
Biscuits are a perfect canvas for seasonal flavors and sides. For a holiday brunch or dinner, try folding in a small handful of finely chopped herbs for a savory twist, or brush warm biscuits with a little melted butter and a sprinkle of flaky salt just before serving for an elevated finish.
Sweet variations work well too: fold in a few teaspoons of citrus zest or a handful of dried fruit for a gentle holiday note. If you want a special crust, brush the tops with a bit of cream or an egg wash before baking to deepen color and sheen. Keep additions modest so they don’t alter the dough’s hydration or interfere with the rise.
Recipe Notes & Chef’s Commentary
Here are a few practical insights from making this recipe dozens of times. First, the cream temperature matters. Very cold cream will slow mixing and may require a spoon with more force; slightly chilled cream that moves freely is ideal. Conversely, very warm cream can make the dough sticky and harder to shape.
When gathering scraps, handle them gently. Press them together just enough to form another round, then cut. Each additional handling reduces flakiness, so treat scrap rounds as second-tier biscuits that will still be delicious, just slightly more tender.
Flour measurement is a silent but powerful variable. If you pack flour into the cup, biscuits can be dry. Use the spoon-and-level method or weigh the flour if you prefer precision. The recipe provides a weight (15 ounces) that aligns with the cup measurement — useful if you bake often.
Finally, if you like a softer exterior, place biscuits slightly apart on the sheet. For tender sides that support stacking and pulling, position them snugly so they bake up touching; the steam between them keeps the sides soft.
Save for Later: Storage Tips
Store fully cooled biscuits in an airtight container at room temperature for up to two days. For longer storage, freeze in a single layer on a baking sheet until solid, then transfer to a freezer-safe bag for up to 2 months. Reheat from frozen in a 350°F oven for about 10–12 minutes, or until warmed through; you can brush with a little melted butter before serving to revive the exterior.
If you refrigerate unbaked, wrapped on the baking sheet, use within 48 hours. For make-ahead convenience, par-bake for 6–8 minutes, cool, and freeze. Finish baking from frozen, adding several minutes to the baking time until golden.
Ask & Learn
If you have questions while making these biscuits, start by checking the dough’s texture: it should be moist and cohesive but not sticky. If it’s crumbly, add heavy cream 1 teaspoon at a time. If it’s sticky, dust your surface lightly and work quickly; the goal is to minimize added flour.
Common variations people ask about: switching to self-rising flour isn’t a direct substitute here because the recipe’s leavening and salt are calibrated. If you do experiment, omit the baking powder and salt if your self-rising flour already contains them, and expect texture differences. Also, changing biscuit cutter size will change bake time; smaller biscuits can finish in less than 15 minutes, larger ones need a bit longer.
Time to Try It
Now it’s your turn. Follow the steps, respect the minimal handling, and trust the cream to do the heavy lifting. Set a timer, watch that color, and let the first batch cool five minutes on the rack before pulling one apart. The inside should be tender and steaming. Serve them warm with jam, honey, or beside whatever you’re cooking for dinner — and make a note of what you liked so you can replicate it next time.
Drop a comment if you try them, tell me whether you kept them plain or added a twist, and I’ll share small tweaks that match your taste. Biscuits are forgiving, and with this method you’ll have a consistent, crowd-pleasing result every time.

How to Make Biscuits
Ingredients
Ingredients
- 3 cupsall-purpose flour 15 ounces
- 1 tablespoongranulated sugar
- 1 tablespoonbaking powder
- 3/4 teaspoonSalt
- 2 1/4 cupsheavy creamplus more as needed
Instructions
Instructions
- Adjust oven rack to the upper-middle position and heat oven to 450 degrees F. Line a rimmed baking sheet with parchment paper.
- In a large bowl, whisk together 3 cups all-purpose flour, 1 tablespoon granulated sugar, 1 tablespoon baking powder, and 3/4 teaspoon salt.
- Pour 2 1/4 cups heavy cream into the dry ingredients and stir with a spoon or rubber spatula until the mixture just comes together, about 30 seconds. The dough should be moist but not overly wet.
- Lightly flour a work surface. Turn the dough out onto the floured surface and gently gather it into a ball.
- Knead the dough briefly (about 30 seconds) by folding it over onto itself 4–6 times until it becomes smoother and holds together. If the dough is too crumbly, add 1 teaspoon additional heavy cream at a time and knead again until smooth.
- Pat or roll the dough into a 3/4-inch-thick round. Do not overwork the dough.
- Dip a 2 1/2-inch round biscuit cutter in flour, then press straight down into the dough to cut biscuits. Do not twist the cutter. Recombine scraps, gently reshape, and cut more biscuits as needed to yield 12 total.
- Place the biscuit rounds on the prepared baking sheet (they can be placed close together or slightly apart). If desired, wrap the baking sheet tightly with plastic wrap and refrigerate for up to 2 hours before baking.
- Bake the biscuits in the preheated oven until golden brown, about 15 minutes, rotating the baking sheet halfway through baking.
- Transfer the biscuits to a wire rack and let cool for 5 minutes before serving.
Equipment
- Oven
- Rimmed baking sheet
- Parchment Paper
- Large Bowl
- Spoon or rubber spatula
- work surface
- biscuit cutter
- Wire Rack
Notes
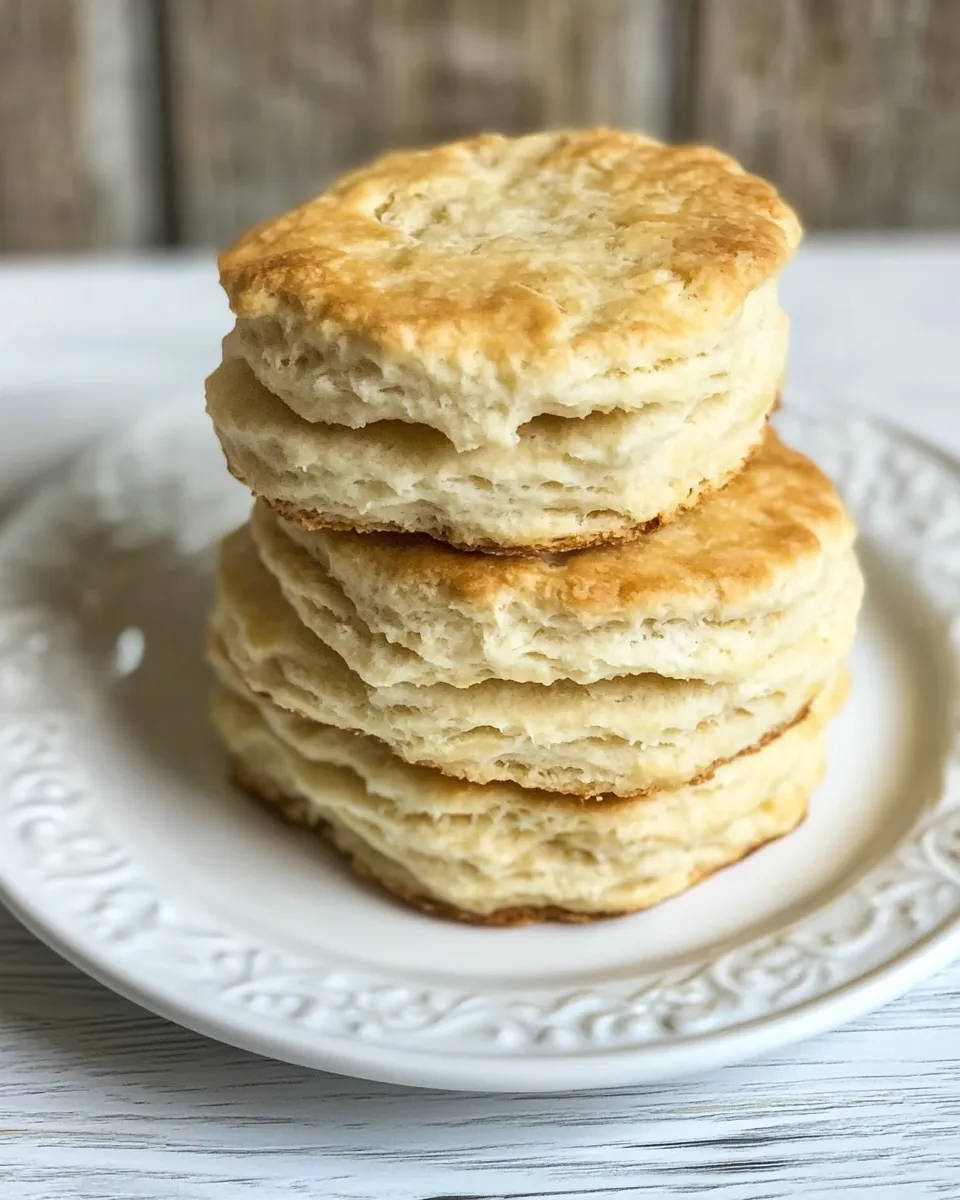
Yield:This recipe makes 12 flaky, fluffy homemade biscuits.
Storage:Store homemade biscuits in an air-tight container at room temperature for up to 1 week.
Make ahead:Complete step 3, then place the biscuits on a baking sheet. Wrap in plastic wrap and refrigerate for up to 2 hours.
Freezer:Freeze the biscuit dough raw after slicing and completing step 3 in the recipe. Plan ahead when you’re ready to bake; you’ll just need to thaw them overnight in the refrigerator before moving on to step 4.
Bonus biscuit intel:To shave off 5 minutes and 2 more ingredients, head over to my recipe for3-Ingredient Homemade Biscuits, which calls for self-rising flour, cold butter, and milk.
Shine on:If you prefer your biscuits bakery-like sheen, coat them in an egg wash prior to baking. Whisk together 1 egg yolk and a splash of cream, then brush this mixture on top of the raw biscuits.
Serve it:Once baked, slice these biscuits in half and serve them in sweet (Strawberry Shortcake) or savory (Biscuits and Gravy) dishes, or as a side dish with brunch (slathered withOrange Marmalade) or dinner (I adore them alongside a cozy bowl ofBeef Stew).


