
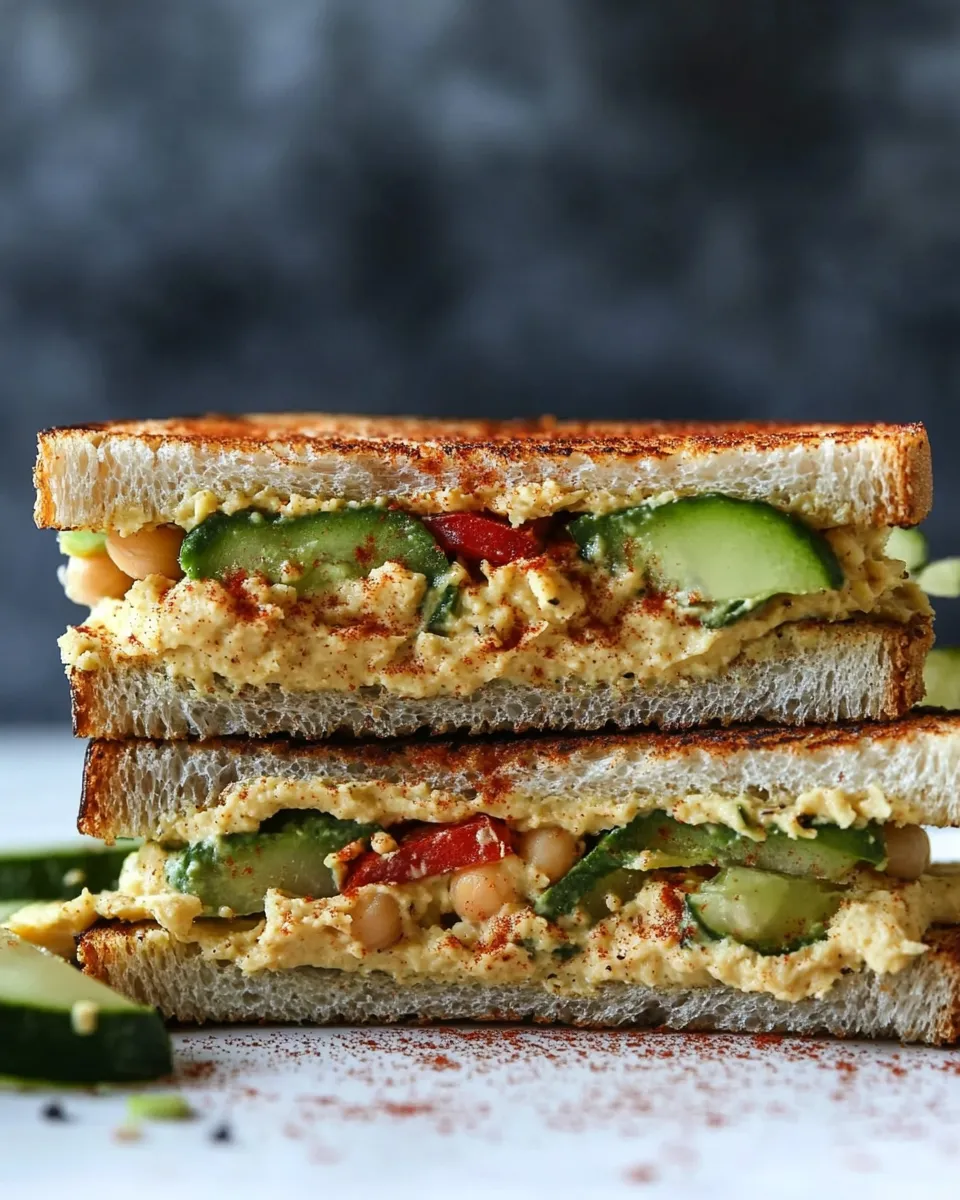
These sandwiches are the kind of everyday food that makes weekday lunches feel intentional. They come together fast, rely on a few fresh ingredients, and travel well. I reach for this combination when I want something satisfying without turning on the oven.
The mash is forgiving: chickpeas and hummus do the heavy lifting, so texture and seasoning are where you make it yours. I’ll show the exact, compact steps I use and the small choices that change the sandwich from good to reliably delicious.
Below you’ll find the ingredients exactly as written, the step-by-step method I follow, troubleshooting pointers, and variations for holidays or crowds. No fluff—just clear, practical guidance so you can get a sandwich in hand quickly.
What You’ll Need
Start by gathering everything. Lay out your bread, rinse the chickpeas, and get your slices toasted right before assembly so the texture is crisp and the sandwich doesn’t go soggy. A simple bowl and a sturdy fork or masher are all you need.
Ingredients
- 114-ounce can chickpeas, drained and rinsed — the base of the mash; provides body, protein, and a neutral canvas for flavor.
- 3 to 6Tbsphummus to taste — adds creaminess and seasoning; start low and add more until you like the texture and flavor.
- sea salto taste — rounds and brightens the mash; add sparingly and taste as you go.
- 6slicesto 8 gluten-free bread toasted — the vehicle; toasting prevents sogginess and adds structure for holding the layers.
- 1ripe avocado peeled and sliced — richness and a silky contrast to the chickpeas; slice thin so it layers neatly.
- 1large vine-ripened tomatosliced — acidity and juiciness; choose a firm tomato to avoid excess moisture.
- 2handfuls mixed greens or spinach — freshness and crunch; choose sturdy greens so they don’t wilt against the warm toast.
- 1/4red onion thinly sliced — sharpness and crunch; slice paper-thin to balance the textures without overpowering.
Step-by-Step: Hummus Mashed Chickpea Sandwiches
- Place the 114-ounce can chickpeas (drained and rinsed) in a medium bowl.
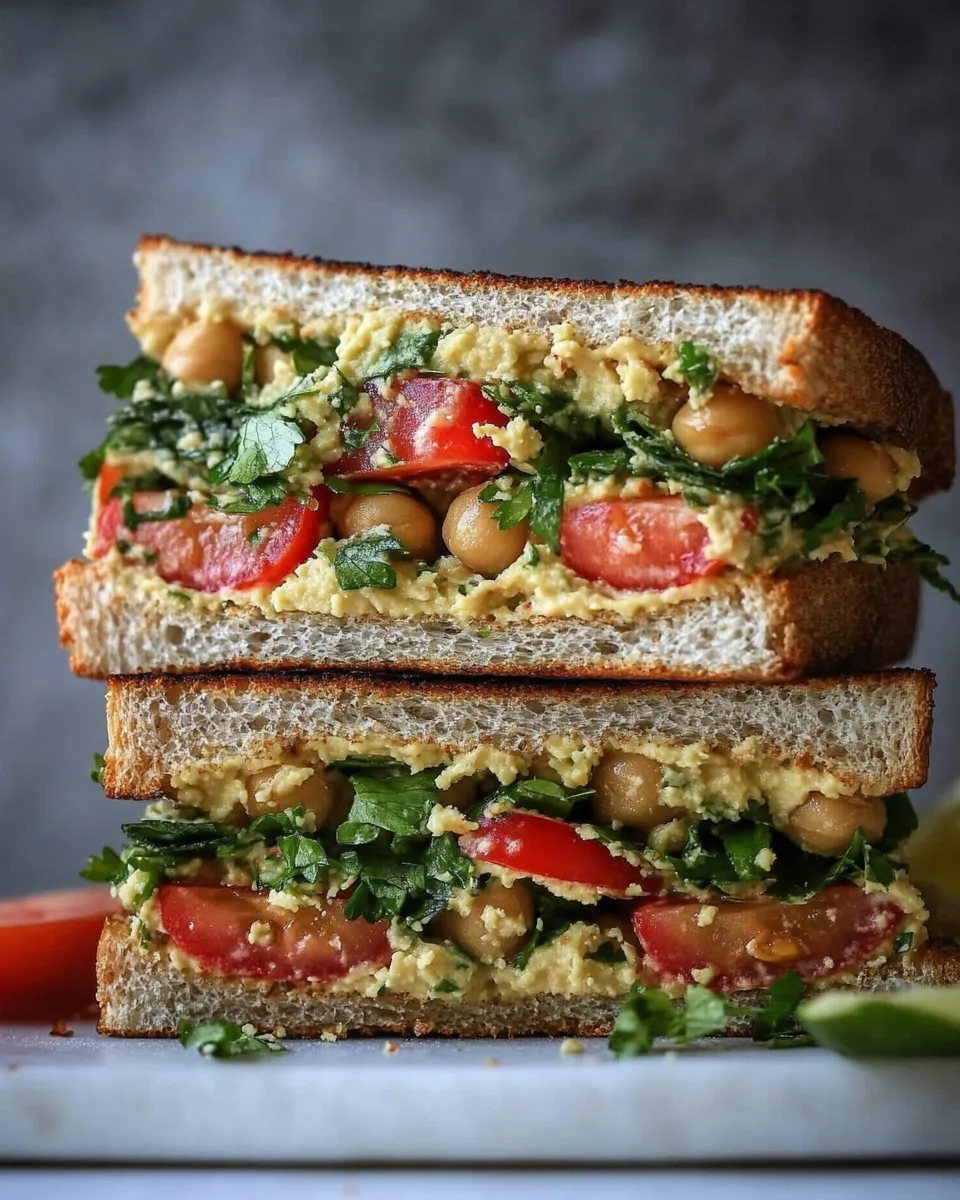
- Add 3 tablespoons hummus to the chickpeas. Using a sturdy fork or potato masher, mash until the mixture reaches your desired consistency.
- Taste the mashed chickpeas. Add more hummus as needed (up to a total of 6 tablespoons) for creaminess, and season with sea salt to taste. Stir to combine.
- Toast 6 to 8 slices of gluten-free bread.
- On half of the toasted slices (3 to 4 slices), evenly spread the mashed chickpea mixture.
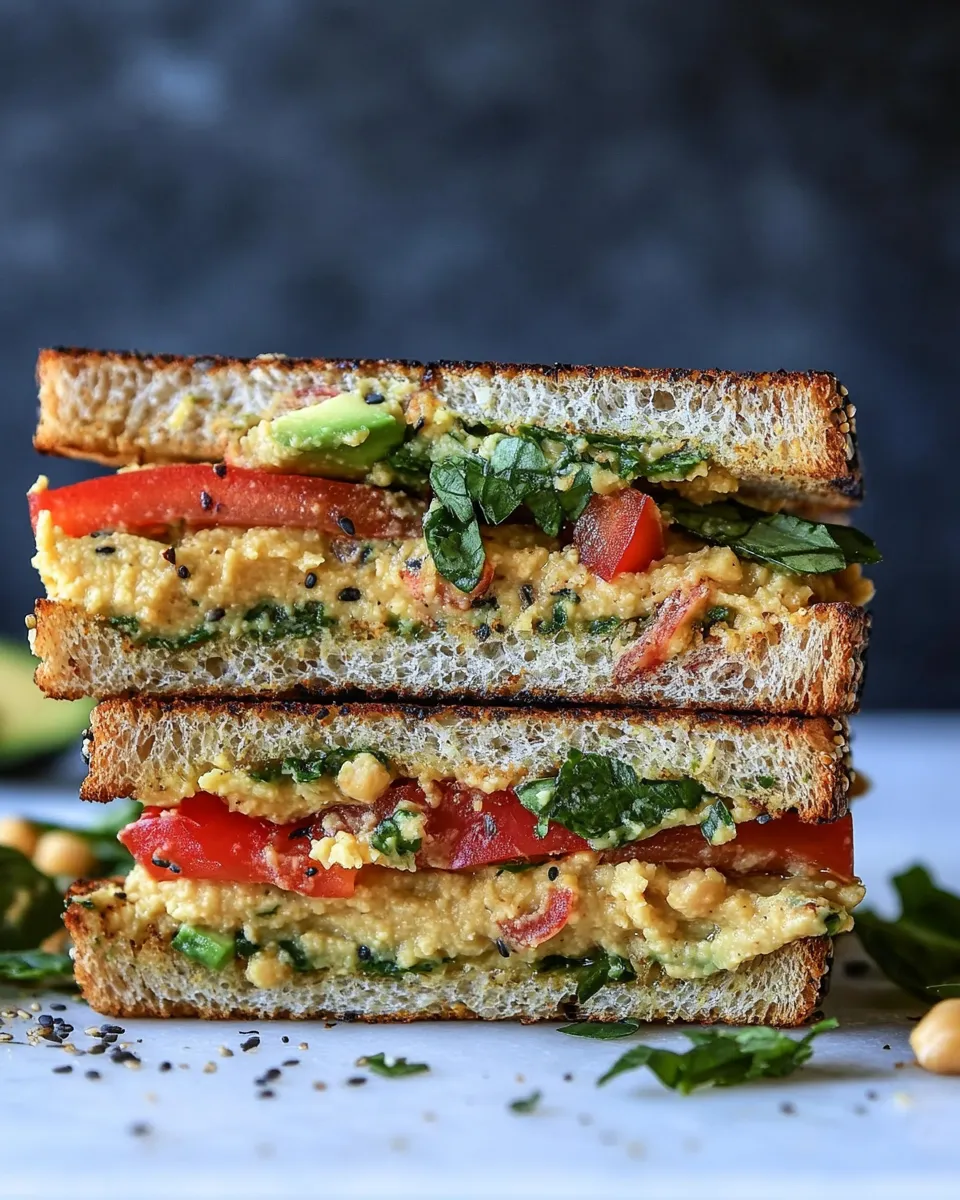
- Top the mashed chickpeas with the following, dividing evenly among the prepared slices: 1 ripe avocado (peeled and sliced), 1 large vine-ripened tomato (sliced), 2 handfuls mixed greens or spinach, and 1/4 red onion (thinly sliced).
- Place the remaining toasted bread slices on top to form sandwiches. Press gently to hold layers together.
- Cut each sandwich in half, serve, and enjoy.
What Makes This Recipe Special
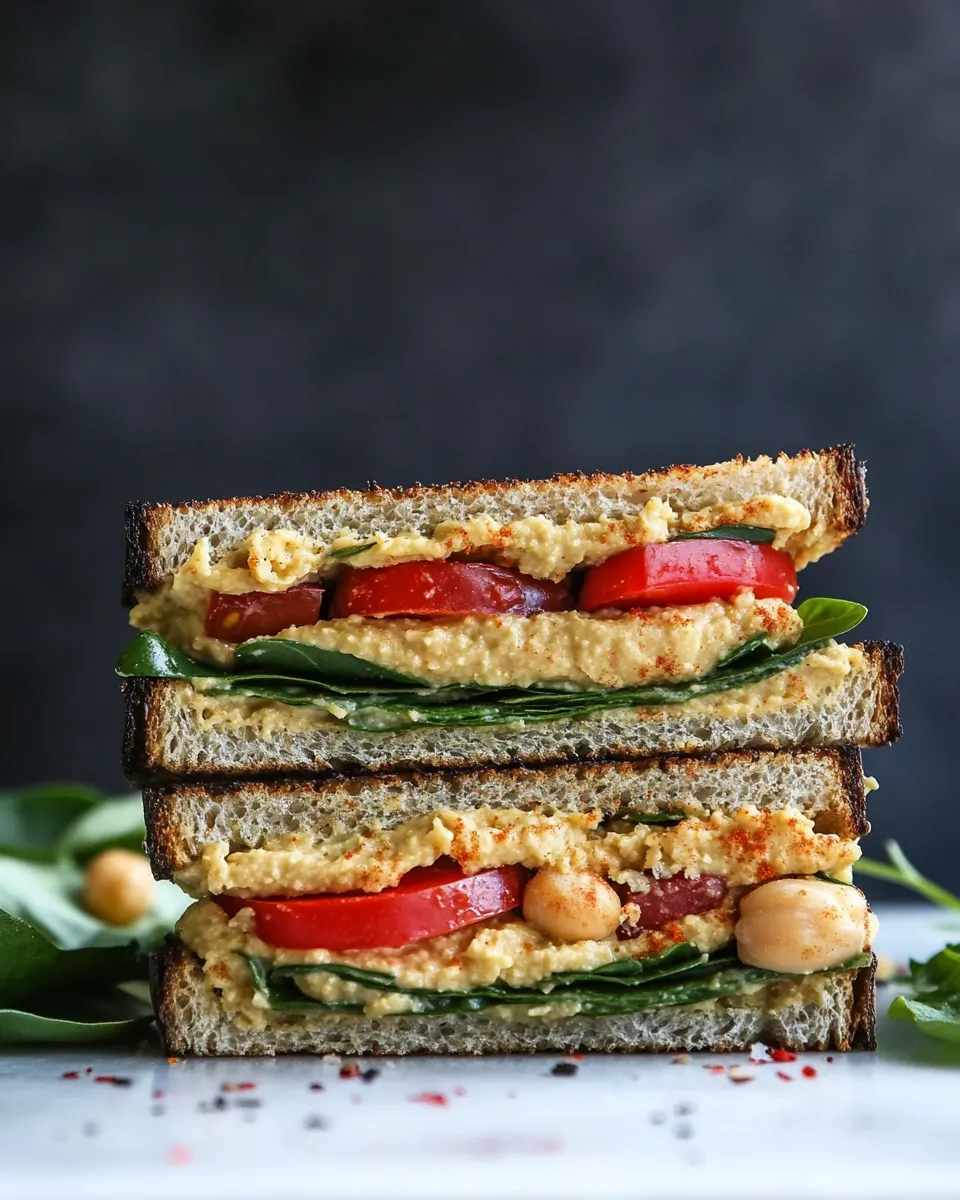
It’s the combination of ease and satisfaction. Chickpeas are mild but meaty; hummus glues the mash together and brings seasoning without extra salad dressings. The avocado and tomato add cream and brightness, and the toast gives the necessary crunch. That balance—creamy, crunchy, fresh—turns simple pantry items into a sandwich that feels thoughtful.
Another part of the appeal is the speed. From can-opening to a plated sandwich takes minutes, not hours. That makes this recipe a reliable option for quick lunches, packed work meals, or a low-effort dinner when you want something light but filling.
Substitutions by Category
Options below keep the structure of the sandwich intact while accommodating dietary preferences or what’s on hand.
Chickpeas & Spread: If you don’t have canned chickpeas, cooked chickpeas from a pot or pressure cooker work fine. Swap hummus for a flavored variety if you want more zip (roasted red pepper, lemon, or garlic). Increase or decrease hummus to reach the texture you prefer.
Bread: The recipe specifies gluten-free bread toasted. If gluten isn’t a concern, use whole-grain, sourdough, or thick-cut country bread for more chew. Thinner breads require a firmer mash to avoid falling apart.
Greens: Use sturdy lettuce like romaine, baby kale, or arugula instead of mixed greens or spinach. If you prefer softer leaves, layer them away from very wet tomato slices to prevent sogginess.
Onion & Tomato: Swap red onion for thinly sliced scallion or chives for a milder bite. If tomatoes are very juicy, pat them dry to protect the toast.
Setup & Equipment
Minimal equipment makes this sandwich friendly to small kitchens. Line up these items before you start:
- Medium bowl — for mashing the chickpeas.
- Sturdy fork or potato masher — the mash’s texture depends on solid mashing tools.
- Toaster or pan — for crisping the bread.
- Cutting board and sharp knife — for slicing avocado, tomato, and onion evenly.
Work on a clean countertop with everything within reach. Toast the bread just before assembly so it stays crisp when you serve.
Things That Go Wrong
Here are the common pitfalls and how to avoid them.
Soggy bread: The most frequent complaint. Toast the bread well, and pat tomato slices if they’re very juicy. Place a layer of greens between the mash and tomato to create a moisture barrier.
Too dry mash: If your chickpeas aren’t creamy enough after 3 tablespoons of hummus, add up to the full 6 tablespoons as the directions allow. You can also mash a small amount longer to release more of the chickpeas’ natural creaminess.
Overpowering onion or hummus: Taste as you go. If the hummus you use is strongly flavored, start with less and build up. Thinly slice the onion to keep its sharpness from dominating the sandwich.
Holiday-Friendly Variations
Turn this into a more celebratory sandwich without changing the base. Add roasted vegetables (bell peppers, zucchini, or eggplant) alongside the tomato for a heartier bite. For a seasonal twist, swap mixed greens for arugula and add thin slices of roasted pear for holiday sweetness.
If you’re serving a crowd, multiply everything and set up an assembly station: mashed chickpeas in one bowl, bowls of sliced avocado and tomato, and a tray of toasted bread. Guests can build their own, which keeps things casual and reduces kitchen traffic during gatherings.
Cook’s Notes
Small adjustments make a big difference. Here are practical tips I use every time:
1) Texture: Some people like the mash chunky; others prefer it smooth. Mash until you reach your preferred consistency. A few whole chickpeas left in the mix adds pleasant texture and bite.
2) Seasoning: Hummus brings salt and flavor, but adjust with sea salt at the end. A squeeze of lemon brightens the mix if you have one—use sparingly so you don’t overwhelm the sandwich.
3) Avocado handling: Slice avocado thinly and fan it over the chickpea layer instead of mashing it into the mix. That preserves the avocado’s texture and prevents the sandwich from turning too uniform.
Freezer-Friendly Notes
The assembled sandwich does not freeze well because of the fresh vegetables and toasted bread. However, you can prepare the mashed chickpea base ahead and freeze it. Portion it into airtight containers or freezer bags, flatten to remove air, and freeze up to 2 months.
To use, thaw in the fridge overnight, stir, adjust seasoning, and assemble with fresh bread and produce. Freezing the mash saves time without sacrificing texture once you bring it back to refrigerator temperature and give it a quick stir.
Quick Questions
Below are short answers to the questions I get most often.
Can I make this oil-free? Yes. The recipe as written relies on hummus for creaminess instead of added oil. Use an oil-free hummus if you prefer.
Is the 114-ounce can a typo? Use the ingredient list as given. If you’re working with smaller cans, combine multiple or adjust the proportions of hummus and fillings as needed when you mash to achieve the same balance of texture and flavor.
How long will leftovers keep? Store an assembled sandwich in the fridge for up to 24 hours; beyond that, the bread softens and the avocado browns. Store the mash separately for up to 3 days for best results.
Ready to Cook?
Gather the ingredients, rinse the chickpeas, and toast the bread. Follow the simple eight-step method above, taste as you go, and adjust the hummus and salt to your liking. This is a quick, flexible sandwich that rewards small tweaks—try it once and you’ll have a new weekday favorite.
Hummus Mashed Chickpea Sandwiches
Ingredients
Ingredients
- 114- ounce can chickpeas drained and rinsed
- 3 to 6 Tbsphummusto taste
- sea saltto taste
- 6 slicesto 8 gluten-free breadtoasted
- 1 ripe avocadopeeled and sliced
- 1 large vine-ripened tomatosliced
- 2 handfuls mixed greens or spinach
- 1/4 red onionthinly sliced
Instructions
Instructions
- Place the 114-ounce can chickpeas (drained and rinsed) in a medium bowl.
- Add 3 tablespoons hummus to the chickpeas. Using a sturdy fork or potato masher, mash until the mixture reaches your desired consistency.
- Taste the mashed chickpeas. Add more hummus as needed (up to a total of 6 tablespoons) for creaminess, and season with sea salt to taste. Stir to combine.
- Toast 6 to 8 slices of gluten-free bread.
- On half of the toasted slices (3 to 4 slices), evenly spread the mashed chickpea mixture.
- Top the mashed chickpeas with the following, dividing evenly among the prepared slices: 1 ripe avocado (peeled and sliced), 1 large vine-ripened tomato (sliced), 2 handfuls mixed greens or spinach, and 1/4 red onion (thinly sliced).
- Place the remaining toasted bread slices on top to form sandwiches. Press gently to hold layers together.
- Cut each sandwich in half, serve, and enjoy.
Equipment
- Medium Bowl
- Fork or potato masher
- Toaster


