
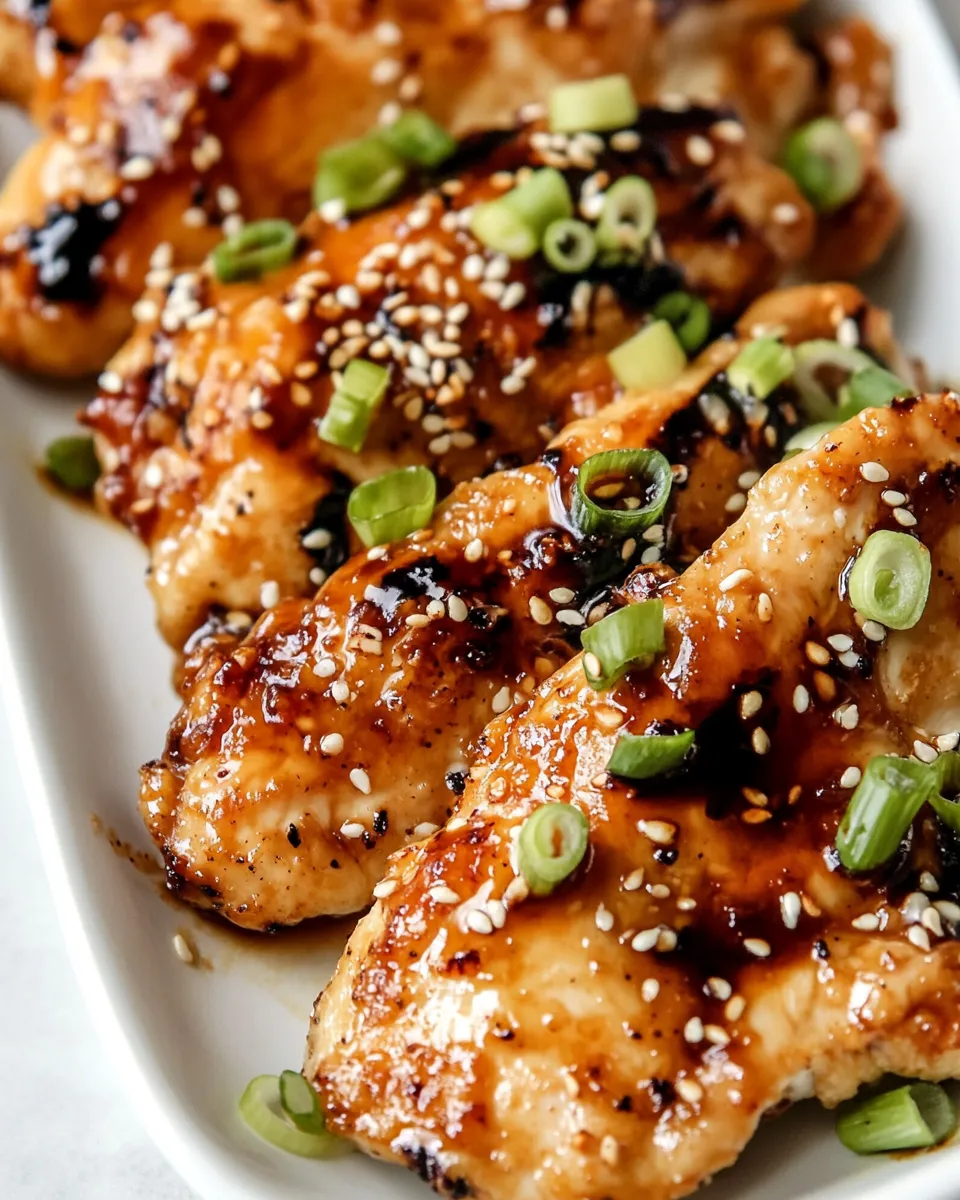
This Korean chicken is a weeknight hero: straightforward to make, bright with ginger and garlic, and balanced by the sweetness of applesauce. The marinade doubles as both flavor builder and quick glaze, and a small reserved portion lets you baste the meat while grilling so you get that glossy finish without risking contamination. I keep this recipe in regular rotation because it’s forgiving, fast, and everyone at the table always asks for a second piece.
You’ll spend most of the active time pounding, marinating, and grilling. The ingredient list is short and pantry-friendly, so pulling this together on a Monday after work is entirely realistic. The flavors read familiar—soy, sesame, brown sugar—but they come together with a slightly different texture and lift thanks to unsweetened applesauce and a fresh hit of scallion at the end.
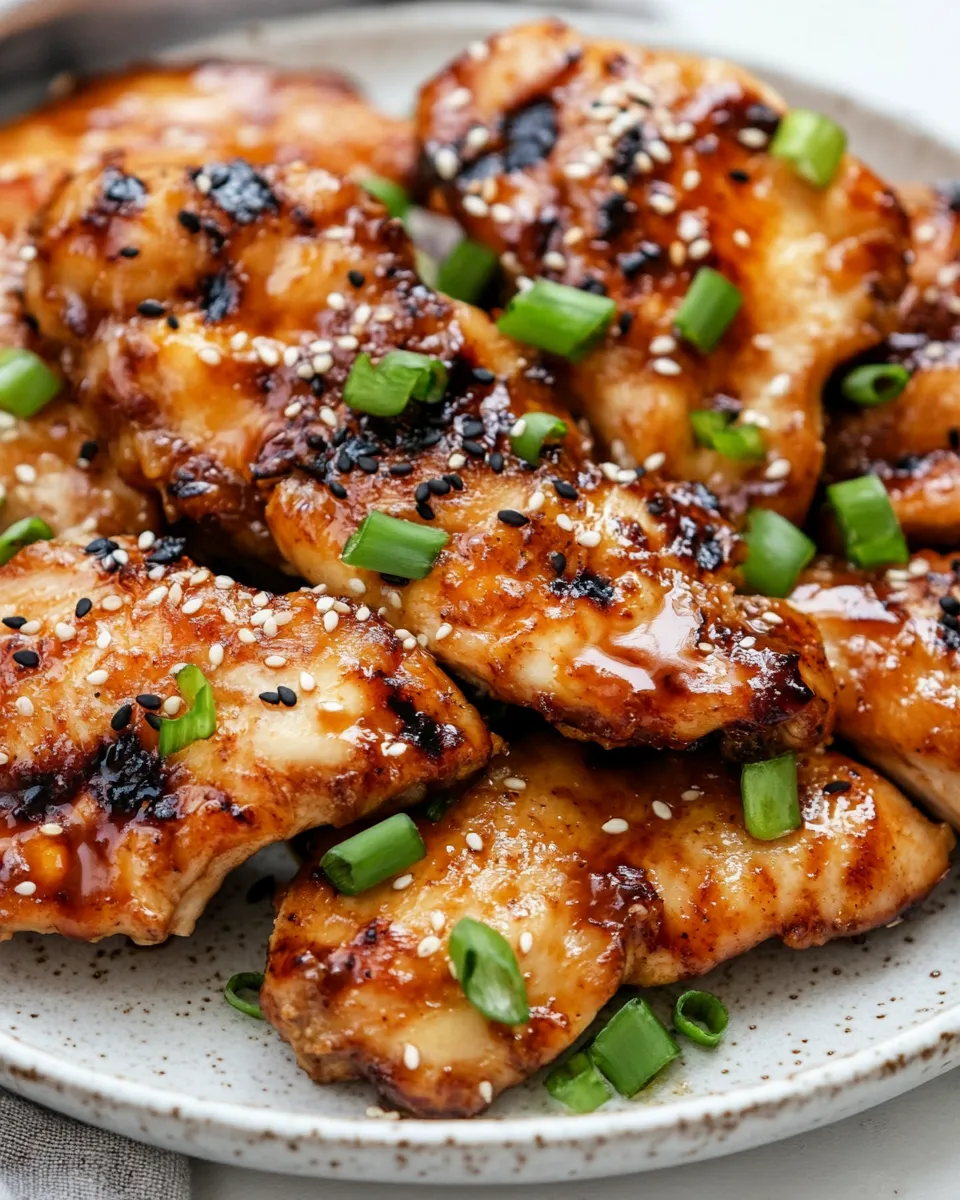
If you have a grill, use it; the direct heat gives a little char and smoky depth. No grill? No problem—there are straightforward stove or oven options later in the post. This recipe respects timing: brief marination and quick cooking keep the breasts juicy. Read the steps once before you start, set up your reserved marinade, and you’ll be serving tender, fragrant chicken in under an hour.
Ingredients
- 1 pound boneless, skinless chicken breasts, cut in half lengthwise, from 2 breasts — split to thin cutlets so they cook quickly and evenly.
- 1/4 cup low-sodium or gluten-free soy sauce — provides savory umami and seasoning; choose gluten-free if needed.
- 1/4 cup unsweetened apple sauce — adds sweetness and body to the marinade without refined sugar.
- 1/4 cup finely chopped yellow onion — builds savory depth and soft texture in the marinade.
- 1 tsp sesame oil — a little goes a long way for toasty sesame flavor.
- 1 tsp grated ginger — brings bright, warming aromatics; grate fresh for best flavor.
- 1 tbsp light brown sugar — helps with caramelization and balances the soy.
- 2 garlic cloves, crushed — sharp, pungent boost to the marinade.
- 1 teaspoon red pepper flakes, optional — adds heat if you like some kick; leave out for milder flavor.
- 1 teaspoon sesame seeds, plus more for topping — for a nutty crunch and a classic finish.
- 2 thinly sliced scallions, white and green parts — used fresh as a bright garnish that lifts the dish.
Your Shopping Guide
Buy chicken breasts that are similar in size so they cook at the same rate; splitting them lengthwise into cutlets helps with uniform cooking and the quick grill time. If your butcher has pre-split breasts, that saves time—if not, a sharp chef’s knife will do the job at home. Aim for fresh, firm breasts without excess liquid in the packaging.
For the soy component, pick a low-sodium soy sauce if you watch your salt, or a labeled gluten-free tamari/coconut aminos if you need to avoid gluten. The recipe calls for unsweetened applesauce—don’t use sweetened or spiced jars; the neutral unsweetened kind keeps the balance clean. Fresh ginger and garlic make a noticeably better marinade than dried substitutes; the grated ginger should be juicy and aromatic.
Sesame oil is potent, so the small quantity here is enough. Buy toasted sesame oil for flavor; it’s sold in small bottles and keeps for a long time in the fridge. Scallions are used raw at the end, so pick ones that are crisp with firm white bulbs and bright green tops. Finally, if you don’t have a grill, plan for a grill pan or broiler and pick tools like a reliable instant-read thermometer and tongs while you’re shopping.
Korean Chicken in Steps
- Place one chicken breast at a time in a zip-top bag and pound to an even thickness of about 1/2 inch; be careful not to puncture the bag. Repeat with the second breast. Seal the bag(s) and set the chicken aside.
- In a medium bowl combine 1/4 cup low-sodium or gluten-free soy sauce, 1/4 cup unsweetened apple sauce, 1/4 cup finely chopped yellow onion, 1 tsp sesame oil, 1 tsp grated ginger, 1 tbsp light brown sugar, 2 crushed garlic cloves, 1 teaspoon red pepper flakes (optional), and 1 teaspoon sesame seeds. Stir until the brown sugar is dissolved.
- Measure and reserve 1/4 cup of the marinade in a small bowl (this will be used for basting). Pour the remaining marinade into the bag(s) with the chicken, remove excess air, seal, and refrigerate for at least 1 hour.
- When ready to cook, preheat a grill to medium-high heat and oil the grates lightly. Remove the chicken from the bag, letting excess marinade drip back into the bag; discard the used marinade that was in contact with the raw chicken.
- Place the chicken on the preheated grill and cook for 2 to 3 minutes on the first side, until it releases easily from the grates. Flip the chicken.
- Immediately spoon the reserved 1/4 cup of marinade evenly over the two breasts, then grill the chicken for an additional 2 to 3 minutes on the second side, or until cooked through (internal temperature reaches 165°F / 74°C or no pink remains).
- Transfer the chicken to a plate and let rest for 3 to 5 minutes.
- Sprinkle additional sesame seeds for topping and scatter the 2 thinly sliced scallions (white and green parts) over the chicken before serving.
Quick timing and temperature note
Because the breasts are pounded to about 1/2 inch, total grill time is short—4 to 6 minutes. Rely on an instant-read thermometer where possible: 165°F (74°C) is the safe target. Resting for 3–5 minutes lets the juices redistribute and keeps the meat tender.
Why It’s My Go-To
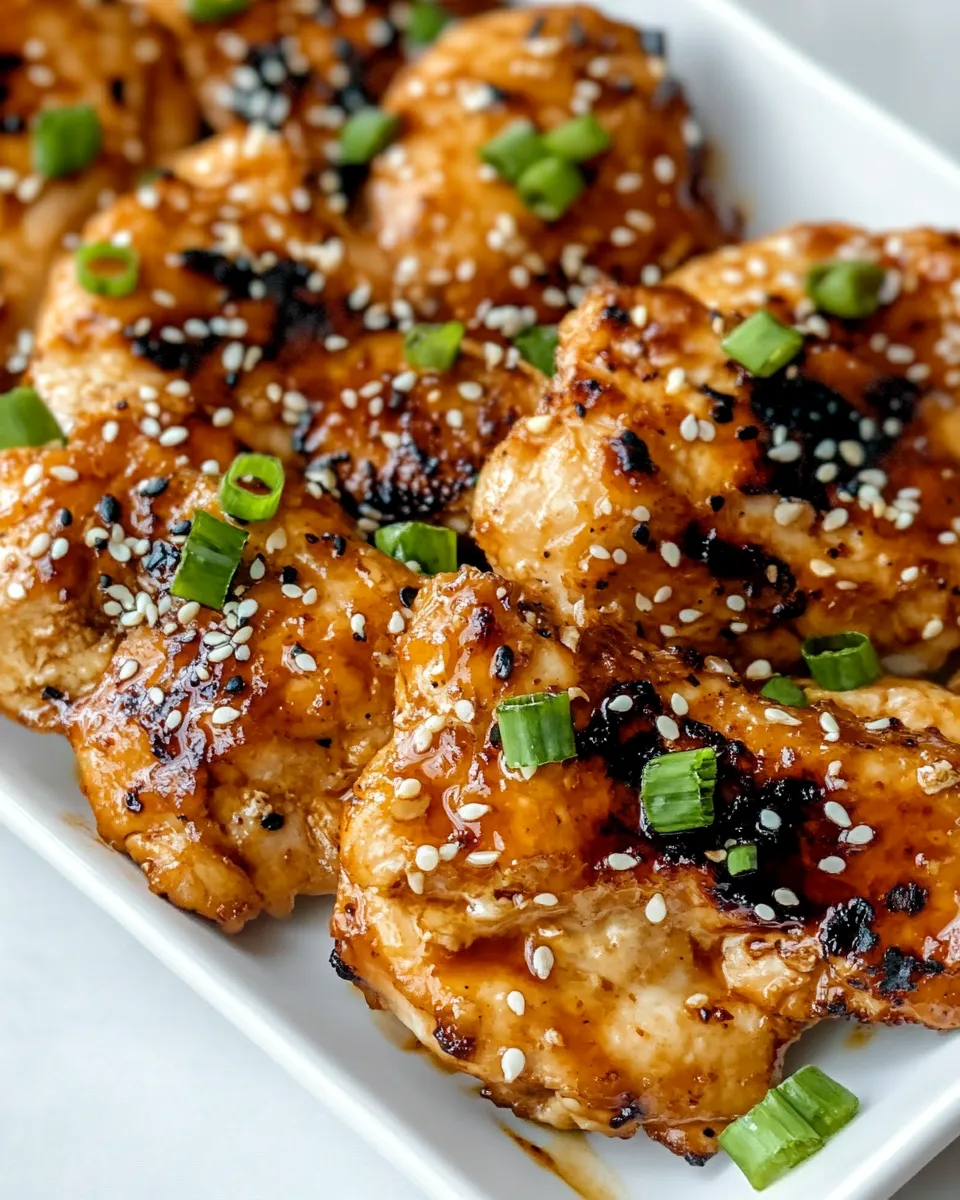
It’s fast without feeling cheap. The applesauce adds sweetness without cloying sugar and creates a glaze that caramelizes beautifully when you baste. The short marination time lets you plan a last-minute dinner—one hour in the fridge builds real flavor, and a longer hour-or-two isn’t necessary unless you want deeper intensity.
It’s also versatile. The simple flavor template plays well with rice, greens, or a bright cucumber salad. The sesame and scallion finish give it that familiar Korean-inspired profile without requiring hard-to-find fermented ingredients. For busy nights, the minimal prep and quick grill mean dinner lands on the table hot and confident.
Dairy-Free/Gluten-Free Swaps

This recipe is naturally dairy-free. For gluten-free needs, the recipe already notes a gluten-free soy sauce option—use tamari or a certified gluten-free soy product. If you can’t find those, coconut aminos also work as a soy-free, gluten-free alternative; flavor will be slightly sweeter and less salty, so taste before marinating if you can.
If you want to avoid the brown sugar, substitute with an equal taste-balancing amount of maple syrup or extra applesauce; the basting step still works but watch for quicker caramelization. The sesame oil, ginger, garlic, and scallions don’t contain dairy or gluten, so they’re safe across those diets.
Gear Up: What to Grab
- Grill or grill pan — for char and quick sear.
- Zip-top bags — for easy pounding and mess-free marinating.
- Meat mallet or rolling pin — to pound the breasts evenly to 1/2 inch.
- Instant-read thermometer — to hit the 165°F target without guessing.
- Small bowl for reserving marinade and a spoon or brush for basting.
- Tongs and a plate for resting — keep things simple and sanitary.
Pitfalls & How to Prevent Them
Under- or overcooking is the most common issue. Because the breasts are thin, they cook very quickly. Use the 2–3 minute per side guideline, and verify with a thermometer rather than color alone. Overcooking will dry them out fast.
Cross-contamination is another hazard. The recipe addresses this cleanly: reserve 1/4 cup of the marinade before adding the chicken to the main batch, and discard any marinade that has contacted raw meat. Baste only with the reserved portion.
Watch the sugar when basting. The light brown sugar and applesauce can burn if flames flare up; if you see excessive charring, move the chicken to a cooler part of the grill or lower the heat and finish cooking more slowly.
Seasonal Adaptations
Spring: Serve with a quick cucumber and rice vinegar salad and new potatoes. Add chopped herbs (cilantro or parsley) at the end for freshness.
Summer: Grill vegetables alongside the chicken—zucchini, bell peppers, and corn take minimal time and benefit from the same grill temperature. Brighten with lemon or lime wedges for squeezing over the finished pieces.
Autumn/Winter: If outdoor grilling isn’t appealing, a hot cast-iron skillet or a broiler works. Sear the breasts 2–3 minutes per side in a well-oiled skillet, basting with the reserved marinade and finishing in a 400°F oven for another 3–4 minutes if needed. Serve with roasted root vegetables and steamed greens.
Author’s Commentary
I created this version because I wanted a quick, no-fuss way to get a Korean-inspired profile on the table without pulling out a dozen specialty jars. The applesauce trick came from noodling around with fruit-based glazes; it provides body and a gentle sweetness that plays well with soy and ginger. I also love how the scallions added at the end brighten the plate visually and flavor-wise.
When I’m feeding company, I double the marinade, reserve more for basting, and set out bowls of steamed rice and quick kimchi or pickled veg to let people assemble their plates. It’s a small-production recipe that yields big smiles.
Prep Ahead & Store
Marinate the chicken up to 24 hours ahead for convenience; the recipe minimum is 1 hour, which is plenty, but you can refrigerate overnight if needed. Keep the reserved 1/4 cup marinade separate from the raw-bathed portion until you need it for basting.
Store cooked chicken in an airtight container in the refrigerator for up to 4 days. Reheat gently in a skillet over low heat with a splash of water or stock to restore moisture, or slice cold over a salad. Freeze cooked chicken for up to 3 months—thaw overnight in the fridge before reheating.
Common Qs About Korean Chicken
Can I use chicken thighs instead of breasts? Yes. Thighs are more forgiving and stay juicy; adjust cook time slightly, and check for doneness with an instant-read thermometer (165°F / 74°C internally).
What if I don’t have a grill? Use a grill pan or skillet on high heat to sear, then finish in a 400°F oven if needed. You can also broil, watching closely so the glaze doesn’t burn.
Why do I reserve 1/4 cup of the marinade? That portion is for basting while the chicken cooks so you can add glossy flavor without using marinade that’s contacted raw meat.
How spicy is it? The recipe includes 1 teaspoon red pepper flakes as optional. Omit for mild flavor, or keep them for a gentle heat that complements the sweetness.
Bring It Home
This Korean chicken hits the sweet-savory spot with minimal fuss. It’s approachable enough for a busy weeknight and flavorful enough to serve to guests. Follow the steps—pound, marinate, reserve a bit of that marinade, grill quickly, rest, and top with sesame and scallion—and you’ll have a reliable, tasty dish ready to eat.
Pair with steamed rice or a simple salad, and you’ve got dinner sorted. If you try it, leave a note about how you served it—I love hearing the small twists readers make at home.
Korean Chicken
Ingredients
Ingredients
- 1 poundboneless skinless chicken breasts, cut in half lengthwise, from 2 breasts
- 1/4 cuplow sodium or gluten-free soy sauce
- 1/4 cupunsweetened apple sauce
- 1/4 cupfinely chopped yellow onion
- 1 tspsesame oil
- 1 tspgrated ginger
- 1 tbsplight brown sugar
- 2 garlic cloves crushed
- 1 teaspoonred pepper flakes optional
- 1 teaspoonsesame seeds plus more for topping
- 2 thinly sliced scallions white and green parts
Instructions
Instructions
- Place one chicken breast at a time in a zip-top bag and pound to an even thickness of about 1/2 inch; be careful not to puncture the bag. Repeat with the second breast. Seal the bag(s) and set the chicken aside.
- In a medium bowl combine 1/4 cup low-sodium or gluten-free soy sauce, 1/4 cup unsweetened apple sauce, 1/4 cup finely chopped yellow onion, 1 tsp sesame oil, 1 tsp grated ginger, 1 tbsp light brown sugar, 2 crushed garlic cloves, 1 teaspoon red pepper flakes (optional), and 1 teaspoon sesame seeds. Stir until the brown sugar is dissolved.
- Measure and reserve 1/4 cup of the marinade in a small bowl (this will be used for basting). Pour the remaining marinade into the bag(s) with the chicken, remove excess air, seal, and refrigerate for at least 1 hour.
- When ready to cook, preheat a grill to medium-high heat and oil the grates lightly. Remove the chicken from the bag, letting excess marinade drip back into the bag; discard the used marinade that was in contact with the raw chicken.
- Place the chicken on the preheated grill and cook for 2 to 3 minutes on the first side, until it releases easily from the grates. Flip the chicken.
- Immediately spoon the reserved 1/4 cup of marinade evenly over the two breasts, then grill the chicken for an additional 2 to 3 minutes on the second side, or until cooked through (internal temperature reaches 165°F / 74°C or no pink remains).
- Transfer the chicken to a plate and let rest for 3 to 5 minutes.
- Sprinkle additional sesame seeds for topping and scatter the 2 thinly sliced scallions (white and green parts) over the chicken before serving.
Equipment
- Zip-Top Bag
- Mixing Bowl
- Small Bowl
- Measuring Cups
- Measuring Spoons
- Spoon
- Grill
- Tongs


