

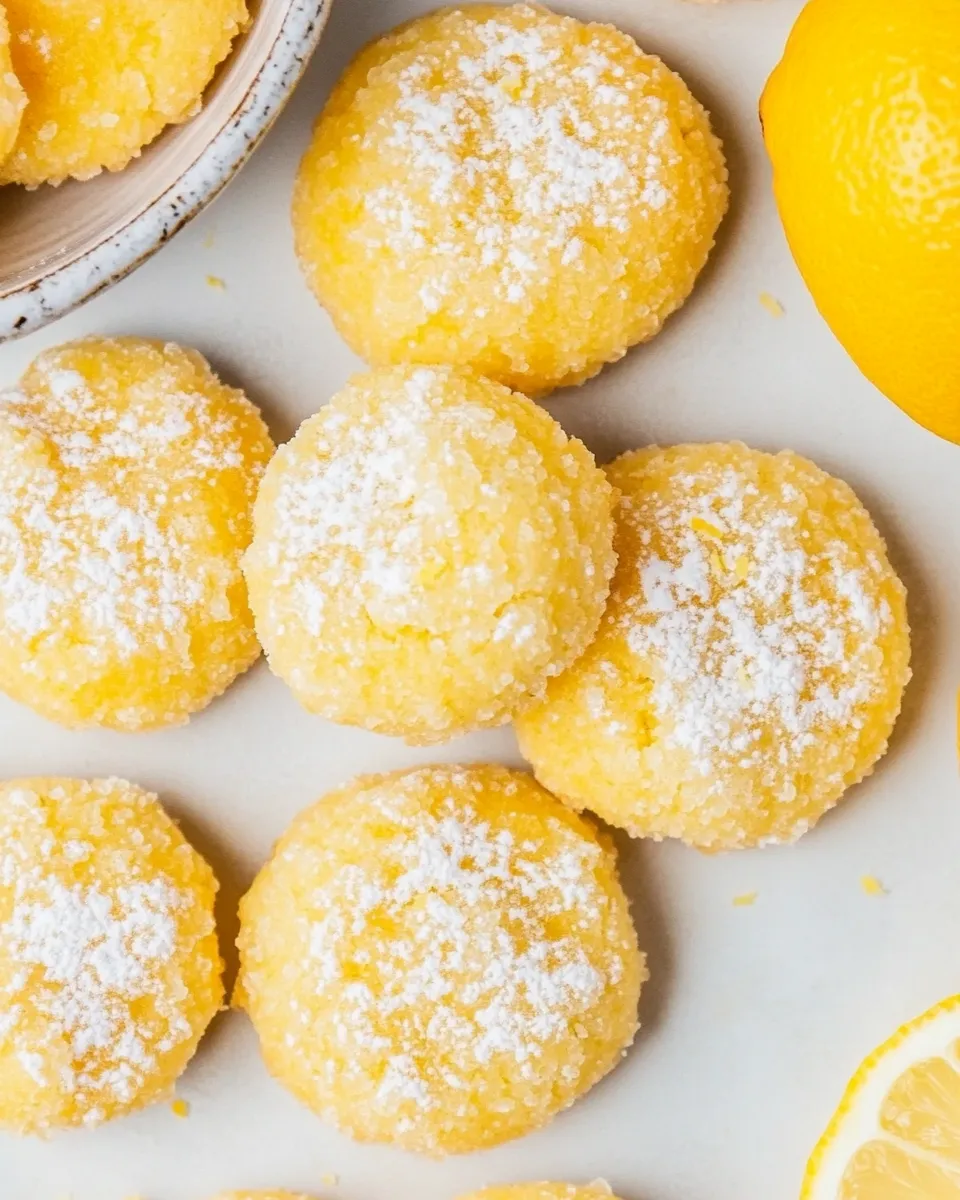
Bright, tender, and whisper-light — Lemon Pixie Cookies are the kind of small cookie that makes a big impression. They’re simple to make, hold their shape, and deliver a clean lemon snap without being overly sweet. I reach for them when I want a delicate treat for tea, a pretty addition to a cookie plate, or a low-effort dessert that still feels special.
This recipe leans on almond flour, a touch of citrus, and a short ingredient list so you can get from pantry to plate quickly. The dough is forgiving, and the cookies firm up as they cool, so dialing in texture is mainly about chilling time and how firmly you press the cookies before baking. I’ll walk you through the parts that matter and the small decisions that change chew, melt-in-your-mouth crumble, and flavor.
Below you’ll find a tidy shopping list, the exact ingredients with tips, step-by-step directions taken from the source recipe, and practical notes on swaps, equipment, mistakes to avoid, freezer options, and special-diet adaptations. Read the method once, then follow the ordered steps — they’re short and reliable.
Shopping List
- Almond flour (1 cup)
- Powdered sugar or erythritol (2 tbsp; plus extra if rolling)
- One lemon (for zest and juice)
- Salt (scant 1/4 tsp)
- Baking soda (1/8 tsp)
- Butter or coconut oil (2 tbsp)
- Pure vanilla extract (1 tsp)
- Optional: more powdered sugar or erythritol for rolling
Ingredients
- ▢1cupalmond flour(or try these nut freeLemon Meltaways) — Provides the base, structure, and a tender, slightly nutty crumb; sift or fluff if it’s compacted.
- ▢2tbsppowdered sugar or erythritol — Adds a touch of sweetness and helps with the meltaway texture; powdered gives the smoothest finish.
- ▢zest of one lemon — Concentrated lemon flavor; zest, not juice, for aromatic oils that brighten the cookie.
- ▢scant 1/4 tsp salt — Balances sweetness and lifts the lemon; use a scant measure to avoid over-salting.
- ▢1/8tspbaking soda — A tiny bit of leavening to keep these light without puffing them up.
- ▢2tbspbutter or coconut oil — Fat for tenderness and richness; butter adds depth, coconut oil keeps them dairy-free with a subtle coconut note.
- ▢1tspure vanilla extract — Rounds and deepens the flavor profile; use pure for the best aroma.
- ▢2tsplemon juice — Adds tang and moisture; combined with zest it gives a true lemon pop.
- ▢optional powdered sugar or erythritol for rolling — For a snowy finish and a slightly sweeter first bite; optional but lovely.
Lemon Pixie Cookies in Steps
- In a bowl, stir together the almond flour, powdered sugar or erythritol, lemon zest, salt, and baking soda until evenly combined.
- Melt the butter or coconut oil, let it cool briefly if very hot, then add the vanilla extract and lemon juice to it.
- Pour the wet mixture into the dry ingredients and stir until a cohesive dough forms.
- Roll the dough into balls.
- If using the optional powdered sugar or erythritol for coating, roll the balls in it now.
- For chewier cookies, refrigerate the formed balls until cold or up to overnight; otherwise continue to the next step and bake right away.
- When ready to bake, preheat the oven to 325°F and line a baking sheet with parchment paper.
- Place the dough balls on the prepared sheet, spaced a couple inches apart. Use a spoon (or your fingers) to gently press each ball into a cookie shape.
- Bake at 325°F for 10 minutes.
- Let the cookies cool completely on the baking sheet before moving or serving — they will be delicate while warm and firm up as they cool.
Why I Love This Recipe
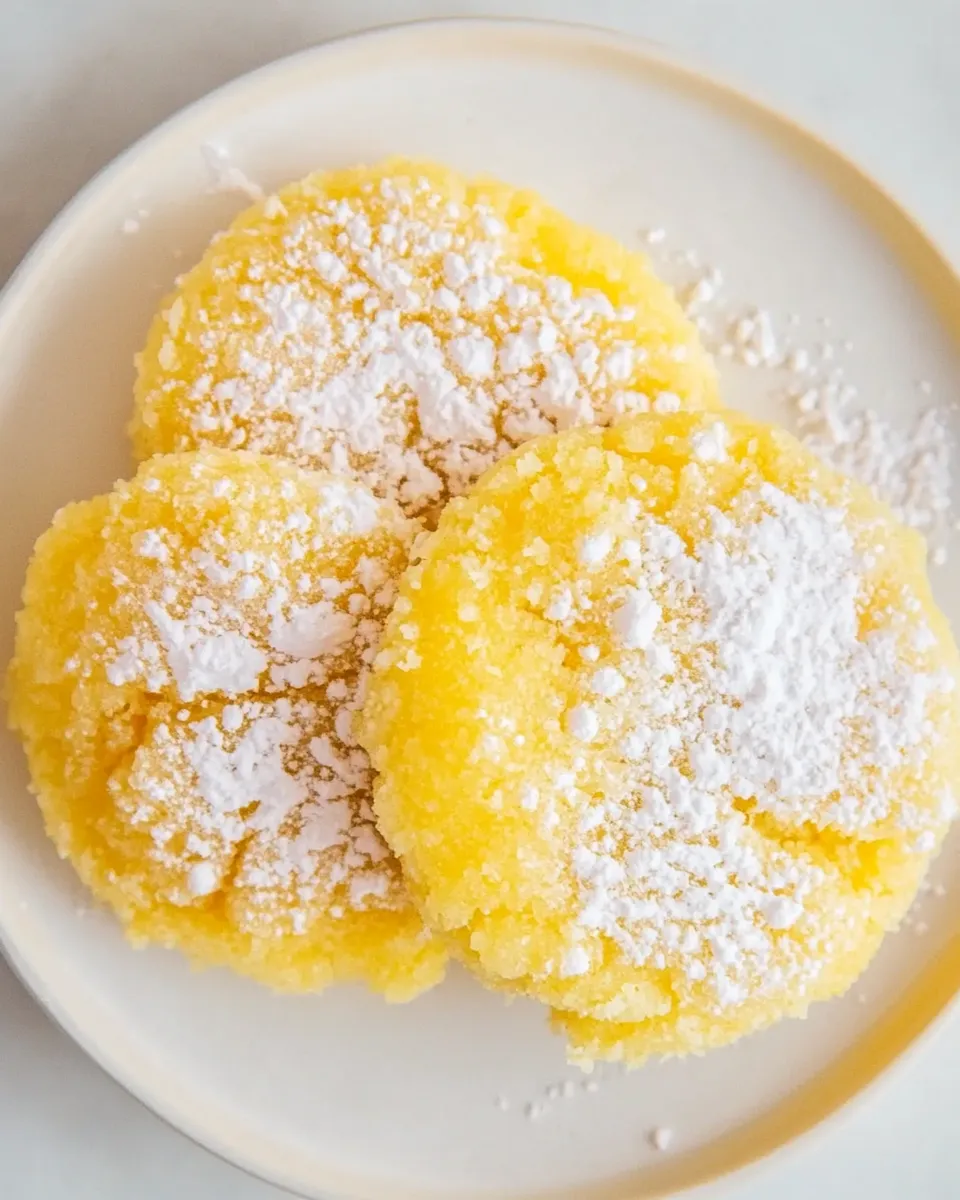
It’s the pure lemon clarity balanced with a tender, almost sandy texture that wins me over. These are not heavy cookies; they’re delicate and elegant, the kind you can eat three of without feeling weighed down. Almond flour gives them a short, buttery bite even when you use coconut oil instead of butter.
The method is short and forgiving. No chilling is strictly required unless you want a chewier result, and the dough comes together in one bowl. The end result feels special enough for guests but is simple enough for a weekday bake.
Swap Guide
- Butter vs. Coconut Oil — Butter gives a richer, rounder flavor. Coconut oil works for dairy-free diets, but expect a faint coconut note.
- Powdered Sugar vs. Erythritol — Powdered sugar gives the classic meltaway sweetness and texture. Use powdered erythritol if you prefer lower-carb or sugar-free; texture will be slightly different but acceptable.
- Optional Coating — Rolling in extra powdered sugar or erythritol creates a snowy look and sweeter first bite. Skip it for a more restrained cookie.
- Nut-Free Alternative — The source text mentions “Lemon Meltaways” as a nut-free option; follow that separate recipe if you need to avoid nuts entirely (do not substitute flour 1:1 without checking that recipe).
Equipment at a Glance
- Bowl — For mixing dry ingredients and combining wet and dry components.
- Spoon or spatula — To stir and bring the dough together.
- Small saucepan or microwave-safe bowl — For melting butter or coconut oil.
- Baking sheet and parchment paper — Prevent sticking and help cookies bake evenly.
- Spoon or your fingers — To shape and gently press the cookies before baking.
- Optional: cookie scoop — For uniform balls if you like consistent sizing.
Mistakes That Ruin Lemon Pixie Cookies
These cookies are delicate, so a few missteps will change texture and flavor noticeably:
- Overheating the fat — If the butter or coconut oil is too hot when added, it can partially cook the eggless dough (if you were using egg) or affect texture. Let it cool briefly before combining.
- Using packed almond flour — Compact almond flour leads to dry, dense cookies. Fluff or gently stir it before measuring.
- Skipping the cooling step when you want chew — If you aim for chewier cookies but bake immediately, they’ll be more fragile and won’t hold the chew you expect.
- Baking too long — These are small and delicate; 10 minutes at 325°F is the guideline. Overbaking dries them out fast.
- Moving them while warm — They’re fragile until cooled. Transfer only after they’ve firmed up on the pan.
Adaptations for Special Diets
These cookies are already close to friendly for several diets with only small changes.
- Gluten-free — The recipe is almond-flour based, so it’s naturally gluten-free if your almond flour is certified and you avoid cross-contamination.
- Dairy-free — Use coconut oil instead of butter to make them dairy-free. Expect a subtle coconut aroma.
- Low-sugar / Keto — Swap powdered sugar for powdered erythritol. The texture shifts slightly but the method and amounts remain the same.
- Nut-free — The source references a nut-free Lemon Meltaways option. If you require nut-free cookies, follow that specific nut-free variant rather than substituting an equal amount of wheat flour here (that would change ratios and texture).
Method to the Madness
Why does this short recipe work so well? Almond flour’s fat content keeps things tender without eggs, and the very small amount of baking soda gives just enough lift. Powdered sugar dissolves into the batter, lending a fine, sandy texture that creates the melt-in-the-mouth sensation these cookies are known for.
Letting the formed dough balls chill makes the cookies chewier because the fat firms up; they spread less and bake into a denser interior. If you skip chilling, expect a more fragile, short crumb that almost crumbles on the tongue. Both textures are good — it’s just a matter of preference.
Freezer-Friendly Notes
Freezing works great at two stages:
- Before baking — Form the dough balls, flash-freeze them on a tray until solid, then transfer to a sealed container or freezer bag. Bake from frozen; add a minute or two to the baking time if needed.
- After baking — Once completely cooled, store baked cookies in an airtight container and freeze. Thaw at room temperature; they regain texture quickly.
Label with the date and use within 2–3 months for best flavor. If you used powdered erythritol, note that its freeze-thaw behavior can differ slightly but generally holds up well.
Lemon Pixie Cookies Q&A
Q: Can I make the dough ahead?
A: Yes. Refrigerate the formed balls up to overnight for chewier cookies, or freeze the balls for longer storage. Bake directly from chilled or frozen.
Q: My cookies were too fragile right after baking — normal?
A: Yes. They firm up as they cool. Let them sit on the baking sheet until fully cooled before handling.
Q: Can I increase the lemon flavor?
A: Add more zest rather than juice for a stronger lemon aroma; juice adds moisture and tang but the zest contains the essential oils that give bright flavor.
Q: Why use powdered sugar?
A: Powdered sugar integrates smoothly into the batter, helping produce the characteristic fine, tender crumb. If you substitute with granular sugar, the texture will change.
Ready, Set, Cook
Preheat your oven, line a sheet, and gather your ingredients — these cookies come together quickly. Follow the steps above in order and pay attention to the simple temperature and cooling cues: melt the fat and cool before mixing, chill for chewy if you want that texture, and always let them cool completely on the sheet. A brief, patient pause at the end is the difference between crumbly warm pieces and perfectly shaped, delicate Lemon Pixie Cookies.
Make a small batch first to see how you like the texture, then scale up. Store baked cookies in an airtight container at room temperature for a few days or freeze for longer. Happy baking — and enjoy the bright, tiny bites of lemony perfection.
Lemon Pixie Cookies
Ingredients
Ingredients
- 1 cupalmond flour or try these nut freeLemon Meltaways
- 2 tbsppowdered sugar or erythritol
- zest of one lemon
- scant 1/4 tsp salt
- 1/8 tspbaking soda
- 2 tbspbutter or coconut oil
- 1 tsppure vanilla extract
- 2 tsplemon juice
- optional powdered sugar or erythritol for rolling
Instructions
Instructions
- In a bowl, stir together the almond flour, powdered sugar or erythritol, lemon zest, salt, and baking soda until evenly combined.
- Melt the butter or coconut oil, let it cool briefly if very hot, then add the vanilla extract and lemon juice to it.
- Pour the wet mixture into the dry ingredients and stir until a cohesive dough forms.
- Roll the dough into balls.
- If using the optional powdered sugar or erythritol for coating, roll the balls in it now.
- For chewier cookies, refrigerate the formed balls until cold or up to overnight; otherwise continue to the next step and bake right away.
- When ready to bake, preheat the oven to 325°F and line a baking sheet with parchment paper.
- Place the dough balls on the prepared sheet, spaced a couple inches apart. Use a spoon (or your fingers) to gently press each ball into a cookie shape.
- Bake at 325°F for 10 minutes.
- Let the cookies cool completely on the baking sheet before moving or serving — they will be delicate while warm and firm up as they cool.
Equipment
- Bowl
- Measuring Spoons
- Spoon
- Oven
- Baking Sheet
- Parchment Paper
- refrigerator (optional)
Notes
Still hungry? Try these
Black Bean Brownies
.


