
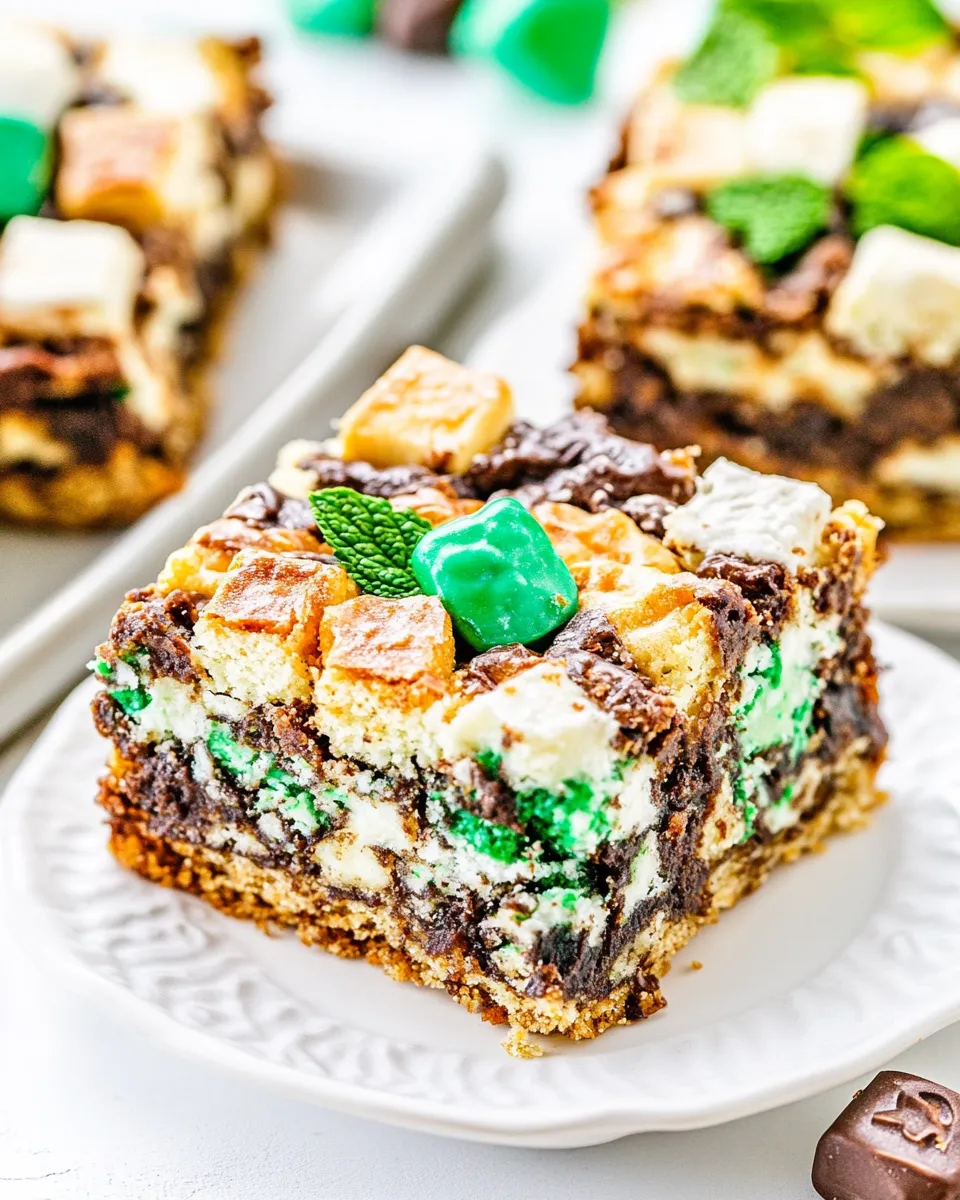
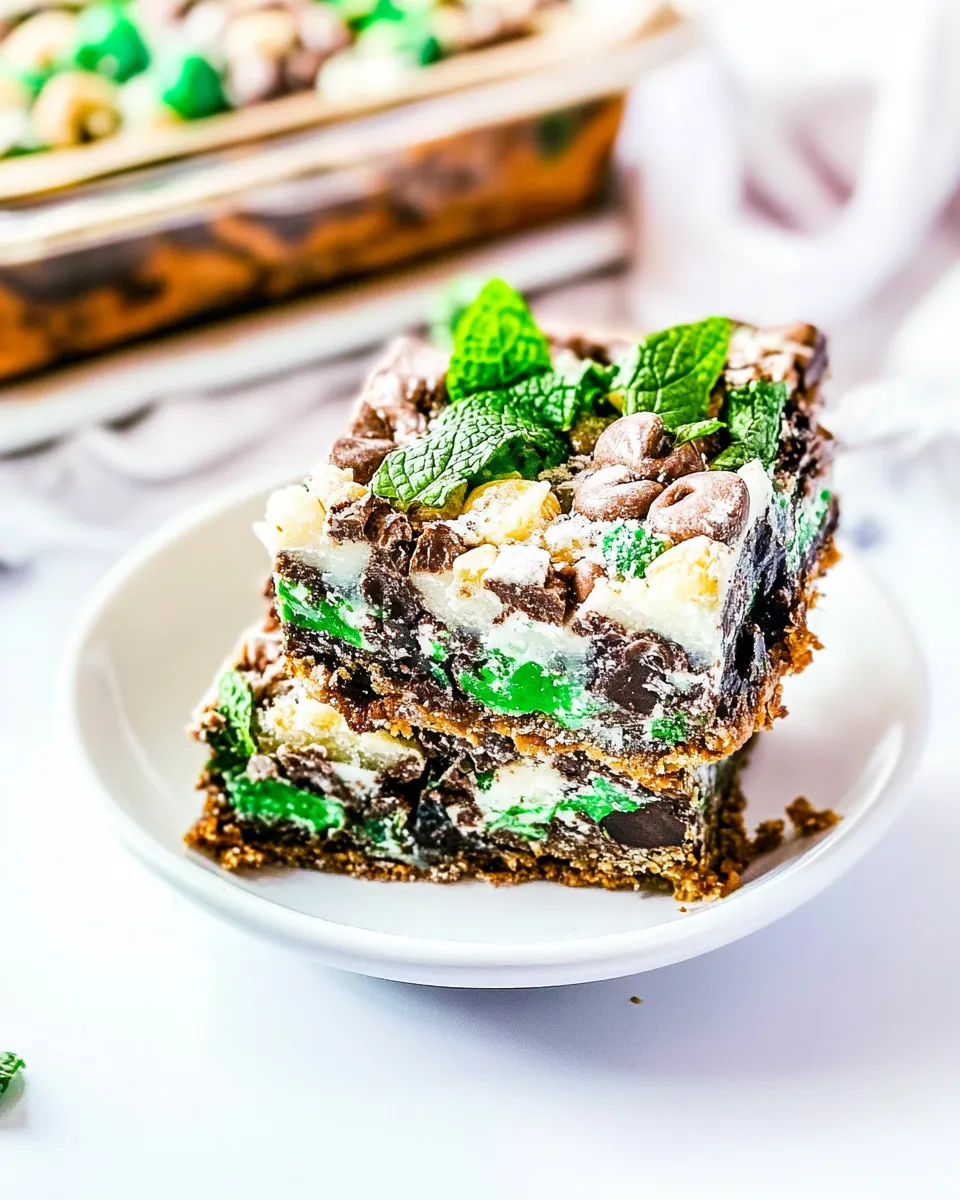
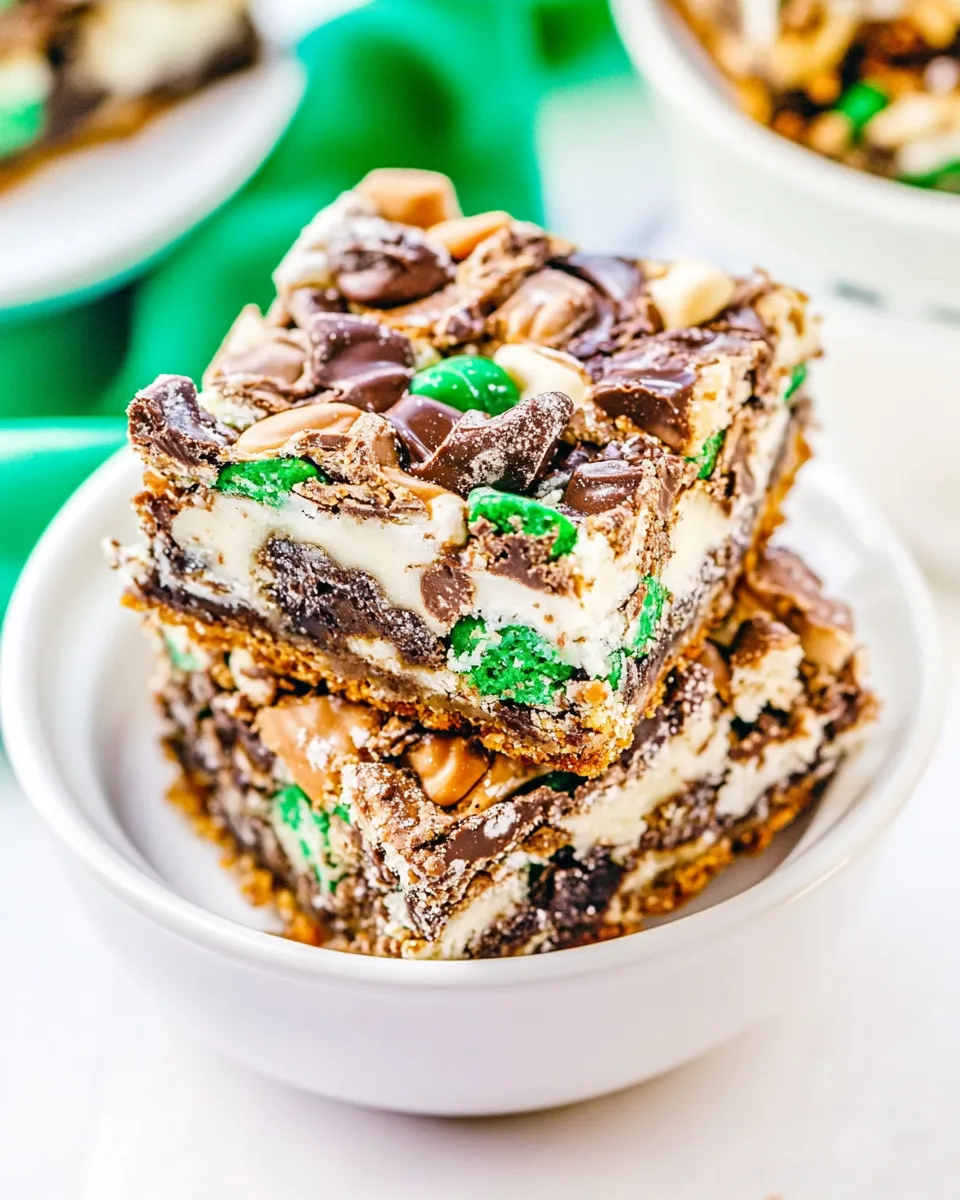
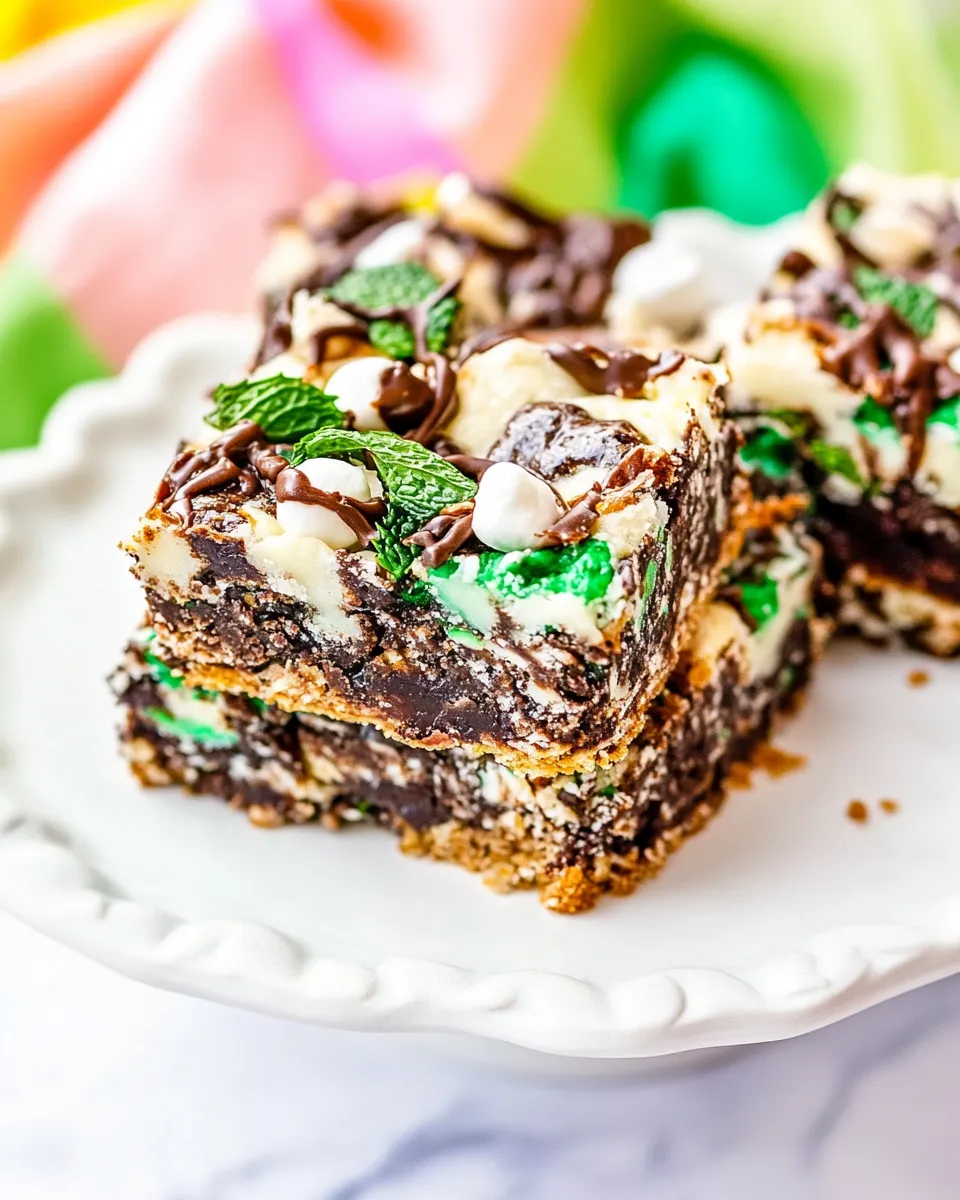
These Mint Magic Bars are exactly what you want when you need a rich, minty, chocolate-packed treat that comes together with very little fuss. The base is a quick pressed cookie dough layer, and the top is loaded with mint cookies, mint chocolates, and melty white and dark chocolate. The texture is a mix of chewy cookie, creamy condensed milk, and crunchy chopped candies—comforting and festive.
I test desserts for weeknight baking and party tables, so I focus on steps that save time and prevent common mishaps. This recipe is forgiving: refrigerated cookie dough does most of the heavy lifting, and the topping gets layered right on the warm base so everything bonds while baking. Follow the order below and plan for cooling time—these hold together best after a couple hours.
If you like strong mint, keep all the mint pieces. If you’d rather a subtler hint, reduce the chopped mint chocolates a touch. Either way, these bars slice cleanly once fully cooled and store well for sharing or gifting.
Ingredient Rundown
Here are the exact ingredients called for. I list each one with a short note so you know what it does and how to handle it.
- 16 ounces refrigerated chocolate chip cookie dough — the sturdy, chewy crust; press evenly for a consistent bake.
- 16 Mint Oreos, divided and coarsely chopped — divided so some sink into the condensed milk layer and some top the bars for texture.
- 1 cup chocolate chunks, divided — divided to distribute chocolate throughout the bar and on top for melty pockets.
- 14 Andes Mints, coarsely chopped — sharp mint flavor and a bit of crunch; scatter them over the warm base so they soften slightly as they bake.
- 14 ounces sweetened condensed milk — the glue that binds the toppings and caramelizes to a light golden hue during the second bake.
- 10 Ghirardelli Mint Chocolates — whole pieces that give concentrated pockets of mint chocolate; place them on top for appearance and flavor bursts.
- ½ cup white chocolate chips — add creaminess and visual contrast; they melt and set into soft ribbons on the surface.
Build Mint Magic Bars Step by Step
- Preheat oven to 350°F. Line a 9×13-inch baking pan with nonstick foil or parchment paper and spray the lining with cooking spray; set the pan aside.
- Press 16 ounces refrigerated chocolate chip cookie dough evenly into the bottom of the prepared pan, using your hands or a spatula to create an even layer.
- Bake the cookie-dough layer for 15 minutes, or until the edges are set and the top is slightly golden. Remove from the oven.
- Immediately and evenly sprinkle half of the chopped Mint Oreos (8 cookies, coarsely chopped), ½ cup of the chocolate chunks, and all 14 coarsely chopped Andes Mints over the warm cookie base.
- Evenly drizzle all 14 ounces of the sweetened condensed milk over the toppings; it does not need to perfectly cover the surface.
- Sprinkle the remaining 8 chopped Mint Oreos and the remaining ½ cup chocolate chunks over the condensed milk, then add all 10 Ghirardelli Mint Chocolates and ½ cup white chocolate chips evenly across the top.
- Return the pan to the oven and bake an additional 25 minutes, or until the sweetened condensed milk is a light caramel color and the top is set.
- Allow the bars to cool in the pan for at least 2 hours before lifting them out on the foil/parchment and slicing. Store airtight at room temperature up to 1 week or freeze up to 3 months.
Why This Recipe Is Reliable
There are a few design choices here that make the bars dependable. First, the refrigerated cookie dough creates a uniform crust without measuring flour, butter, or sugar—less room for error. Pressing the dough into the pan and giving it a 15-minute pre-bake sets a stable base so the heavy toppings don’t sink completely.
Second, the sweetened condensed milk acts as a binding and browning agent. When baked until lightly caramelized, it holds the toppings together and produces a glossy, sliceable surface. Finally, dividing mix-ins between the first and second layer distributes flavor and texture evenly; some pieces melt into the center while others give a crunchy or gooey top.
Smart Substitutions
Want to adjust components without breaking the recipe’s structure? These swaps keep the same method and timing.
- Cookie base — any refrigerated cookie dough works as the structural layer; stick to a firm dough (not cake-like) so it presses and bakes evenly.
- Mint candy balance — reduce the Andes Mints or Ghirardelli pieces if you prefer a milder mint note. Removing one of the mint candies shifts the profile toward chocolate.
- Chocolate distribution — if you want fewer dark pockets, use the full cup as white chocolate chips instead of dividing; the structure won’t change.
- Sweetened condensed milk — don’t replace with another liquid. It’s crucial for texture and setting; altering it will change bake time and consistency.
Tools & Equipment Needed
- 9×13-inch baking pan — for even thickness and predictable bake time.
- Parchment paper or nonstick foil and cooking spray — ensures a clean lift and easy cleanup.
- Mixing bowl and spatula — for chopping and distributing mix-ins if needed.
- Measuring cup — to pour the condensed milk evenly.
- Sharp knife or bench scraper — for clean slices after cooling.
Learn from These Mistakes
I’ve seen a few predictable slip-ups. Here are the problems and how to avoid them.
- Soggy center — this usually comes from under-baking the second stage. Bake until the condensed milk turns a light caramel color and the top is set; that signals the right texture.
- Tough crust — overworking the cookie dough when pressing can compress gluten more than needed. Press it gently and evenly rather than kneading it into the pan.
- Uneven topping distribution — skipping the “divided” step for Oreos and chunks concentrates mix-ins in one area. Divide and sprinkle in layers for even pockets of flavor.
- Messy slices — slicing too soon creates ragged edges. Wait the full cooling time (at least 2 hours) so the condensed milk sets and the bars firm up.
Tailor It to Your Diet
These bars are flexible if you need to adapt them to dietary needs. Here are practical approaches without changing the method:
- Lower mint intensity — reduce the amount of Andes Mints and Ghirardelli Mint Chocolates. Keep the divided distribution so flavor remains even.
- Gluten considerations — swap the refrigerated cookie dough and sandwich cookies for gluten-free equivalents. The technique and bake times remain the same, though texture can vary slightly.
- Less sugar — this recipe relies on sweet toppings and condensed milk, so reducing sugar drastically will change the outcome. Instead, cut back on one type of chocolate or mint candy if you want a slightly less sweet bar.
Insider Tips
Assembly and evenness
Press the cookie dough into the corners and smooth the surface with an offset spatula or lightly floured hands. If the dough sticks, press with parchment between your hand and the dough. When adding the condensed milk, pour in a few streams across the surface rather than a single thick pool; that prevents channels and helps more even caramelization.
Bake monitoring
Ovens vary. If your oven runs hot, check the bars five minutes early during the second bake. You’re aiming for a gentle, light caramelization, not deep browning. For visual cues: edges should be set and the condensed milk should look glossy and slightly thickened.
Slicing technique
After cooling, lift the whole block out using the parchment or foil. Use a sharp knife and wipe it between cuts for neat squares. If you want perfectly clean edges, chill the pan briefly in the fridge for 15–30 minutes before slicing.
Save for Later: Storage Tips
These bars store well because of the condensed milk’s stabilizing effect. Keep them airtight at room temperature for up to one week. If you need longer storage, freeze sealed portions up to three months. Thaw in the fridge or at room temperature before serving so the texture returns to soft and chewy.
Helpful Q&A
Q: Can I make these ahead for a party?
A: Yes. You can bake them a day or two ahead, cool completely, and store airtight at room temperature. If you need more lead time, freeze slices and thaw the day of the event.
Q: Will the Oreos get soggy?
A: They do soften slightly, which is intentional—some pieces sink into the condensed milk and set, and others on top provide crunch. That contrast is part of the appeal.
Q: Can I halve the recipe?
A: Technically yes, but you’ll need a smaller pan (like 8×8 inches) and a shorter bake time. I recommend following the full recipe for reliable results.
Q: Why does the recipe call for two rounds of chocolate chunks?
A: Dividing the chunks ensures chocolate throughout the bars while still providing melted pockets on top. It gives consistent flavor in every bite.
Final Bite
Mint Magic Bars are simple to assemble and impressive to serve. The method relies on a sturdy cookie dough base, strategic layering of minty mix-ins, and a final bake that caramelizes and binds everything perfectly. Give yourself the full cooling time and slice with a clean knife—then watch how fast they disappear.
These are the kind of bars you can make for last-minute guests or holiday trays and still get a consistently delicious result. Keep the ingredient layout handy and follow the build steps exactly; the payoff is a tray of mint-chocolate bars that look and taste like you spent way more time on them than you did.

Mint Magic Bars
Ingredients
Ingredients
- 16 ouncesrefrigerated chocolate chip cookie dough
- 16 Mint Oreos divided and coarsely chopped
- 1 cupchocolate chunks divided
- 14 Andes Mints coarsely chopped
- 14 ouncessweetened condensed milk
- 10 Ghirardelli Mint Chocolates
- 1/2 cupwhite chocolate chips
Instructions
Instructions
- Preheat oven to 350°F. Line a 9x13-inch baking pan with nonstick foil or parchment paper and spray the lining with cooking spray; set the pan aside.
- Press 16 ounces refrigerated chocolate chip cookie dough evenly into the bottom of the prepared pan, using your hands or a spatula to create an even layer.
- Bake the cookie-dough layer for 15 minutes, or until the edges are set and the top is slightly golden. Remove from the oven.
- Immediately and evenly sprinkle half of the chopped Mint Oreos (8 cookies, coarsely chopped), ½ cup of the chocolate chunks, and all 14 coarsely chopped Andes Mints over the warm cookie base.
- Evenly drizzle all 14 ounces of the sweetened condensed milk over the toppings; it does not need to perfectly cover the surface.
- Sprinkle the remaining 8 chopped Mint Oreos and the remaining ½ cup chocolate chunks over the condensed milk, then add all 10 Ghirardelli Mint Chocolates and ½ cup white chocolate chips evenly across the top.
- Return the pan to the oven and bake an additional 25 minutes, or until the sweetened condensed milk is a light caramel color and the top is set.
- Allow the bars to cool in the pan for at least 2 hours before lifting them out on the foil/parchment and slicing. Store airtight at room temperature up to 1 week or freeze up to 3 months.
Equipment
- 9x13 inch Baking Pan
- nonstick foil or parchment paper
- Cooking spray
- Oven
- Spatula
- hands
Notes
I prefer using the flat packages of
refrigerated cookie dough
for this recipe, rather than the tubes of dough, since it’s easier to smoosh the flat packages but technically either will work. If you don’t have refrigerated cookie dough in your area, you could try making a half batch of my
Best Soft and Chewy Cookies
recipe and trying that. However, I haven’t personally tested this recipe this way.
**Mint magic bars will be very gooey immediately after removing them from the oven so I recommend giving them about 2 hours to cool before slicing into them. If you’re in a hurry, you could try speeding this process up by placing them in the refrigerator for an hour.


