
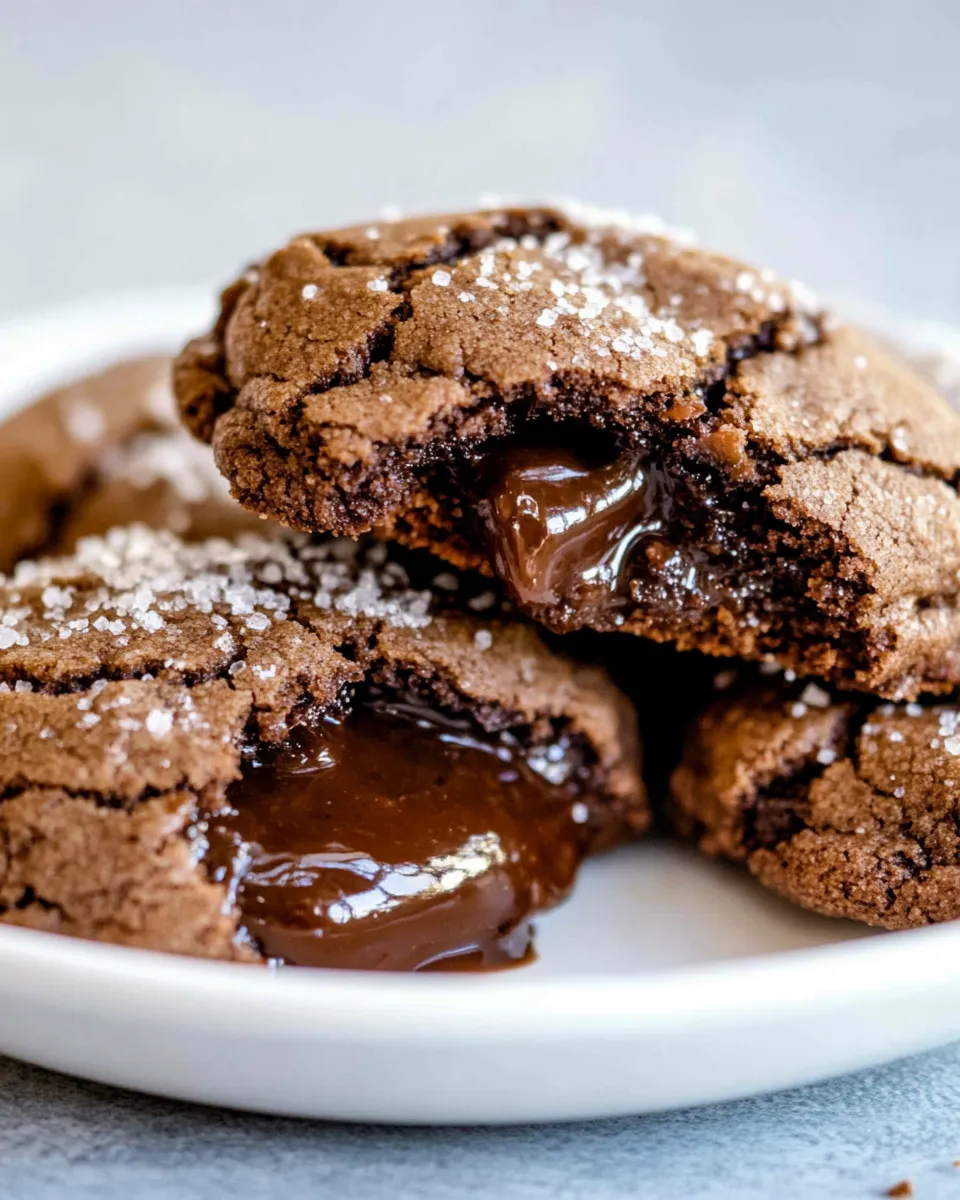
These Molten Lava Cookies are the kind of recipe I reach for when I want something impressive that still fits into a weeknight schedule. They look decadent — a crisp edge, a soft center — but the method is straightforward: chill the dough, enclose a chilled hot fudge center, and bake until the edges are set and the middle is luscious. No tempering chocolate or fancy tools required.
I test recipes until they work every single time, and this one consistently delivers the gooey center that turns heads. The trick is temperature: chill the hot fudge so it scoops easily, chill the dough so it holds around the filling, and pull the cookies from the oven at the right moment. You’ll understand how those three small steps make a big difference before you finish your first tray.
Below you’ll find everything you need: a clear ingredients list (the original quantities are preserved), step-by-step instructions from start to finish, troubleshooting, swaps, gear recommendations, and storage tips. Read the essentials, then dive into the How It’s Done section when you’re ready to bake.
The Essentials
Yield: Makes approximately 18–24 cookies depending on how large you scoop the dough. Hands-on time: about 30 minutes plus 2 hours chill time. Oven time: 10–11 minutes per batch. Difficulty: approachable for anyone who can cream butter and shape dough.
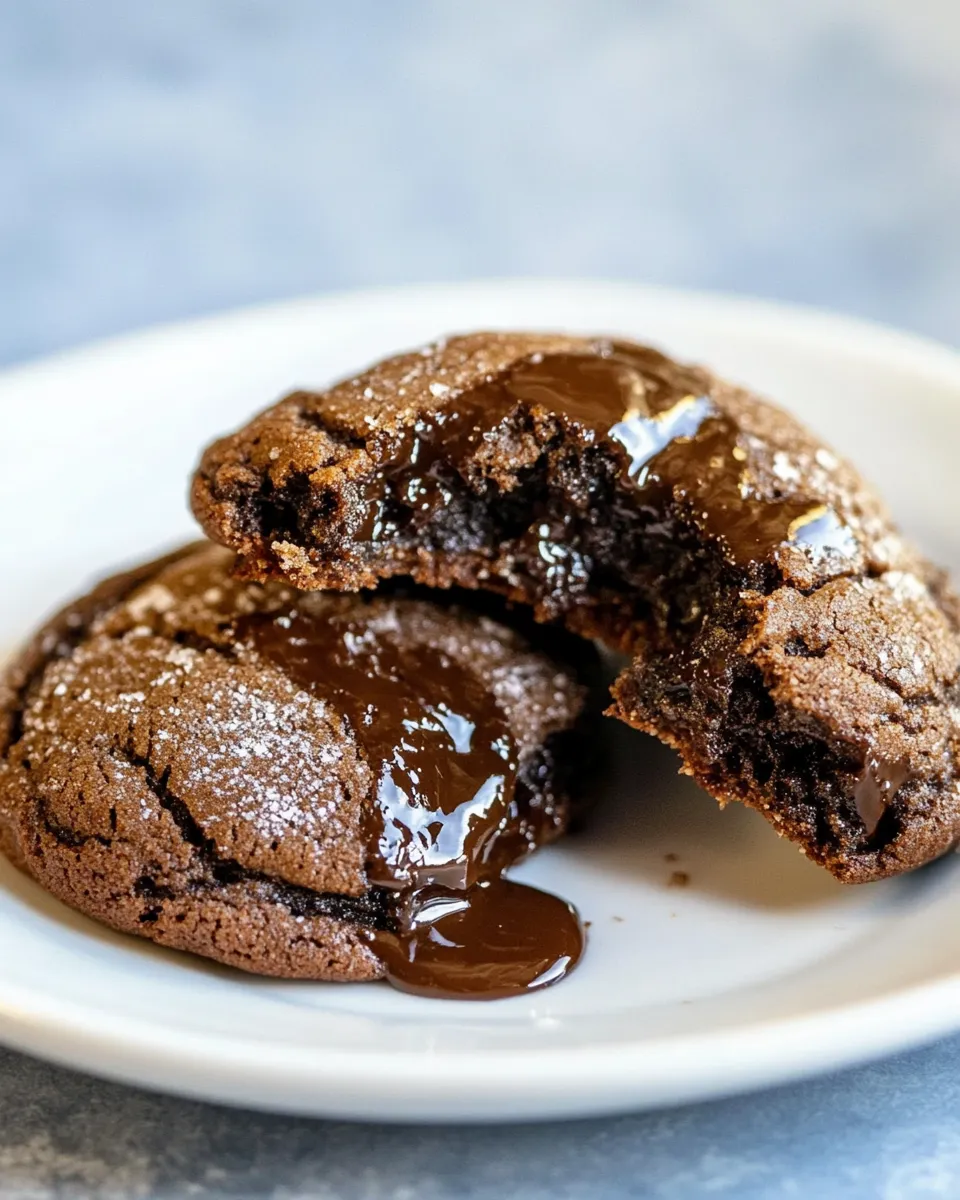
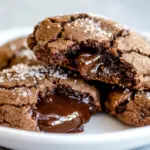
Flavor profile: rich chocolate cookie with a hot fudge center. Texture: slightly crisp edges with a molten, gooey center right out of the oven that firms slightly as the cookie cools. These are best served warm but are still excellent at room temperature.
Ingredients
- 3/4(1 1/2 sticks)cup unsalted butter, softened — provides richness and structure; cream it until light.
- 1cuplight brown sugar — adds moisture and caramel notes.
- 1/2cupgranulated sugar,(you will need more for rolling later) — helps with spread and creates a crisper edge.
- 2large eggs — binder and adds lift.
- 1teaspoonvanilla,extract — flavor enhancer.
- 2cupsall-purpose flour,plus more as needed ((see note)) — the base; add a little more if dough is too sticky.
- 1/2cupunsweetened cocoa powder — chocolate flavor without extra sweetness.
- 1teaspoonbaking soda — provides lift.
- 1/2teaspoonbaking powder — helps with rise and texture.
- 1teaspoonsalt — balances sweetness and enhances flavor.
- 112 ounce jar hot fudge sundae topping ((chill in the fridge for easier scooping)) — the molten center; chill first so it holds shape while you enclose it.
Molten Lava Cookies: How It’s Done
- Chill the jar of hot fudge sundae topping in the refrigerator so it is easier to scoop.
- In the bowl of a stand mixer fitted with the paddle attachment (or in a large bowl with a hand mixer), cream the unsalted butter, light brown sugar, and 1/2 cup of the granulated sugar until light and creamy.
- Add the eggs and vanilla extract to the butter mixture and beat until fully combined and smooth.
- In a separate bowl, whisk together the all-purpose flour, unsweetened cocoa powder, baking soda, baking powder, and salt until evenly mixed.
- With the mixer on low, gradually add the dry ingredients to the butter mixture and mix just until combined. If the dough seems too wet or sticky, add a little more all-purpose flour as needed.
- Flatten the dough into a disk, wrap it tightly in plastic wrap, and chill in the refrigerator for 2 hours.
- When the dough has chilled, preheat the oven to 350°F (175°C) and line baking sheets with parchment paper. Pour additional granulated sugar into a small bowl for rolling (see ingredient note; about 1 cup).
- Working with one portion at a time, scoop about 2 tablespoons of chilled dough and flatten it into a disk in your hand. Place about 1 teaspoon of the chilled hot fudge topping in the center of the disk.
- Wrap the dough tightly around the fudge, sealing the seams and forming a smooth ball so the filling is fully enclosed. Repeat with the remaining dough and filling.
- Roll each dough ball in the reserved granulated sugar to coat, then place the balls on the prepared baking sheets about 2 inches apart.
- Bake the cookies at 350°F for 10–11 minutes, until the edges are set and the centers are still soft.
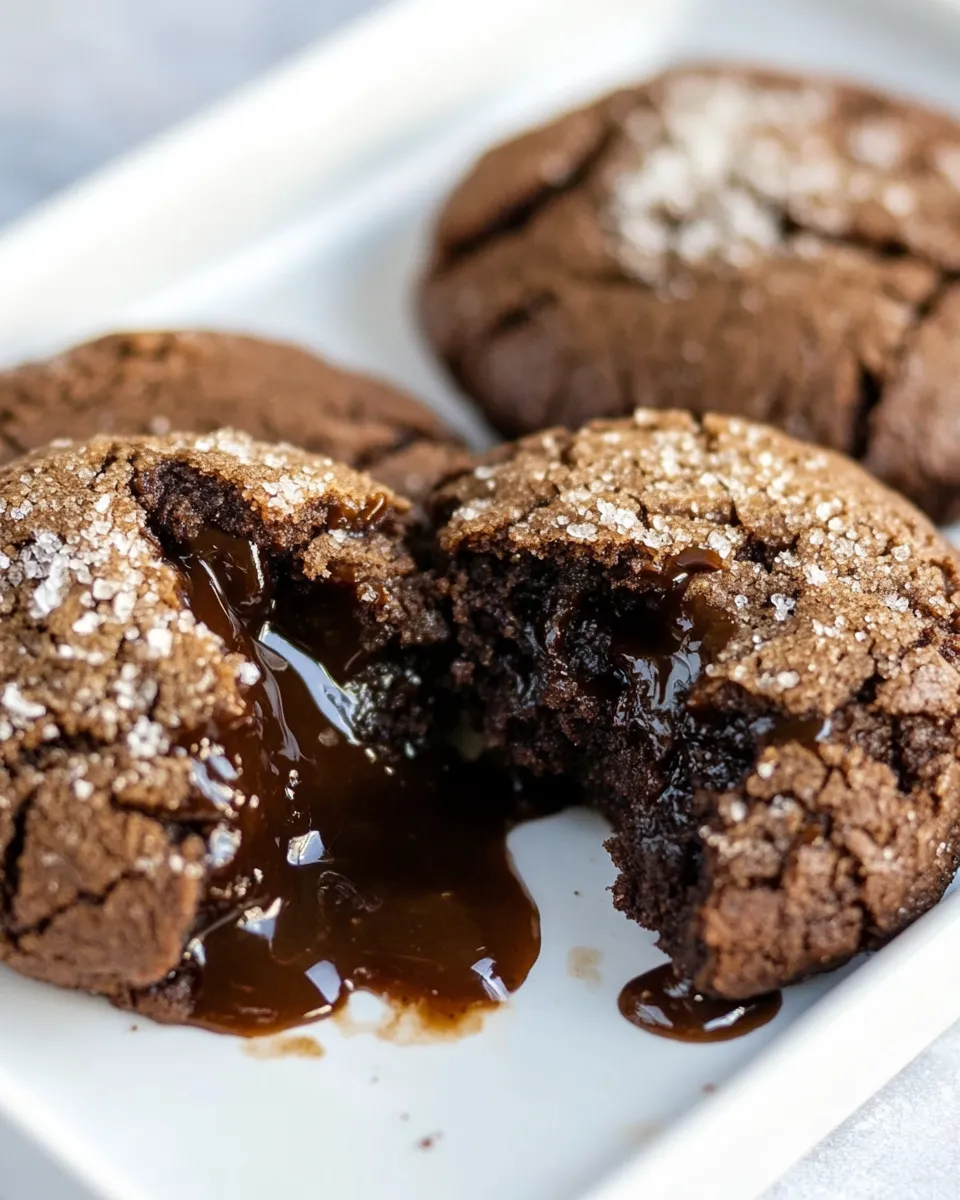
- Let the cookies cool on the baking sheet for a few minutes to firm up, then transfer to a cooling rack. If served immediately the centers will be very gooey; they will firm up a bit as the cookies cool.
What Makes This Recipe Special
There are three simple factors that elevate these cookies above an ordinary chocolate cookie:
- The enclosed chilled hot fudge creates an intentional molten center that holds its shape long enough to be wrapped in dough but melts quickly in the oven.
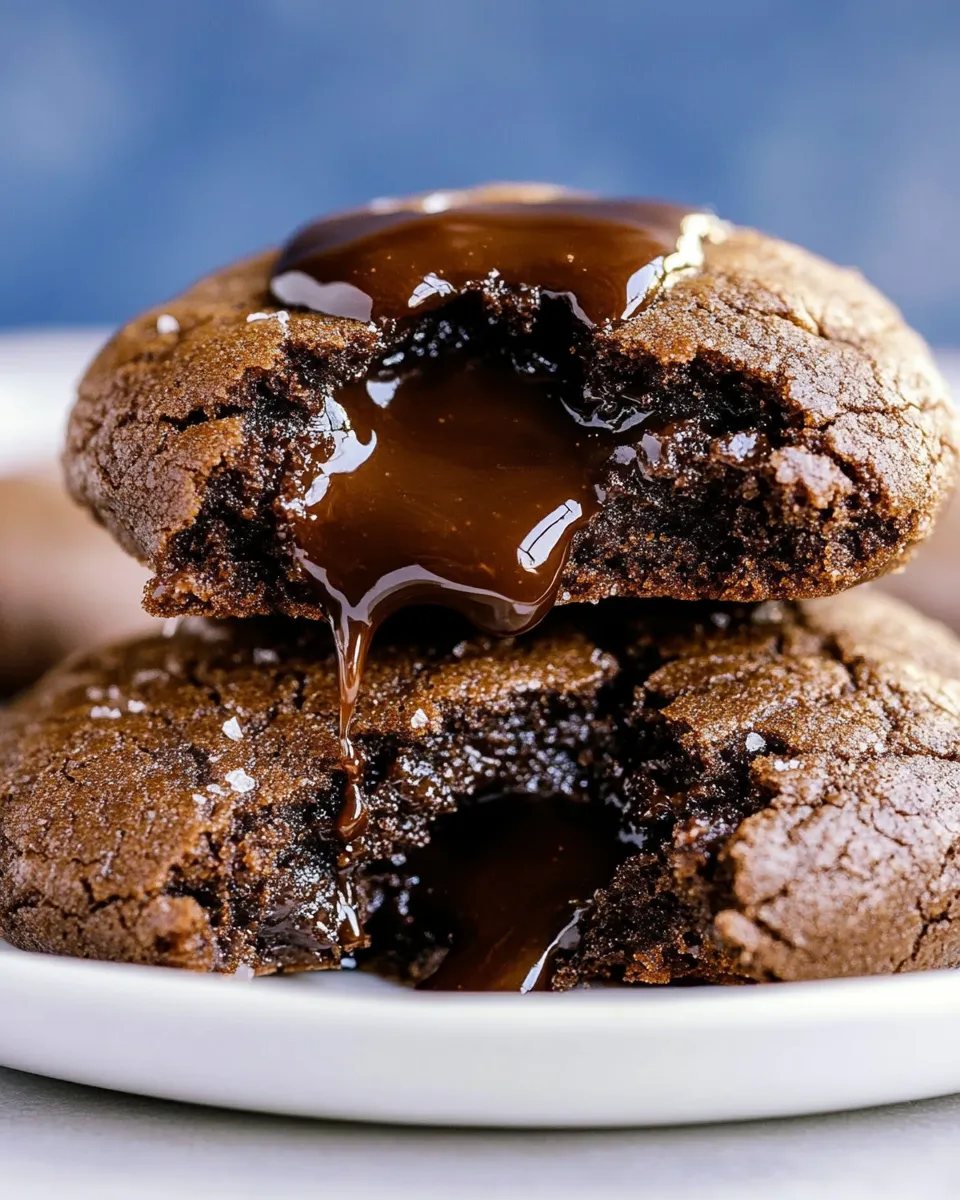
- Rolling the dough balls in granulated sugar before baking gives a delicate crackle and contrast to the soft center.
- Chilling the dough for two hours firms it up so it doesn’t flatten too much. That keeps the fudge fully encased until the oven softens the dough and releases the lava.
The result is a cookie that performs like a miniature molten cake: showy without being fussy.
Swap Guide
- Butter: You can use salted butter in place of unsalted; reduce the added salt by about half to avoid over-salting.
- Sugar: Swap light brown sugar for dark brown sugar for deeper molasses notes.
- Filling: If you don’t have hot fudge, use thick chocolate spread or ganache that has been chilled; avoid runny sauces that will leak through the dough.
- Flour: For a slightly cakier cookie, replace up to 1/4 cup of flour with cornstarch. If you try a gluten-free flour, expect changes in texture.
- Cocoa: Dutch-process cocoa will give a smoother, less acidic chocolate flavor; regular unsweetened will be slightly brighter.
What You’ll Need (Gear)
- Stand mixer with paddle attachment or a large bowl and a hand mixer — for creaming the butter and sugar smoothly.
- Mixing bowls — one for wet ingredients, one for dry.
- Measuring cups and spoons — accurate measuring is especially important for flour.
- Scoop or tablespoon — to portion about 2 tablespoons of dough consistently.
- Small bowl — for the additional granulated sugar used for rolling.
- Baking sheets and parchment paper — a thin pan and parchment prevent sticking and promote even browning.
- Plastic wrap — to tightly wrap the dough disk before chilling.
- Cooling rack — cookies firm up best when air can circulate beneath them.
Learn from These Mistakes
- Not chilling the fudge: If the hot fudge is warm or runny when you scoop it, it will ooze through the dough. Chill the jar until the fudge is scoopable but not rock hard.
- Skipping the dough chill: Unchilled dough spreads more in the oven and may not fully enclose the filling, causing leaks.
- Overbaking: Pulling the cookies out when the centers are still soft is critical — the centers will be gooey out of the oven and will firm as they cool. Overbaking ruins the molten effect.
- Under-sealing seams: Make sure you press and smooth seams fully when encasing the filling; any gaps will let filling escape during baking.
- Using too much filling: One teaspoon per cookie is the balance point for these proportions. More can create leaks or require longer baking to set the dough.
Seasonal Flavor Boosts
- Winter: Add 1/4 to 1/2 teaspoon of ground cinnamon to the dry mix, or add a drop of peppermint extract to the filling for a holiday twist.
- Fall: Stir a pinch of pumpkin spice into the dough for warm, autumnal notes — reduce added spices elsewhere to keep balance.
- Spring: Grate a small amount of orange zest into the dough (about 1/2 teaspoon) to brighten the chocolate.
- Summer: If you have fruit-flavored fudges (like salted caramel or raspberry-chocolate), chill and use them as center fillings for a seasonal change.
Recipe Notes & Chef’s Commentary
Measure flour properly: spoon flour into your measuring cup and level it off with the back of a knife. Overpacked flour leads to dry, dense cookies. The original recipe notes allow adding a little more flour if the dough is too wet or sticky; add sparingly — a tablespoon at a time.
Chill in stages: The two-hour dough chill is non-negotiable for the best shape around the filling. Also chill the hot fudge until firm enough to scoop. These two chills are the recipe’s backbone.
How big to scoop: The recipe suggests about 2 tablespoons of dough. That size yields a balance between cookie and filling — larger scoops may require a longer bake and risk the center not being molten.
Sugar for rolling: The instructions reference “about 1 cup” of extra granulated sugar for rolling. Adjust the amount depending on how many cookies you make. The sugar creates a pretty finish and a light crunch.
How to Store & Reheat
Storage at room temperature: Store completely cooled cookies in an airtight container for up to 2 days. The centers will firm as they cool, so they will be less molten but still tasty.
Refrigeration: If you need to keep them longer, store in an airtight container in the fridge for up to 5 days. Bring to room temperature before reheating for best texture.
Freezing: Freeze baked cookies flat on a sheet pan until solid, then transfer to a freezer bag for up to 2 months. Thaw at room temperature. Note: the texture of the filling may change slightly after freezing.
Reheating to revive the goo: Microwave a cookie for 8–12 seconds to warm the center just enough to soften. Watch carefully; a quick zap is all you need to bring back the molten quality without overcooking the cookie.
Ask & Learn
Common question: Can I make these ahead and bake from chilled? Yes — you can chill the assembled, filled, rolled dough balls on a baking sheet for 30–60 minutes, then bake. If baking from very cold, add a minute to the bake time and watch for set edges.
Q: My centers aren’t molten — what went wrong? A: Either the filling was too solid (fudge too cold or thick) or the cookies were overbaked. Follow the bake time closely and use a chilled but spoonable filling.
Q: The filling leaked — how do I stop that? A: Make sure seams are sealed by pinching and smoothing dough completely around the filling and that the dough was chilled enough to stay thick around the seam as you work.
If you have specific questions while baking — like adjusting for altitude, oven differences, or ingredient swaps — ask with details like altitude, oven type, and which swap you’re considering. I’ll respond with focused advice.
Make It Tonight
Quick checklist before you start:
- Chill the jar of hot fudge now — it needs at least 30–60 minutes to be scoopable.
- Measure and prep dry ingredients, then cream butter and sugars.
- Plan for a 2-hour dough chill; use that time to chill the fudge, clean up, or prep baking sheets.
Serve warm with a scoop of vanilla ice cream if you want a show-stopping finish, or enjoy them plain with coffee. These cookies are forgiving and reliable — follow the chilling steps and pull them when the centers are still soft. You’ll have rich, molten cookies that look and taste like a bakery special with home-kitchen effort.
Molten Lava Cookies
Ingredients
Ingredients
- 3/4 1 1/2 stickscup unsalted butter, softened
- 1 cuplight brown sugar
- 1/2 cupgranulated sugar (you will need more for rolling later)
- 2 large eggs
- 1 teaspoonvanilla extract
- 2 cupsall-purpose flour plus more as needed ((see note))
- 1/2 cupunsweetened cocoa powder
- 1 teaspoonbaking soda
- 1/2 teaspoonbaking powder
- 1 teaspoonsalt
- 112 ounce jar hot fudge sundae topping (chill in the fridge for easier scooping)
Instructions
Instructions
- Chill the jar of hot fudge sundae topping in the refrigerator so it is easier to scoop.
- In the bowl of a stand mixer fitted with the paddle attachment (or in a large bowl with a hand mixer), cream the unsalted butter, light brown sugar, and 1/2 cup of the granulated sugar until light and creamy.
- Add the eggs and vanilla extract to the butter mixture and beat until fully combined and smooth.
- In a separate bowl, whisk together the all-purpose flour, unsweetened cocoa powder, baking soda, baking powder, and salt until evenly mixed.
- With the mixer on low, gradually add the dry ingredients to the butter mixture and mix just until combined. If the dough seems too wet or sticky, add a little more all-purpose flour as needed.
- Flatten the dough into a disk, wrap it tightly in plastic wrap, and chill in the refrigerator for 2 hours.
- When the dough has chilled, preheat the oven to 350°F (175°C) and line baking sheets with parchment paper. Pour additional granulated sugar into a small bowl for rolling (see ingredient note; about 1 cup).
- Working with one portion at a time, scoop about 2 tablespoons of chilled dough and flatten it into a disk in your hand. Place about 1 teaspoon of the chilled hot fudge topping in the center of the disk.
- Wrap the dough tightly around the fudge, sealing the seams and forming a smooth ball so the filling is fully enclosed. Repeat with the remaining dough and filling.
- Roll each dough ball in the reserved granulated sugar to coat, then place the balls on the prepared baking sheets about 2 inches apart.
- Bake the cookies at 350°F for 10–11 minutes, until the edges are set and the centers are still soft.
- Let the cookies cool on the baking sheet for a few minutes to firm up, then transfer to a cooling rack. If served immediately the centers will be very gooey; they will firm up a bit as the cookies cool.
Equipment
- Stand Mixer or Hand Mixer
- paddle attachment
- Mixing bowls
- Baking Sheets
- Parchment Paper
- Cooling rack
- Small Bowl
- Spoon
Notes
Start with 2 cups of flour and add 2 tablespoons at a time if the dough is too soft. The dough will need to be sturdy enough to be handled. Source:
Cookie Remix
by
Pip and Ebby (
Megan Porta), Page Street Publishing Co. 2018; printed with permission from the author


