
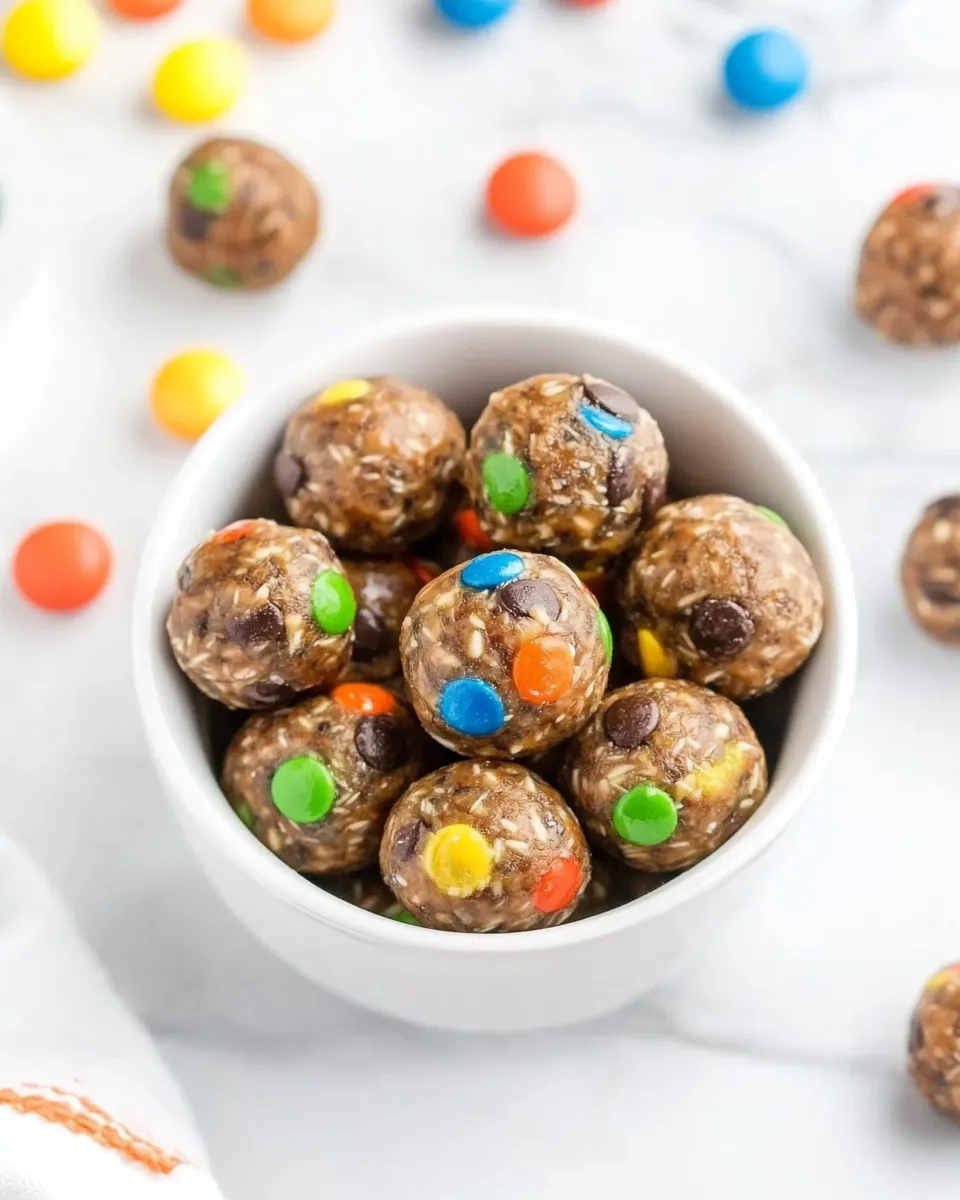
These Monster Energy Balls are exactly what they sound like: small powerhouses of flavor that double as a snack and a pick-me-up. They come together in one bowl with minimal fuss, and they store easily in the freezer so you can grab one (or three) when you need energy between meetings, workouts, or school runs.
I keep the method simple so the texture stays chewy and the sweet bits remain intact. The mix of peanut butter, honey, oats, and vanilla protein powder creates a sturdy base. Mini M&Ms and mini chocolate chips add the playful crunch and pockets of sweetness that make these feel a little indulgent while still being practical.
Prep takes minutes and the final chill sets them into firm, grab-and-go bites. Below you’ll find the exact ingredients and the straightforward steps to make them, plus tips on gear, storage, and sensible swaps if you want to tweak the macros or keep them allergy-friendly.
What’s in the Bowl
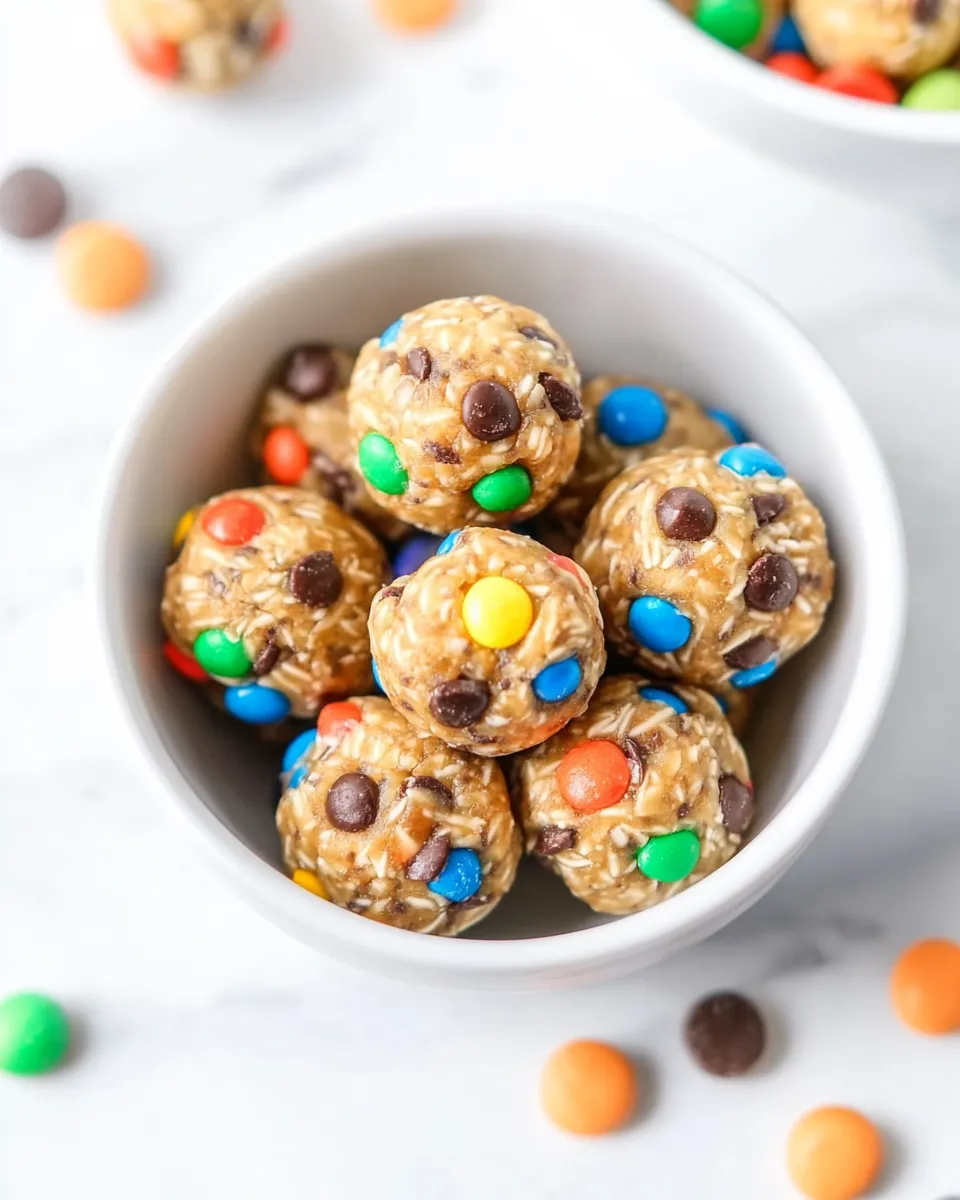
This recipe relies on a tight, forgiving dough that holds together when pressed. Sticky peanut butter and honey bind the dry elements, while oats give body and chew. Vanilla protein powder boosts protein without extra mixing steps, and a tiny pinch of fine sea salt keeps flavors balanced. The mini M&Ms and mini chocolate chips are the fun finishing touches that make each bite feel like a treat.
Ingredients
- 1 ½ cups creamy peanut butter — the main binder and source of richness.
- ½ cup honey — liquid sweetener and binder; helps the mixture hold its shape.
- 1 ½ cups old fashioned oats — provides texture and bulk; use rolled oats, not instant.
- ½ cup vanilla protein powder — boosts protein and adds vanilla flavor.
- ⅛ teaspoon fine sea salt — brightens the sweetness and balances flavors.
- ¼ cup mini M&Ms — colorful crunch and pockets of candy sweetness.
- ¼ cup mini chocolate chips — extra chocolate morsels for texture and flavor.
Step-by-Step: Monster Energy Balls
- In a medium bowl, combine the peanut butter and honey and stir until smooth.
- Add the oats, vanilla protein powder, and fine sea salt; stir until the mixture is evenly combined and holds together when pressed.
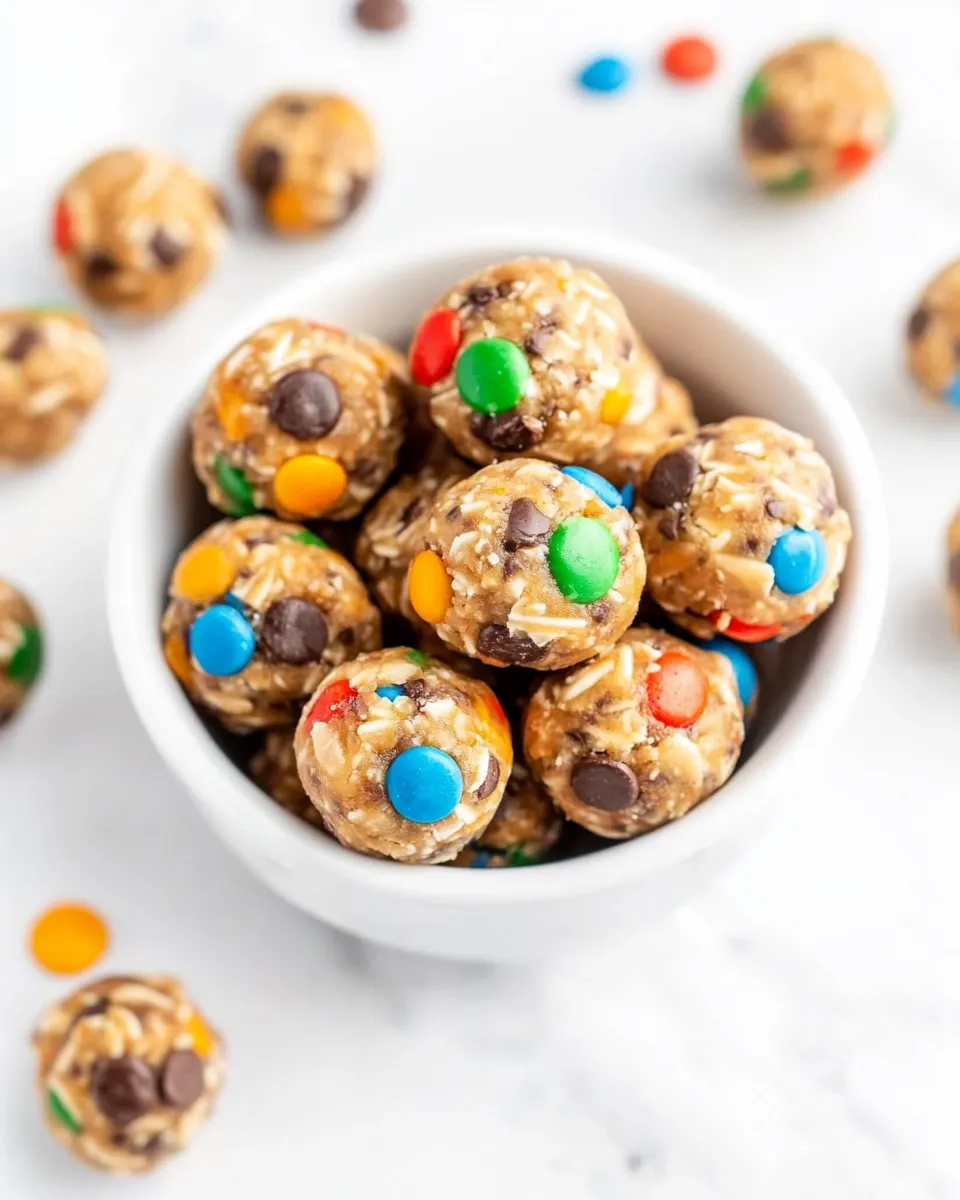
- Gently fold in the mini M&Ms and mini chocolate chips until they are evenly distributed.
- Line a cookie sheet with wax paper. Use a cookie scoop to portion the mixture (about 1-inch per ball), then roll each portion between your palms to form a smooth ball and place on the lined sheet, leaving a little space between balls.
- Refrigerate the cookie sheet for 1 hour or until the balls are firm.
- Transfer the chilled energy balls to a freezer-quality Ziploc bag and store in the freezer.
Reasons to Love Monster Energy Balls
- Speed: No baking, no extra gadgets. Mix, scoop, chill, and you’re done.
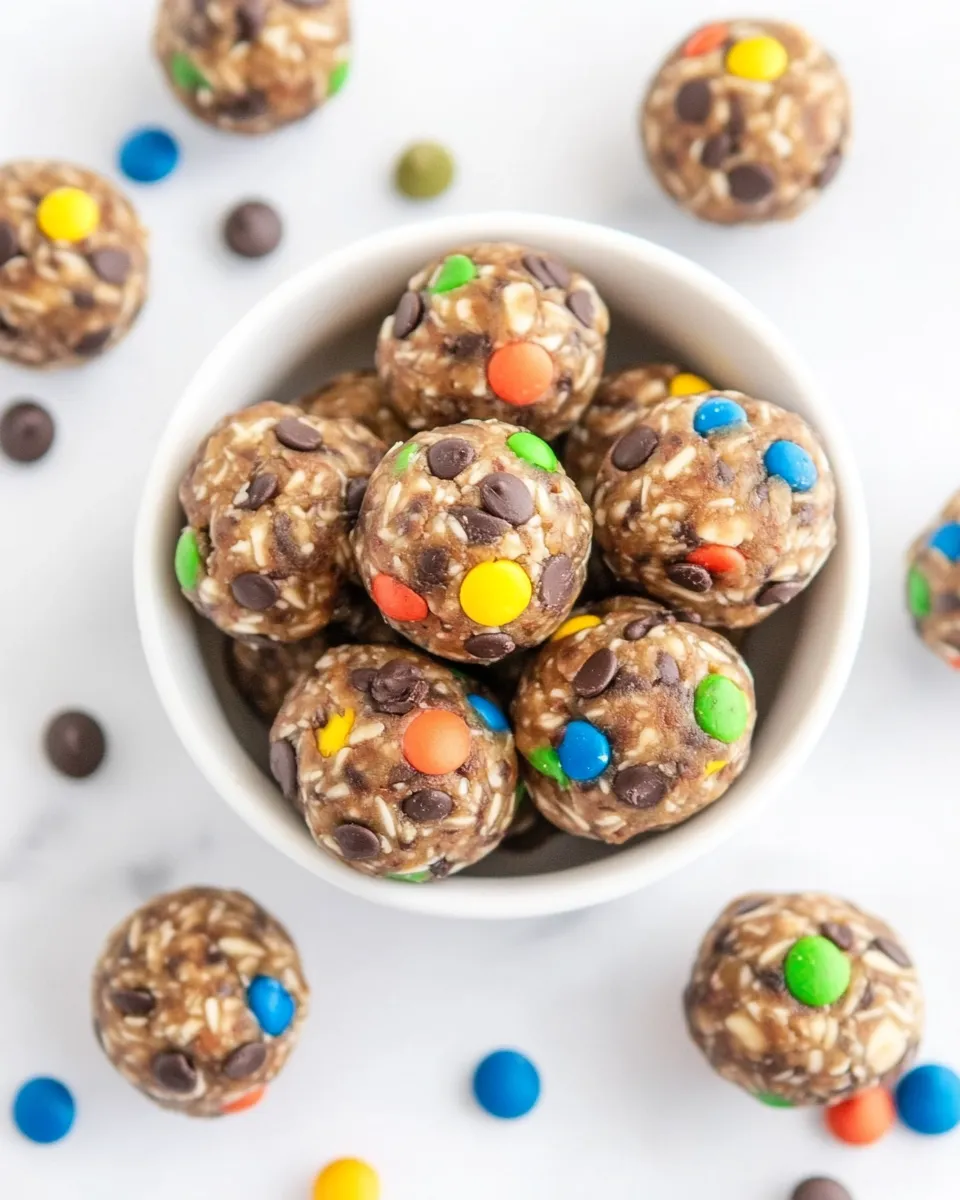
- Texture contrast: Creamy peanut butter and oats meet crunchy candy pieces for a satisfying bite.
- Portability: Frozen storage makes them easy to take in a lunchbox or post-workout bag without worrying about melting chocolate.
- Protein boost: The vanilla protein powder adds substance, making these more than a candy replacement.
- Flexible: The method tolerates small swaps and tweaks without falling apart.
Low-Carb/Keto Alternatives
If you’re aiming to lower carbs, focus on swapping the highest-carb components while keeping the binding properties intact. A few practical approaches:
- Replace the old fashioned oats with finely ground nuts or seed meal to reduce carbs and keep chew.
- Swap honey for a thick, low-carb liquid sweetener (use something that provides stickiness so the balls hold together).
- Skip the mini M&Ms and mini chocolate chips, or use sugar-free baking chips in small amounts to control carbs and sweetness.
- Increase the protein powder slightly to improve texture and satiety if you remove significant carbs.
What’s in the Gear List
- Medium mixing bowl — for combining the wet and dry ingredients.
- Spoon or sturdy spatula — to mix everything evenly.
- Cookie scoop (about 1-inch) — gives uniform ball sizes and speed.
- Cookie sheet lined with wax paper — a clean surface for chilling and easy transfer.
- Measuring cups and spoons — to keep ingredient ratios consistent.
- Freezer-quality Ziploc bag — for long-term storage.
Steer Clear of These
- Don’t use hot or very runny peanut butter — too fluid and the mixture won’t firm up properly.
- Avoid instant oats. They break down too much and create a mushy texture.
- Don’t skip the chill step. These need time in the refrigerator to set before handling for storage.
- Don’t overfill the scoop. Larger portions change the chill time and the number of servings.
- Be cautious with protein powders that are very sweet or flavored oddly — they can overpower the intended vanilla balance.
Variations by Season
Keep the base the same and tune the mix-ins for the time of year. A few seasonal ideas:
- Spring: Fold in a small amount of finely chopped dried fruit for a bright, tart contrast. Keep pieces small so balls stay firm.
- Summer: Freeze the balls briefly after chilling for a firmer, colder treat that’s refreshing on hot days.
- Autumn: Stir in a pinch of ground cinnamon or pumpkin pie spice to the dry mix for warm spice notes.
- Winter: Swap mini M&Ms for holiday-themed candies or add a drop of peppermint extract to the wet mix for a festive twist.
Recipe Notes & Chef’s Commentary
Texture and Binding
The balance between peanut butter and honey is the key to a cohesive dough. If your peanut butter is thicker, you may need to press the mixture a bit more firmly when scooping. If it’s looser, the honey will provide the extra stick.
Protein Powder Choices
Vanilla protein powder is called for here because it complements the peanut butter and candy flavors without clashing. If your powder is very fine and absorbent, you may notice the mixture feels drier; press firmly when forming the balls and allow the chill time to finish the job.
Mix-ins
Mini M&Ms and mini chocolate chips keep each bite fun. If you prefer fewer visible colors or a more chocolate-forward profile, increase the mini chips slightly and reduce the candy. Always fold in mix-ins gently to avoid crushing them and coloring the dough.
Quick Fixes
- If the mixture is crumbly: add a teaspoon or two of honey and re-press until it holds.
- If it’s too sticky to roll: place the bowl in the fridge 10–15 minutes, then try scooping and rolling.
- If the balls spread while chilling: press them a bit tighter before refrigerating and ensure the cookie sheet is level.
Shelf Life & Storage
The recipe directs you to transfer the chilled energy balls to a freezer-quality Ziploc bag and store them in the freezer. Frozen, they keep best and stay fresh for several weeks. Thaw individual balls at room temperature for a few minutes before eating, or pop them straight into a lunchbox for a slow thaw and cool snack.
For short-term storage, a covered container in the refrigerator will work for a few days, but the texture will be firmer straight from the freezer and less likely to become soft or sticky.
Your Questions, Answered
- Can I use crunchy peanut butter? Yes. Crunchy will add texture. Expect slightly less cohesive dough; press firmly when shaping.
- How many balls does this make? Using a 1-inch scoop yields a batch size that depends on how generously you fill the scoop. Expect a handful per cup of mixture; size and number will vary.
- Can I omit the protein powder? You can, but the mixture will be slightly looser and sweeter. Reduce oats a touch if you remove protein powder to keep the same texture.
- Are these kid-friendly? Absolutely. They’re portable, colorful, and sized for small hands when portioned appropriately.
- Can I freeze them directly in a container? Yes. Freeze on a tray first so they firm up individually, then transfer to a freezer bag or container to prevent sticking.
Bring It Home
Monster Energy Balls are an honest, practical snack—fast to prepare, flexible to tweak, and great to have on hand. Follow the steps exactly for consistent results, chill them well, and store frozen for easy portion control. Make a batch on a Sunday and you’ll have an irresistible grab-and-go option all week.
Try them as written the first time. Once you’re comfortable with the texture, experiment with small swaps and seasonal mix-ins. They’re forgiving, and that’s the best part: a dependable snack that keeps up with a busy schedule.

Monster Energy Balls
Ingredients
Ingredients
- 1 1/2 cupscreamy peanut butter
- 1/2 cuphoney
- 1 1/2 cupsold fashioned oats
- 1/2 cupvanilla protein powder
- 1/8 teaspoonfine sea salt
- 1/4 cupmini M&Ms
- 1/4 cupmini chocolate chips
Instructions
Instructions
- In a medium bowl, combine the peanut butter and honey and stir until smooth.
- Add the oats, vanilla protein powder, and fine sea salt; stir until the mixture is evenly combined and holds together when pressed.
- Gently fold in the mini M&Ms and mini chocolate chips until they are evenly distributed.
- Line a cookie sheet with wax paper. Use a cookie scoop to portion the mixture (about 1-inch per ball), then roll each portion between your palms to form a smooth ball and place on the lined sheet, leaving a little space between balls.
- Refrigerate the cookie sheet for 1 hour or until the balls are firm.
- Transfer the chilled energy balls to a freezer-quality Ziploc bag and store in the freezer.
Equipment
- Medium Bowl
- Spoon or Spatula
- Cookie Sheet
- Wax paper
- Cookie scoop or tablespoon
- freezer-quality Ziploc bag
Notes
FRIDGE
: Once set, transfer the energy balls to an airtight container and store in the fridge for up to 2 weeks.
FREEZER
: To freeze energy balls store them in a freezer safe plastic bag or airtight container, in the freezer, for up to 3 months. Allow to thaw before eating.


