
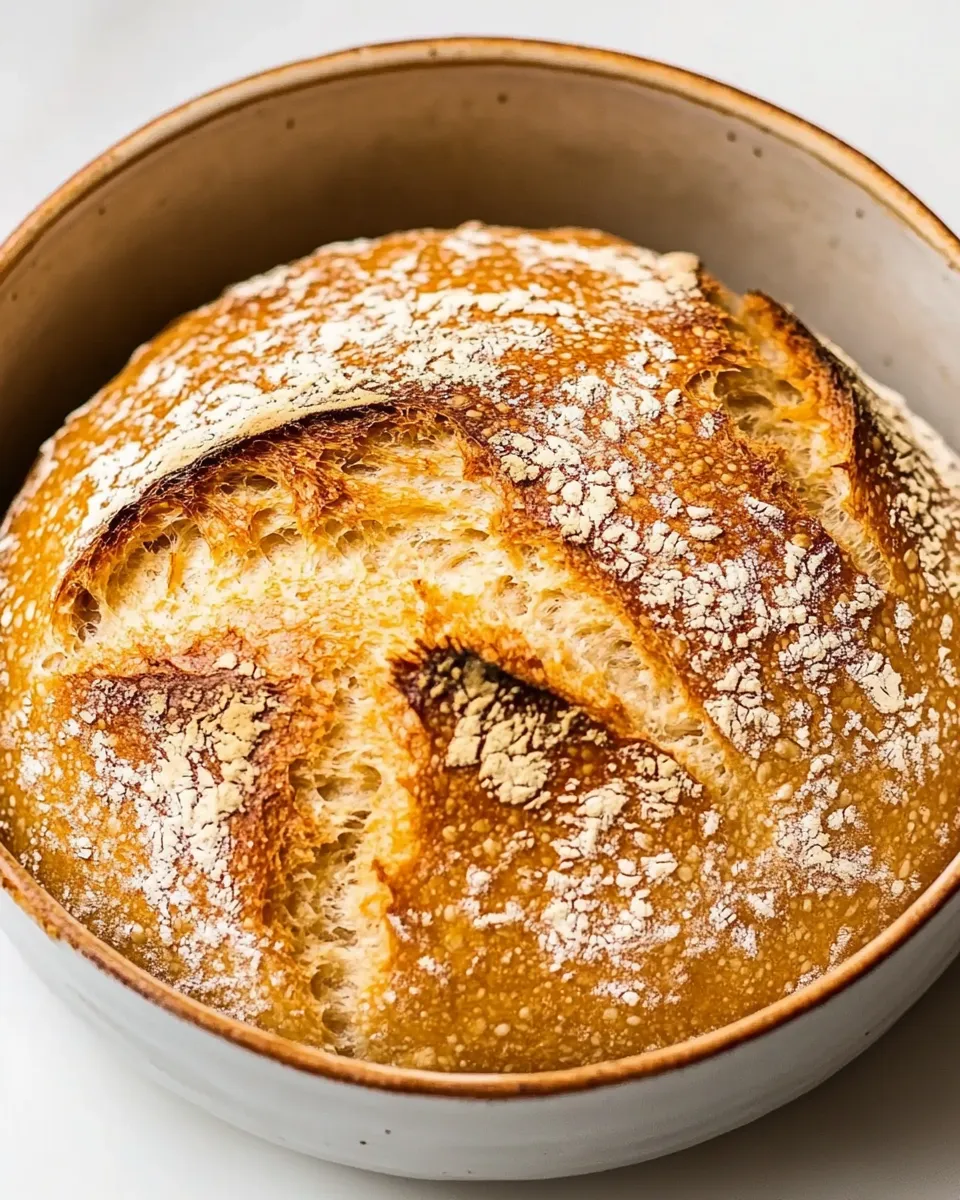
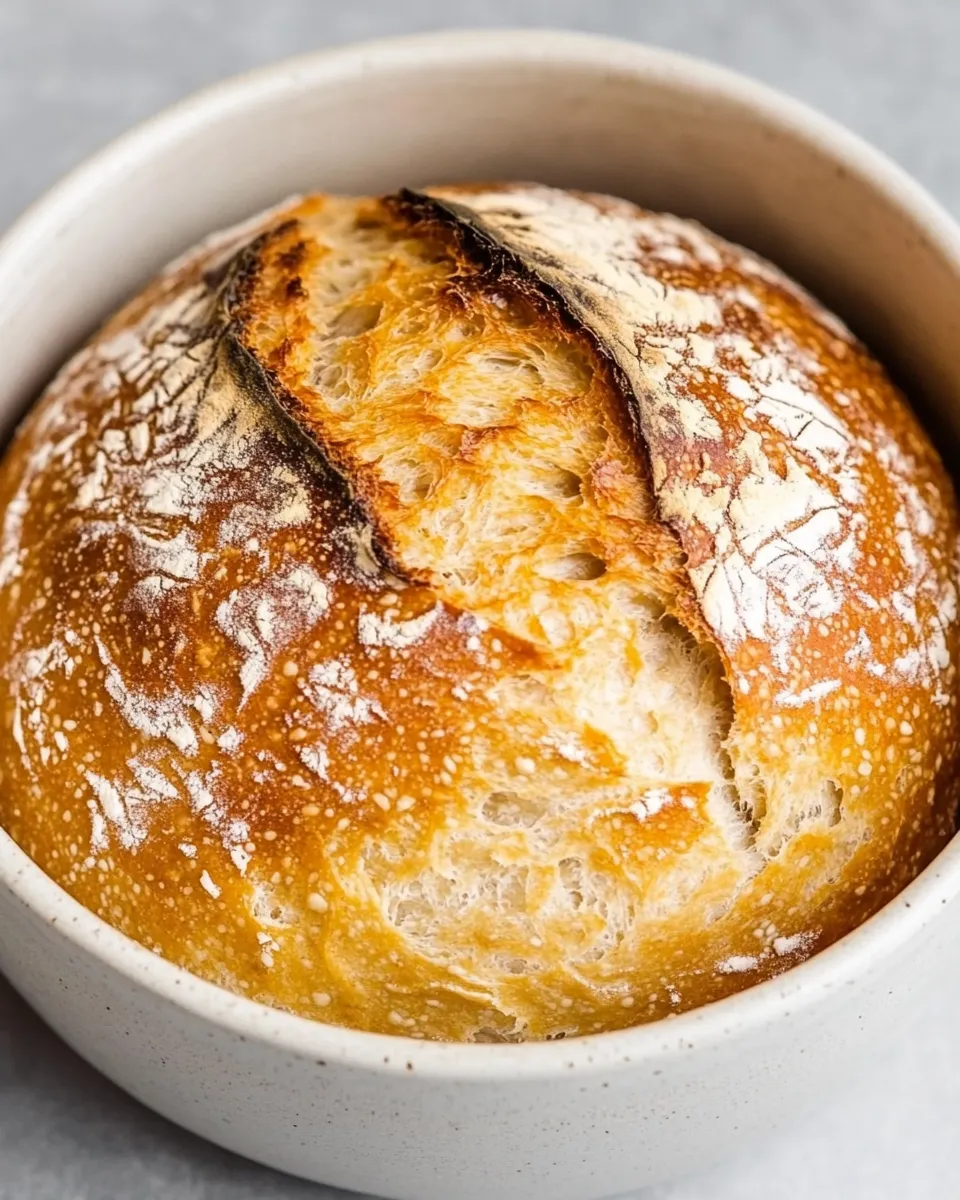
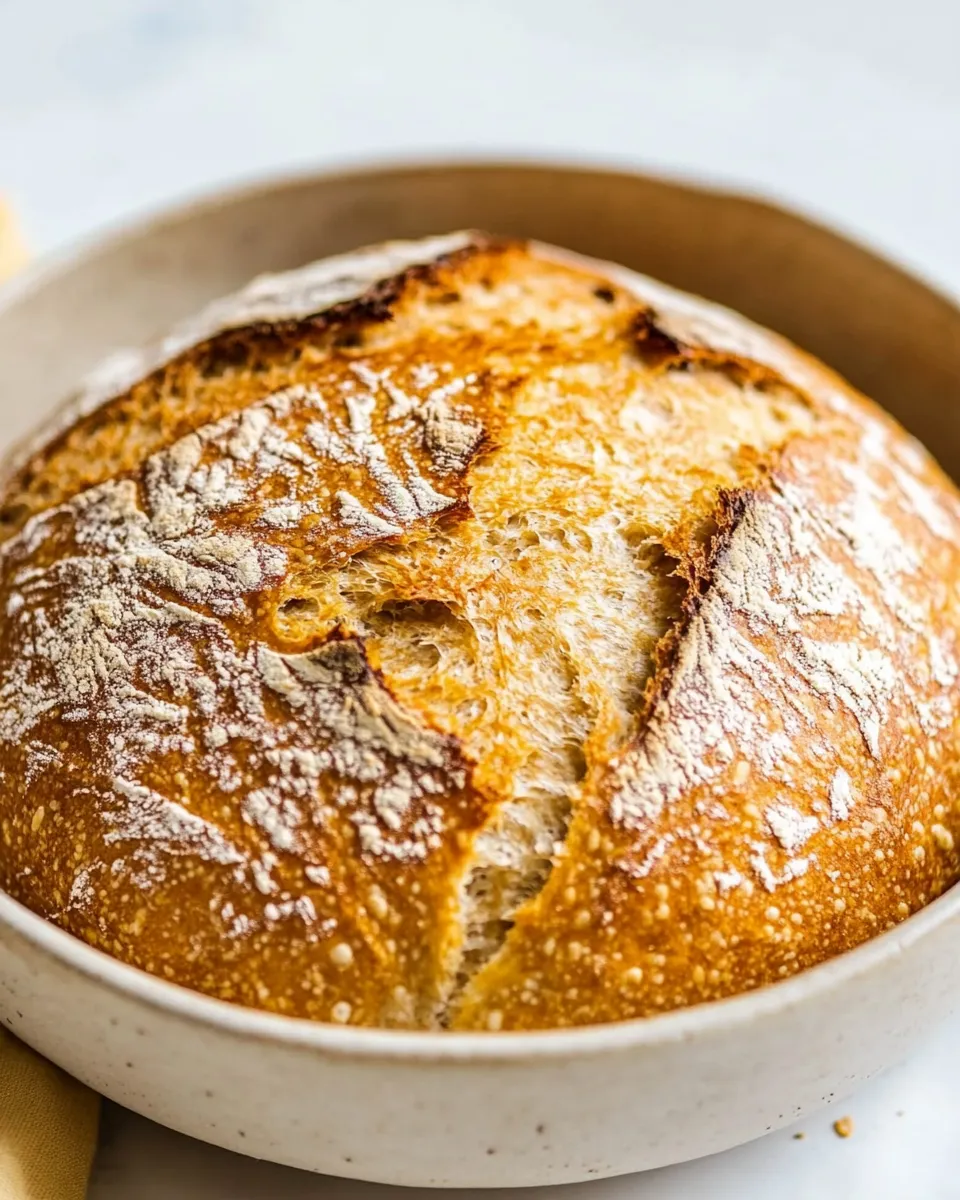
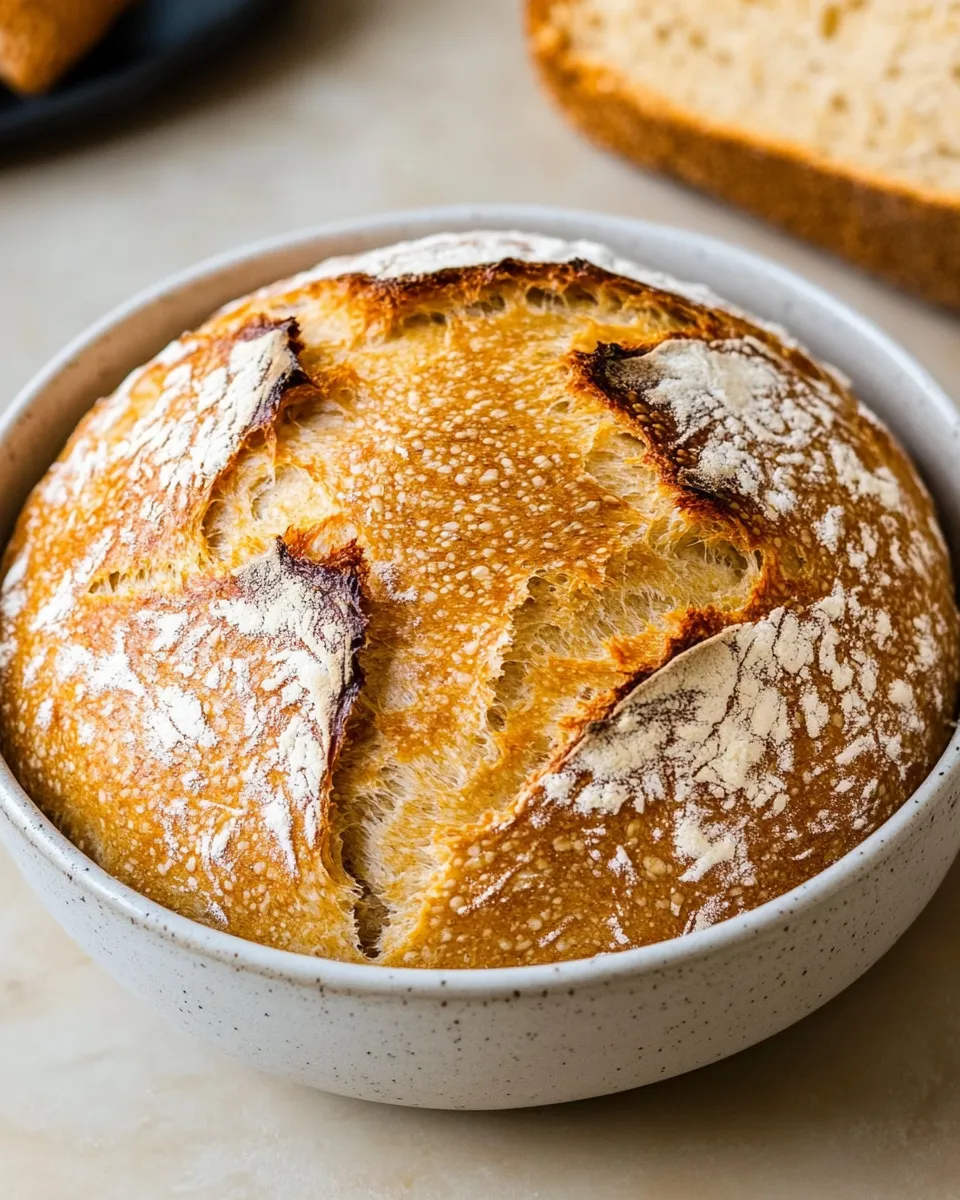
This no-knead whole wheat loaf is one of those reliable, weeknight-friendly bakes that asks for patience rather than elbow grease. You mix, let the dough rest through a long rise, shape gently, and bake. The result is a hearty, moist bread with a nutty crumb and a crisp crust—perfect for breakfast, sandwiches, or soup nights.
I like this recipe because it balances whole-grain flavor with enough all-purpose flour to keep the crumb open and forgiving. Ground flaxseed adds body and a pleasant nutty note while helping retain moisture. The technique is straightforward, and it rewards a bit of time rather than effort.
If you want a dependable loaf that keeps well and fits into a busy schedule, this is it. Read through the steps once, set up your workspace, and then let fermentation do most of the work.
Shopping List
- 3/4 cup milk (slightly warmed; or water) — adds richness and a touch of tenderness; can be swapped for water if you prefer.
- 2 cups water (slightly warmed) — hydrates the flours and activates the yeast; warm but not hot.
- 2 teaspoons yeast — the leavening agent; active yeast that puffs in the first step indicates it’s alive.
- 1 tablespoon honey — feeds the yeast and adds a faint sweetness to balance whole-wheat earthiness.
- 4 cups whole-wheat flour — the backbone of the loaf; provides flavor, fiber, and structure.
- 2 cups all-purpose flour — lightens the texture so the loaf isn’t overly dense.
- 1/2 cup ground flaxseed — boosts nutrition and helps retain moisture; brings a nutty note.
- 1 teaspoon salt — controls fermentation and brightens flavor; don’t skip it.
No-Knead Whole Wheat Bread Made Stepwise
- In a glass measuring cup, combine 3/4 cup slightly warmed milk, 2 cups slightly warmed water, 2 teaspoons yeast, and 1 tablespoon honey. Stir gently and let sit 5 minutes, until the yeast becomes a little puffy.
- In a medium bowl, stir together 4 cups whole-wheat flour, 2 cups all-purpose flour, 1/2 cup ground flaxseed, and 1 teaspoon salt.
- Pour the milk-and-yeast mixture into the dry ingredients. Stir with a wooden spoon or dough whisk until the dough starts to come together; use your hands if needed. The dough should hold a loose ball and be slightly sticky.
- Lightly grease a large bowl. Transfer the dough to the greased bowl, cover with a towel or plastic wrap, and let rise in a warm place for 5–6 hours.
- Spray two loaf pans with nonstick spray, making sure corners are covered. Turn the risen dough out onto a lightly floured surface if needed, divide it in half, then fold and shape each half into a tube long enough to fit each pan. Place the shaped loaves into the prepared pans and press down slightly to fit.
- Cover the pans with a towel or plastic wrap and let the loaves rise for 1–2 hours, until approximately doubled in size.
- Preheat the oven to 450°F while the loaves finish their second rise. Bake the loaves for 30–35 minutes, until the crust is nicely brown and the loaves sound hollow when tapped.
- Remove the loaves from the pans and cool completely on a wire rack before slicing.
- Once cooled and sliced, store the bread in a zip-top bag at room temperature for up to 3 days, or freeze for up to 3 months. Toast or thaw in the fridge to serve.
Why It Works Every Time
This method leans on time and hydration rather than vigorous handling. The long first rise gives whole-wheat flour a chance to hydrate fully and the gluten to develop without kneading. That gentle fermentation also develops flavor: whole-wheat can be bitter if rushed, but a slow rise lets natural sweetness and nutty notes emerge.
Combining whole-wheat with all-purpose flour balances density and openness. The all-purpose flour lightens the crumb; the whole wheat contributes structure and taste. Ground flaxseed absorbs some liquid and holds onto moisture, so the loaf stays tender even a day or two after baking.
High initial oven temperature helps form a good crust quickly, which traps steam and encourages oven spring. Tapping the loaf for a hollow sound is a reliable doneness check when you don’t want to use a thermometer.
Ingredient Swaps & Substitutions
- Milk — the recipe already allows water in place of milk; use warmed water for a slightly leaner loaf.
- Sweetener — you can use another liquid sweetener to feed the yeast; keep the same amount.
- Yeast — active dry yeast is assumed; if you use instant yeast, you can mix it straight into the dry ingredients, but quantities remain the same.
- Flours — you can adjust the proportion of whole-wheat and all-purpose for a lighter or denser loaf, but reduce changes gradually to maintain hydration and texture.
- Flaxseed — if you don’t have ground flaxseed, omit it and slightly reduce liquid only if needed; the recipe will still work but lose the nutty moisture retention it provides.
Cook’s Kit
- Large mixing bowl (or medium bowl plus measuring cup) for the dough and rise.
- Wooden spoon or dough whisk to mix; hands are fine for finishing the ball.
- Glass measuring cup for warming liquids and activating yeast.
- Two standard loaf pans and nonstick spray (or oil and flour).
- Towels or plastic wrap to cover the dough during rises.
- Oven that reaches 450°F and a wire rack for cooling.
Troubles You Can Avoid
Dense, heavy loaves are usually due to under-hydration, too-short rise times, or dough that’s been overworked. This recipe asks for a slightly sticky dough and a long first rise—resist the urge to add lots of extra flour when shaping.
If the yeast doesn’t puff in step one, your liquids were likely too hot or the yeast is old. Always test yeast in warm—not hot—liquid and watch for a little foaming or puffiness within five minutes.
Overproofing during the second rise means a collapsed loaf in the oven. Watch the dough rather than the clock: when it’s roughly doubled and springs back slowly when pressed, it’s ready.
Nutrition-Minded Tweaks
This loaf is already higher in fiber thanks to whole-wheat flour and flaxseed. If you want to reduce sodium, cut the salt slightly but be aware that salt controls yeast activity and flavor; a small reduction is fine, but don’t omit it completely.
To increase healthy fat subtly, keep the flaxseed but avoid adding additional oils unless you adjust hydration. The recipe’s balance between whole-grain and white flour keeps it approachable for those tracking calories or carbs while still offering better fiber than a 100% white loaf.
Flavor Logic
Honey plays a double role: it feeds the yeast for reliable fermentation and adds a faint sweetness that counterbalances whole-wheat’s deeper notes. Ground flaxseed contributes a mild, nutty background and keeps the crumb moist. Salt sharpens flavors and moderates yeast action so the loaf doesn’t overproof or taste flat.
The interplay between flours matters. Whole-wheat brings character and nutrition. All-purpose flour keeps the texture light enough to slice easily. Together they give the loaf a satisfying chew without being stodgy.
Shelf Life & Storage
Once cooled, slice and store in a zip-top bag at room temperature for up to three days. The loaf will be freshest on day one; by day two it’s excellent toasted. For longer storage, freeze slices or whole loaves for up to three months. Thaw in the fridge or toast from frozen.
To revive a slightly stale slice, a brief toast or a 10–15 minute refresh in a 300°F oven will bring back some moisture and crisp the crust.
Common Questions
- My dough is too sticky to handle. What do I do? A slightly sticky dough is correct. Lightly flour your hands and work surface for shaping, but avoid adding large amounts of flour that will dry the loaf.
- How do I know the yeast is active? In step one you should see the yeast become a little puffy within five minutes. If nothing happens, discard and start with fresh yeast.
- Can I make one large loaf instead of two? Yes; you can shape the full dough into one pan or a freeform boule. Baking time will vary—watch for a browned crust and a hollow sound when tapped.
- Is the high oven temperature necessary? The initial high heat helps crust and oven spring. If your oven runs hot, you may reduce by 25°F and check earlier, but 450°F works best for a good crust.
Bring It to the Table
Slice this bread warm or at room temperature. It’s sturdy enough for sandwiches but tender enough to toast. Serve it alongside a soup, use it for open-faced toppings, or keep it simple—warm a slice and let the bread speak for itself. Because the loaf toasts well and holds its shape, it fits into many meals without needing a fuss.
Make this on a relaxed morning or over a weekend when you can let the dough rise. The hands-off nature of the process makes it a dependable recipe to return to: the same comforting loaf, reliably good, every time.

No-Knead Whole Wheat Bread
Ingredients
Ingredients
- ?3/4 cupmilk slightly warmed; or water
- ?2 cupswater slightly warmed
- ?2 teaspoonsyeast
- ?1 tablespoonhoney
- ?4 cupswhole-wheat flour
- ?2 cupsall-purpose flour
- ?1/2 cupground flaxseed
- ?1 teaspoonsalt
Instructions
Instructions
- In a glass measuring cup, combine 3/4 cup slightly warmed milk, 2 cups slightly warmed water, 2 teaspoons yeast, and 1 tablespoon honey. Stir gently and let sit 5 minutes, until the yeast becomes a little puffy.
- In a medium bowl, stir together 4 cups whole-wheat flour, 2 cups all-purpose flour, 1/2 cup ground flaxseed, and 1 teaspoon salt.
- Pour the milk-and-yeast mixture into the dry ingredients. Stir with a wooden spoon or dough whisk until the dough starts to come together; use your hands if needed. The dough should hold a loose ball and be slightly sticky.
- Lightly grease a large bowl. Transfer the dough to the greased bowl, cover with a towel or plastic wrap, and let rise in a warm place for 5–6 hours.
- Spray two loaf pans with nonstick spray, making sure corners are covered. Turn the risen dough out onto a lightly floured surface if needed, divide it in half, then fold and shape each half into a tube long enough to fit each pan. Place the shaped loaves into the prepared pans and press down slightly to fit.
- Cover the pans with a towel or plastic wrap and let the loaves rise for 1–2 hours, until approximately doubled in size.
- Preheat the oven to 450°F while the loaves finish their second rise. Bake the loaves for 30–35 minutes, until the crust is nicely brown and the loaves sound hollow when tapped.
- Remove the loaves from the pans and cool completely on a wire rack before slicing.
- Once cooled and sliced, store the bread in a zip-top bag at room temperature for up to 3 days, or freeze for up to 3 months. Toast or thaw in the fridge to serve.
Equipment
- Mixing Bowl
Notes
Add 2 teaspoons cinnamon and 1 cup raisins for a cinnamon raisin flavor.
Serve topped with apple butter, nut butter, seed butter, cottage cheese, jam, or another favorite topping.


