

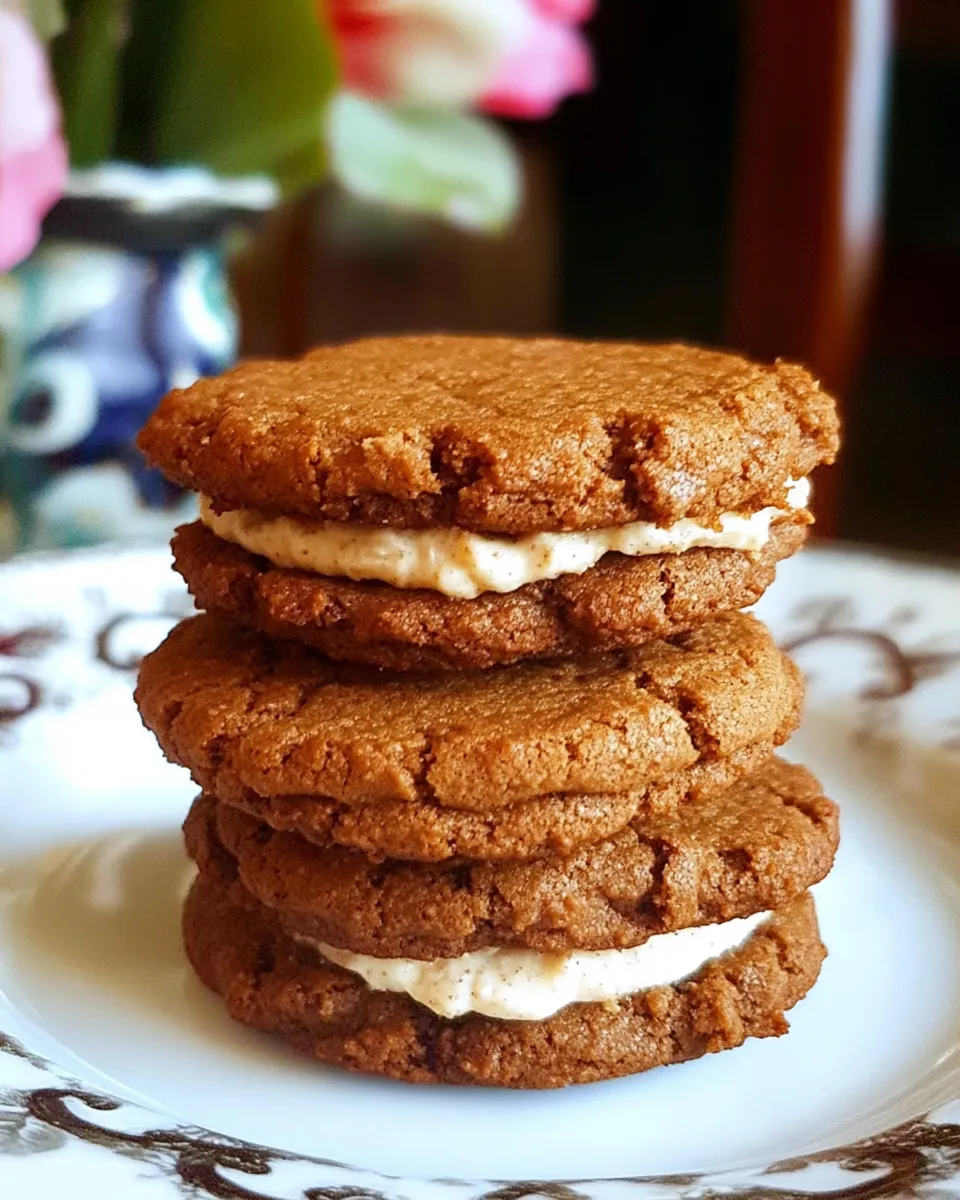
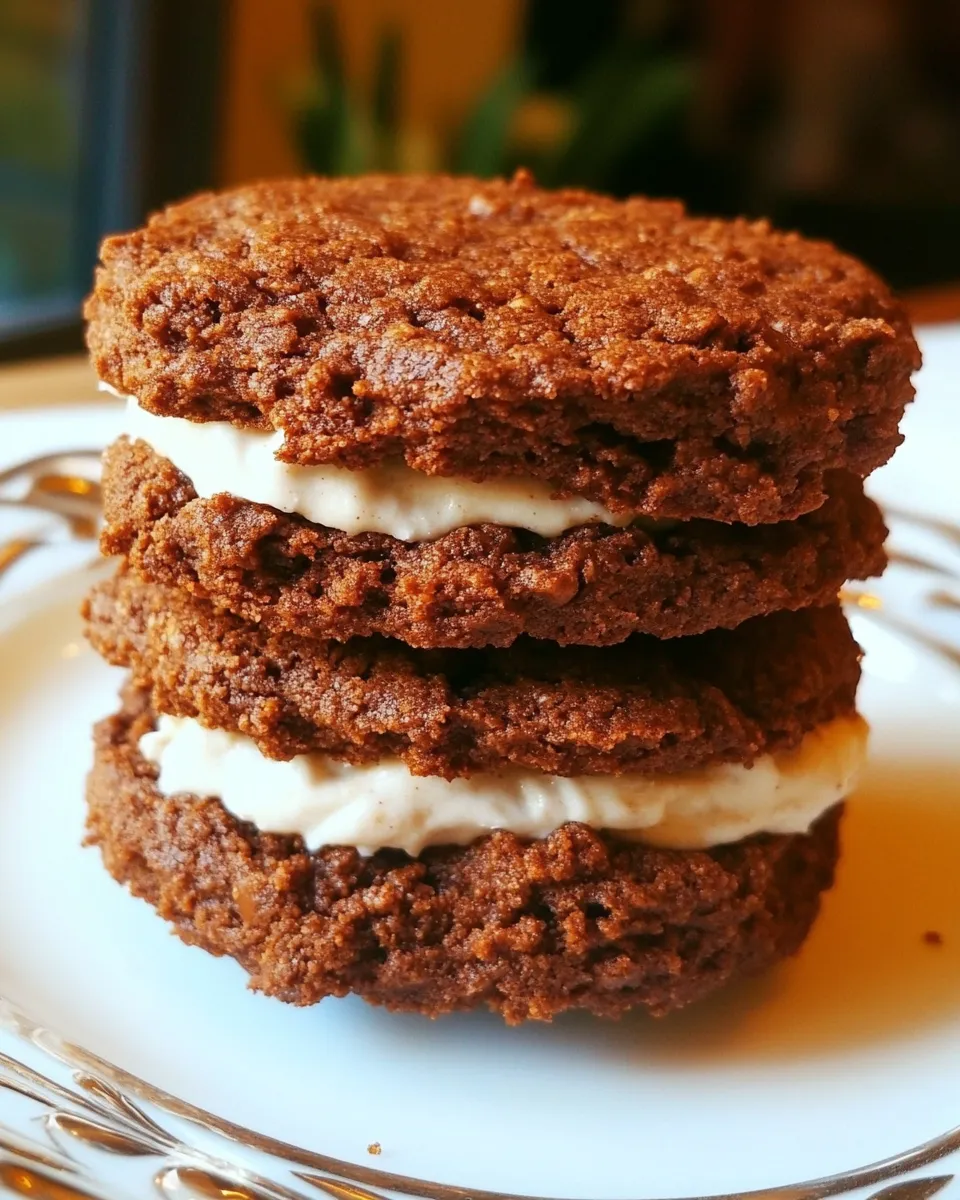
These Nutella Peanut Butter Cookie Sandwiches are the kind of dessert that makes everyone pause and smile. They’re straightforward to make, reliably delicious, and perfectly shareable. The cookies bake quickly, and assembly is forgiving — you’ll have sandwich cookies in under an hour once the dough hits the oven.
I test recipes until they’re practical and repeatable. I like treats that travel well and hold up at room temperature, and these do both. The Nutella and peanut butter provide a rich, nutty base while the frosting ties sandwiches together with a creamy finish. No special techniques required.
Below you’ll find exactly what to gather, the precise steps to follow, troubleshooting advice, and swap suggestions if you need them. Read straight through or jump to the section you need; both ways lead to great cookies.
What You’ll Gather
- 1 1/2 cups Nutella — provides the chocolate-hazelnut flavor and moistness to the dough.
- 1/2 cup peanut butter — adds peanut depth and balances the sweetness.
- 1 cup sugar — sweetens and helps the cookies spread and caramelize lightly.
- 2 cups all-purpose flour — structure for the cookies; measure by spooning into the cup and leveling for consistency.
- 2 eggs — binders that add lift and a tender crumb.
- 1 batch of frosting — used to sandwich the cookies; can be store-bought or your favorite homemade frosting.
Nutella Peanut Butter Cookie Sandwich, Made Easy
- Preheat oven to 350°F (175°C). Line baking sheets with parchment paper or silicone mats, or use ungreased baking sheets.
- In a large bowl, combine 1 1/2 cups Nutella and 1/2 cup peanut butter and stir until smooth.
- Add 1 cup sugar and 2 eggs to the bowl and beat until fully incorporated and smooth.
- With the mixer on low, add 2 cups all-purpose flour a little at a time and mix just until no streaks of flour remain. Do not overmix.
- Portion the dough into 1-inch balls and place them on the prepared baking sheets about 2 inches apart.
- Press each ball flat with the bottom of a glass to form a cookie (about 1/4 inch thick), wiping the glass between presses if needed.
- Bake at 350°F for 7–8 minutes, until the edges are set. Remove from oven and let cookies cool on the baking sheet for a couple minutes, then transfer to a wire rack to cool completely.
- Once completely cool, assemble sandwiches by spreading frosting (1 batch) on the flat side of one cookie and topping with a second cookie; repeat with remaining cookies.
Why It’s Crowd-Pleasing
These sandwich cookies hit multiple familiar comforts: Nutella for chocolate-hazelnut richness, peanut butter for nuttiness and depth, and frosting to make every bite feel like a special treat. The flavor profile is both familiar and slightly elevated because Nutella brings a smoother, more sophisticated chocolate note than plain cocoa.
They’re portable and durable. The sandwiches travel well for picnics, school lunches, and potlucks without collapsing or leaking. Texture-wise, the cookies are tender with set edges and a soft center, which means the sandwich keeps its integrity while still feeling indulgent.
No-Store Runs Needed

Odds are good you already have most items in your pantry. Nutella and peanut butter are the two must-haves; sugar, flour, and eggs are kitchen staples in many homes. If you don’t have frosting on hand, a quick swipe of jam or even a generous smear of extra Nutella doubles as the filling in a pinch.
If you must improvise, pair the cookies with a simple cream cheese-based spread (if available) or mix powdered sugar with a touch of milk for an ultra-quick glaze. Those are fallback options — the recipe itself assumes you have a batch of frosting ready.
Must-Have Equipment
- Large mixing bowl — roomy enough to combine Nutella and peanut butter comfortably.
- Hand mixer or stand mixer — speeds mixing for smooth texture and fully incorporated ingredients.
- Baking sheets — two, ideally; lined with parchment paper or silicone mats.
- Measuring cups — for accurate ratios; especially important for flour.
- Wire rack — for cooling cookies completely before assembly.
- Flat-bottomed glass or cookie stamp — to press cookies to about 1/4 inch thick.
Pitfalls & How to Prevent Them
- Dry, crumbly dough: measure flour properly; spoon and level the flour into the cup rather than scooping. Over-measuring yields dry cookie dough.
- Too-flat cookies: pressing to 1/4 inch is intentional, but if you press too thin the cookies can over-crisp. Aim for an even 1/4 inch and avoid extra flattening.
- Under-baked centers: the recipe’s 7–8 minute bake time targets set edges with soft centers. If your oven runs cool, add a minute. If it runs hot, watch the first batch closely.
- Filling melts or runs: ensure cookies are completely cool before spreading frosting. Warm cookies will soften many frostings and make the sandwiches messy.
- Uneven cookies: portion dough into uniform 1-inch balls. Use a small cookie scoop if you have one for consistent sizing and even baking.
Allergy-Friendly Swaps
If nut allergies are a concern, these cookies are not naturally safe. You can adapt the concept by swapping nut spreads for seed butters and sunflower-based spreads, but that changes flavor and texture. If you try a swap:
- Nutella alternative: use a chocolate spread made from seeds if available; flavor will shift but still be chocolate-forward.
- Peanut butter: try sunflower seed butter; it mimics peanut butter’s texture and holds up similarly in baking.
- Frosting: choose a dairy-free frosting or powdered sugar glaze if you need dairy-free options. Check labels for cross-contamination if severe allergies exist.
Behind-the-Scenes Notes
Why this ratio? The combination of 1 1/2 cups Nutella to 1/2 cup peanut butter creates balanced batter viscosity and flavor. Nutella brings sweetness and a smoother mouthfeel, while peanut butter lends savory contrast and stability. Sugar and eggs add structure and lift, while 2 cups of flour is enough to hold the dough without becoming dry.
I like the press-with-glass method because it yields consistent thickness and slightly rustic edges. It also avoids rolling, which can overwork the dough. The cookies look homemade, not perfect — and that’s part of their charm.
Don’t skip the cool-down step. The cookies finish their set as they cool, and assembling them while warm makes cleanup messier and the finished product softer than intended.
Refrigerate, Freeze, Reheat
Storage:
- Room temperature: Store assembled sandwiches in an airtight container for up to 48 hours. Keep them in a cool spot away from direct sun.
- Refrigerator: You can refrigerate assembled sandwiches for up to 5 days. Allow them to come to room temperature for 15–20 minutes before serving so the frosting softens slightly.
- Freezing: Freeze unfilled cookies flat in a single layer on a baking sheet until solid, then transfer to a freezer bag for up to 2 months. Thaw completely and then assemble with frosting. Assembled sandwiches can be frozen, wrapped individually, for up to a month — thaw in the fridge overnight.
Your Top Questions
Can I make the dough ahead of time?
Yes. Store the dough, rolled into 1-inch balls, in an airtight container in the fridge for up to 48 hours. Bake directly from chilled without warming to room temperature; add an extra minute to the bake time if needed.
What frosting works best?
Buttercream or a chocolate cream cheese frosting pairs beautifully. The recipe only requires “1 batch of frosting” so use your favorite or pick a store-bought option for convenience. For a lighter option, whipped cream-based fillings work but will reduce shelf life.
Can I make these without Nutella?
The Nutella is a signature flavor here. Substituting with plain chocolate spread or a mix of cocoa and extra sugar will alter the texture and taste. If you must substitute, test a small batch first.
How do I know when the cookies are done?
Look for edges that are set and slightly pulling from the pan. Centers will remain soft; that’s normal. Overbaking will dry them out, so remove at 7–8 minutes as instructed and let them finish on the sheet briefly before cooling on a rack.
The Takeaway
Nutella Peanut Butter Cookie Sandwiches are a practical, crowd-pleasing bake that rewards straightforward execution. They combine familiar flavors into a sandwich cookie format that’s portable, forgiving, and quick to make. Follow the steps exactly, measure flour carefully, cool the cookies fully, and you’ll end up with sandwiches that look impressive without requiring special skills.
Make a double batch if you’re bringing them to a gathering. They store and travel well, and they’re the sort of treat that disappears fast — which is exactly the point.

Nutella Peanut Butter Cookie Sandwich
Ingredients
Ingredients
- 1 1/2 cupsNutella
- 1/2 cuppeanut butter
- 1 cupsugar
- 2 cupsall-purpose flour
- 2 eggs
- 1 batch offrosting
Instructions
Instructions
- Preheat oven to 350°F (175°C). Line baking sheets with parchment paper or silicone mats, or use ungreased baking sheets.
- In a large bowl, combine 1 1/2 cups Nutella and 1/2 cup peanut butter and stir until smooth.
- Add 1 cup sugar and 2 eggs to the bowl and beat until fully incorporated and smooth.
- With the mixer on low, add 2 cups all-purpose flour a little at a time and mix just until no streaks of flour remain. Do not overmix.
- Portion the dough into 1-inch balls and place them on the prepared baking sheets about 2 inches apart.
- Press each ball flat with the bottom of a glass to form a cookie (about 1/4 inch thick), wiping the glass between presses if needed.
- Bake at 350°F for 7–8 minutes, until the edges are set. Remove from oven and let cookies cool on the baking sheet for a couple minutes, then transfer to a wire rack to cool completely.
- Once completely cool, assemble sandwiches by spreading frosting (1 batch) on the flat side of one cookie and topping with a second cookie; repeat with remaining cookies.
Equipment
- Oven
- Mixing Bowl
- Mixer
- Baking Sheet
- Parchment Paper
- silicone mat
- Wire Rack
- Glass


