
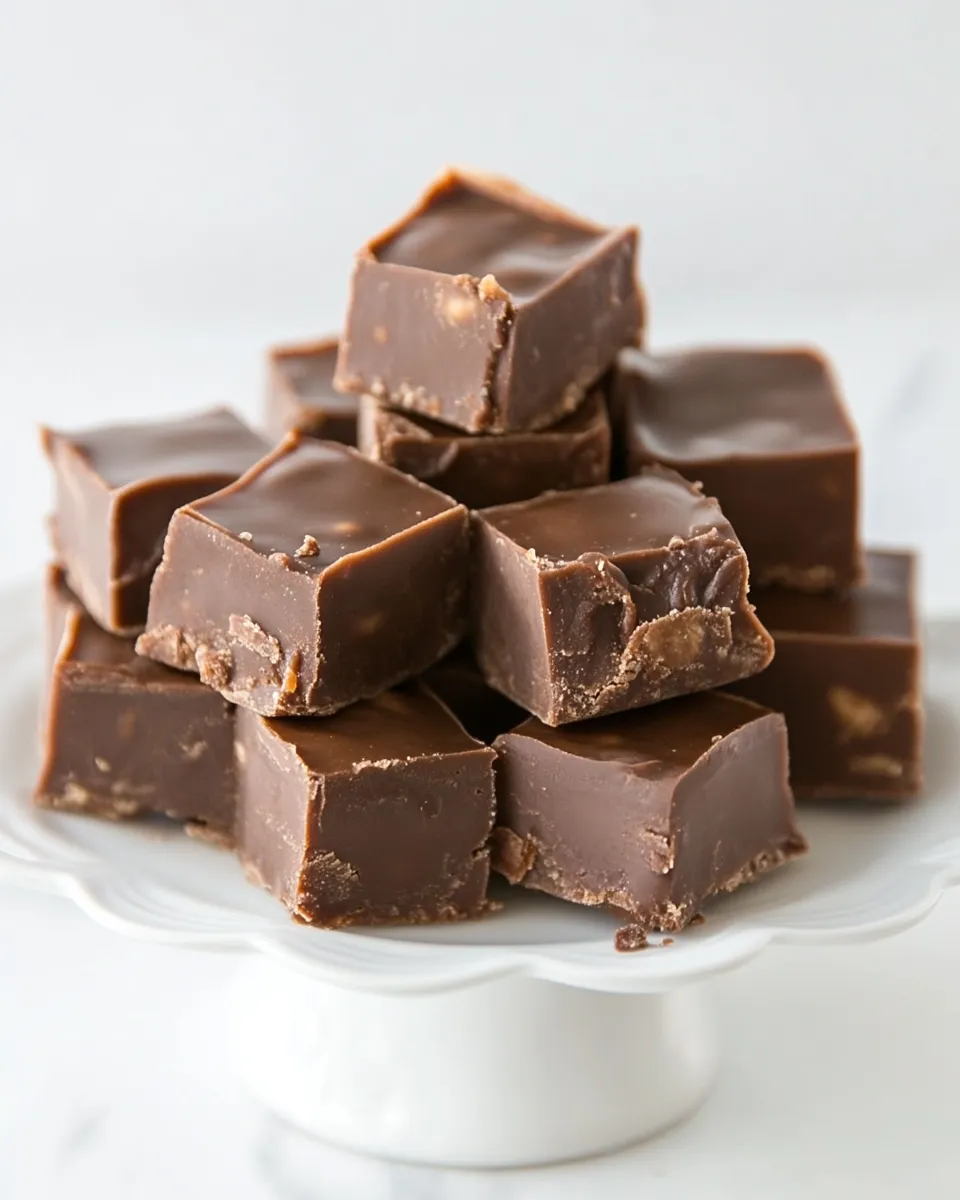
This is the fudge my family asks for when the holidays start. It’s straightforward, honest, and gives you that glossy, slightly chewy bite that people expect from a classic chocolate fudge. No tempering, no special candy-making experience required — just a candy thermometer, a little patience, and a good saucepan.
I wrote this because some fudge recipes promise the moon and end up grainy or too soft. This one walks you through a proven sequence: cook the sugar base to the right temperature, melt the chocolate off the heat, fold in the marshmallow fluff for that smooth, creamy body, and finish with walnuts for texture. It’s forgiving and repeatable.
Read through the ingredient notes and the step-by-step process before you begin. The method is short, but a few small choices (lining the pan well, using a reliable candy thermometer, cooling time) make the difference between okay fudge and the kind you’ll wrap and hand out as gifts.
The Ingredient Lineup
- 3 cups granulated sugar — The backbone of the candy base; it provides structure and sweetness. Use standard white sugar.
- ¾ cup salted butter, see notes — Adds richness and helps the sugar dissolve evenly; salted butter contributes a subtle savory balance.
- ⅔ cup evaporated milk — Concentrated milk that gives body and a creamier texture than regular milk.
- 2 cups chocolate chips, I used semi-sweet — The chocolate flavor and smoothness come from these; semi-sweet balances the sugar well.
- 1 jar marshmallow fluff (7 ounces), see notes — Gives the fudge its creamy, marshmallow-y body and helps prevent graininess when folded in correctly.
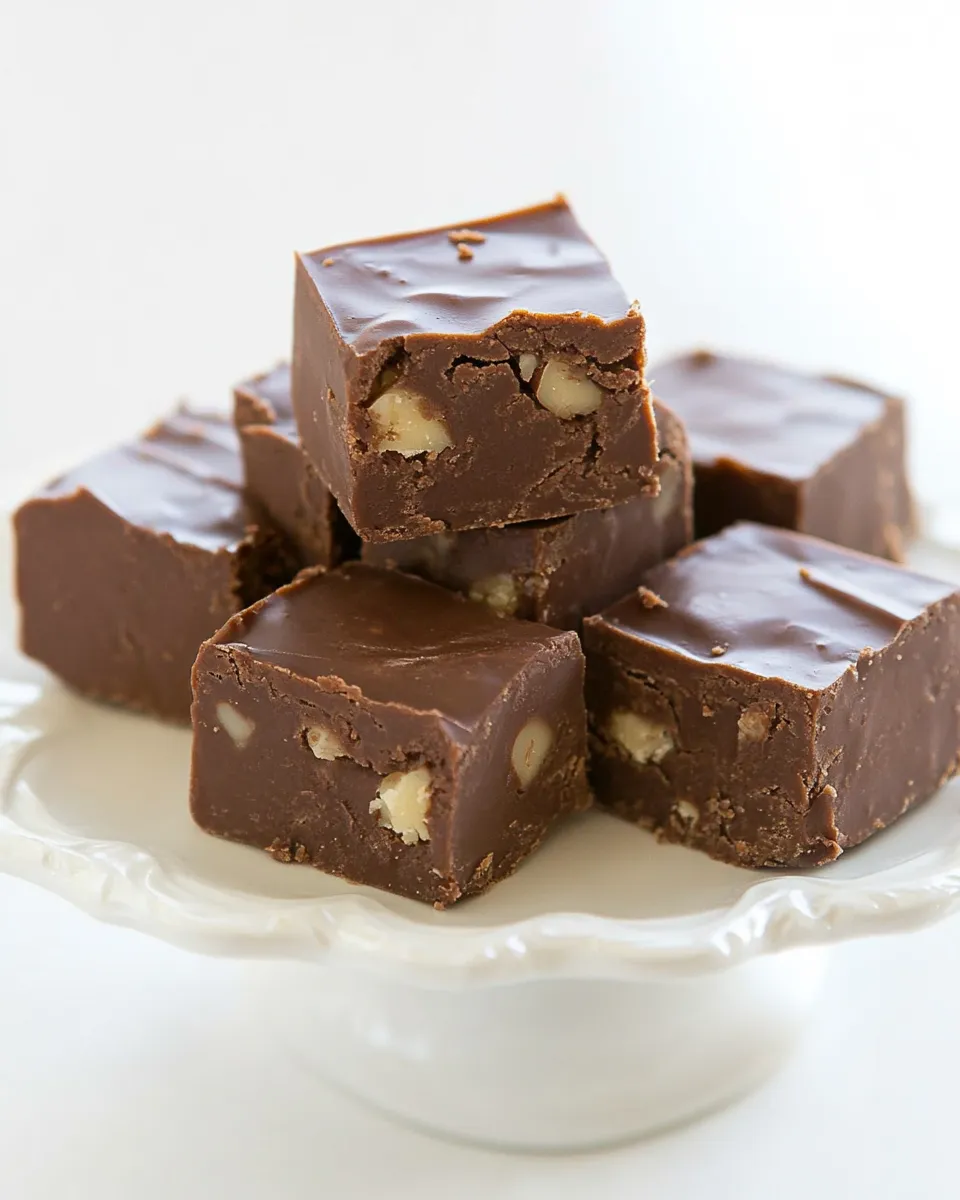
- 1 cup chopped walnuts — For crunch and a toasty contrast; fold most in and reserve some for the top if you like a decorative finish.
- 1 teaspoon vanilla extract — Rounds the chocolate and brings a warm, aromatic finish.
Cooking (Original Fantasy Fudge Recipe): The Process
- Line a 9×9-inch square pan with parchment paper (leave an overhang on two sides if possible for easy removal).
- In a large saucepan, combine 3 cups granulated sugar, 3/4 cup salted butter, and 2/3 cup evaporated milk. Heat over medium, stirring occasionally, until the mixture comes to a boil.
- Continue cooking the boiling mixture, stirring occasionally, until it reaches 233°F on a candy thermometer (about 5 minutes).
- Remove the pan from the heat. Immediately add 2 cups chocolate chips and stir until the chocolate is fully melted and the mixture is smooth.
- Stir in 1 jar marshmallow fluff (7 ounces), 1 cup chopped walnuts, and 1 teaspoon vanilla extract until evenly combined.
- Pour the fudge mixture into the prepared pan and smooth the top with a rubber spatula. If desired, sprinkle extra chopped walnuts on top.
- Refrigerate the pan for about 2 hours, or until the fudge is set.
- Score the top into a 5×5 grid with a knife, then cut along the scored lines and remove the squares to serve.
Why Original Fantasy Fudge Recipe is Worth Your Time
Because it consistently works. The chemistry here is simple and focused: cooking the sugar, butter, and evaporated milk to a specific temperature lets the mixture reach the soft-ball stage that yields a stable, sliceable fudge once it cools. Adding the chocolate off the heat prevents scorching and ensures a glossy finish. The marshmallow fluff smooths the texture and shortens the set time compared to traditional recipes that rely solely on cooled, beaten sugar.
It also rewards small investments: a decent candy thermometer and good-quality chocolate. Those two items will lift results more than fiddling with fancified ingredients. Finally, it’s versatile. You can make it ahead, wrap it for gifts, or bring a tray to a potluck and watch it disappear.
If You’re Out Of…
If you’re missing an ingredient, here are practical swaps and options that won’t derail the method.
- Walnuts: Omit them if you need a nut-free batch, or substitute another toasted nut if allergies aren’t a concern.
- Chocolate chips: You can use chopped chocolate bars; watch for different cocoa percentages, which will change the fudge’s sweetness and depth.
- Evaporated milk: Use the same volume of full-fat canned coconut milk in a pinch for a slightly coconut-forward flavor.
- Marshmallow fluff: If you don’t have fluff, you can use an equivalent volume of mini marshmallows melted into the warm chocolate mixture, but the texture will be a little different.
Equipment Breakdown
These are the tools that make this recipe straightforward and reliable.
- Large saucepan — Wide-bottomed is best for even heating and to avoid hot spots.
- Candy thermometer — Non-negotiable if you want dependable texture; cheap ones work fine as long as they read accurately.
- 9×9-inch square pan — The recipe is scaled for this size; it gives the right thickness for fudgy squares.
- Parchment paper — Lining the pan with an overhang lets you lift the whole slab out for neat slicing.
- Rubber spatula — For scraping the pot and smoothing the top cleanly.
- Knife — A long, sharp knife scores and slices more cleanly than a short blade.
- Refrigerator space — You’ll need about 2 hours to set, plus room to chill flat.
Steer Clear of These
A few mistakes will change the texture or appearance faster than you expect. Avoid them.
- Skipping the thermometer: Eyeballing temperature is where many fudges go grainy or turn into caramel. Aim for 233°F.
- Overcooking the sugar mix: Letting it go past the stated temperature makes the fudge too hard once cooled.
- Adding chocolate too soon: If the pan is still on the heat, the chocolate can seize or burn. Remove from the burner first.
- Not lining the pan: Sticky fudge is hard to remove and slice. Use parchment with an overhang.
- Stirring vigorously after adding fluff: Gentle folding keeps the texture smooth; violent stirring can introduce air or graininess.
How to Make It Lighter
If you mean “lighter” in density or richness, a true low-fat or low-sugar fudge is a different product. But you can make practical adjustments to lighten the experience without changing the method drastically.
- Smaller portions: Cut the finished batch into smaller squares. That reduces the per-serving impact without altering texture.
- More mix-ins, less richness: Fold in a higher proportion of chopped nuts or toasted coconut. The extra volume spreads the chocolate across more bites.
- Use semi-sweet chocolate: The recipe already suggests semi-sweet chips; they feel less cloying than milk chocolate and therefore seem lighter.
Chef’s Rationale
Here’s why each step matters. Cooking the sugar, butter, and evaporated milk until it hits 233°F reaches the soft-ball stage — that’s the temperature where the sugar concentration will set to a firm-but-tender texture once cooled. Removing the pot before adding chocolate prevents the cocoa solids and sugar from overheating and becoming grainy. The marshmallow fluff acts as an emulsifier and stabilizer; it helps create a uniformly smooth body and cuts down on the beating you’d otherwise have to do with older-style fudge recipes. Finally, the walnuts add texture and a flavor counterpoint to the sweetness, giving the fudge balance.
Refrigerate, Freeze, Reheat
Storage is simple and keeps the fudge at peak texture.
- Refrigerate: After the initial 2-hour chill to set, keep the fudge in an airtight container in the fridge for up to two weeks. Bring to room temperature for about 15–20 minutes before serving for a softer mouthfeel.
- Freeze: Wrap individual squares in parchment and then in a freezer-safe bag or container. Freeze for up to 3 months. Thaw in the refrigerator overnight and then sit at room temperature briefly before serving.
- Reheat: Fudge shouldn’t be microwaved aggressively. If you want a softer texture, let the pieces sit at room temperature or place the wrapped squares in a warm spot for a short time.
Your Questions, Answered
Here are answers to the questions I get most often about this fudge.
- Can I skip the nuts? Yes. Omit them entirely or sprinkle a few on top for texture if you want a nut-free batch without losing structure.
- Will the fudge be grainy? Follow the temperature guidance and add the chocolate off the heat. Those two points eliminate the most common causes of graininess.
- Can I use unsalted butter? You can. If you substitute unsalted, taste the warm mixture (carefully) and add a pinch of salt if it needs contrast.
- How do I know it’s set? The fudge will hold a firm surface and pull cleanly away from the edges of the parchment. If it still feels tacky after 2 hours, give it another 30–60 minutes.
- Can I double the recipe? Yes, but use a larger pan and a heavy-duty saucepan. Heat distribution matters more as batch size increases.
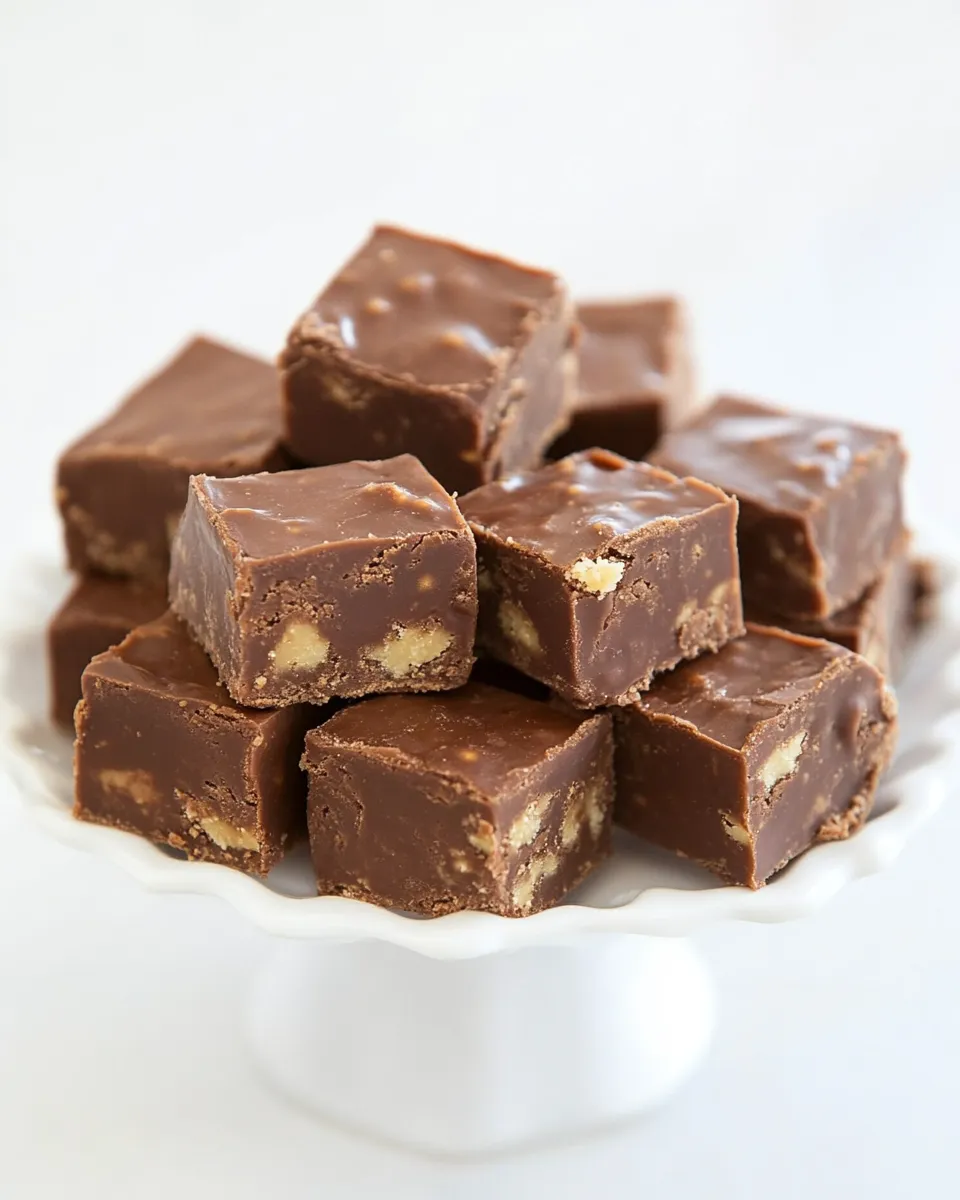
The Takeaway
This Original Fantasy Fudge Recipe is a reliable, gift-worthy chocolate fudge that’s approachable for home cooks. It depends on correct timing and temperature more than culinary wizardry. Read the steps, prep your pan and tools, and follow the sequence. The reward is a glossy, rich slice with a marshmallow-smooth body and a satisfying walnut crunch.
Make a batch, wrap a few squares in parchment, and share them. That’s how traditions start and how kitchens get a little sweeter.
Original Fantasy Fudge Recipe
Ingredients
Ingredients
- 3 cupsgranulated sugar
- 3/4 cupsalted butter see notes
- 2/3 cupevaporated milk
- 2 cupschocolate chips I used semi-sweet
- 1 jarmarshmallow fluff 7 ounces, see notes
- 1 cupchopped walnuts
- 1 teaspoonvanilla extract
Instructions
Instructions
- Line a 9×9-inch square pan with parchment paper (leave an overhang on two sides if possible for easy removal).
- In a large saucepan, combine 3 cups granulated sugar, 3/4 cup salted butter, and 2/3 cup evaporated milk. Heat over medium, stirring occasionally, until the mixture comes to a boil.
- Continue cooking the boiling mixture, stirring occasionally, until it reaches 233°F on a candy thermometer (about 5 minutes).
- Remove the pan from the heat. Immediately add 2 cups chocolate chips and stir until the chocolate is fully melted and the mixture is smooth.
- Stir in 1 jar marshmallow fluff (7 ounces), 1 cup chopped walnuts, and 1 teaspoon vanilla extract until evenly combined.
- Pour the fudge mixture into the prepared pan and smooth the top with a rubber spatula. If desired, sprinkle extra chopped walnuts on top.
- Refrigerate the pan for about 2 hours, or until the fudge is set.
- Score the top into a 5×5 grid with a knife, then cut along the scored lines and remove the squares to serve.
Equipment
- 9x9-inch square pan
- Parchment Paper
- Large Saucepan
- Candy thermometer
- Rubber spatula
- Knife
- Refrigerator
Notes
Note:
The original recipe calls for margarine, however we prefer salted butter. If you use unsalted butter, add in a pinch of salt. You
can also use 1 bag (10 ounces) mini marshmallows instead of fluff.
Storage:
Store in a covered container for 1 week. You can also freeze up to 3 months.


