
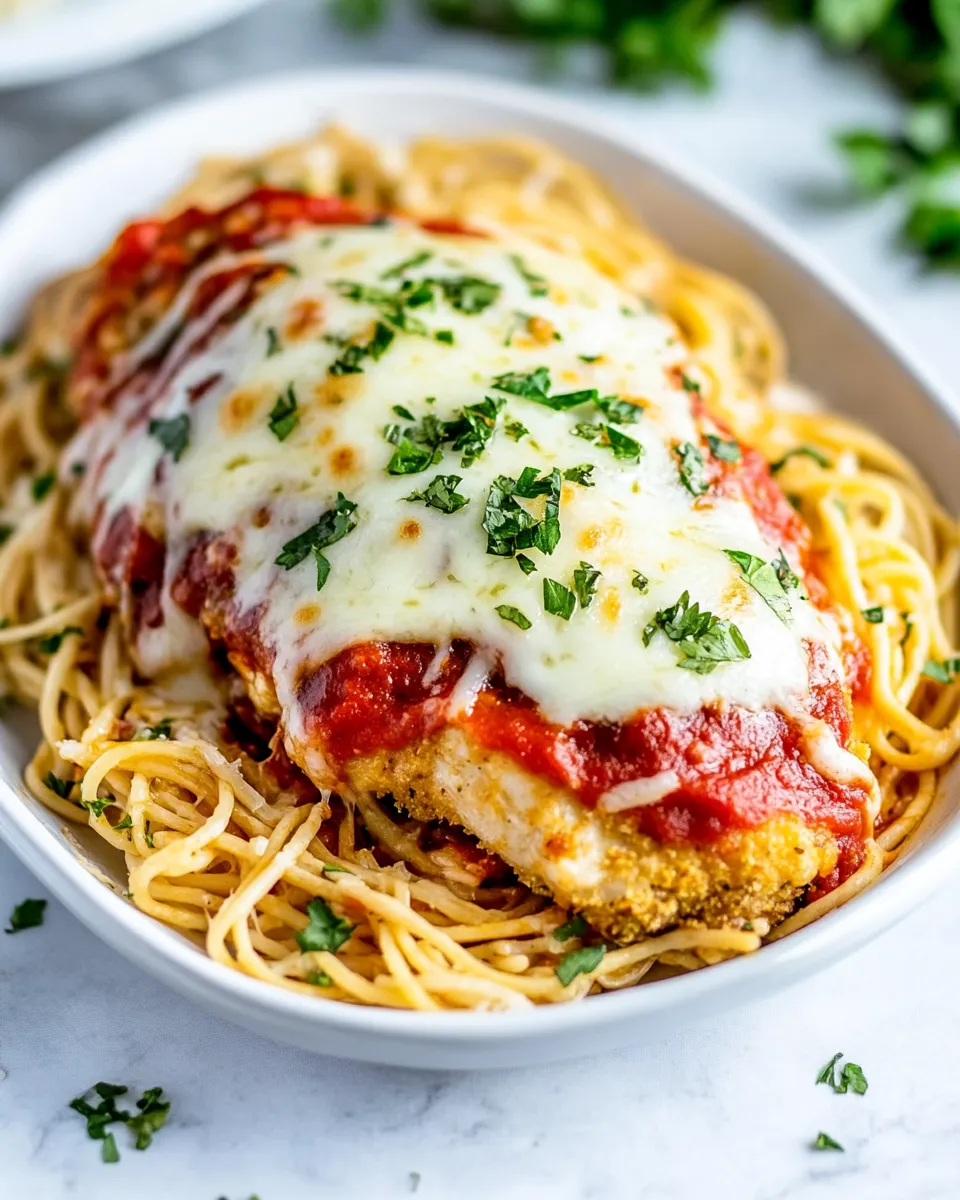
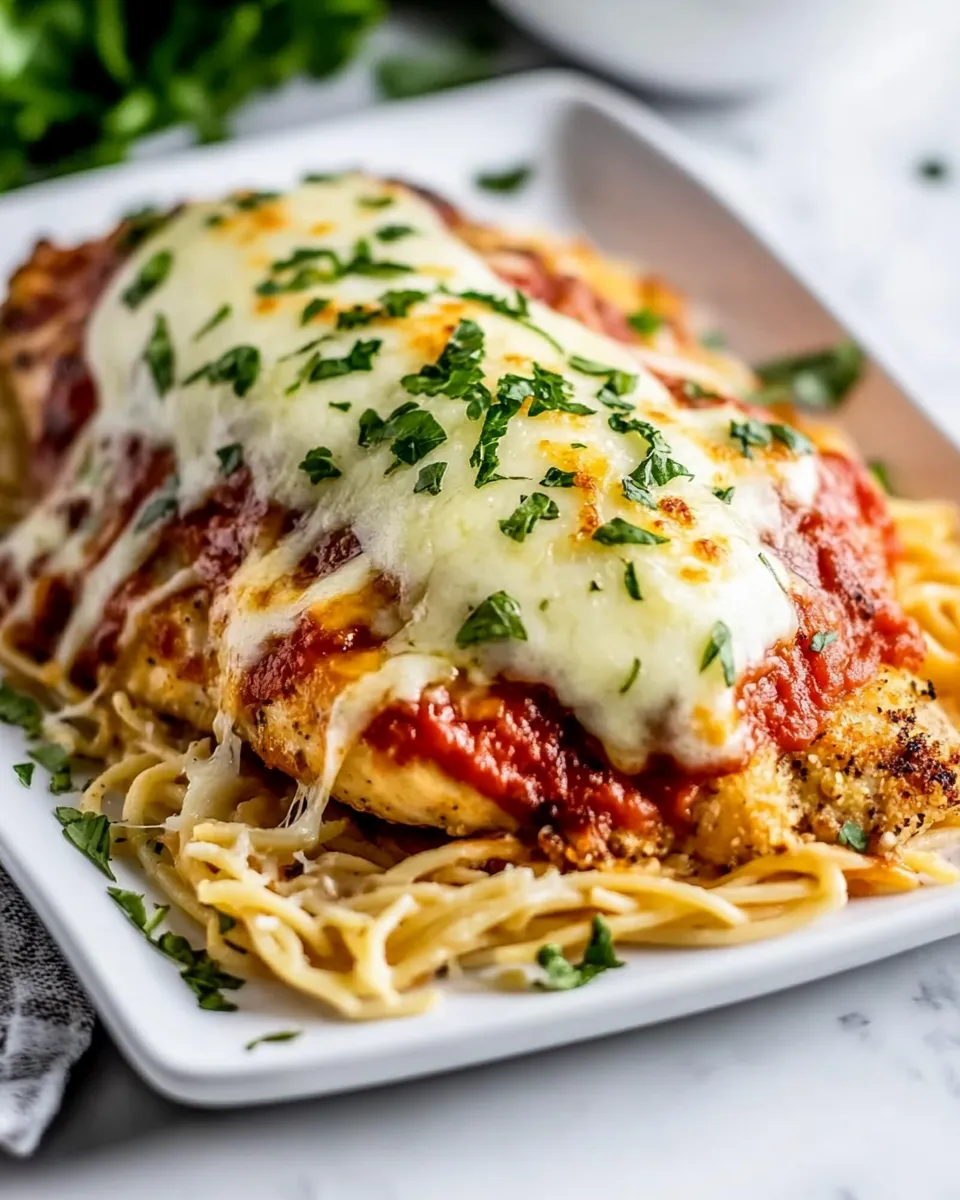
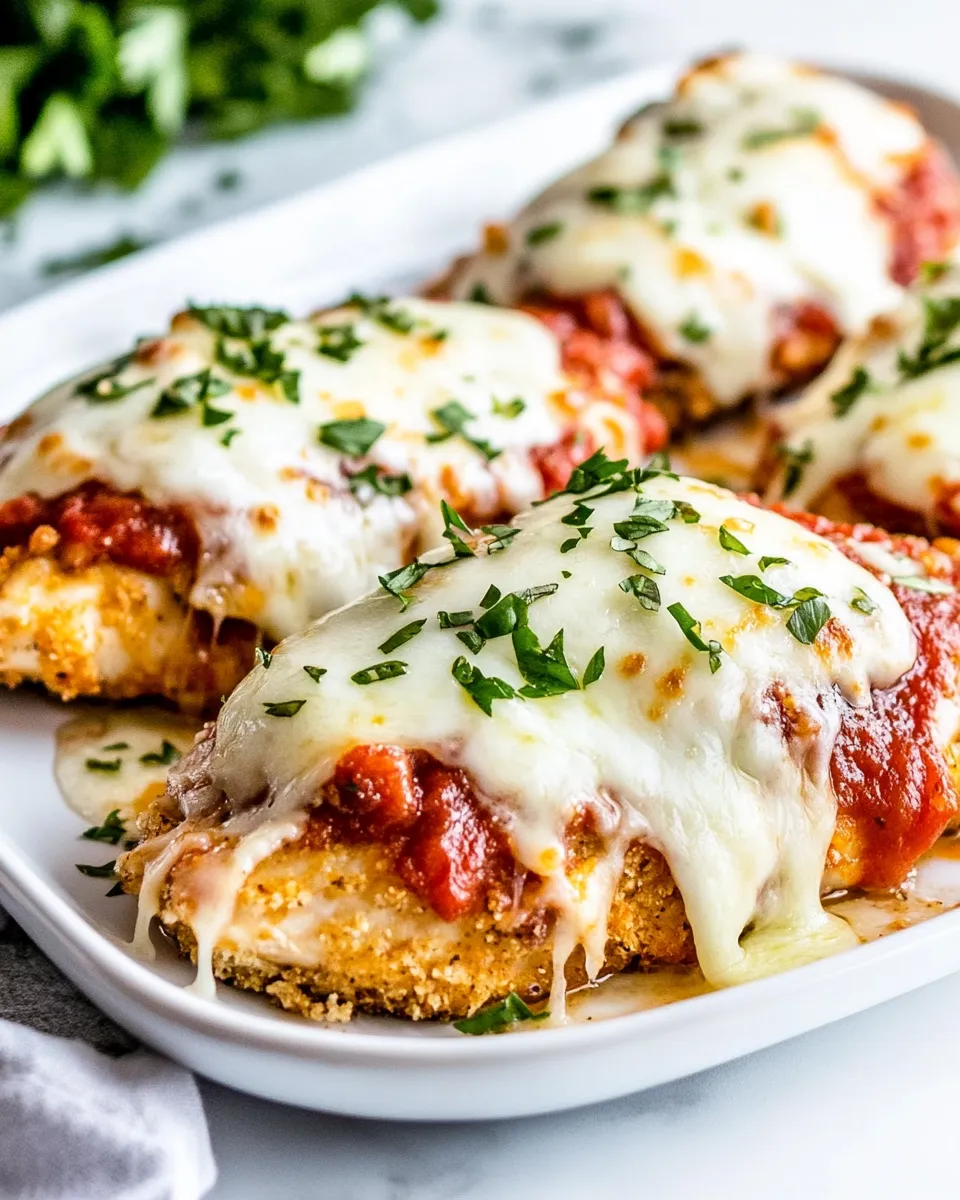
I love this version of Chicken Parmesan because it gives you the crisp coating and gooey cheese without deep-frying a single piece of chicken. It’s straightforward, forgiving, and fast enough for a weeknight. You get a crunchy, seasoned panko crust, a bright hit of marinara, and melted mozzarella that browns under the broiler in minutes.
This recipe is built for reliable results: pound to an even thickness, bread carefully, and follow the bake-then-broil rhythm. There are no complicated steps and the timing is easy to follow. Even if you’re cooking for a crowd, the technique scales up predictably.
Below you’ll find the exact ingredient list, the step-by-step cooking guide, and practical notes from my kitchen — tips I use every time so the chicken stays juicy and the crust stays crisp. Let’s get to it.
Ingredient Checklist
Ingredients
- 2 tablespoons olive oil — for brushing the foil so the crust starts crisping immediately and won’t stick.
- 2 chicken breasts — About 1 pound of chicken total; the recipe asks you to slice them into 4 cutlets for even cooking.
- 1 egg — acts as the binder so the panko adheres to the cutlets.
- 1 cup panko bread crumbs — gives that light, crunchy texture. Regular breadcrumbs will be denser.
- 1/2 cup Parmesan cheese — fresh grated; adds savory saltiness and helps the crust brown.
- 1 teaspoon dried oregano — for Italian flavor in the crumb mix.
- 1/2 teaspoon garlic powder — concentrated garlic flavor without fresh garlic browning.
- 1 teaspoon kosher salt — seasons both crust and chicken through the process.
- 1/2 teaspoon black pepper — a touch of bite in the crumb mixture.
- 1 cup marinara sauce — spooned over the baked cutlets before the cheese; use a good-quality jar or leftover sauce.
- 1 1/2 cups shredded mozzarella — enough to fully blanket the cutlets and melt nicely under the broiler.
- 2 tablespoons minced parsley — optional, for garnish and a fresh pop of color.
Oven Baked Chicken Parmesan Cooking Guide
- Position an oven rack in the second-from-top slot and preheat the oven to 400°F. Line a baking sheet with foil and brush the foil with the 2 tablespoons olive oil.
- Trim any excess fat from the 2 chicken breasts. Slice each breast horizontally to make 4 cutlets (cut through as if butterflying, but cut all the way through). Place the cutlets in a single layer in a gallon-size zip-top bag (or between two sheets of plastic wrap).
- Pound the cutlets to an even thickness (about 1/2-inch) using a meat mallet or rolling pin. Pat the cutlets dry with paper towels.
- In a shallow dish, combine 1 cup panko bread crumbs, 1/2 cup freshly grated Parmesan cheese, 1 teaspoon dried oregano, 1/2 teaspoon garlic powder, 1 teaspoon kosher salt, and 1/2 teaspoon black pepper.
- In a separate shallow dish, whisk the 1 egg until blended.
- Working with one cutlet at a time, dip it into the beaten egg, letting excess drip off, then press it into the panko mixture so it is evenly coated. Place the coated cutlet on the prepared baking sheet. Repeat until all 4 cutlets are breaded.
- Bake on the second-from-top rack at 400°F for 15 minutes, or until the chicken is cooked through (internal temperature reaches 165°F).
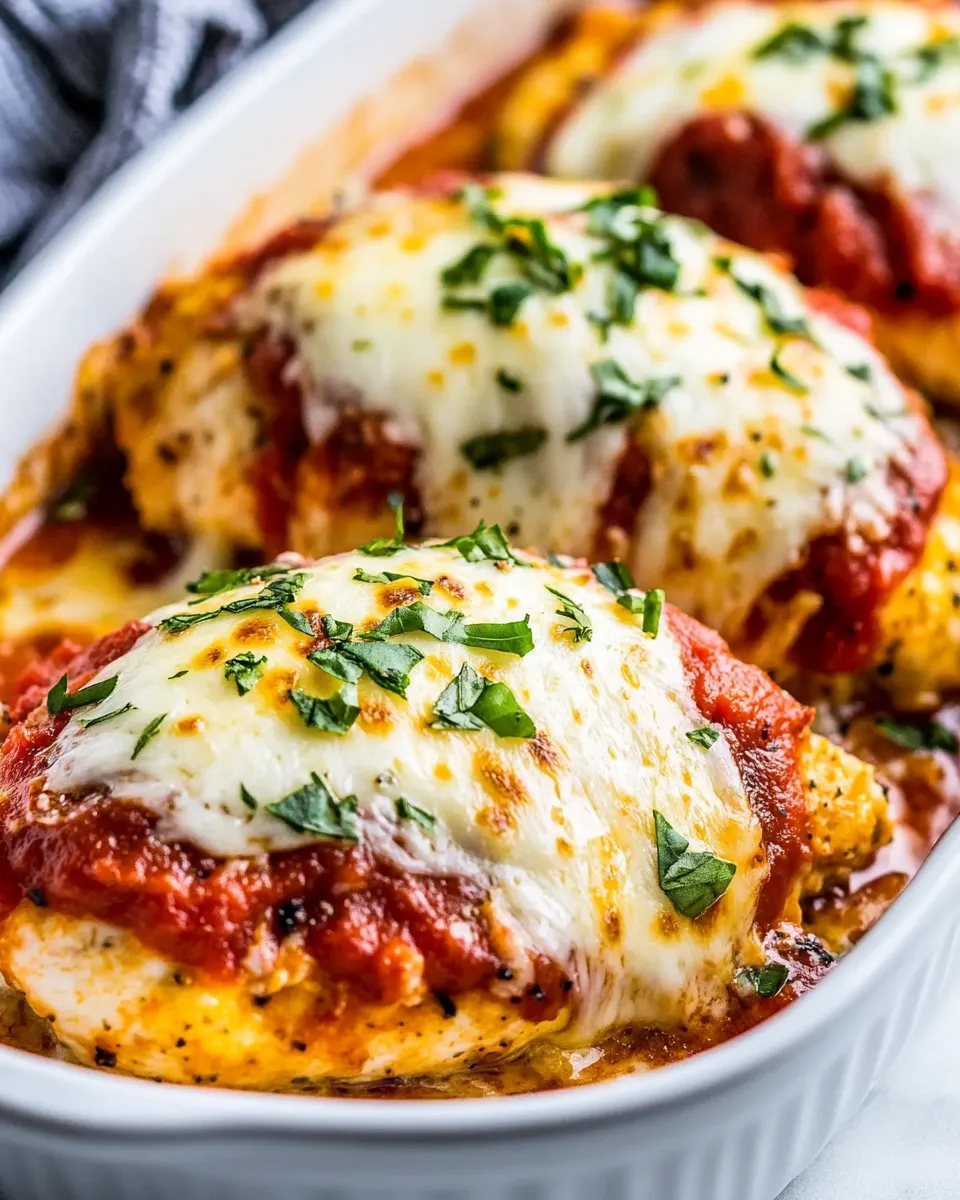
- Remove the baking sheet from the oven and flip each cutlet. Spoon 1/4 cup marinara sauce over each cutlet (using all of the 1 cup marinara total), then divide the 1 1/2 cups shredded mozzarella evenly over the cutlets.
- Turn the oven broiler on and return the baking sheet to the same rack. Broil 2–4 minutes, watching closely, until the cheese is melted, bubbly, and beginning to brown.
- Remove from the oven and let rest 2–3 minutes. Sprinkle with the 2 tablespoons minced parsley, if using, and serve.
Why Cooks Rave About It
There are a few reasons this version wins hearts in busy kitchens. First, baking instead of frying cuts down on oil and cleanup. Second, panko makes for an airy, crunchy coating that stands up to tomato and cheese. Third, pacing the cook as bake-then-broil ensures the chicken finishes through without overcooking while the cheese gets that golden finish that makes everyone smile.
Finally, the technique is forgiving: even if your cutlets are slightly thicker or thinner, the short bake followed by a quick broil still produces a tender interior and nicely browned top. It’s reliable comfort food that behaves itself in real kitchens.
Allergy-Friendly Substitutes
Here are safe swaps if you’re working around common allergens. Keep in mind texture and flavor will change slightly.
- Gluten-free: Use certified gluten-free panko or coarse gluten-free breadcrumbs in place of the panko.
- Dairy-free: Omit the Parmesan and mozzarella; use a dairy-free shredded cheese and add 2 tablespoons nutritional yeast to the crumbs for savory depth.
- Egg-free: Replace the egg wash with a slurry of 1 tablespoon mustard whisked with 2 tablespoons water, or use aquafaba (chickpea brine) to help the crumbs adhere.
- Low-sodium: Reduce or omit the kosher salt in the crumb mix and choose a low-salt marinara.
Setup & Equipment
Minimal gear is required, which is a plus for small kitchens.
Must-haves
- Cutting board and sharp knife — to trim and slice the breasts into cutlets.
- Gallon-size zip-top bag or plastic wrap — for pounding the chicken without a mess.
- Meat mallet or rolling pin — to pound the cutlets to an even 1/2-inch thickness.
- Baking sheet lined with foil — foil makes cleanup easy and lets you brush olive oil directly on the surface.
- Shallow dishes — one for the egg, one for the panko mixture.
- Instant-read thermometer — optional but best for precise doneness (165°F).
Learn from These Mistakes
Common slip-ups and how to fix or avoid them:
- Not pounding evenly: Uneven thickness leads to dry edges and undercooked centers. Aim for about 1/2-inch across each cutlet.
- Skipping the oil under the crust: A thin brush of olive oil on the foil and a light coat of oil on the crumbs helps the crust brown and crisp in the oven.
- Broiling too long: The broiler works fast. Stay at the oven and watch; 2–4 minutes is enough. Pull immediately when the cheese is bubbling and starting to brown.
- Overcrowding the pan: Place cutlets in a single layer with small gaps so air circulates and the crust crisps.
- Dousing with sauce before baking: Add the sauce and cheese only after the initial bake so the coating doesn’t steam and go soggy.
Season-by-Season Upgrades
Little seasonal tweaks keep this recipe feeling fresh throughout the year.
- Spring: Stir chopped fresh basil into the marinara or sprinkle basil over the finished dish.
- Summer: Use a bright, fresh tomato sauce or quick-chopped cherry tomatoes warmed with garlic for a fresher flavor.
- Fall: Mix 1–2 tablespoons finely chopped toasted walnuts into the panko for nutty complexity.
- Winter: Add a pinch of crushed red pepper to the panko for warmth, and finish with a scattering of chopped parsley or oregano.
Recipe Notes & Chef’s Commentary
Small choices make a big difference. Use fresh-grated Parmesan rather than pre-grated for better melting and flavor. Panko is intentionally light; don’t swap in fine breadcrumbs unless you like a denser crust. When beating the egg, whisk until smooth — that even coating helps the crumbs cling.
For the best texture, remove the pan when the chicken reaches 160–162°F, then finish under the broiler after adding sauce and cheese; carryover heat brings it to a safe 165°F while the top crisps. If you don’t have an instant-read thermometer, check that juices run clear and the center has no pink.
Make Ahead Like a Pro
This dish is friendly to preparation in stages.
- Up to one day ahead: Pound and bread the cutlets, then layer them on a tray, cover, and refrigerate. When ready, bake and finish as directed.
- Sauce ahead: Make or warm your marinara and refrigerate up to 3 days or freeze for longer storage.
- Assemble and refrigerate: Bake the cutlets (step 7) and cool. Refrigerate without sauce and cheese, then reheat, add sauce and cheese, and broil just before serving to retain crispness.
Ask the Chef
Q: Can I use chicken thighs instead of breasts?
A: You can, but thighs will need a longer initial bake and should be pounded to even thickness. Boneless, skinless thighs work best. Check internal temperature of 165°F.
Q: My crumbs didn’t stick well — what happened?
A: The egg wash must coat the cutlet evenly. Let excess drip off, don’t overload the cutlet, and press the crumbs firmly so they adhere. Also, pat the cutlet dry before the egg step.
Q: Can I skip the broiler and just bake until the cheese melts?
A: Yes — bake at 400°F for an additional 5–8 minutes after adding cheese, but the broiler gives the best golden finish in less time.
The Last Word
This Oven Baked Chicken Parmesan is a practical, weeknight-ready classic that delivers crisp texture and melty, comforting cheese without frying. The method is intentional: even thickness, proper breading, bake to cook through, then quick broil for color. Follow the steps, keep an eye during broiling, and you’ll have a dinner that feels special with minimal fuss.
Serve with pasta, a simple salad, or roasted vegetables. Leftovers reheat well in a 350°F oven until warmed through, keeping the crust as crisp as possible. Now go make it — your kitchen will smell amazing, and dinner will be worth it.

Oven Baked Chicken Parmesan
Ingredients
Ingredients
- 2 tablespoonsolive oil
- 2 chicken breastsAbout 1 pound of chicken total
- 1 egg
- 1 cuppanko bread crumbs
- 1/2 cupparmesan cheesefresh grated
- 1 teaspoondried oregano
- 1/2 teaspoongarlic powder
- 1 teaspoonkosher salt
- 1/2 teaspoonblack pepper
- 1 cupmarinara sauce
- 1 1/2 cupsshredded mozzarella
- 2 tablespoonminced parsleyoptional for garnish
Instructions
Instructions
- Position an oven rack in the second-from-top slot and preheat the oven to 400°F. Line a baking sheet with foil and brush the foil with the 2 tablespoons olive oil.
- Trim any excess fat from the 2 chicken breasts. Slice each breast horizontally to make 4 cutlets (cut through as if butterflying, but cut all the way through). Place the cutlets in a single layer in a gallon-size zip-top bag (or between two sheets of plastic wrap).
- Pound the cutlets to an even thickness (about 1/2-inch) using a meat mallet or rolling pin. Pat the cutlets dry with paper towels.
- In a shallow dish, combine 1 cup panko bread crumbs, 1/2 cup freshly grated Parmesan cheese, 1 teaspoon dried oregano, 1/2 teaspoon garlic powder, 1 teaspoon kosher salt, and 1/2 teaspoon black pepper.
- In a separate shallow dish, whisk the 1 egg until blended.
- Working with one cutlet at a time, dip it into the beaten egg, letting excess drip off, then press it into the panko mixture so it is evenly coated. Place the coated cutlet on the prepared baking sheet. Repeat until all 4 cutlets are breaded.
- Bake on the second-from-top rack at 400°F for 15 minutes, or until the chicken is cooked through (internal temperature reaches 165°F).
- Remove the baking sheet from the oven and flip each cutlet. Spoon 1/4 cup marinara sauce over each cutlet (using all of the 1 cup marinara total), then divide the 1 1/2 cups shredded mozzarella evenly over the cutlets.
- Turn the oven broiler on and return the baking sheet to the same rack. Broil 2–4 minutes, watching closely, until the cheese is melted, bubbly, and beginning to brown.
- Remove from the oven and let rest 2–3 minutes. Sprinkle with the 2 tablespoons minced parsley, if using, and serve.
Equipment
- Oven
- Baking Sheet
- Aluminum Foil
- Pastry Brush
- gallon-size zip-top bag or plastic wrap
- Meat Mallet or Rolling Pin
- Shallow Dishes
- Whisk


