
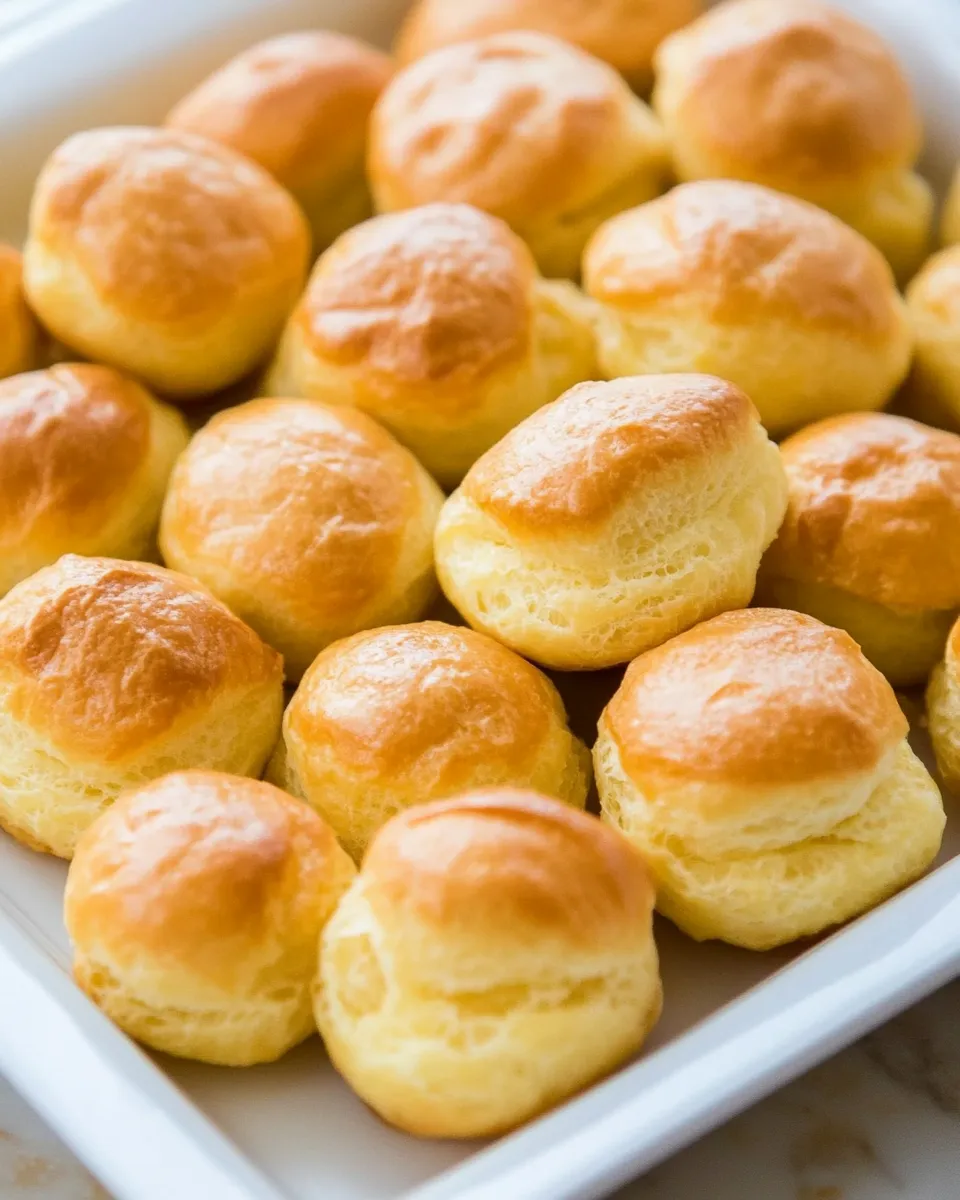
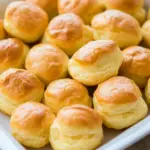
This is a reliable pate a choux — the classic French dough that puffs into light, hollow shells. It’s a simple formula: water, butter, flour, salt, and eggs. Once you master the technique, these shells can be sweet or savory, filled or topped, and they’ll always impress with their crisp exterior and tender interior.
I’m sharing a straightforward, no-nonsense method that keeps the important details front and center: heat, timing, and how to handle the dough. There are no tricks you need to hunt for, just a few small steps done properly. You’ll get consistent puffs whether you pipe small bites or larger profiteroles.
Read through the steps before you begin. I’ll cover common pitfalls, equipment that speeds things up, and ways to serve the finished shells. If you’re aiming for cheese puffs specifically, the shells here are the canvas — I won’t add ingredients beyond what the recipe calls for, but I will give practical ideas for fillings and finishing that rely on technique rather than extra quantities.
Ingredients at a Glance
- 1 cup water — provides steam for lift; use room-temperature or cold water as your kitchen routine dictates.
- 1 stick butter (1/2 cup) — adds fat and flavor and helps form the emulsion with the flour.
- 1 cup all-purpose flour — gives structure; spoon it into the cup and level it for accuracy.
- 1 good pinch of salt — balances flavor; don’t skip it even for savory or sweet preparations.
- 4 large eggs — bind the dough and provide the moisture that turns to steam in the oven, creating the characteristic hollow center.
Pate a Choux Recipe and Cheese Puffs: Step-by-Step Guide
- Preheat the oven to 425°F. Line a baking sheet with parchment paper or a silicone baking mat.
- In a medium saucepan over medium heat, combine 1 cup water, 1 stick (1/2 cup) butter, and 1 good pinch of salt. Bring to a simmer, with the butter fully melted.
- Remove the pan briefly from the heat and add 1 cup all-purpose flour all at once. Return to medium-low heat and stir vigorously and continuously with a wooden spoon or spatula in one direction until the mixture forms a smooth dough that pulls away from the sides of the pan. Continue stirring and cooking for 1–2 more minutes to dry the dough slightly.
- Remove the pan from the heat. Either transfer the dough to the bowl of a stand mixer fitted with the paddle attachment or leave it in the pan. Let the dough cool for about 4–5 minutes before adding eggs so they do not cook when incorporated.
- Add 4 large eggs to the dough one at a time, mixing quickly and thoroughly after each addition (use the stand mixer, a hand mixer, or vigorous stirring by hand). Wait until each egg is fully incorporated and the dough is smooth and glossy before adding the next egg. The dough will change from shiny to slippery to a thicker, pipeable consistency.
- Prepare a piping bag (or a large resealable plastic bag) by filling it with the dough. Snip off about 1/4 inch of the tip. Pipe mounds of dough onto the prepared baking sheet, spacing them about 2 inches apart.
- Wet your fingertip and gently press down any sharp peaks on the tops of the piped puffs so the peaks do not burn while baking.
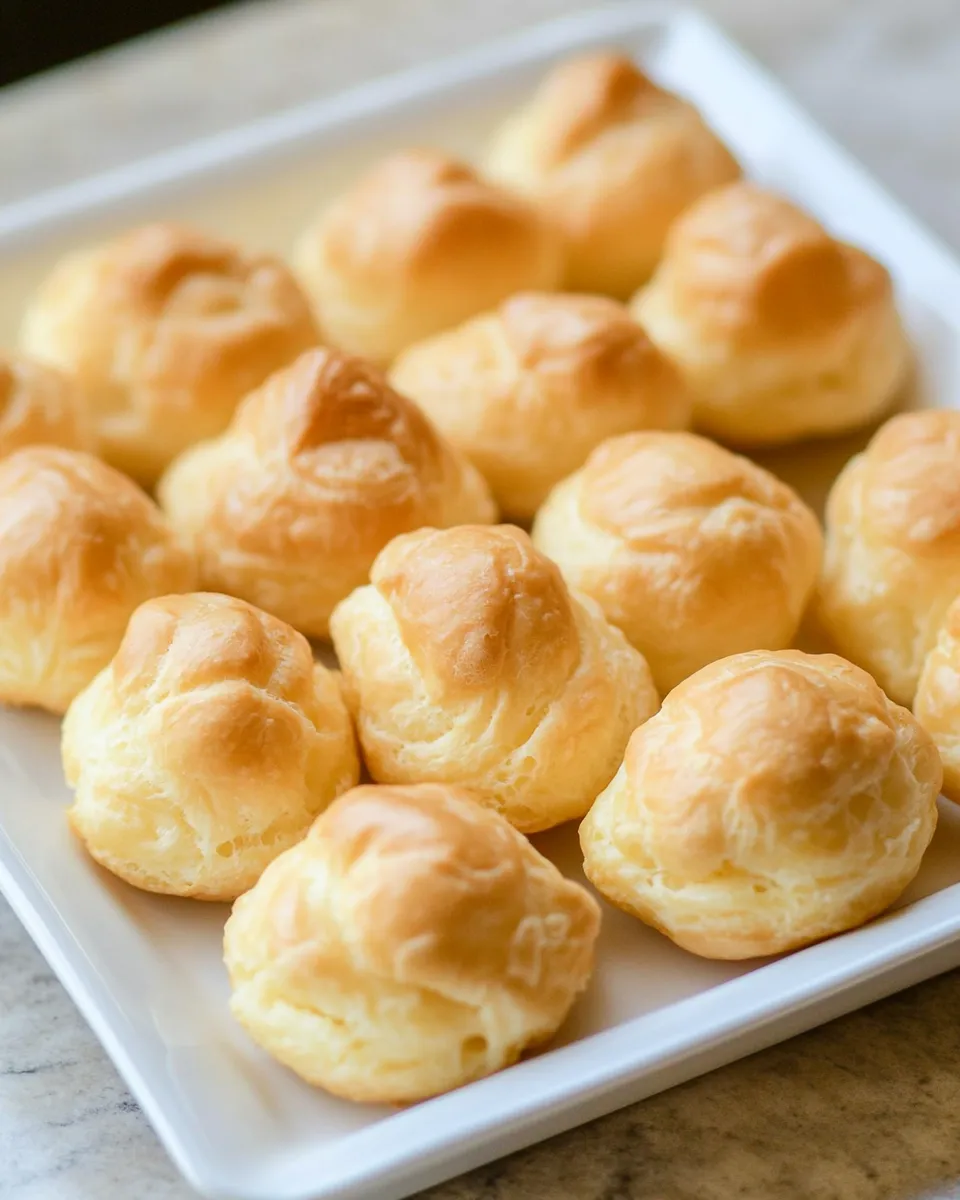
- Bake at 425°F for 10 minutes. Without opening the oven door, reduce the oven temperature to 350°F and continue baking for an additional 18–30 minutes, depending on puff size, until the puffs are puffed, dry, and golden brown.
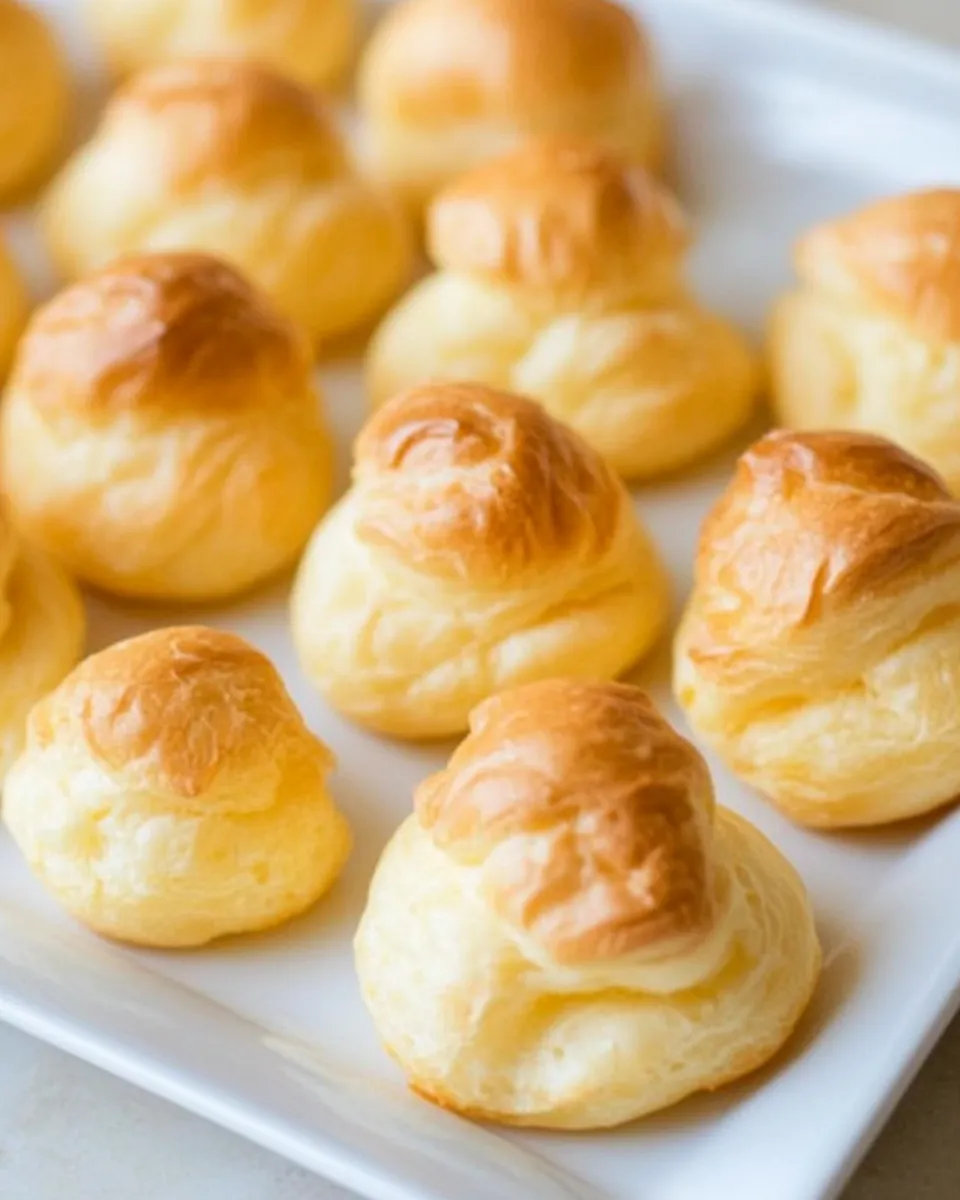
- Remove the puffs from the oven and transfer to a wire rack to cool. Allow them to cool before filling or serving.
Quick notes on key steps
- When you add the flour, work quickly and stir in one direction to form a unified dough; this helps the dough dry enough to hold shape.
- Cooling the dough before the eggs prevents scrambled eggs in the batter; waiting 4–5 minutes is enough.
- Piping consistency matters: the final dough should be thick enough to hold a peak but soft enough to pipe smoothly.
- Resist opening the oven during the initial high-heat phase. The steam is what makes them rise.
What Sets This Recipe Apart
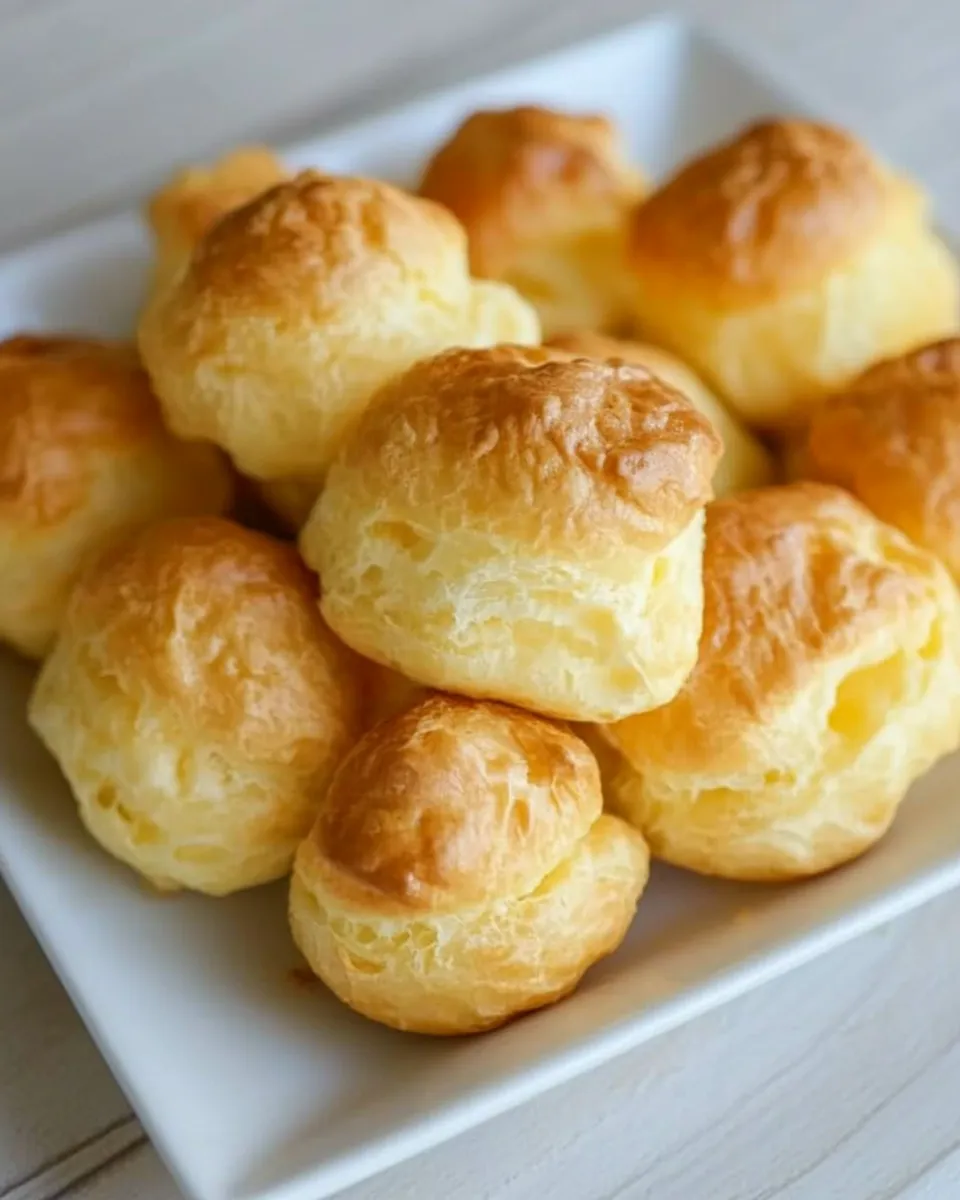
This version keeps the choux formula terse and faithful to the fundamentals. No extra dairy beyond the butter, no milk to alter hydration. The method focuses on drying the paste on the stove and staging the oven temperatures so you get maximum lift and a dry interior. That makes the shells versatile: crisp and hollow, ready for sweet creams or savory fillings.
Because it uses only the essential ingredients and a controlled bake schedule, you get consistent results without fuss. The brief high-heat start followed by a lower finish creates a strong crust quickly, then allows the interior to set without over-browning.
Vegan & Vegetarian Swaps
- Vegetarian: this recipe as written is vegetarian-friendly (it contains no meat).
- Vegan: convert choux to a vegan version by using plant-based butter and an egg replacer suitable for baking. Note that texture and rise may differ; test a small batch first.
- Technique remains the same: focus on drying the paste and getting the right consistency before piping, regardless of the fat or egg substitute used.
Cook’s Kit
- Medium saucepan — for making the paste on the stovetop.
- Wooden spoon or sturdy spatula — for vigorous stirring while cooking the dough.
- Stand mixer with paddle or hand mixer (optional) — speeds egg incorporation and yields a very smooth dough.
- Piping bag or large resealable plastic bag — for shaping the puffs neatly.
- Baking sheet lined with parchment paper or silicone mat — promotes even browning and easy release.
- Wire rack — for cooling so the bottoms don’t steam and go soggy.
What Not to Do
- Don’t add the eggs before the dough cools a few minutes — hot dough will scramble them.
- Don’t skip the step of drying the dough on the stove for 1–2 minutes after adding the flour; under-dried dough yields flatter puffs.
- Don’t open the oven during the first 10 minutes of baking — losing steam reduces rise.
- Don’t remove puffs while they’re still soft and pale; they need to be dry and golden so the interiors stay hollow.
Seasonal Serving Ideas
- Spring: serve small puffs with a light herb-and-cheese filling or a lemony curd for contrast.
- Summer: make bite-sized puffs and top with chilled savory spreads or chilled cream-based fillings for outdoor gatherings.
- Autumn: pair larger puffs with warm, savory stews spooned into halved shells for a rustic presentation.
- Winter holidays: fill with rich, spiced custard or a mushroom ragout for a cozy buffet offering.
Notes on Ingredients
Water and butter form the liquid base that gelatinizes the flour when heated. The flour then forms the structure; drying that paste slightly is crucial so the finished shells hold shape. Salt is a small but essential flavor driver. Eggs supply moisture and fat and, crucially, convert to steam in the oven to create the hollow interior. The balance among these five components is what makes choux reliable.
Storing, Freezing & Reheating
- Short-term: store fully cooled, unfilled puffs in an airtight container at room temperature for up to a day; they’re best the same day you bake them.
- Freezing: freeze fully cooled, unfilled puffs on a tray until solid, then transfer to a sealed bag. They freeze well for a few weeks. Reheat from frozen in a 350°F oven until warmed through and crisp.
- Reheating filled puffs: filled shells can lose crispness quickly. For best texture, fill just before serving when possible. If reheating filled puffs, do so gently and expect some softening.
Quick Questions
- What if my puffs collapse? They likely weren’t dry enough inside, or the oven door was opened too soon. Ensure the dough cooks briefly on the stovetop and keep the oven closed during the first high-heat period.
- Can I make the dough ahead? Yes — you can make the dough and refrigerate it briefly, but warm it slightly and check consistency before piping; cold dough often needs a bit of warming to pipe smoothly.
- How big should I pipe them? About 1 to 1.5 inches for small pastries; leave 2 inches between mounds to prevent them from joining as they expand.
- Any tips for uniform browning? Rotate the baking sheet once during the lower-temp bake if your oven has hot spots, but do it quickly and only after the initial high-heat rise is complete.
Save & Share
If this guide helped you, save the page for your next baking day and share it with friends who like hands-on baking. The technique you learn here applies to éclairs, profiteroles, gougères, and other choux-based treats. Practice once and you’ll see how predictable the results become when you pay attention to the dough’s texture and the baking schedule.
Happy baking — small steps, steady heat, and patience at the finishing stage will give you the light, hollow shells you want. Fill them when cool and serve immediately for the best contrast of crisp shell and filling.
Pate a Choux Recipe and Cheese Puffs
Ingredients
Ingredients
- 1 cupwater
- 1 stick butter1/2 cup
- 1 cupall purpose flour
- 1 good pinch of salt
- 1 cupeggs4 large eggs
Instructions
Instructions
- Preheat the oven to 425°F. Line a baking sheet with parchment paper or a silicone baking mat.
- In a medium saucepan over medium heat, combine 1 cup water, 1 stick (1/2 cup) butter, and 1 good pinch of salt. Bring to a simmer, with the butter fully melted.
- Remove the pan briefly from the heat and add 1 cup all-purpose flour all at once. Return to medium-low heat and stir vigorously and continuously with a wooden spoon or spatula in one direction until the mixture forms a smooth dough that pulls away from the sides of the pan. Continue stirring and cooking for 1–2 more minutes to dry the dough slightly.
- Remove the pan from the heat. Either transfer the dough to the bowl of a stand mixer fitted with the paddle attachment or leave it in the pan. Let the dough cool for about 4–5 minutes before adding eggs so they do not cook when incorporated.
- Add 4 large eggs to the dough one at a time, mixing quickly and thoroughly after each addition (use the stand mixer, a hand mixer, or vigorous stirring by hand). Wait until each egg is fully incorporated and the dough is smooth and glossy before adding the next egg. The dough will change from shiny to slippery to a thicker, pipeable consistency.
- Prepare a piping bag (or a large resealable plastic bag) by filling it with the dough. Snip off about 1/4 inch of the tip. Pipe mounds of dough onto the prepared baking sheet, spacing them about 2 inches apart.
- Wet your fingertip and gently press down any sharp peaks on the tops of the piped puffs so the peaks do not burn while baking.
- Bake at 425°F for 10 minutes. Without opening the oven door, reduce the oven temperature to 350°F and continue baking for an additional 18–30 minutes, depending on puff size, until the puffs are puffed, dry, and golden brown.
- Remove the puffs from the oven and transfer to a wire rack to cool. Allow them to cool before filling or serving.
Equipment
- Medium Saucepan
- Wooden Spoon or Spatula
- stand mixer with paddle attachment (optional)
- hand mixer (optional)
- piping bag or large resealable plastic bag
- Baking Sheet
- Parchment paper or silicone baking mat
- Wire Rack


